


This post may contain affiliate links. Please read our disclosure policy.

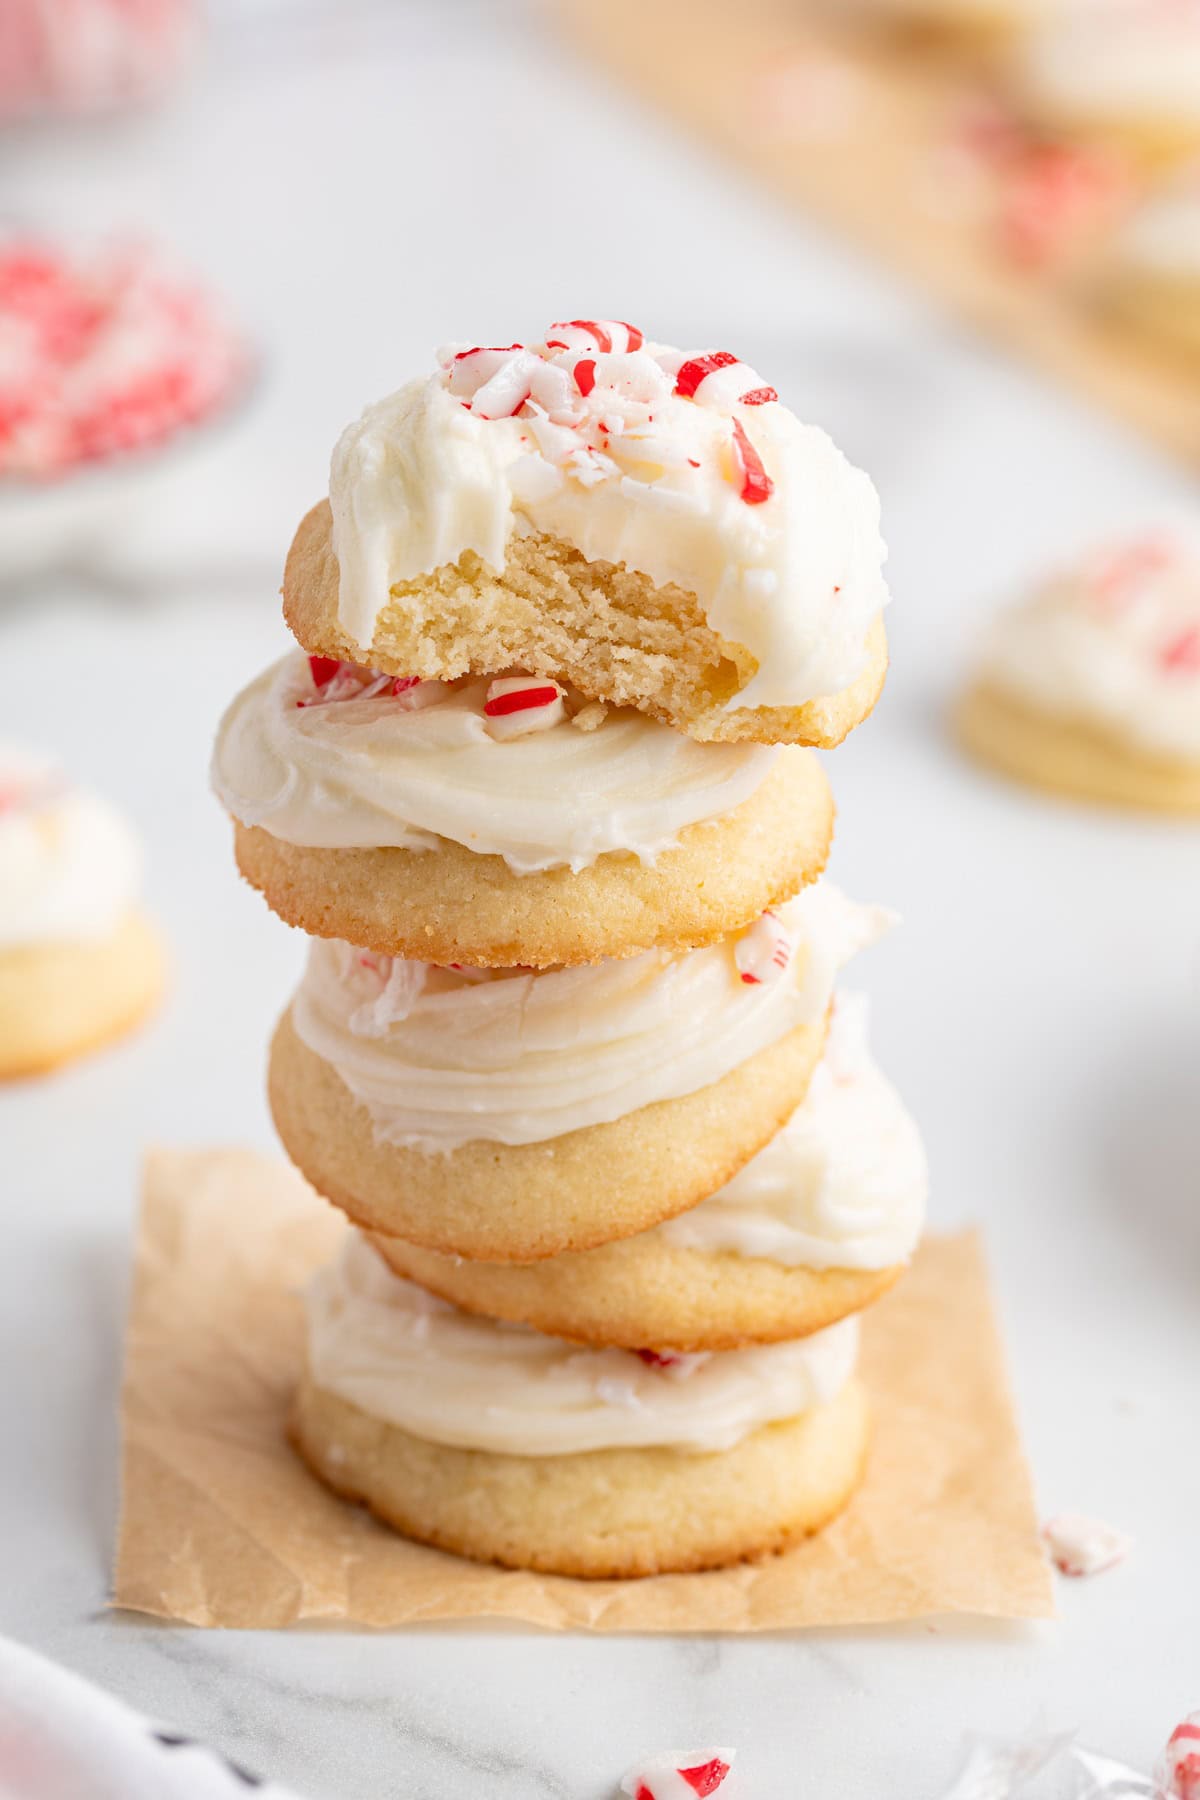
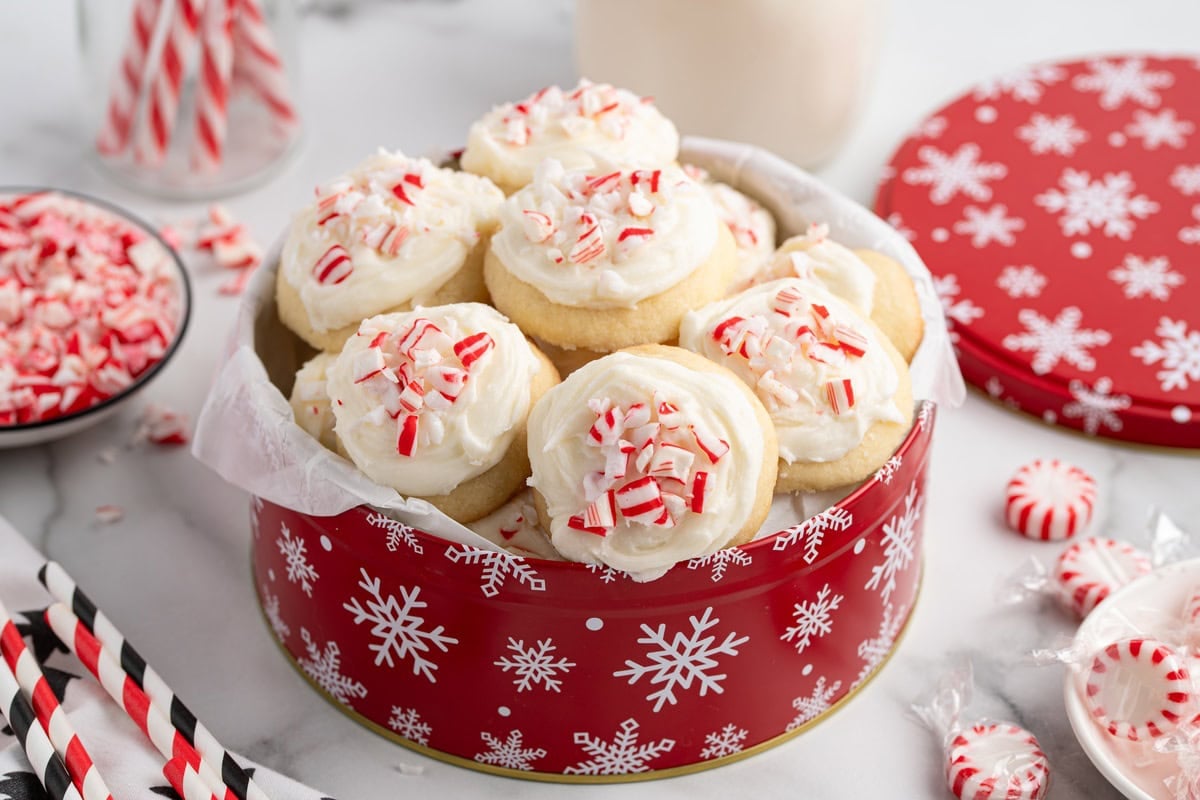
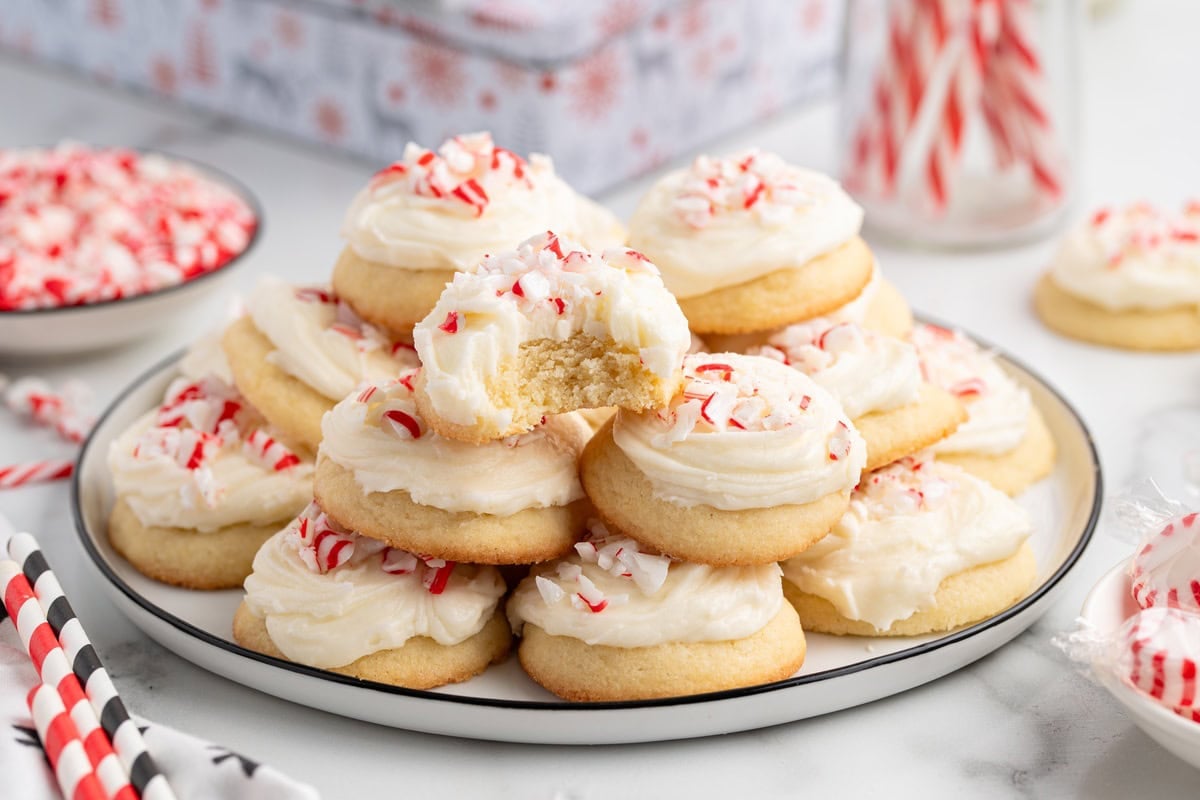
Peppermint meltaway cookies are the Christmas cookie I want on every holiday tray, because you get that cool mint flavor in every layer. The cookie is soft and tender, the frosting is thick, sweet and creamy, and crushed candy on top adds a little crunch. If you love peppermint, bake these first.
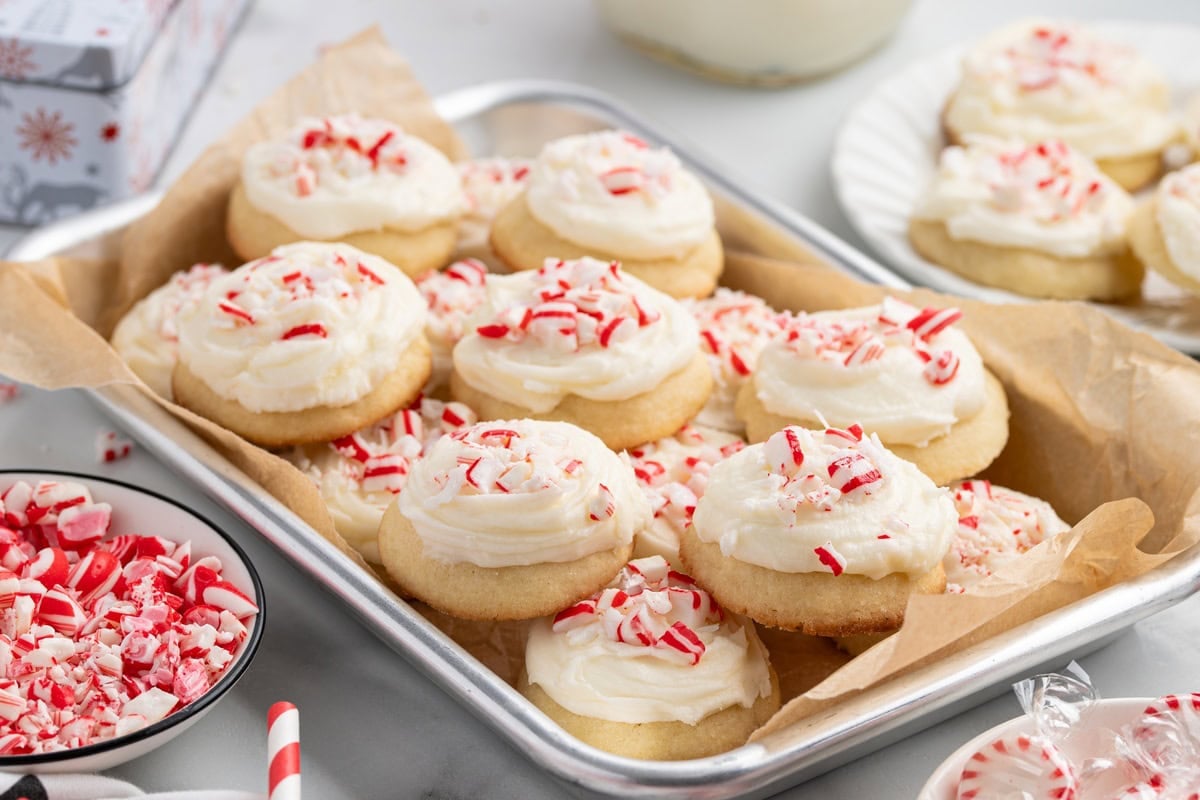
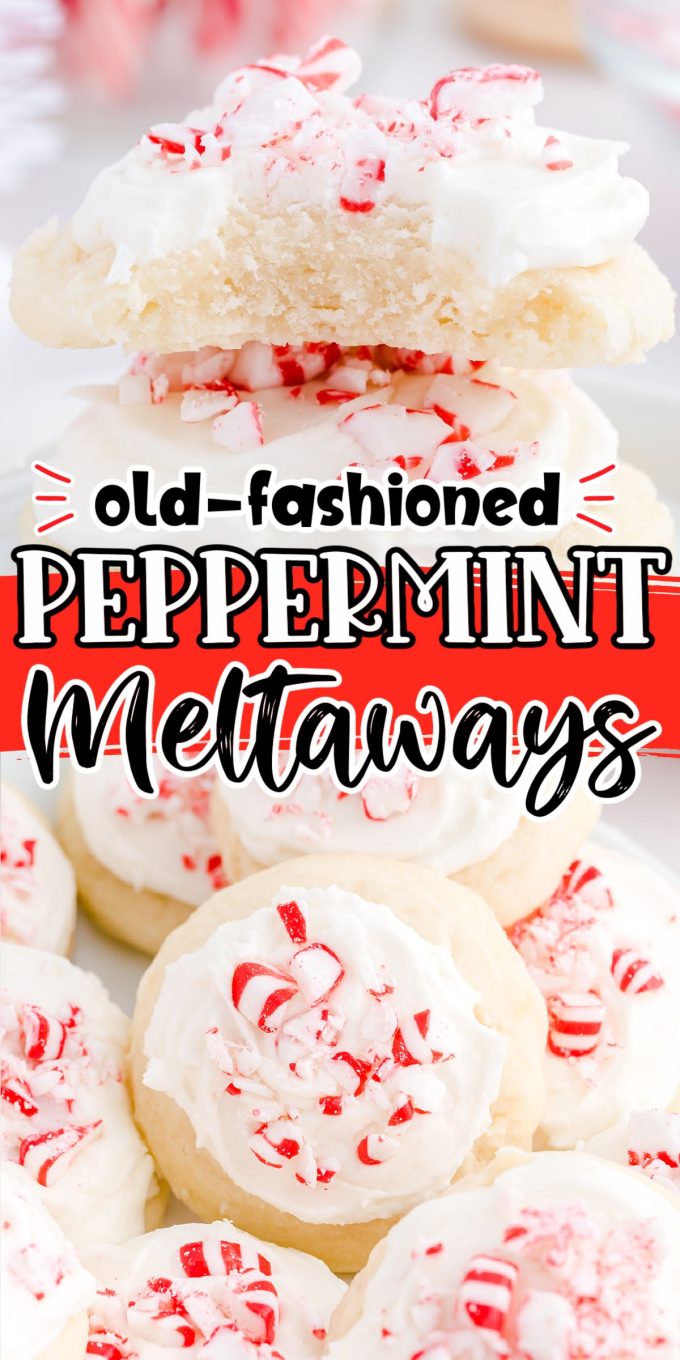


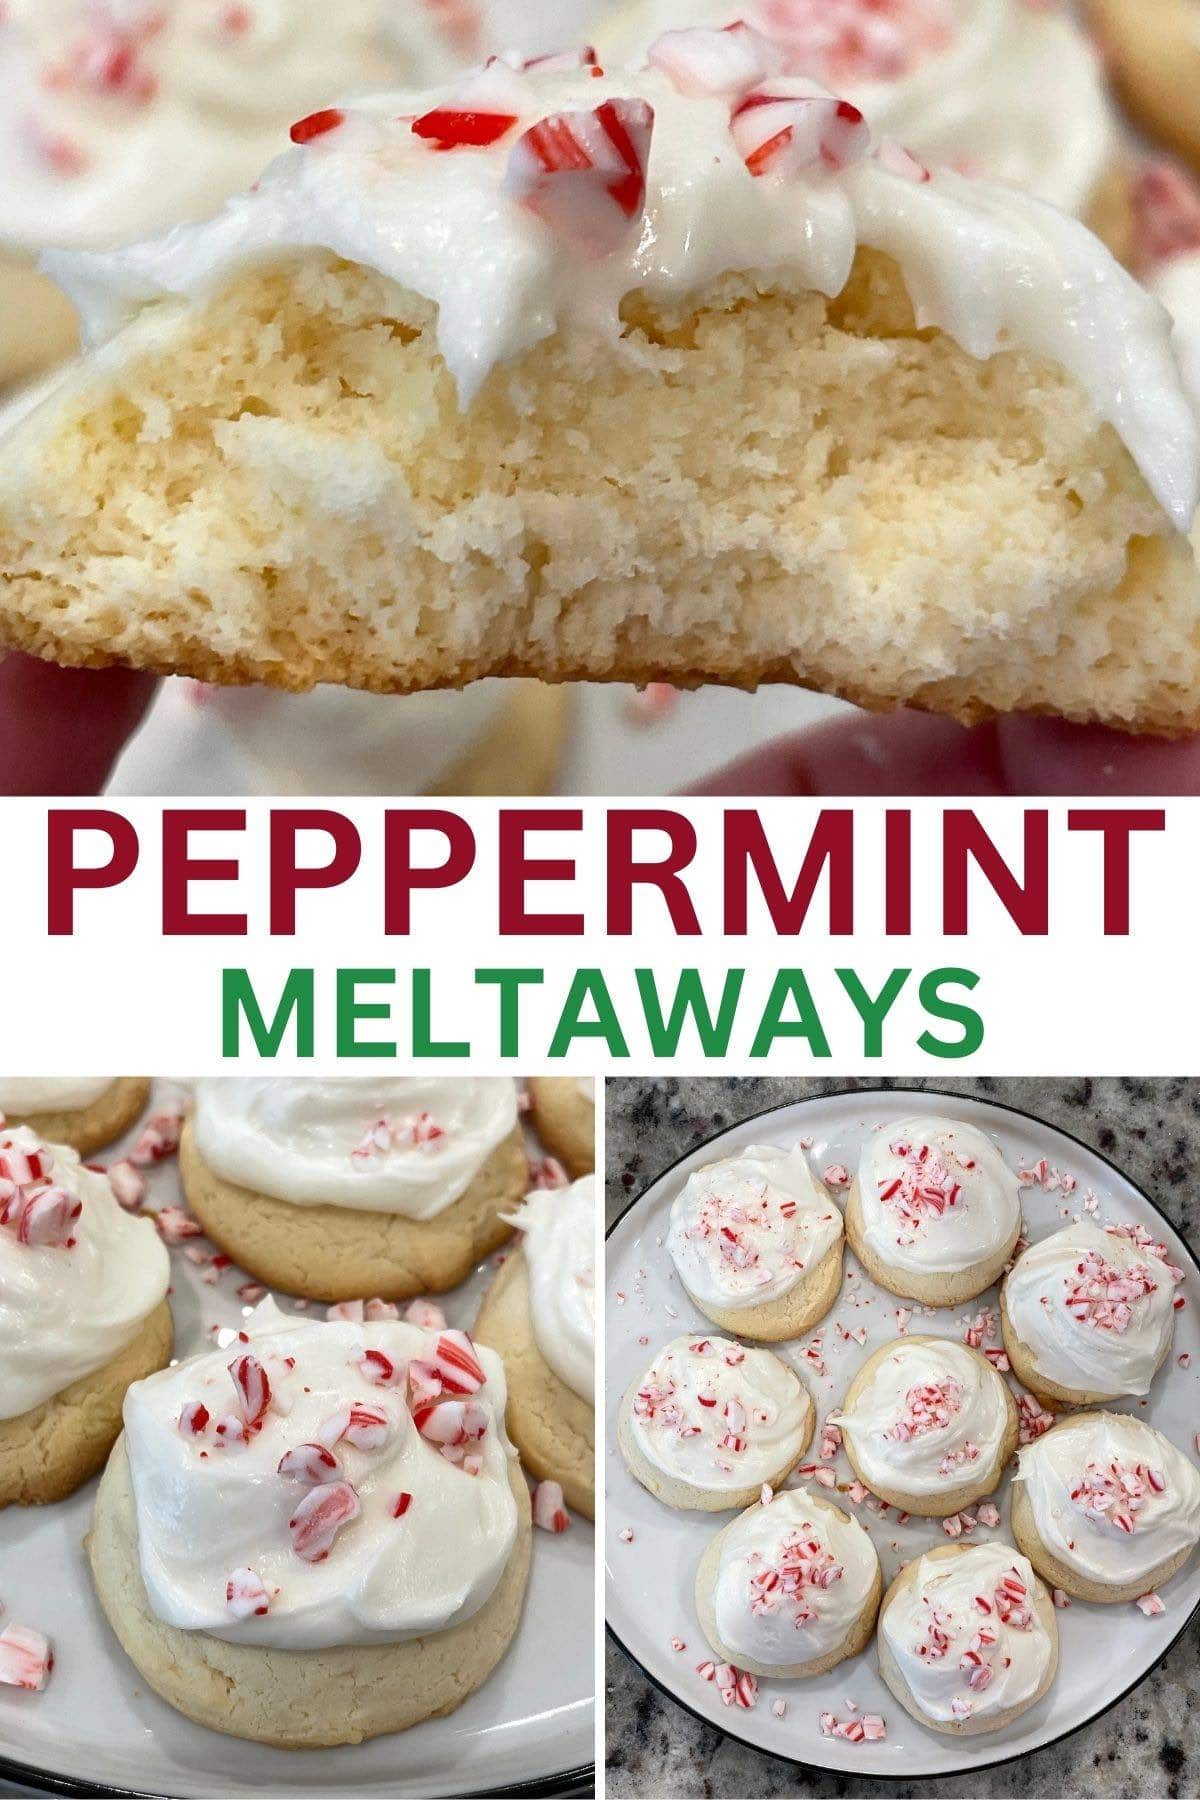

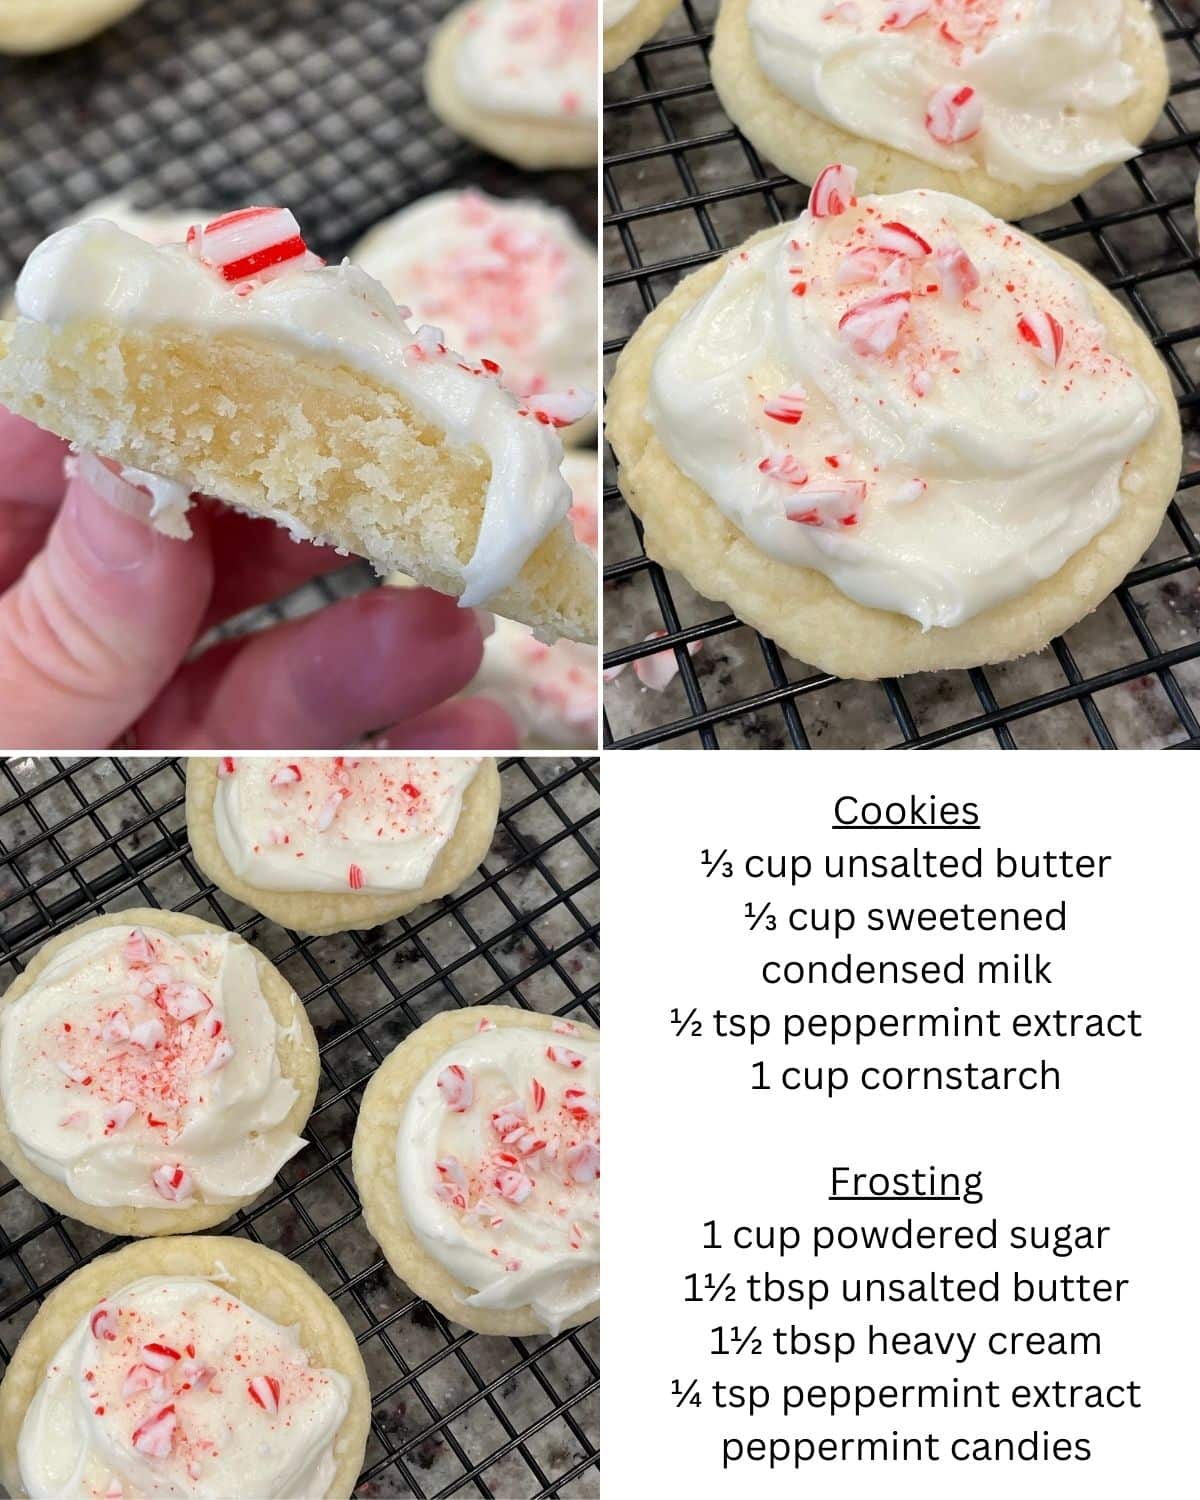


I love how easy these old-fashioned Christmas cookies are to make, and they’re one of the most shared holiday recipes on my site. The cookie underneath all that frosting is a simple butter and sugar dough that goes straight from the bowl to the pan with no chilling.
For this peppermint meltaway cookie recipe, I use the same soft dough I use for my lemon meltaway cookies, with peppermint extract in place of the lemon zest. It bakes up tender like a sugar cookie, and that matters here, because a cookie this soft still has to hold up under a thick layer of frosting. This one does, so you can spread on a thick layer without it crumbling.
If you want more peppermint on your tray, my candy cane cookies are twisted red and white dough shaped into little canes. You’ll find plenty more ideas on my list of Christmas cookie recipes.

CHRISTMAS COOKIE TRAY
Why My Peppermint Cookies Look Like a Bakery Made Them
I love a Christmas cookie that looks this pretty and takes almost no work to decorate. There’s no piping and no cookie cutters, only a thick swipe of peppermint frosting and a sprinkle of crushed candy, and the candy does the rest for me.
Set a plate of them out with the rest of your holiday baking, and they look like they came straight from the bakery.

The Ingredients Behind the Soft Cookie and Thick Frosting
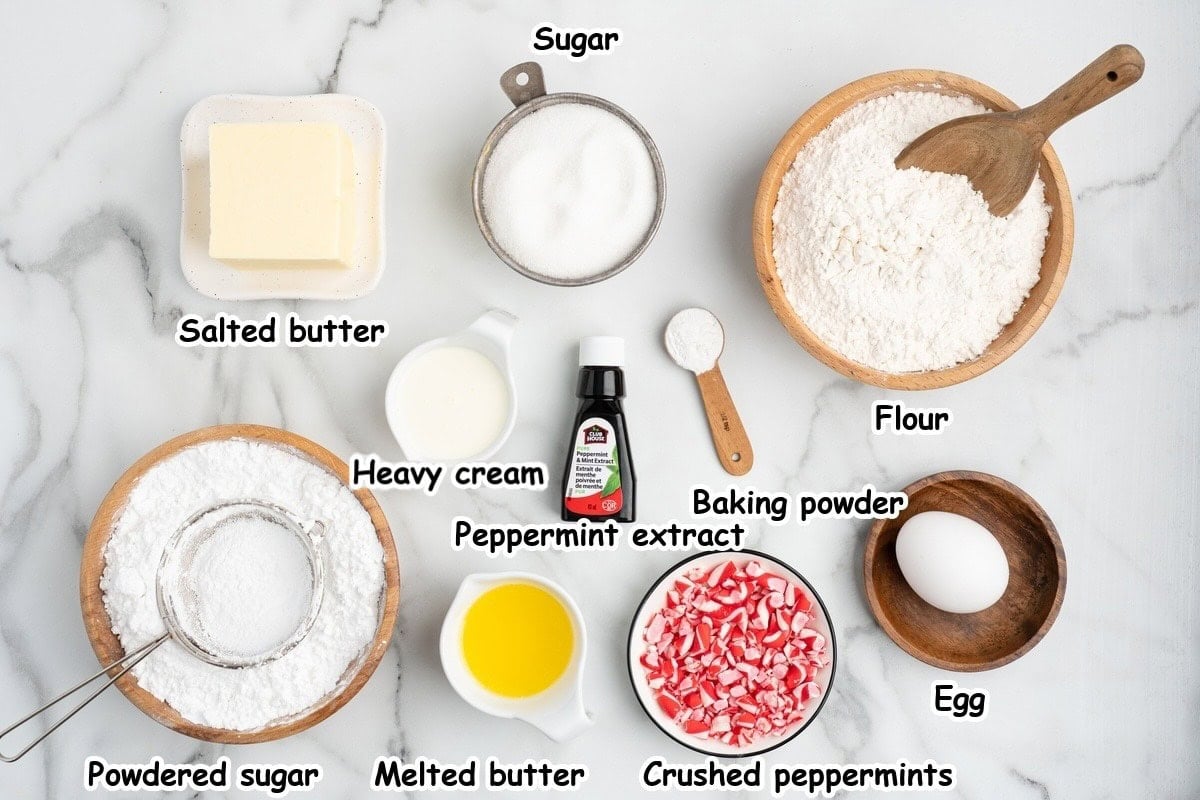
- Salted butter: I use salted butter in the cookie dough, softened to room temperature so it beats smooth with the sugar. The frosting is different. It uses unsalted butter that’s melted and cooled, so don’t grab the same softened butter for both.
- Peppermint extract: I tested 1 teaspoon in the dough, and the peppermint comes through clearly without being overpowering. That balance matters, because the frosting and the candy add even more peppermint on top. For the frosting, start at ½ teaspoon and taste it before you add more.
- All-purpose flour: Spoon the flour into the measuring cup and level it off instead of scooping it straight from the bag. Scooping packs in extra flour, and too much flour is what keeps the dough dry and crumbly even after it’s fully mixed.
- Powdered sugar: Sift it before it goes into the frosting. Lumps in powdered sugar don’t beat out, and they show up in a thick frosting like this one.
- Peppermint candies: Crushed peppermint candies go on top while the frosting is still soft. I crush them in a zip-top bag with a rolling pin. You can swap in crushed candy canes if you find them, since they have more red in them, and that red is what makes the tops look like Christmas.
See the recipe card for full ingredients and quantities.
How to Make Peppermint Meltaway Cookies
Step 1: Make the Dough
Beat the butter and sugar together, mix in the egg and the peppermint extract, then add the flour and baking powder in batches. The dough looks dry and lumpy right after the flour goes in, so keep mixing until it turns soft and smooth.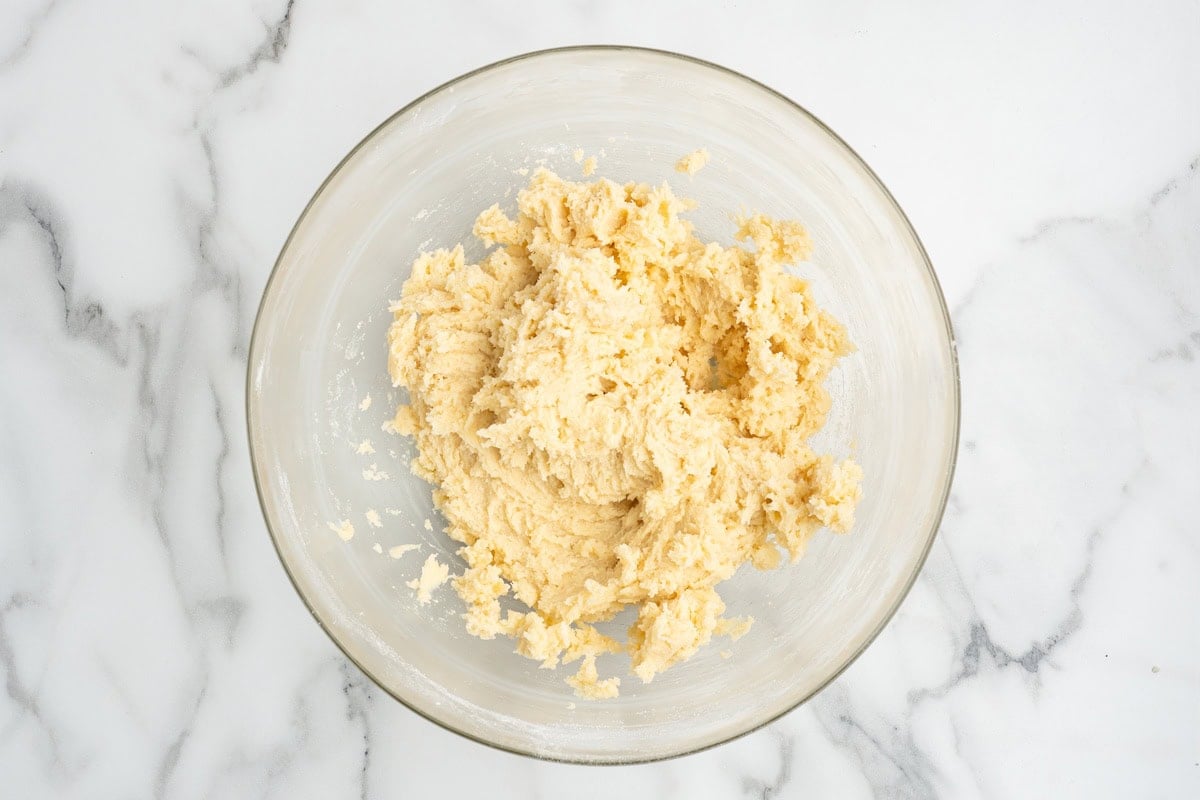
Step 2: Scoop and Flatten
Scoop the dough with a 2-teaspoon cookie scoop, roll each scoop into a ball, and set them on a parchment-lined cookie sheet. Press each ball down a little. There’s no chilling, and the balls hold their shape right on the pan.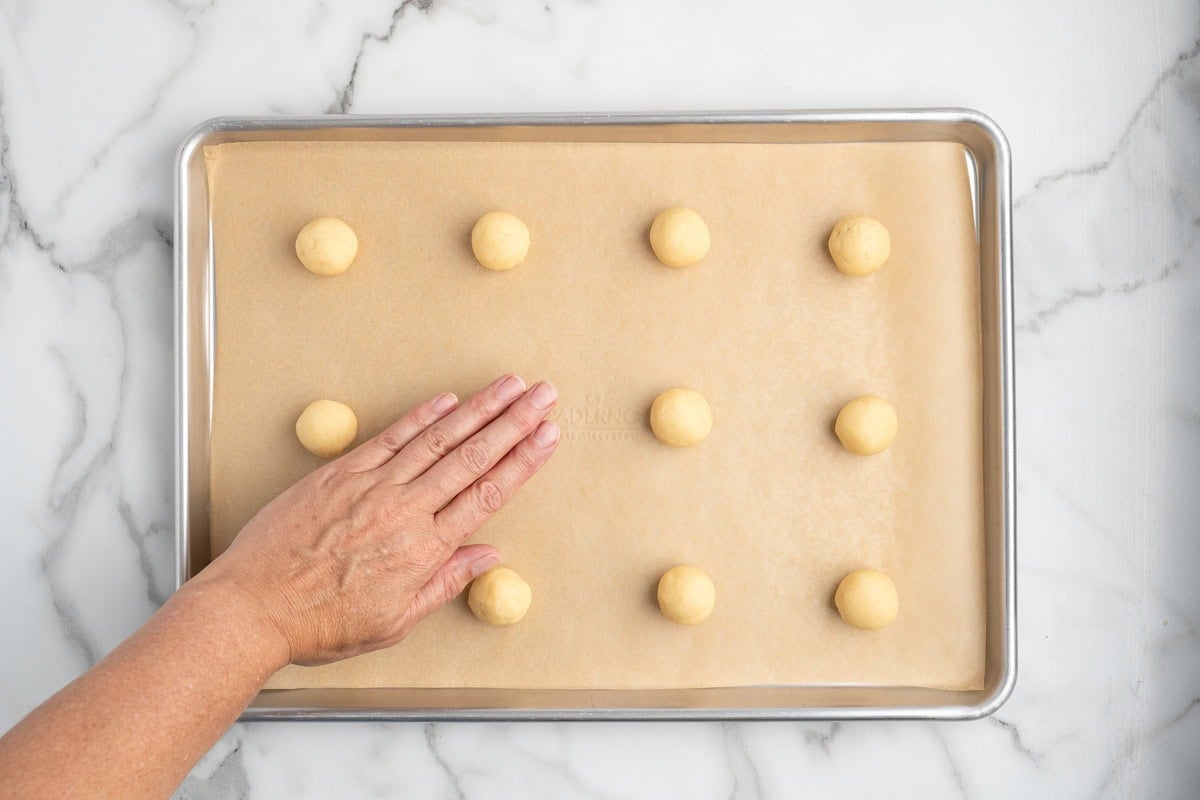
Step 3: Bake and Cool Completely
Bake the cookies at 375°F for 8 minutes. The tops will still look light, which is right for these, so lift one with a spatula and look underneath, where a little golden color tells you they’re done. Let them sit on the pan for a few minutes, then move them to a wire rack, because they need to be completely cool before any frosting goes on or the frosting melts and slides off.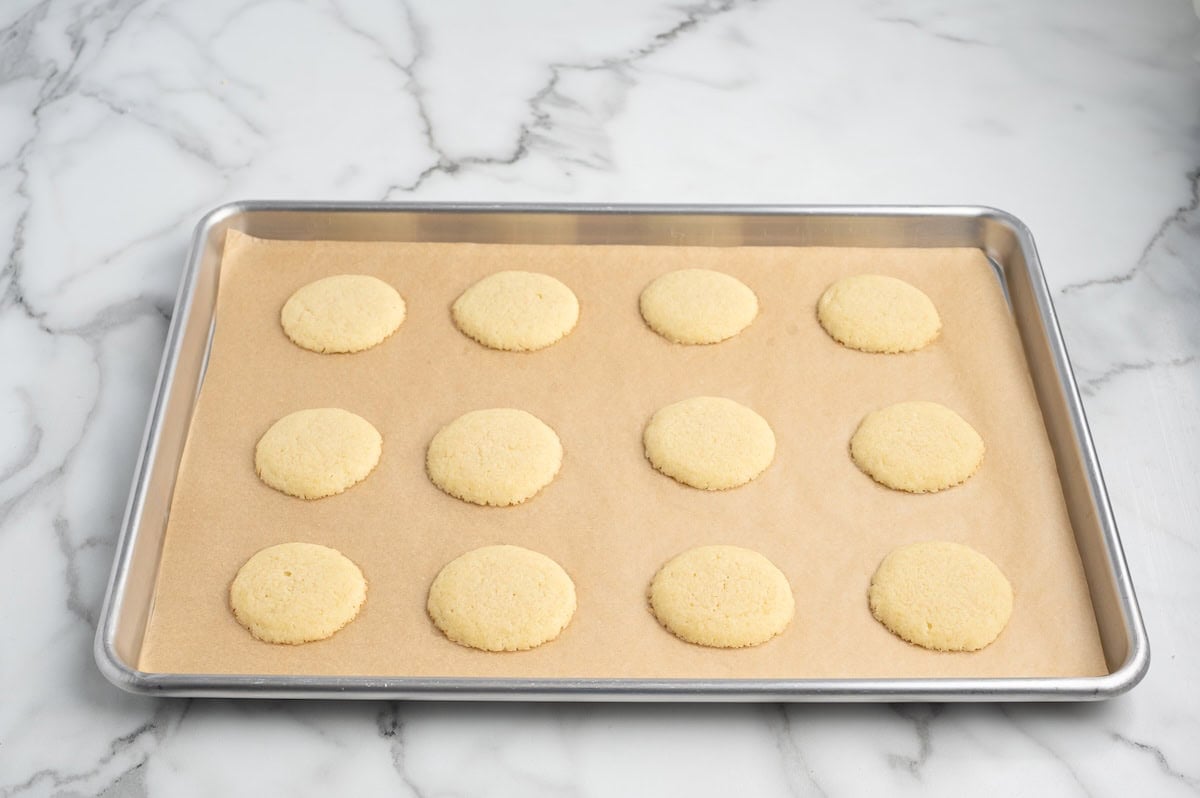
Step 4: Frost and Top
Beat the powdered sugar, melted butter, heavy cream and peppermint extract until the frosting is thick and smooth. It should spread easily but still hold its shape on the cookie. Frost a few cookies at a time, sprinkle on the crushed candy right away, and let them set on the counter for an hour before you stack them.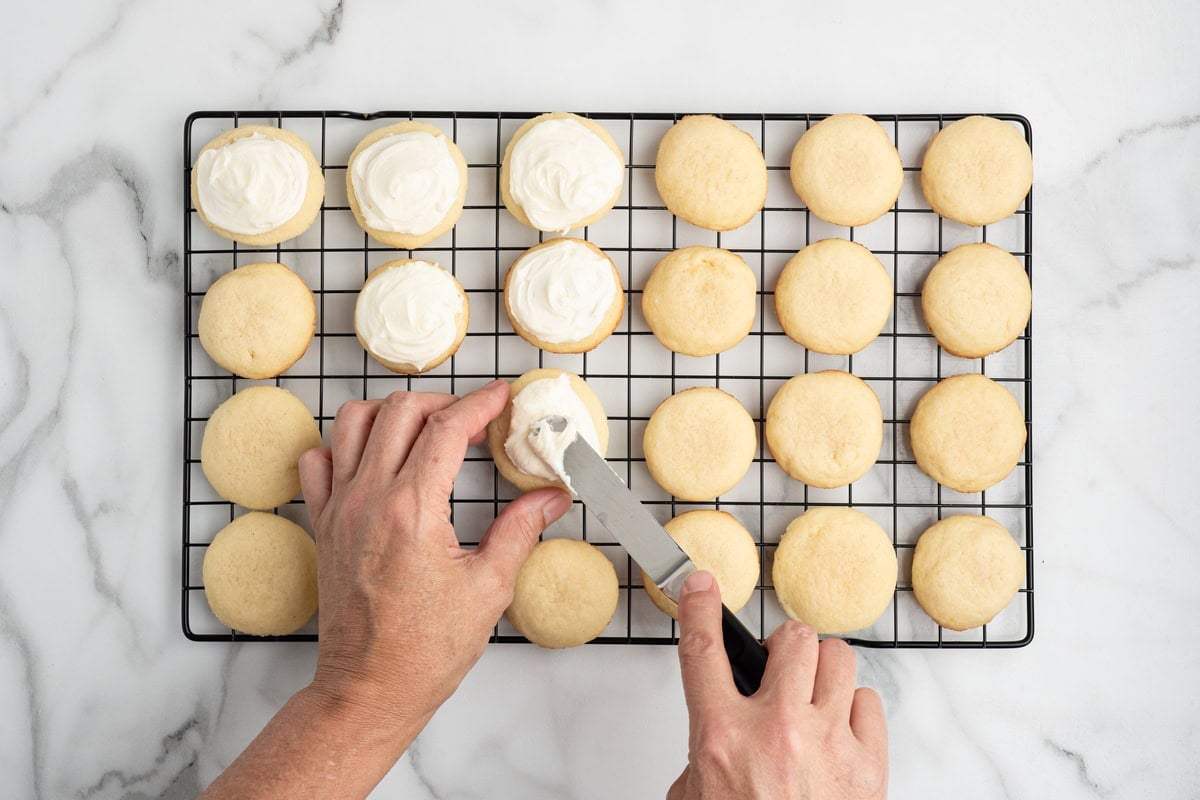
How to Store and Freeze Peppermint Meltaways
Store the cookies in an airtight container on the counter for up to 3 days.
To freeze, shape the dough into balls and freeze them unbaked on a sheet pan, then move them to a freezer bag for up to 2 months. Thaw the dough balls in the fridge, then bake and frost them as usual. I haven’t tried freezing the frosted cookies.
More Christmas Cookies and Treats

Peppermint Meltaway Cookies
Ingredients
Cookies
- 1 cup salted butter room temperature (2 sticks, 226 grams)
- ¾ cup white sugar
- 1 large egg room temperature
- 1 teaspoon peppermint extract
- 2 cups all-purpose flour spooned and leveled
- ½ teaspoon baking powder
Frosting
- 4 cups powdered sugar sifted
- 6 tablespoons unsalted butter melted and cooled
- 6 tablespoons heavy cream
- ½ to 1 teaspoon peppermint extract (amount depends on preferred peppermint flavor)
Garnish
- peppermint candies crushed
Instructions
- Preheat the oven to 375°F.
- In a medium-sized mixing bowl, mix the butter and white sugar.¾ cup white sugar, 1 cup salted butter
- Add the egg and continue to mix until combined.1 large egg
- Stir in the peppermint extract.1 teaspoon peppermint extract
- Combine the flour and baking powder and add it in batches to the wet ingredients until fully mixed.2 cups all-purpose flour, ½ teaspoon baking powder
- Using a 2-teaspoon cookie scoop, scoop the dough and shape it into a ball using your hands.
- Place onto a parchment paper-lined cookie sheet and flatten just a little.
- Bake for 8 minutes, then remove from the oven.
- After a few minutes, transfer to a wire cooling rack. Cookies will need to be completely cooled before frosting.
- While the cookies are cooling, make the frosting by adding the powdered sugar, melted butter, heavy cream and peppermint extract to a medium bowl.4 cups powdered sugar, 6 tablespoons unsalted butter, 6 tablespoons heavy cream, ½ to 1 teaspoon peppermint extract
- Beat the mixture until thick and smooth. The frosting should be spreadable but should hold its shape when added to the cookies. You can add a little extra heavy cream (1 teaspoon at a time) if too thick, or extra powdered sugar (1-2 tablespoons at a time) if too thin.
- Frost each cookie and sprinkle with the crushed peppermint candy for garnish before plating and serving.peppermint candies
Jenn’s Notes
- The dough looks dry and lumpy right after the flour goes in. Keep mixing and it turns soft and smooth.
- At 8 minutes the tops still look light. Check the underside of one cookie, and a little golden color there means they’re done.
- The frosting sets up quickly, so frost a few cookies at a time and sprinkle on the candy right away.
- Let the frosted cookies sit on the counter for 1 hour before stacking them.






I am so glad I gave this recipe a shot. The reviews are intimidating. But it was so easy! Make sure you sift your powder sugar prior to measuring. Use a scale. 1 cup of powder sugar sifted is about 4oz
Wish I could up load a photo they are cute!
I saw comments about the cookies were terrible, they were flat like a pancake, they crumbled… well mine turned out perfect! they were not flat and they did not crumble. you must have done something different.
I so wish I would have read the comments before making. I was totally going off of the picture. Luckily I didn’t make the frosting yet. These do not look like the picture. Flat and not pretty. I think a little more flour is necessary. The picture on Facebook is what first caught my eye and those are even thicker than these pictured.
Something is missing from this recipe.
The dough was just a pile of crumbs, impossible to form into balls.
Don’t waste your time or ingredients!
I tried these out with some success. I left the dough in the fridge overnight instead of just one hour since I didn’t have time to make them right away. When I did get the dough out, it was rock hard and I worked quickly, making tiny 1 inch balls. I put dough back in fridge between baking batches. They did not spread out too thi except at edges. When I took them out of the oven, I did squish the edges back in before they cooled. They looked cute and round although perhaps a little fragile looking. It seems like a lot of work for these. They tasted okay but I haven’t tried them with the frosting yet, which is what grabbed my interest with these. I think next time I’ll try adding peppermint and peppermint frosting to a diff recipe. Lots of butter! no egg? But they did work. Fun to try.
OMG, don’t waste your time or money on the ingredients. I followed the recipe very carefully because I saw the comments. I even chilled the balls after I rolled them on the second batch but it didn’t help. The cookies were still flat. Don’t be lured by the cute photo posted. I think there is too much butter in this recipe. What a shame!
Hi Everyone!! Please note the tips and notes when making this recipe. Some have had difficulty with it, but we have tested it multiple times and we know it works great! Some things to note:
– Make sure your ingredients are fresh and not expired. This could result in a flat cookie.
– Do not overmix your dough. This introduces too much air and could cause your cookie to be too flat and tough. The dough should have a soft, slightly crumbly texture that’s easy to handle. It shouldn’t be too sticky or too dry. The dough should hold its shape when rolled into balls but still have a tender, almost silky feel to it.
– Your butter should just be at room temperature. If it is overly soft or melted it can cause your cookies to spread too much.
they tasted good, they looked terrible. they completely melted and didn’t keep a shape at all. I couldn’t even frost them because they were flattened pancakes that broke when you tried to touch them. I let the dough chill for an hour and cook after baking.
DO NOT waste your time & money! I made these today in hopes of sharing with neighbors and they are flat pancakes. Nor do they taste any good! I wish i saw the previous review before i got started.. so disappointed!
I am so sorry these didn’t work out for you. We have tested this recipe numerous times and based on the feedback, we are going to test them again. I am so sorry that they were a fail. We pride ourselves on putting tried and tested recipes, so please know we are working hard to see where the issues are.
look elsewhere. these came out like other comments. flat and not cookie like at all. I followed the recipe. it’s the recipe, not the baker.
I am so sorry these didn’t work out for you. We have tested this recipe numerous times and based on the feedback, we are going to test them again. I am so sorry that they were a fail. We pride ourselves on putting tried and tested recipes, so please know we are working hard to see where the issues are.