This post may contain affiliate links. Please read our disclosure policy.
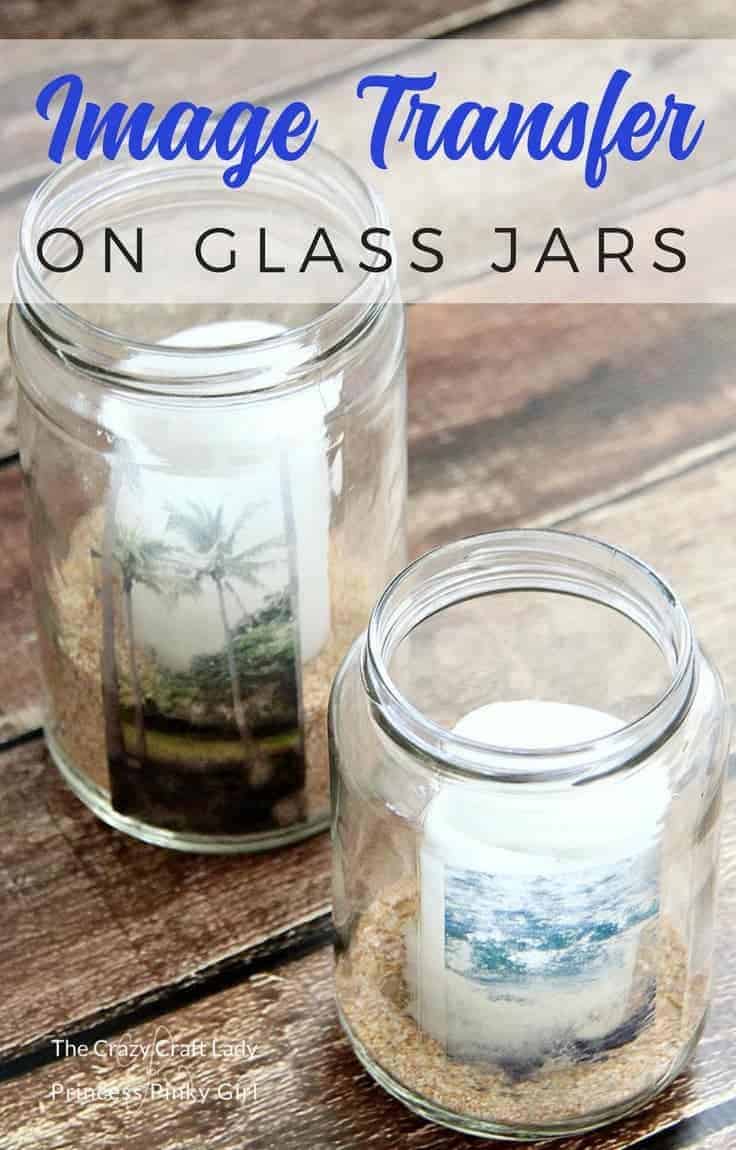
Make a glass jar image transfer craft project. Learn how to easily transfer any image or text onto a glass jar, no special tools or supplies needed.
This super simple method for glass jar image transfer crafts will be your new favorite craft! Create adorable mason jar keepsakes, teachers gifts or holiday treasures.
Hi guys! I’m Aimee, and I blog over at The Crazy Craft Lady where I strive to make everyday creative with simple crafts, easy family-friendly recipes, organizing and DIY decor projects.
Thanks so much to Jenn for letting me stop in today and share this guest post – my super simple method for glass jar image transfer crafts. I hope you all enjoy it! (check out another post on How to make How to make Sea Glass Lantern Jars
Did you know how easy it is to transfer images onto glass? All you need is your image and packing tape!
Here’s your supply list and instruction for how to transfer images to glass jars:
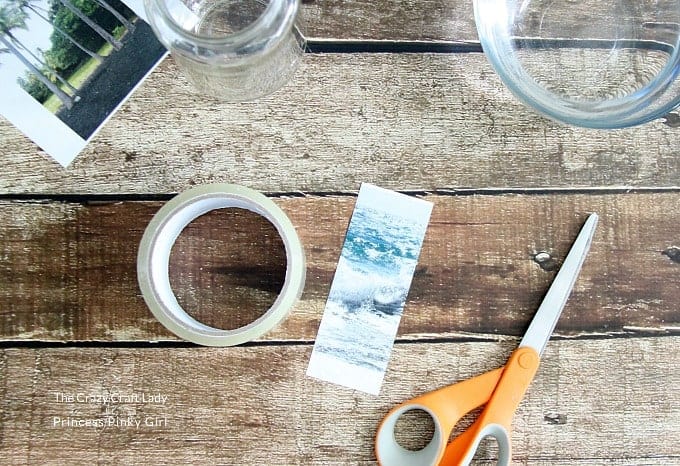
- Empty glass jars
- Image
- Clear packing tape
- Craft scissors
- Crafts bone folder (or else I just use the edge of a credit card)
- Bowl of water
- Sand
- White votive candles
Glass Jar Image Transfer Tutorial:
First, clean your glass jars. Remove the labels with Goo Gone, and wash with warm soapy water. Or else you can buy Mason jars from the craft store.
Then prepare your image. This is really important: you need to follow these instructions carefully:
Tips for transferring images to glass
- Skinny, vertical images or smaller images work best. Remember that you are constricted by the width of the packing tape.
- Print your image on a laser printer, and NOT on an inkjet printer. The printer you have at home is likely an inkjet printer. I usually load my image onto a flash drive and take it to my local printer (think Fedex/Kinkos or Office Max) to print in color. Or else, if you already have a hard copy of the picture, you can go make a color photo copy.
- Use regular weight printer paper, and not photo paper.
- There is no need to flip the image before printing it.
Just remember:
This needs to be a print out from a laser printer, or regular printer paper with no special edits necessary.
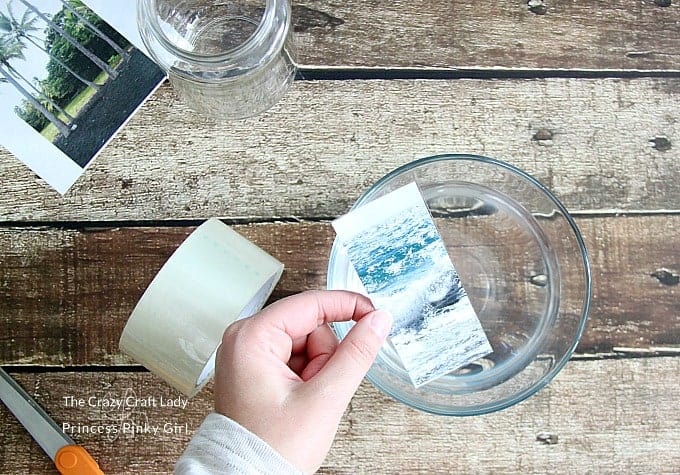
Trim your image down to the width of the packing tape. Lay your image flat and smooth a piece of packing tape over the image. Use a bone folder or the edge of a credit card to remove any bubbles.
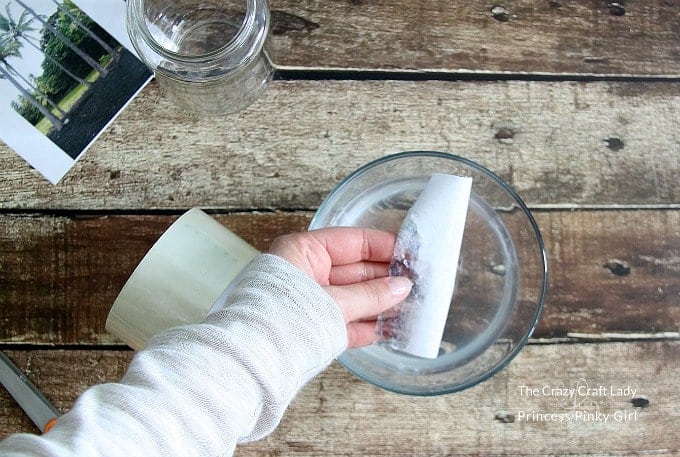
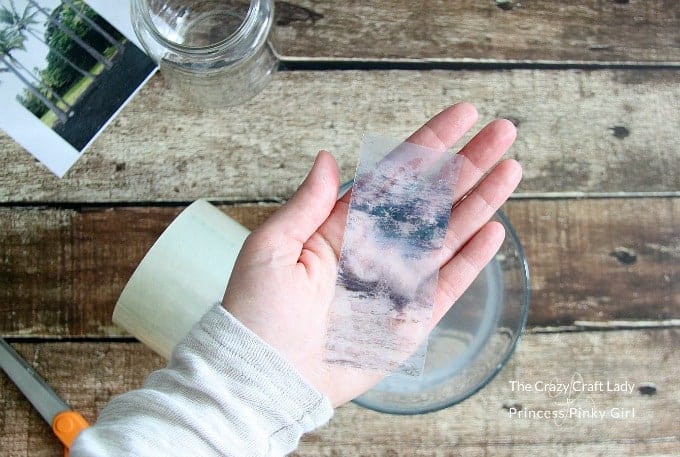
Submerge the piece of packing tape in water. Gently rub away the paper with your fingers, leaving just the image behind.
Lay the packing tape sticky-side-up to air dry. Do not dry with a towel.
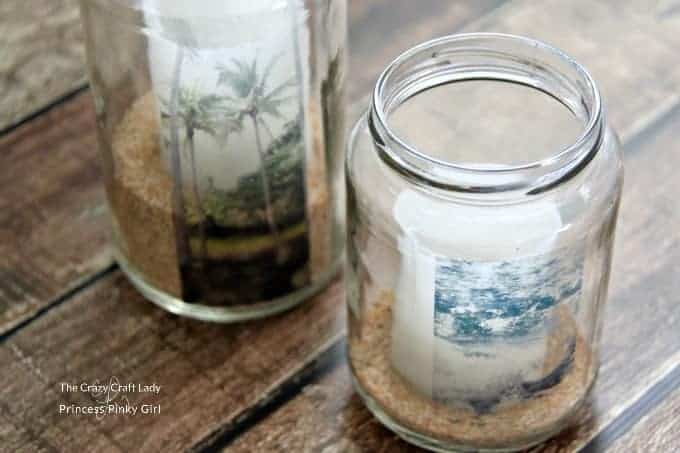
When the packing tape dries, it will be sticky again, so you can just press your image right onto a glass jar.
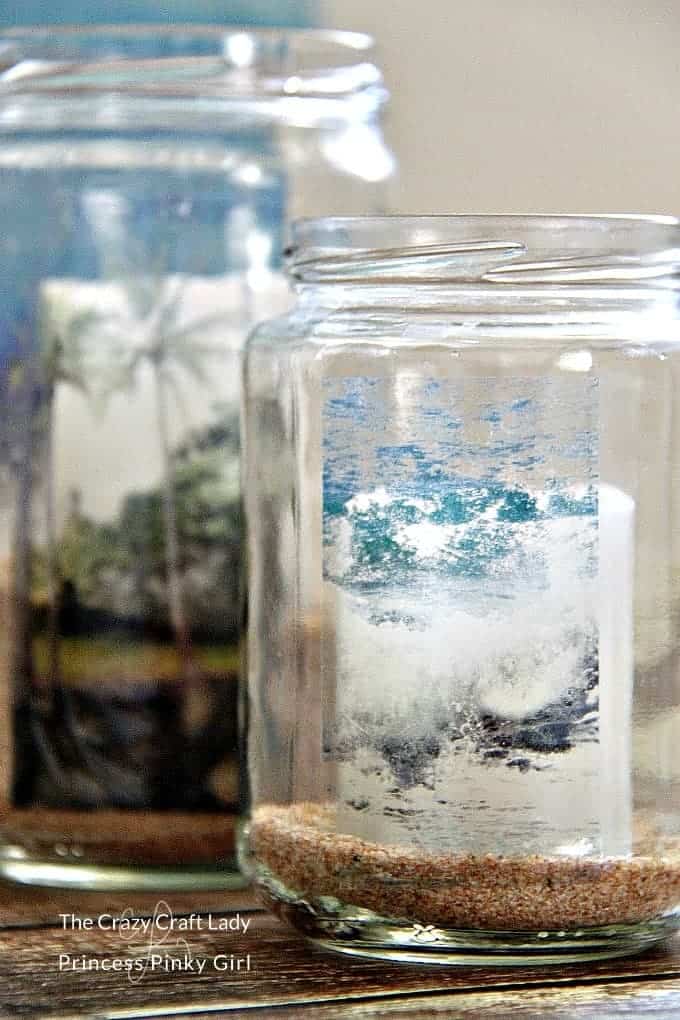
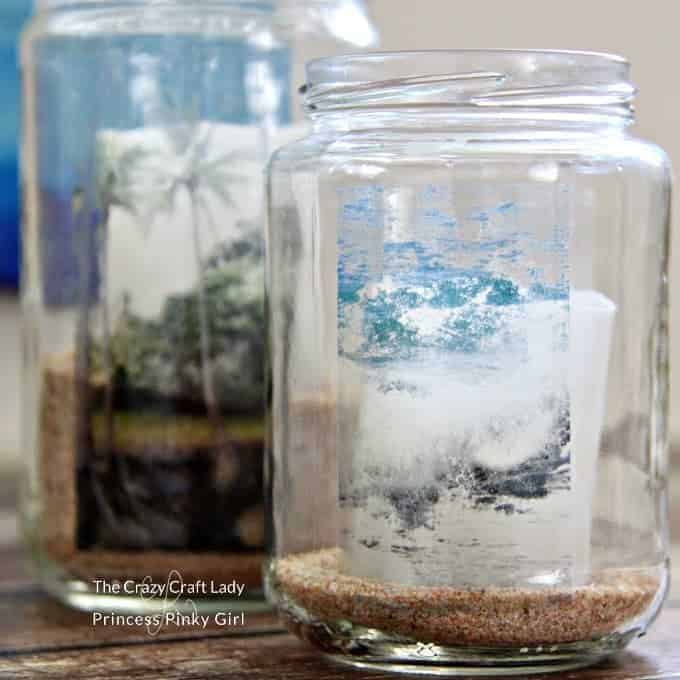
The images are easiest to see when there is something white in the jar, so I added sand and white votive candles. Plus the sand perfectly complimented my beach vacation photos!



Is possible to transfer image without lazerprints but to form the image inside the glass
This looks nice.. A very easy technique indeed! I’m surely going to try this with my dull kitchen jars..
Love this! I’m excited to try it with my illustrations!
This is so nice!❤️ Thank you so much for sharing this wonderful craft! Blessings!
Carol
Thanks for your sharing. Hope you can contribute more quality posts to this page. Thank you!