This post may contain affiliate links. Please read our disclosure policy.
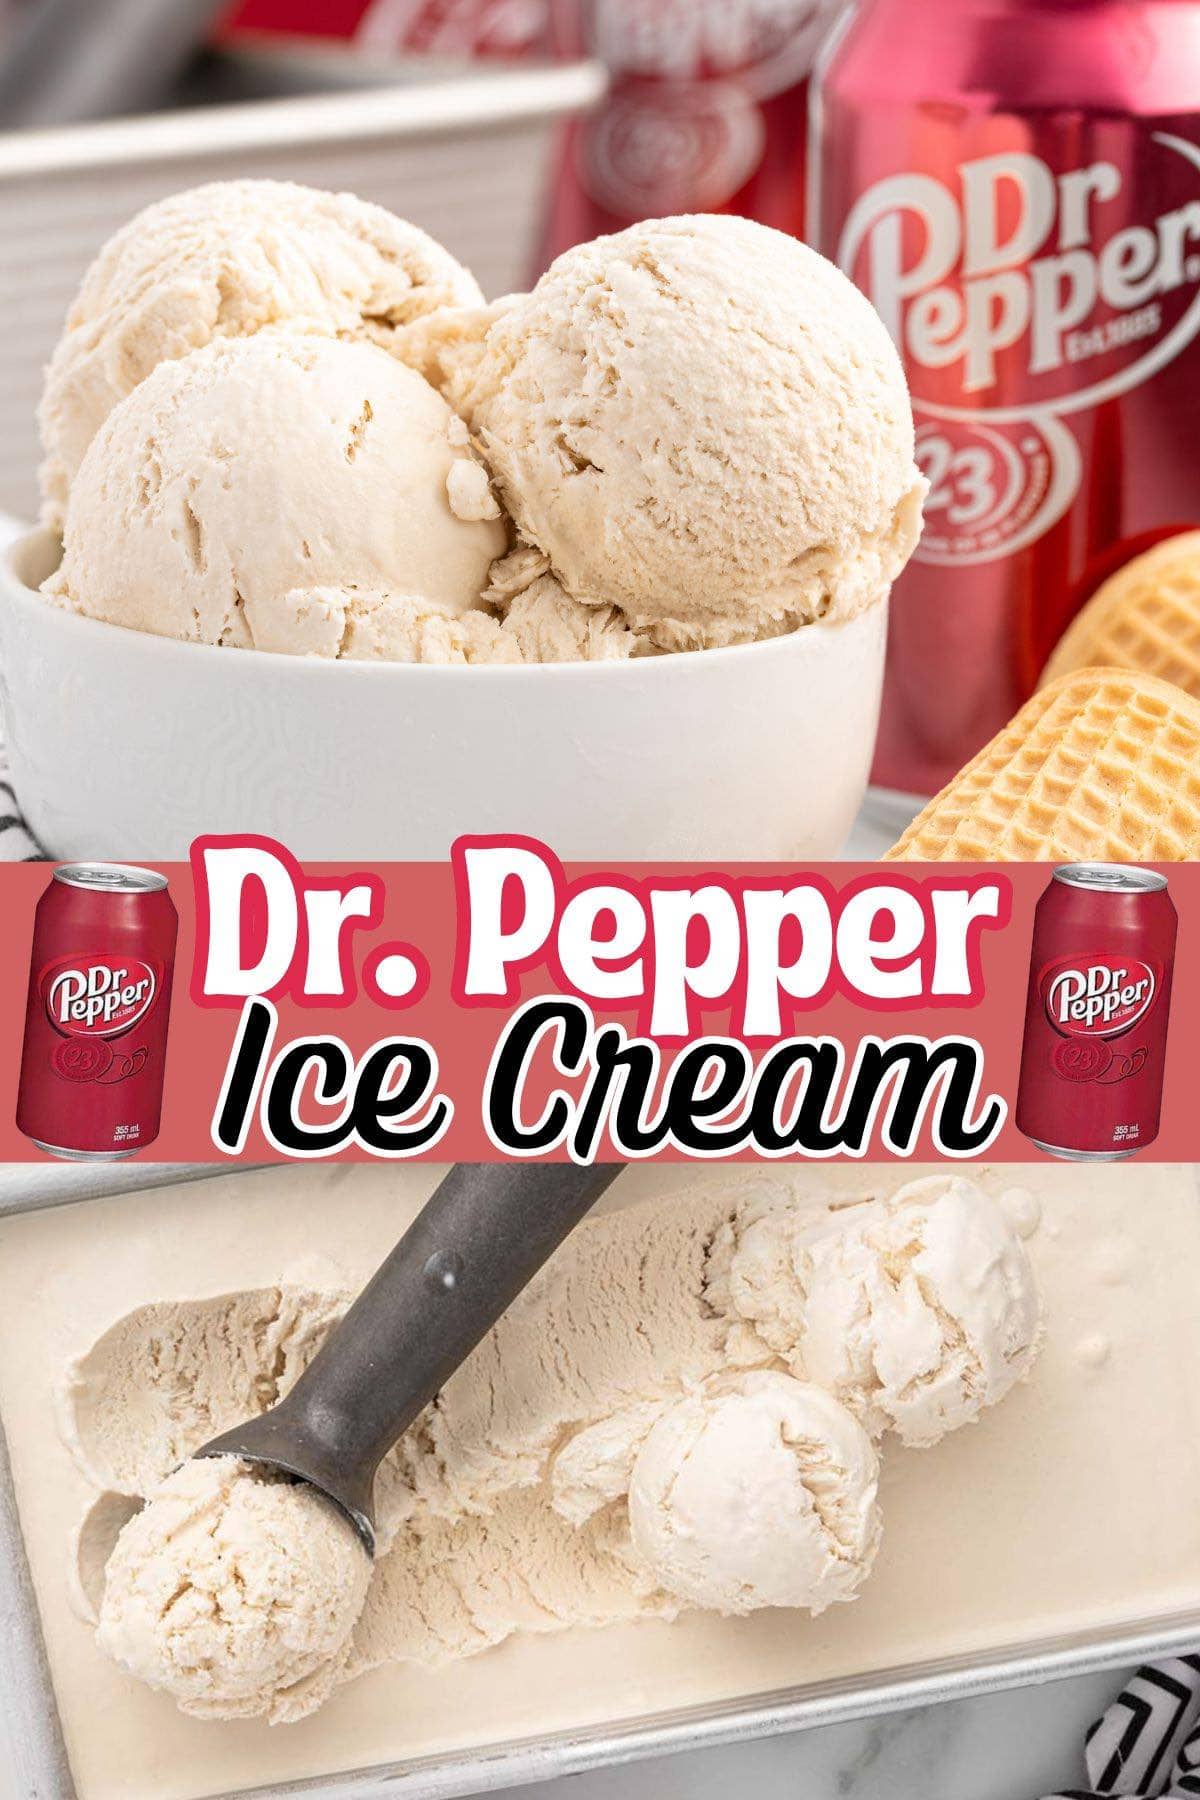
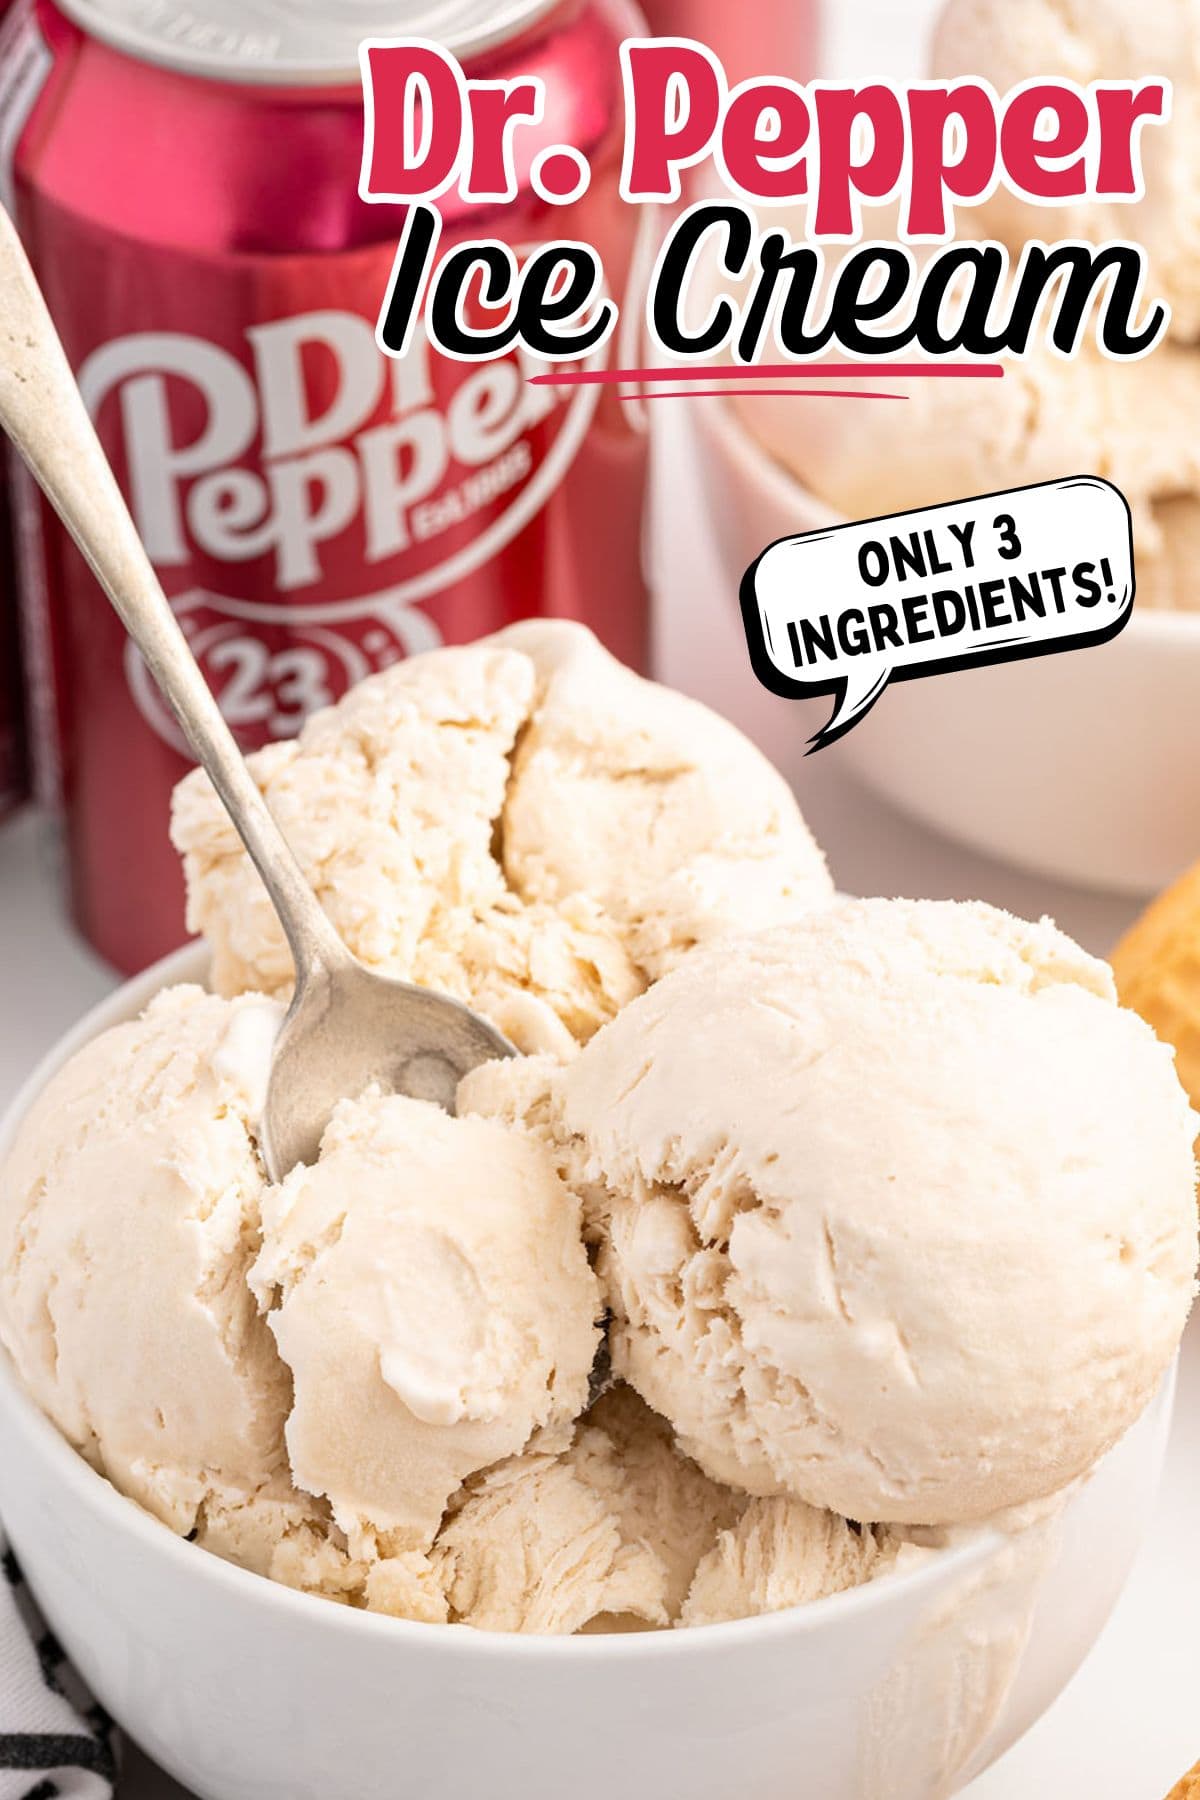
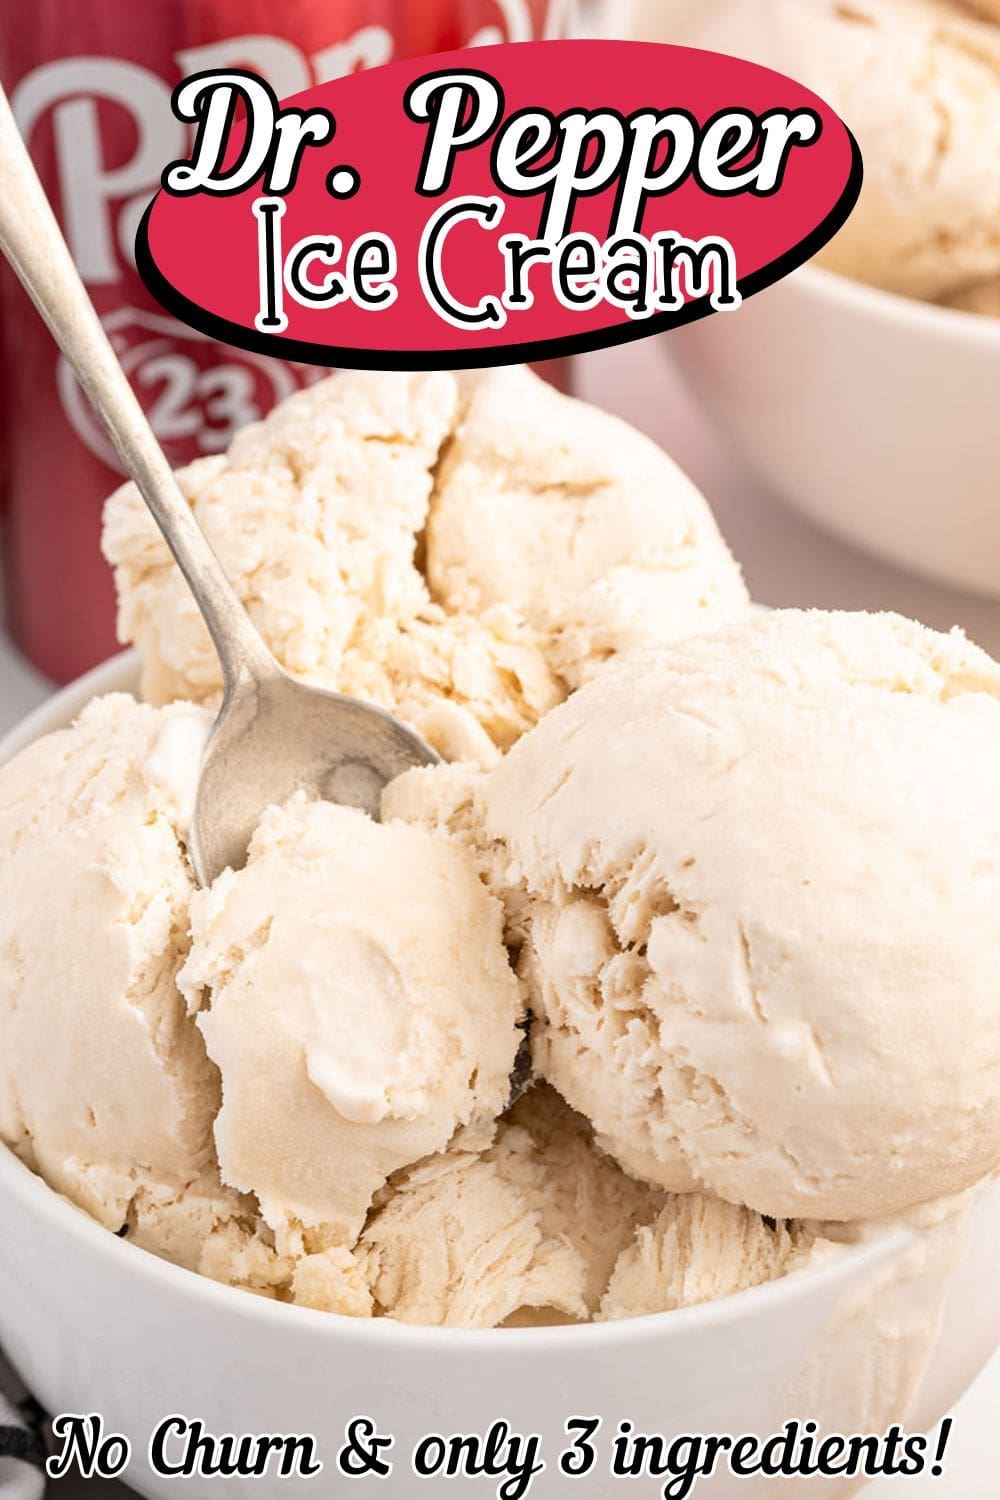
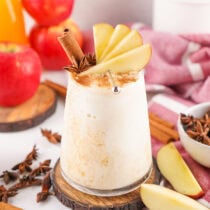
No ice cream maker? No problem! Our No Churn Dr. Pepper Ice Cream is easy to make at home without a machine! With only three ingredients and a few hours to freeze, this refreshing frozen treat combines the nostalgia of your favorite soda fountain drink with the indulgence of DIY ice cream.
3 Ingredient Ice Cream
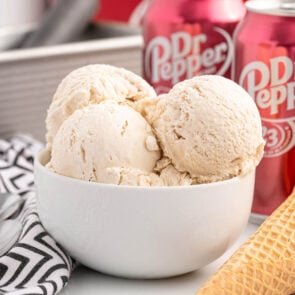
Our 3-ingredient Dr. Pepper Ice Cream recipe is the easiest way to make delicious homemade ice cream without an ice cream machine. Simply prepare your soda mixture, pour it into a loaf pan, and freeze until set. That’s it!
The result is a rich and creamy ice cream base that can be scooped into bowls or ice cream cones or sipped through a straw as a Dr. Pepper float when more soda is poured over the ice cream.
While you can certainly buy a carton of Blue Bell Dr. Pepper Float ice cream, why not make your own, especially when the store-bought brand doesn’t even contain soda!
What Is No Churn Ice Cream
No churn ice cream is a method of making homemade ice cream without using an ice cream maker (and no eggs needed). Traditional ice cream recipes are typically made by churning the mixture in an ice cream machine to incorporate air and create a smooth texture. However, you can achieve a similar result without all the work with no-churn ice cream.
Ingredients Notes
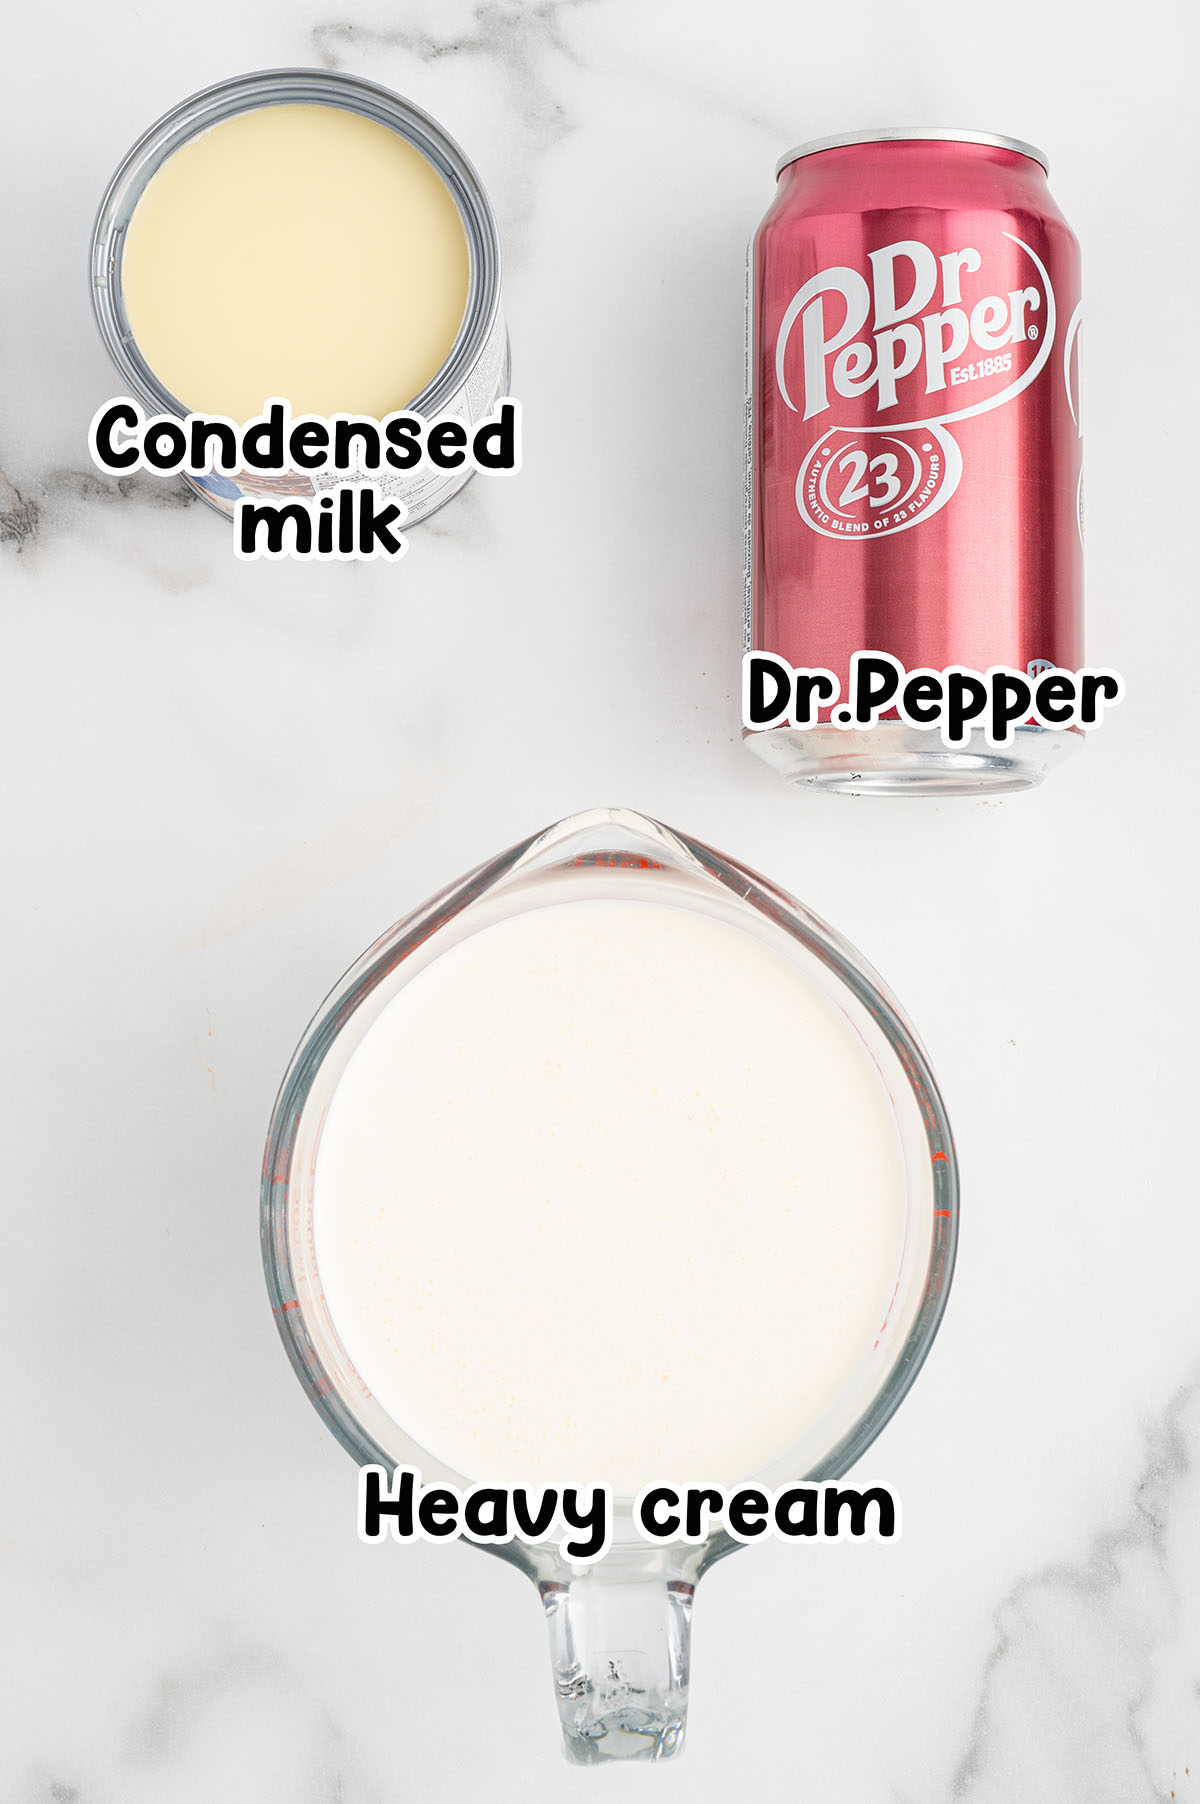
- Sweetened condensed milk: Since condensed milk is already sweetened, it adds sweetness to the ice cream without the need for additional sugar. Plus it helps to keep the ice cream mixture smooth and prevents ice crystals from forming during freezing. Make sure you use sweetened condensed milk and not evaporated milk!
- Dr. Pepper: Provides the iconic Dr. Pepper flavor and infuses the ice cream with its unique taste.
- Heavy cream: Heavy cream is whipped to incorporate air, creating a light, fluffy texture. The fat content is essential for a rich, creamy mouthfeel.
See the recipe card for full information on ingredients and quantities.
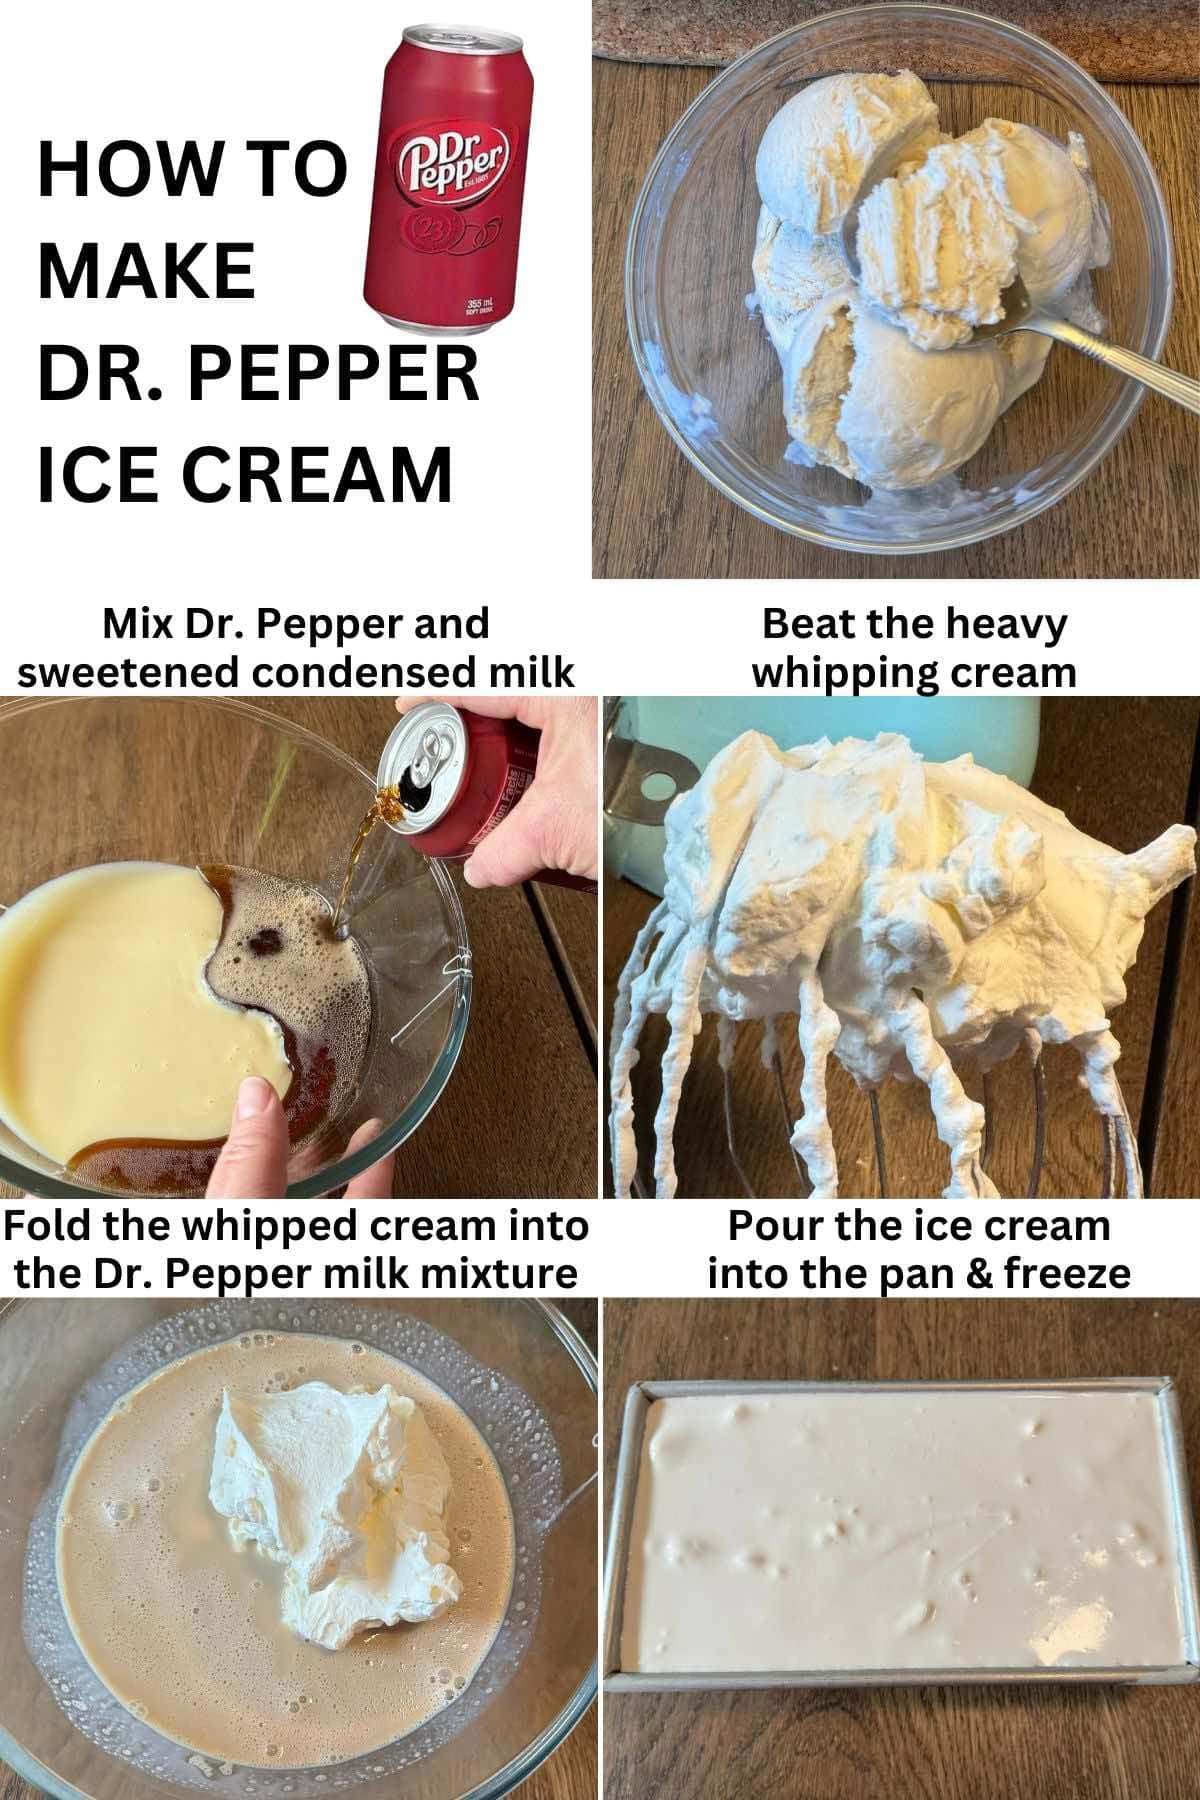
How to Make Dr. Pepper Ice Cream
- Freeze First: Place the loaf pan, bowl, and mixer attachments in the freezer for 30 minutes.
- Stir the Dr. Pepper into a bowl of sweetened condensed milk.
- Beat: Beat the heavy whipping cream in the chilled bowl until the cream is slightly frothy, increase the speed, and continue to mix until stiff peaks form.
- Fold: Fold the whipped cream into the Dr. Pepper milk mixture, one cup at a time.
- Pour In The Pan: Pour the ice cream into the pan, cover with foil, and place in the freezer for 6 hours, or until the ice cream is firm.
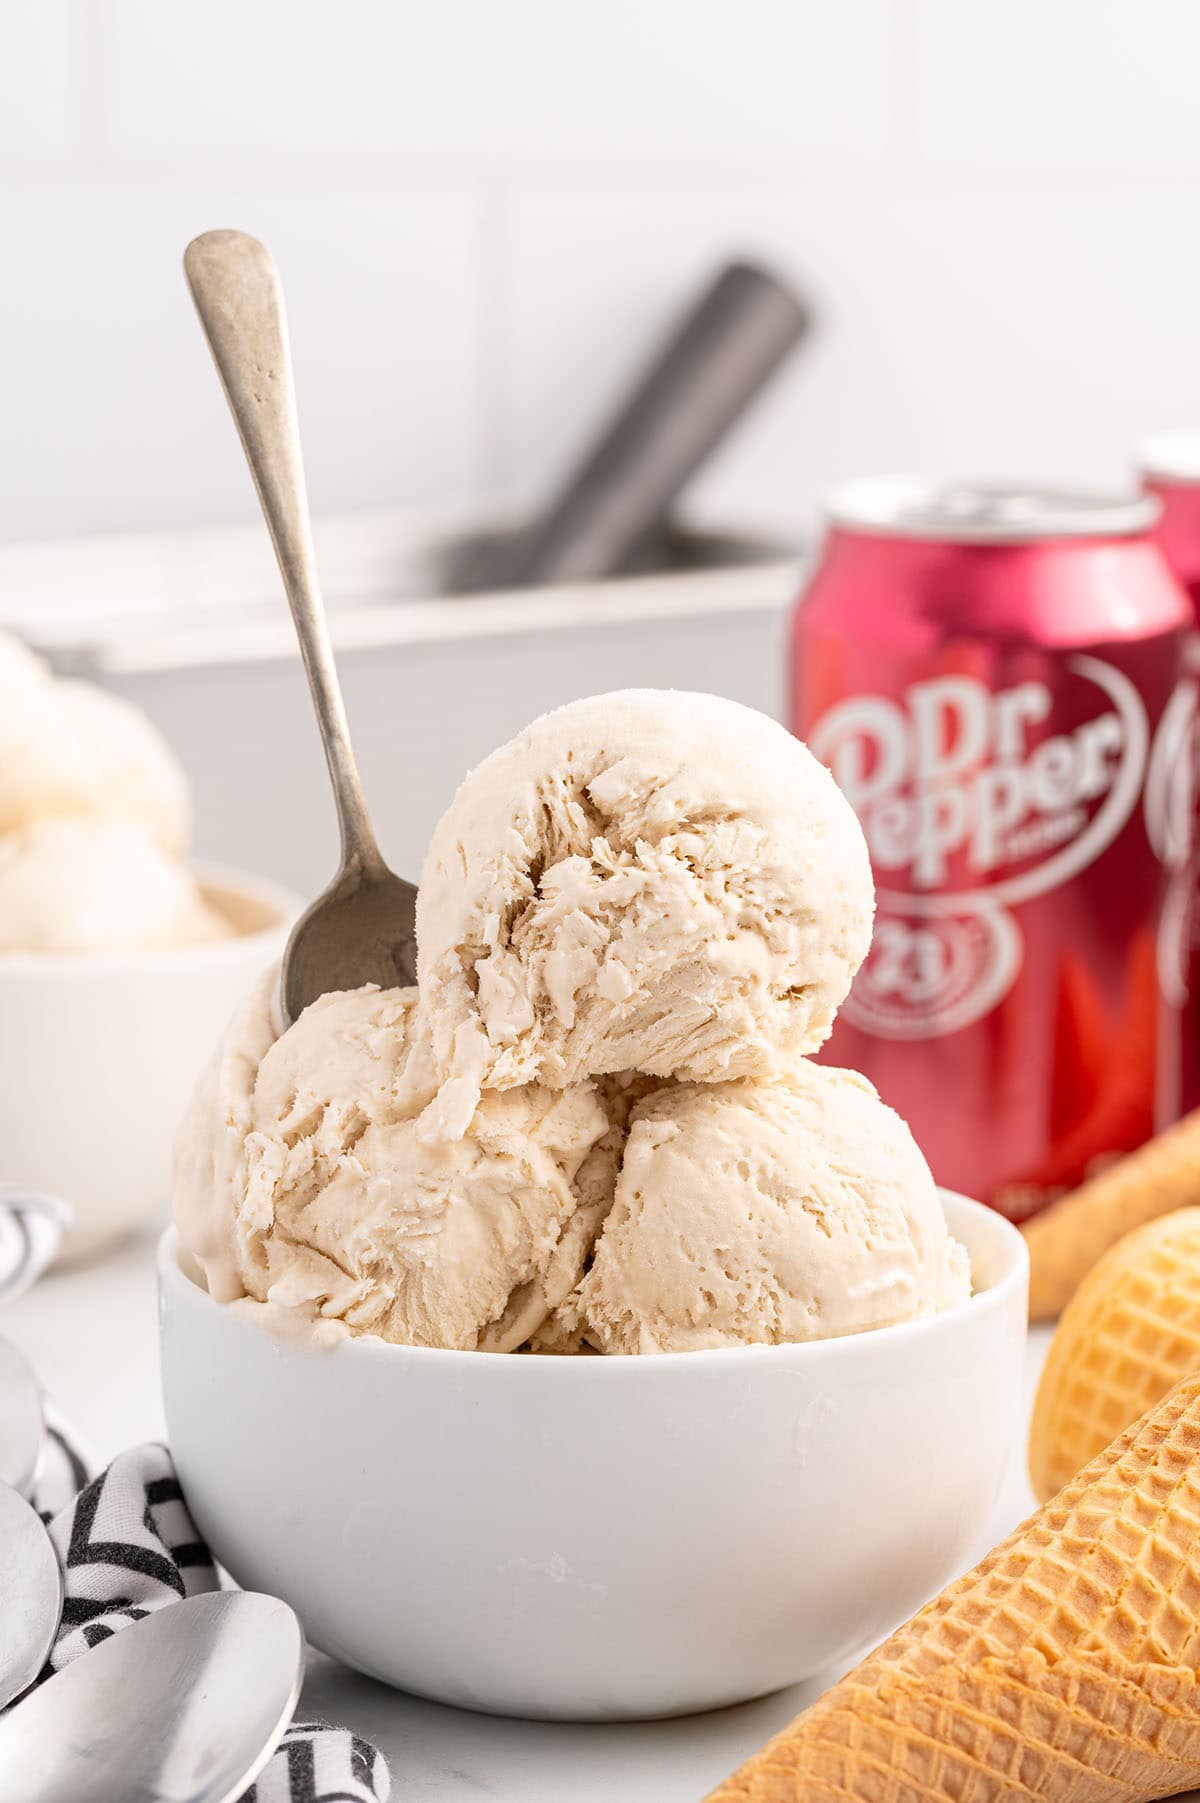
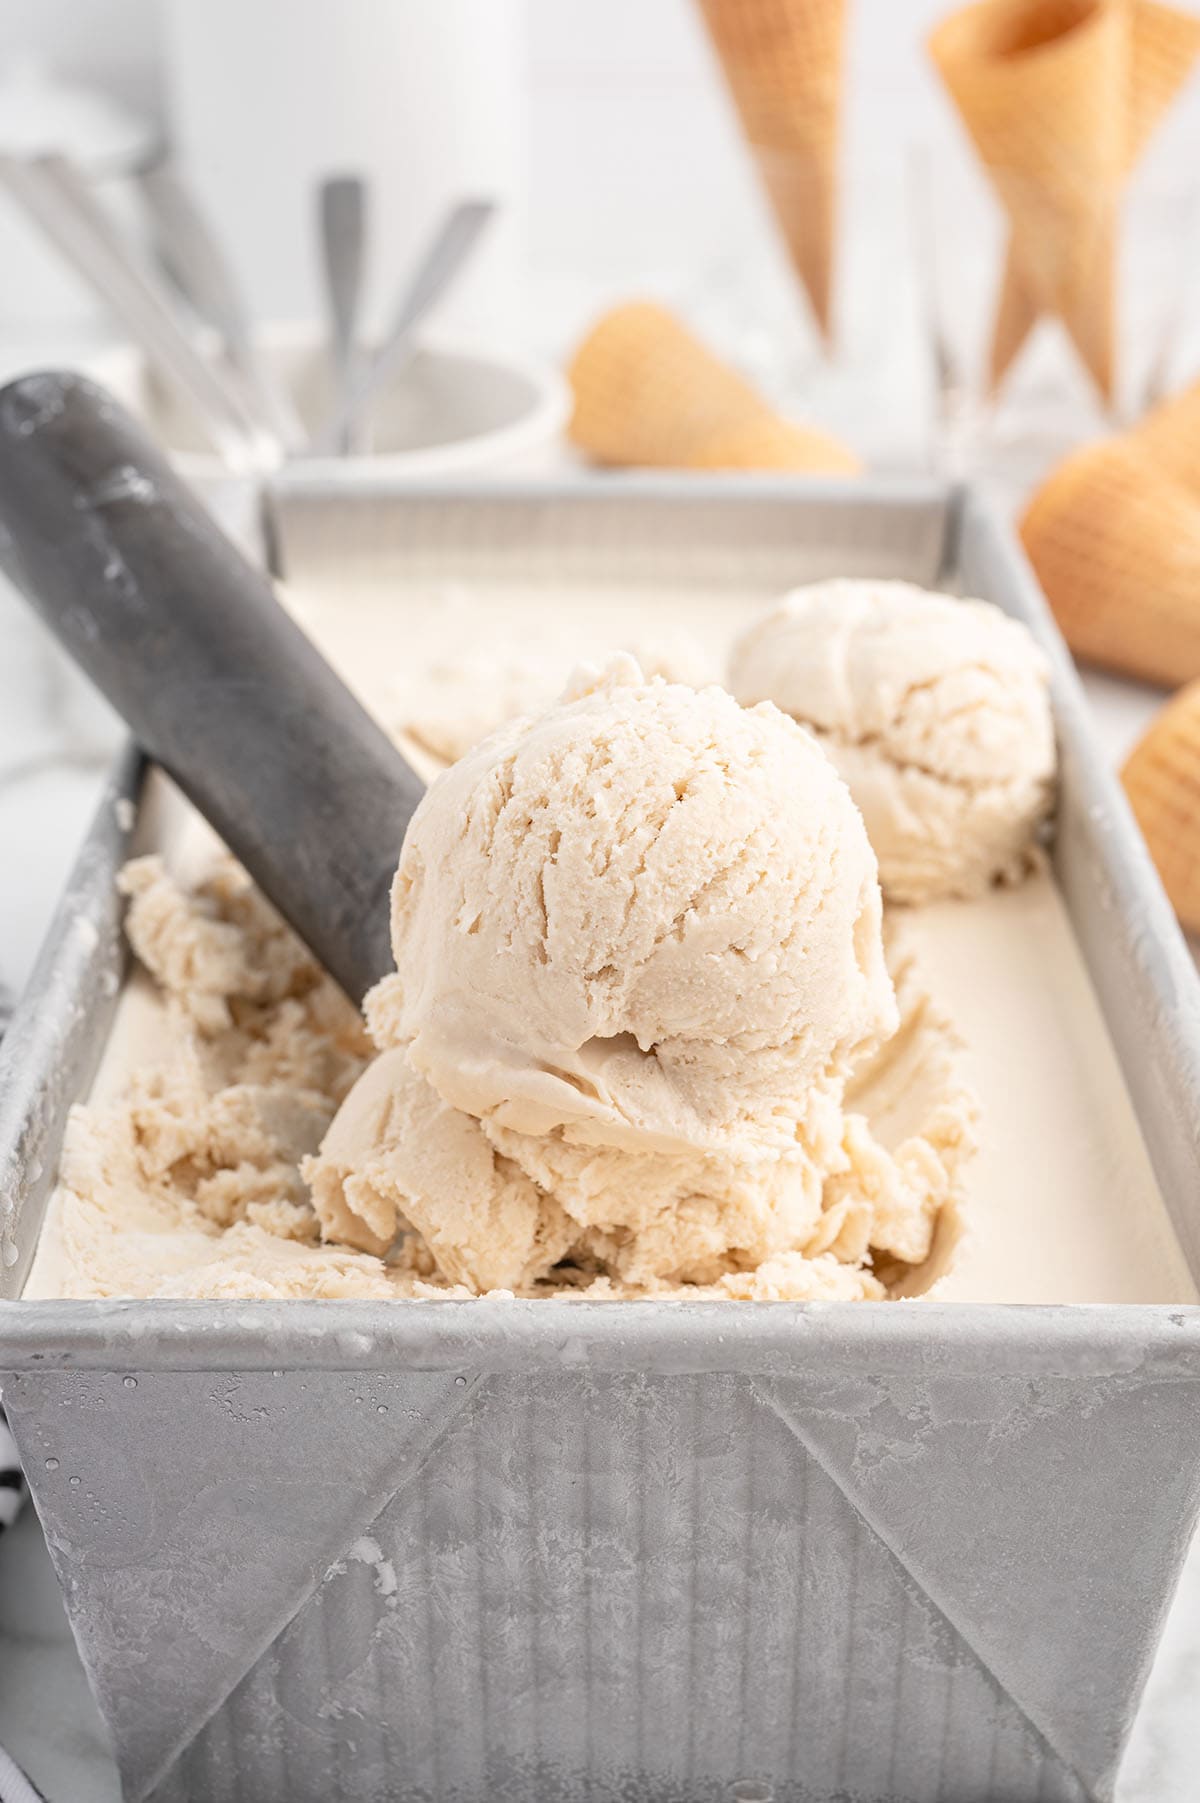
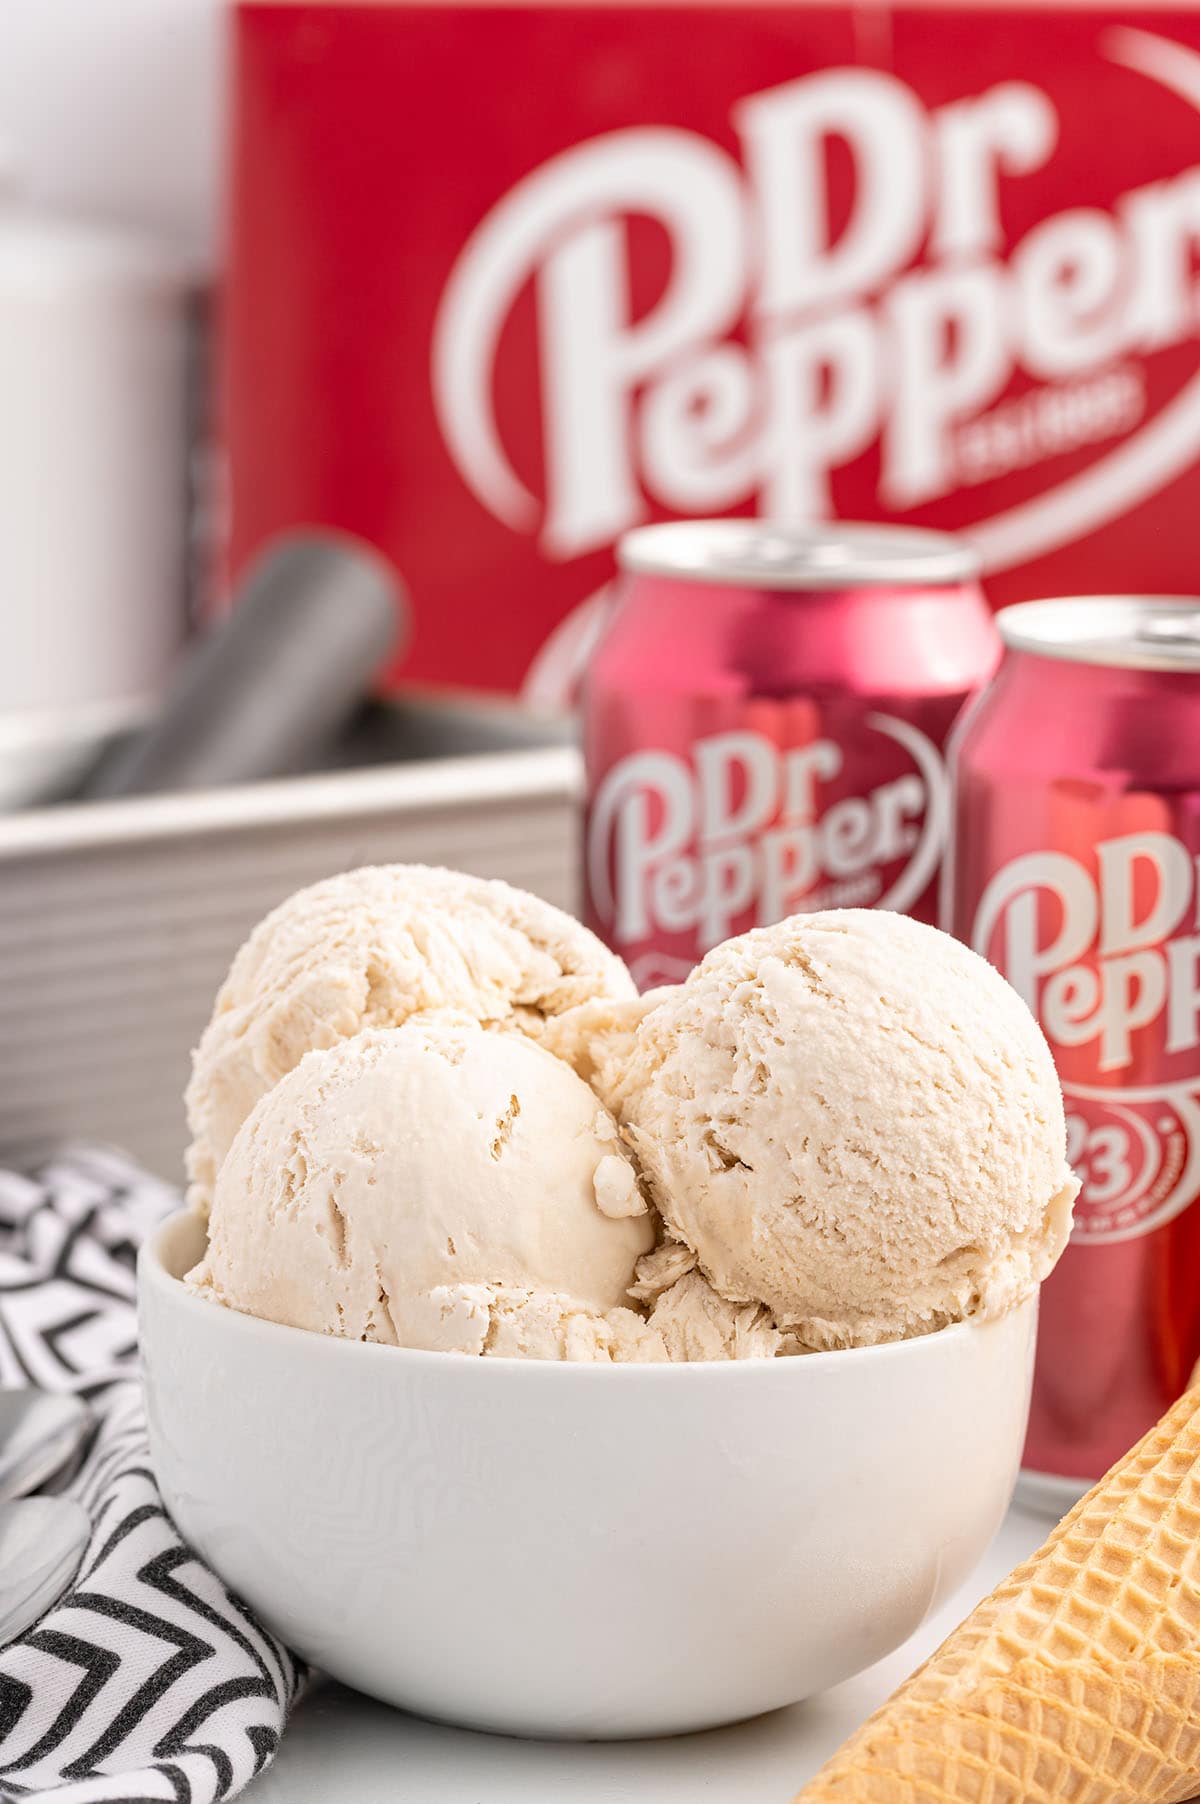
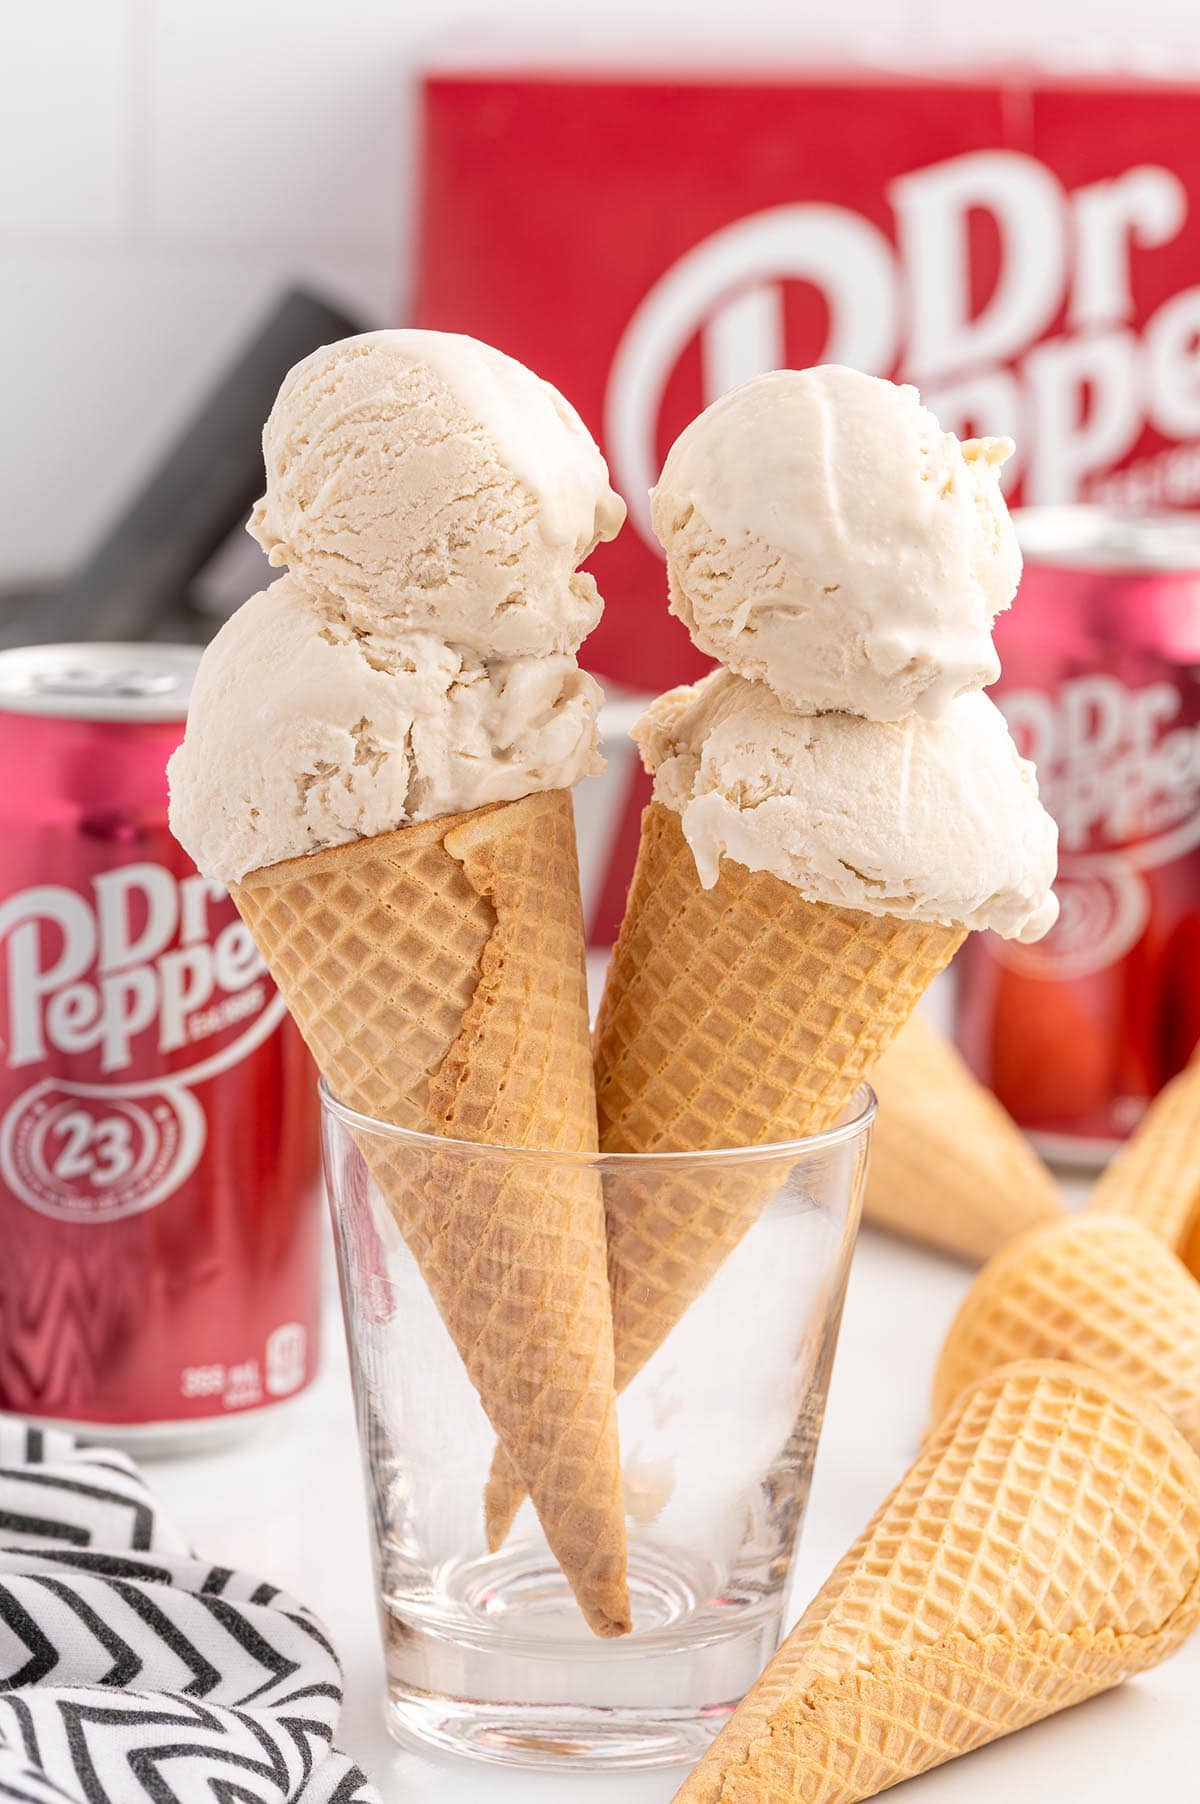
- Serve: Serve your scoop in a bowl, a cone, or in a glass with more soda poured on top. Enjoy!
Serving Suggestions
Scoop this soda ice cream into a cone, a bowl, or eat it straight from the spoon, homemade ice cream is my kind of comfort food and the perfect way to beat the summer heat!
Feeling fancy? Make it a Dr. Pepper float by serving your scoop in a glass with more Dr. Pepper poured over the ice cream.
Tips & Variations
- Line The Loaf Pan: For easier clean up, line the loaf pan with parchment paper.
- Cover Your Ice Cream with foil or plastic wrap to keep it fresh before you put the container lid on it. This prevents ice crystals from forming on the top of the ice cream during freezing.
- Stir Slowly: Stirring the soda in slowly helps reduce the amount of bubbles when combining. If the soda is cold when mixing into the sweetened condensed milk, the ice cream will freeze a bit quicker.
- Don’t Forget To Fold: Folding is a way to gently combine 2 different textures together without deflating the whipped cream)
- Freeze Until Firm: Remember that all freezers cool differently, so you can begin checking the firmness of the ice cream around the 4-hour mark.
- Prepare Dr. Pepper Passion: Did you know that the Dr. Pepper part is fully interchangeable with almost any kind of cola? Since it tastes like a cross between a cola and a cherry-flavored soft drink, you can get creative with your can and create a Cherry Coke Passion, Root Beer Passion, or use another Dr. Pepper product that you love.
Proper Storage
- To Store: Any leftover ice cream can be stored in the freezer for up to one month, tightly covered with heavy-duty aluminum foil. Remove the ice cream 5 minutes before serving to allow it to soften slightly.
More Homemade Ice Cream Recipes
- Mason Jar Ice Cream
- Peanut Butter Dog Ice Cream
- No-Churn Vanilla Ice Cream
- Skrewball Whiskey Ice Cream
- Mexican Ice Cream
If you tried this Dr. Pepper Ice Cream Recipe or any other recipe on my website, please leave a 🌟 star rating and let me know how it went in the 📝 comments below. Thanks for visiting!!!

Dr. Pepper Ice Cream (No Churn)
Ingredients
- 14 ounces container of sweetened condensed milk (I used Great Value brand)
- 12 ounces can of Dr. Pepper cold
- 2 cups cold heavy cream
Instructions
- Place a 10x5x3 loaf pan, the bowl and whisk attachment of a stand mixer, or a medium size (2-3 quart) mixing bowl and the beaters of a handheld mixer in the freezer for 30 minutes.
- Add the sweetened condensed milk in a medium size bowl.14 ounces container of sweetened condensed milk
- Slowly stir the Dr. Pepper into the sweetened condensed milk. (Stirring the soda in slowly helps reduce the amount of bubbles when combining. The ice cream will freeze a bit quicker if the soda is cold when mixing into the sweetened condensed milk)12 ounces can of Dr. Pepper
- Next, remove the mixer bowl and attachments from the freezer.
- Add the cold heavy cream to the cold mixing bowl. Beat on medium high speed until the cream is slightly frothy, about 1 minute. Increase the mixer speed to high and continue to mix until the cream forms stiff peaks, about 1 ½ – 2 minutes.2 cups cold heavy cream
- Use a silicone spatula to gently fold the beaten heavy cream into the Dr. Pepper milk mixture, 1 cup at a time. (Folding is a way to gently combine 2 different textures together without deflating the whipped cream)
- Remove the loaf pan out of the freezer. Evenly spoon the ice cream base into the cold loaf pan. Use an offset spatula, or a silicone spatula to smooth the top of the ice cream.
- Cover tightly with heavy duty aluminum foil and freeze for 6 hours, or until the ice cream is firm. (Remember that all freezers cool differently, so you can begin checking the firmness of the ice cream around the 4 hour mark)
- When you are ready to serve, scoop the Dr. Pepper ice cream into bowls or into ice cream cones. You can also serve in a glass with more Dr. Pepper poured over the ice cream for a Dr. Pepper float.
Jenn’s Notes
- To Store: Keep any leftover ice cream tightly covered with heavy duty aluminum foil in the freezer for up to 1 month. Remove ice cream 5 minutes prior to serving to allow it to soften slightly.
- For easier clean up, line the loaf pan with parchment paper.
- Cover Your Ice Cream with foil or plastic wrap to keep it fresh before you put the container lid on it. This prevents ice crystals from forming on the top of the ice cream during freezing.
- Stirring the soda in slowly helps reduce the amount of bubbles when combining. The ice cream will freeze a bit quicker if the soda is cold when mixing into the sweetened condensed milk.
- Folding is a way to gently combine 2 different textures together without deflating the whipped cream)
- Remember that all freezers cool differently, so you can begin checking the firmness of the ice cream around the 4 hour mark.


I’ve made this twice and it seems like the Dr Pepper part separates from the heavy cream as it freezes. The bottom is darker than the top. It is delicious, but how can I get the taste consistent from top to bottom?
To help prevent the Dr Pepper from separating, try whisking the soda into the sweetened condensed milk before folding in the whipped cream. Then fold everything together really well until fully combined and smooth. Another trick is to give the mixture a gentle stir about 1–2 hours into freezing, just before it firms up, to redistribute any settling. Hope that helps keep each bite just as tasty as the last!
Yes, I did mix the DrP and swc milk together and it all looks fine going into the freezer but it seems to separate during the freezing part.
Loved its so good