This post may contain affiliate links. Please read our disclosure policy.
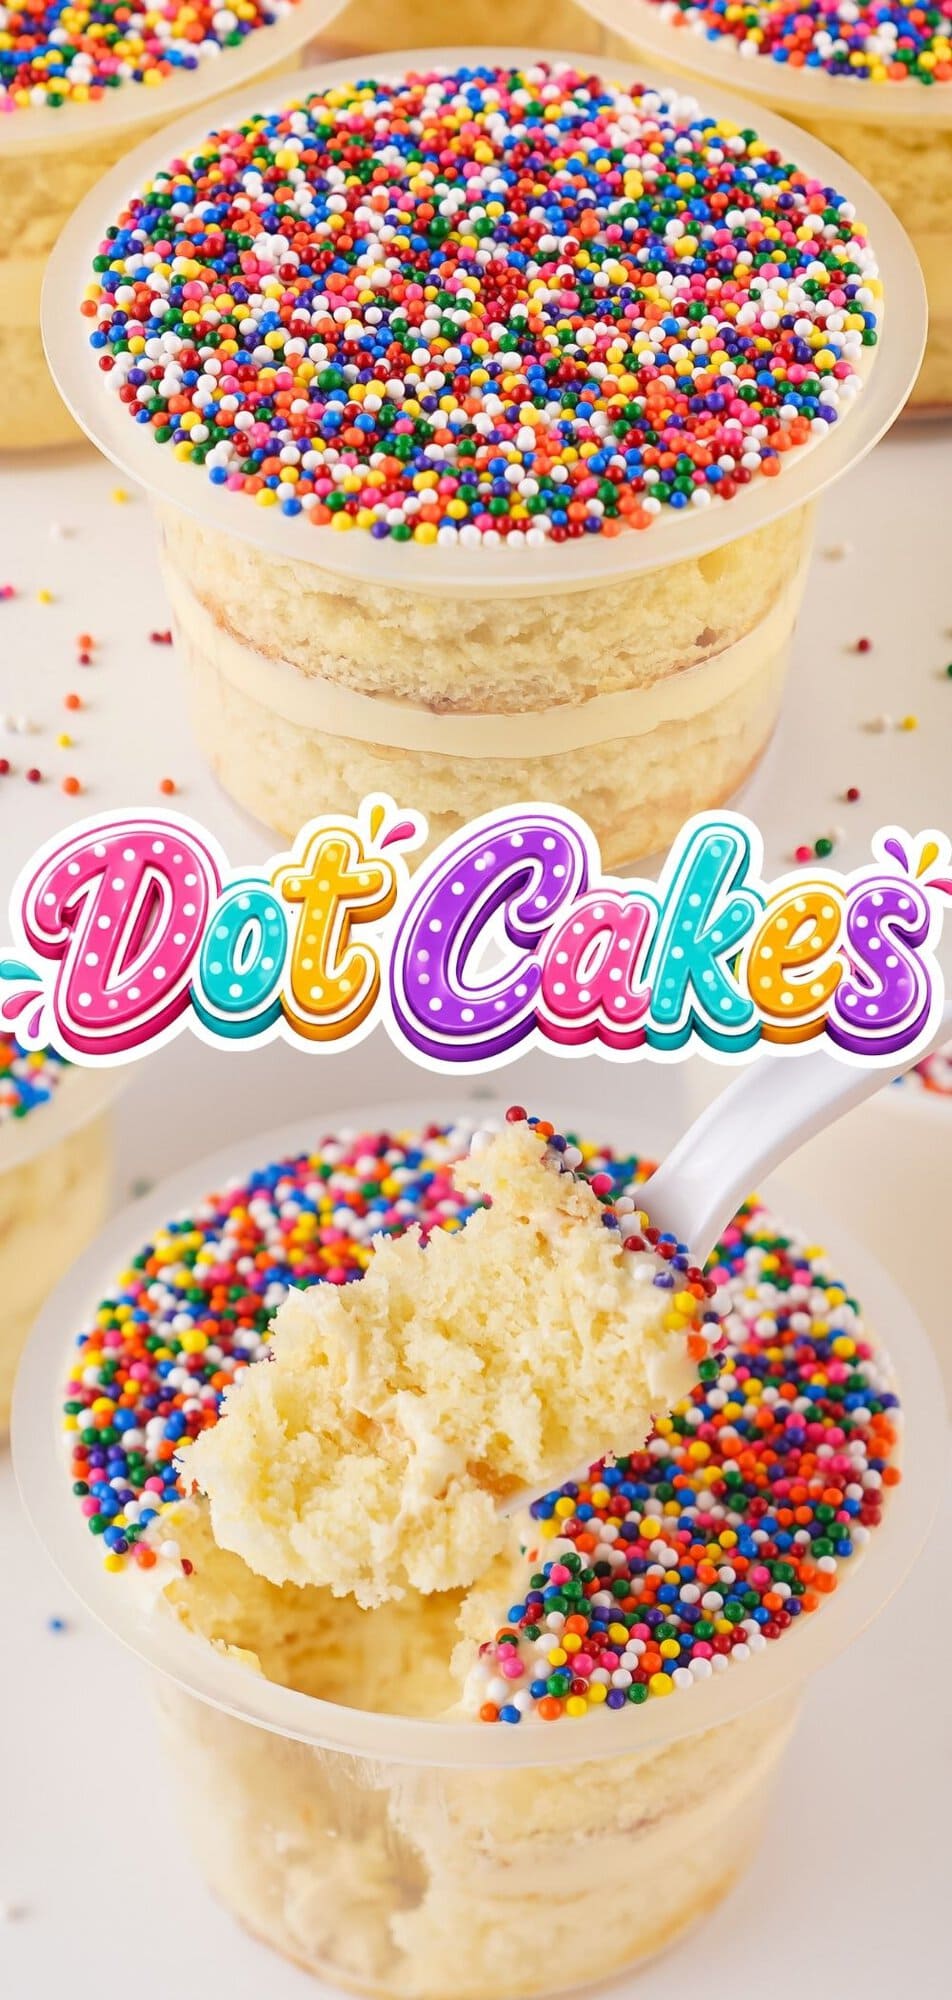
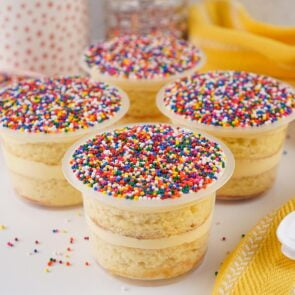
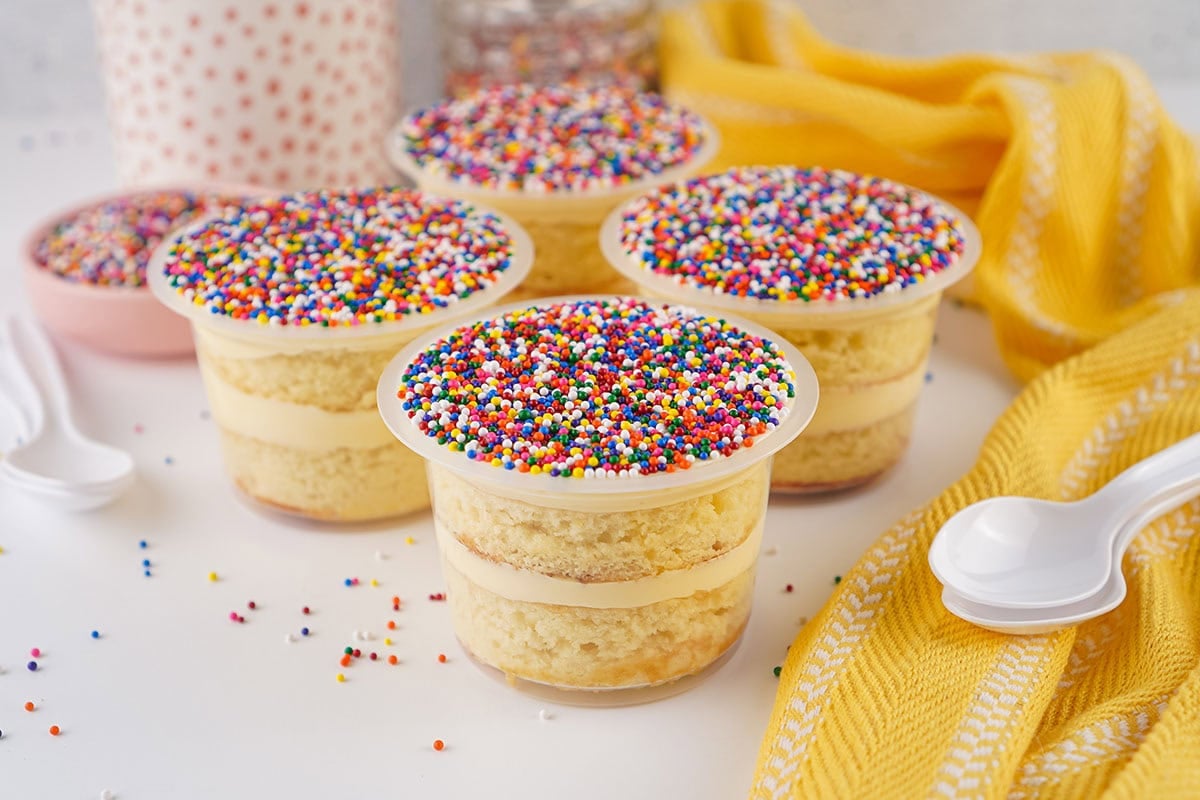
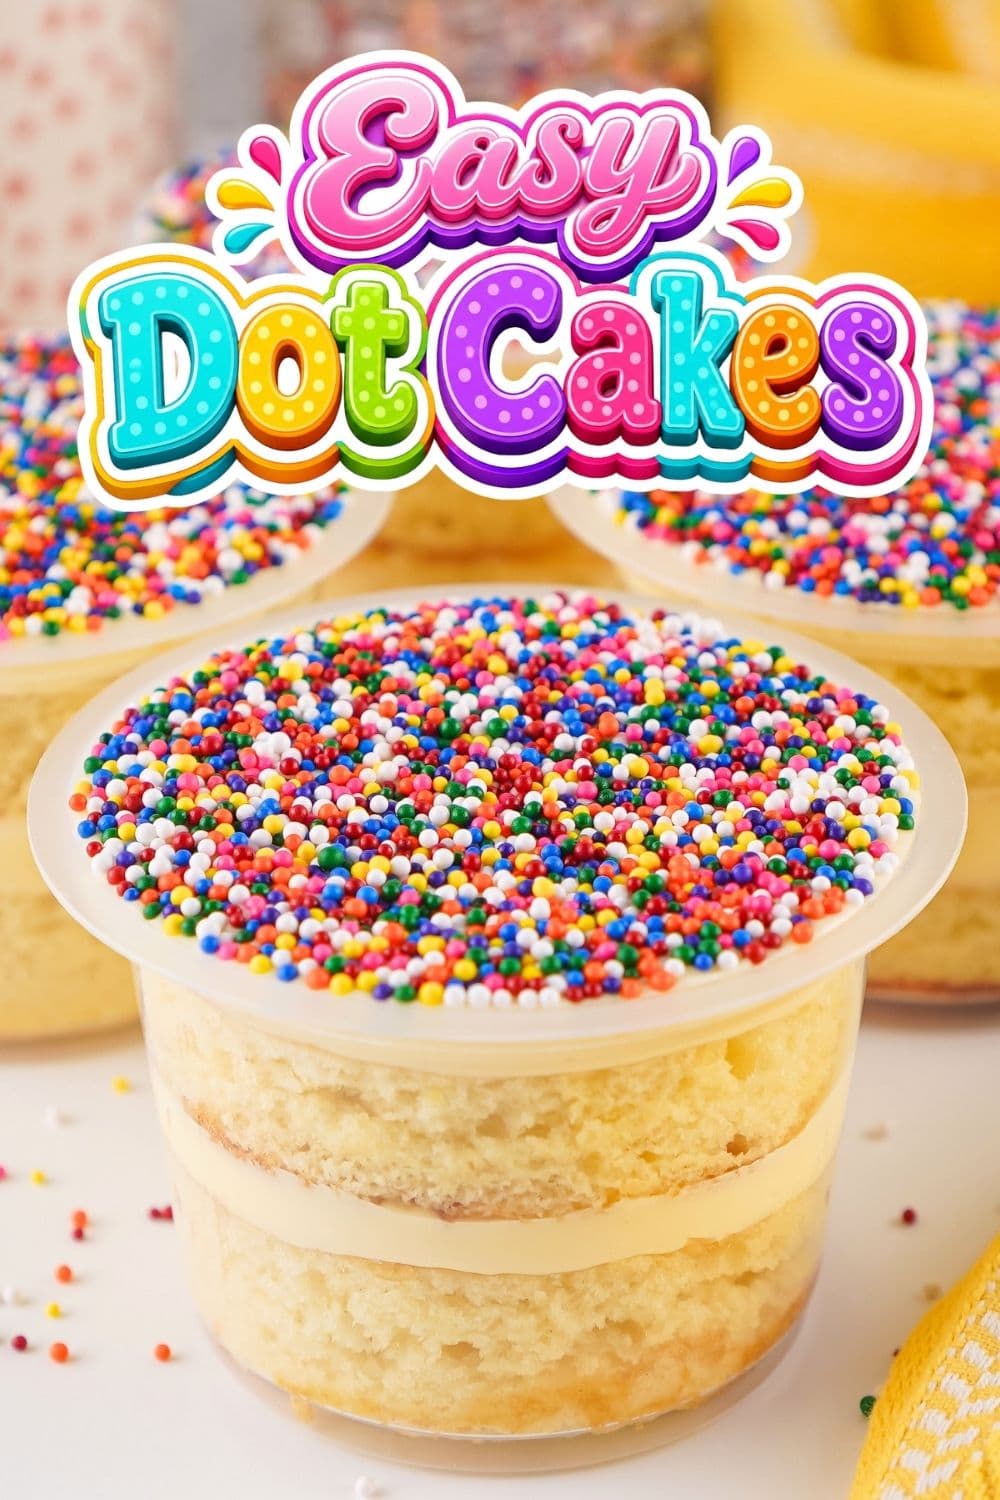
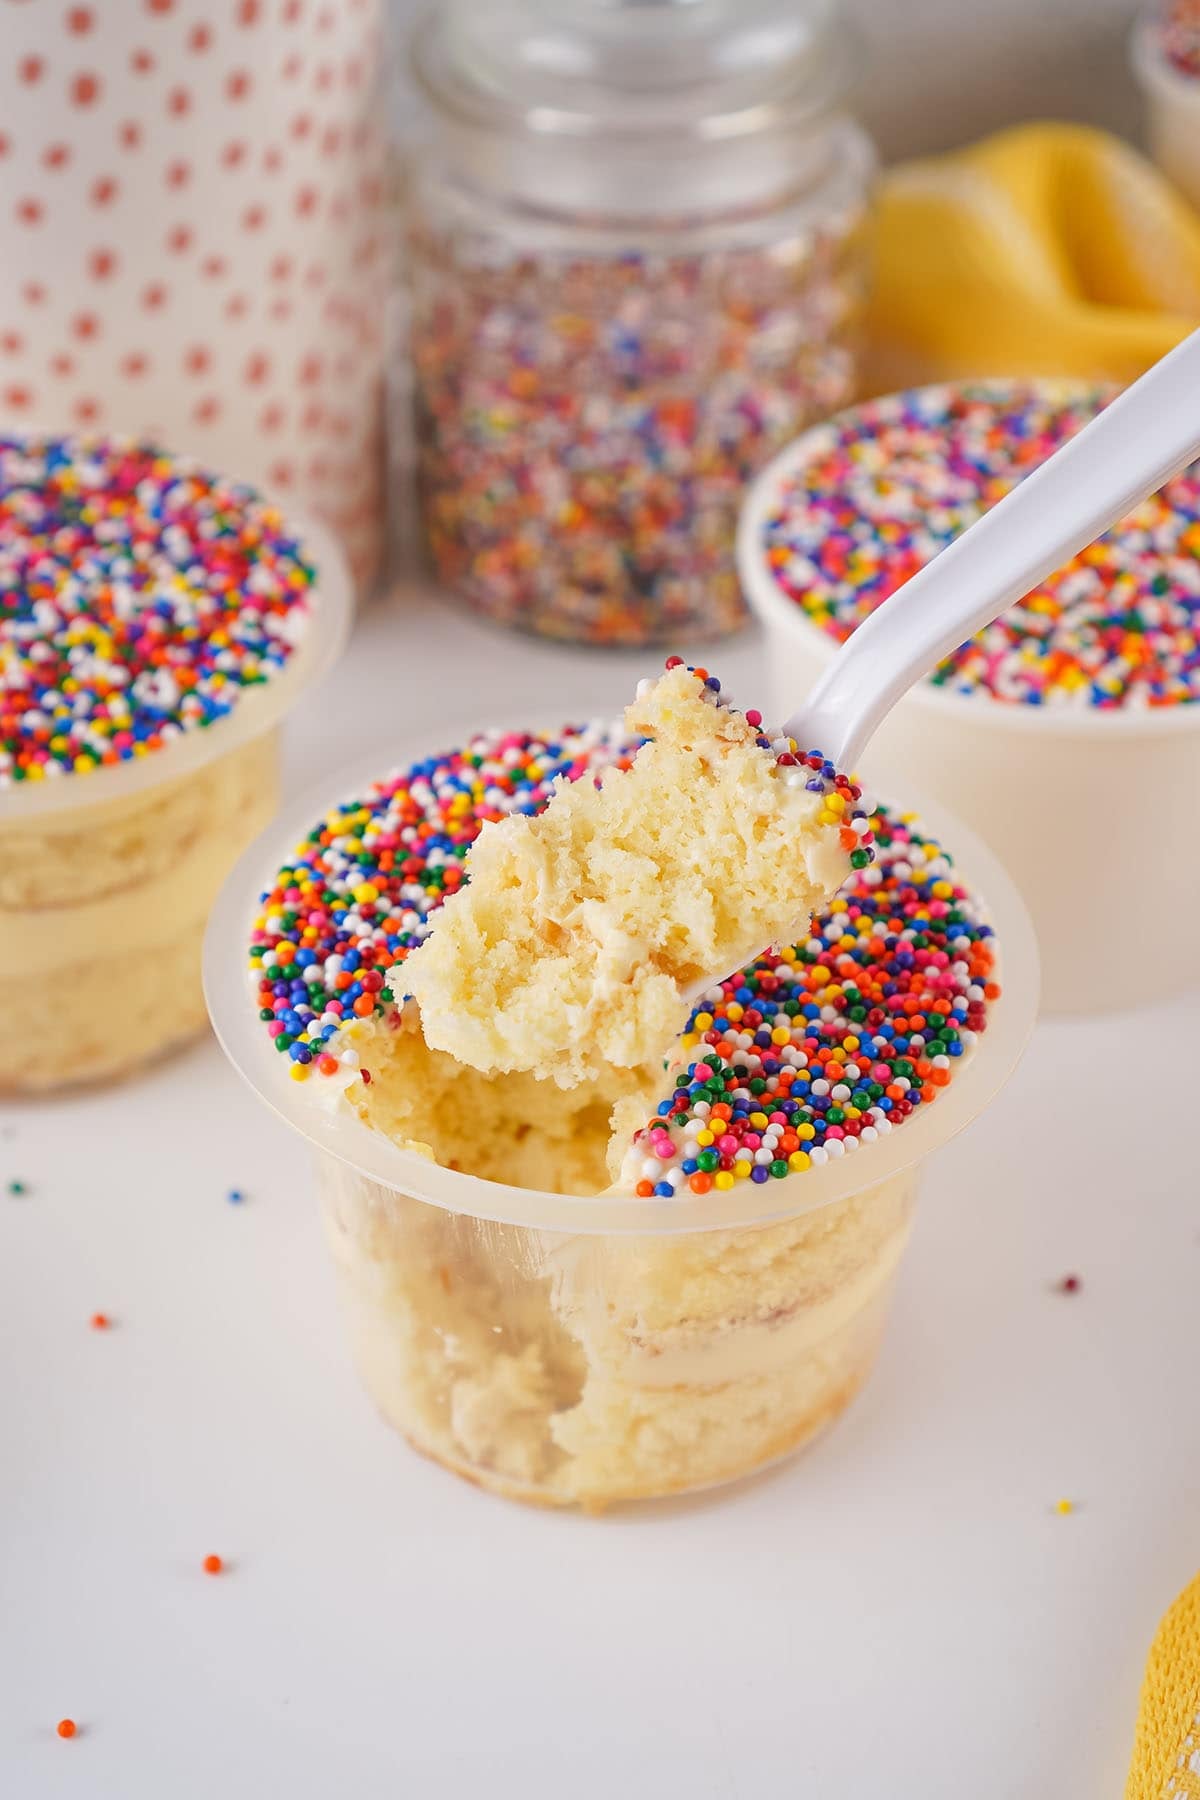
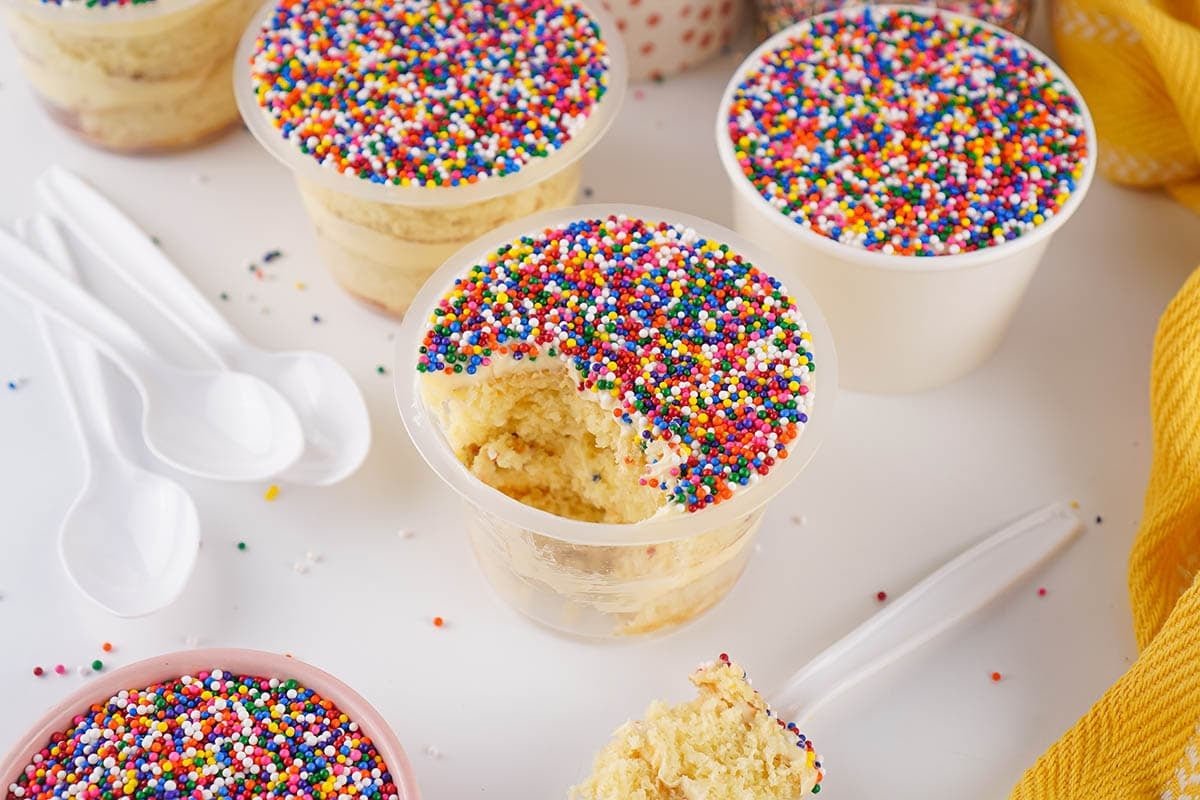
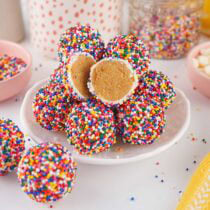
If you grew up on grocery store birthday cake with a thick layer of frosting and way too many sprinkles, these dot cakes are going to take you right back. Each one is a little cup of soft vanilla cake and creamy frosting, dipped in so many rainbow nonpareils that the whole top crunches the second your spoon goes in. They are ridiculously fun to eat.
The original dot cakes come from a bakery near New York City, and they went so viral that people line up and pay around eleven dollars for a single cup. I wasn’t about to do that, so I figured out how to make them at home. After playing around with a few cake bases and how much frosting to use, I landed on a thin sheet cake cut into little rounds, and that gave me the best cake-to-frosting balance in every bite.
Here is what makes my version so easy. I start with a white cake mix and stir in a box of instant vanilla pudding, which keeps the cake soft and moist for days instead of drying out the way boxed cake can. If you love a good copycat, my whole collection of copycat dessert recipes is worth a look, too.

Key Ingredients
- White cake mix: The base, and white is the one to grab. It keeps the crumb pale so the cake reads like a classic birthday cake instead of going golden or yellow. I use a 14.25 ounce box, but if that size is hard to find, a 13.25 or 15.25 ounce box works just fine too.
- Instant vanilla pudding mix: This goes in dry, straight into the batter. It is what keeps the cake soft and moist for days, so the cups still taste fresh a day or two after you assemble them.
- Clear vanilla: Regular vanilla works for flavor, but clear vanilla keeps the cake light in color and gives it that bakery-style taste. It is a small thing that makes the finished cake look more like the real ones.
- Whipped buttercream frosting: I use it straight from the container, but it needs to be at room temperature so it pipes smooth and spreads level. Cold, stiff frosting will not smooth out flat, and the sprinkles will not stick evenly.
- Rainbow nonpareils: The tiny round sprinkles, not jimmies and not stars. Only the little spheres give you that signature dot coating, and you go through a lot of them, so buy the bigger container.
How to Make Dot Cakes
Step 1: Prep the pan Preheat the oven to 350 degrees. Spray a 15x10x1 baking sheet with nonstick spray and line the bottom only with parchment paper.
Step 2: Mix the batter In a large bowl, combine the cake mix, whole milk, dry vanilla pudding mix, melted salted butter, clear vanilla, and egg whites. Mix until fully combined. The batter is a little stickier than regular cake batter, and that is exactly what you want.
Step 3: Bake the sheet cake Pour the batter into the prepared pan and spread it evenly to all the edges. Bake for 18 to 20 minutes, until a toothpick comes out clean.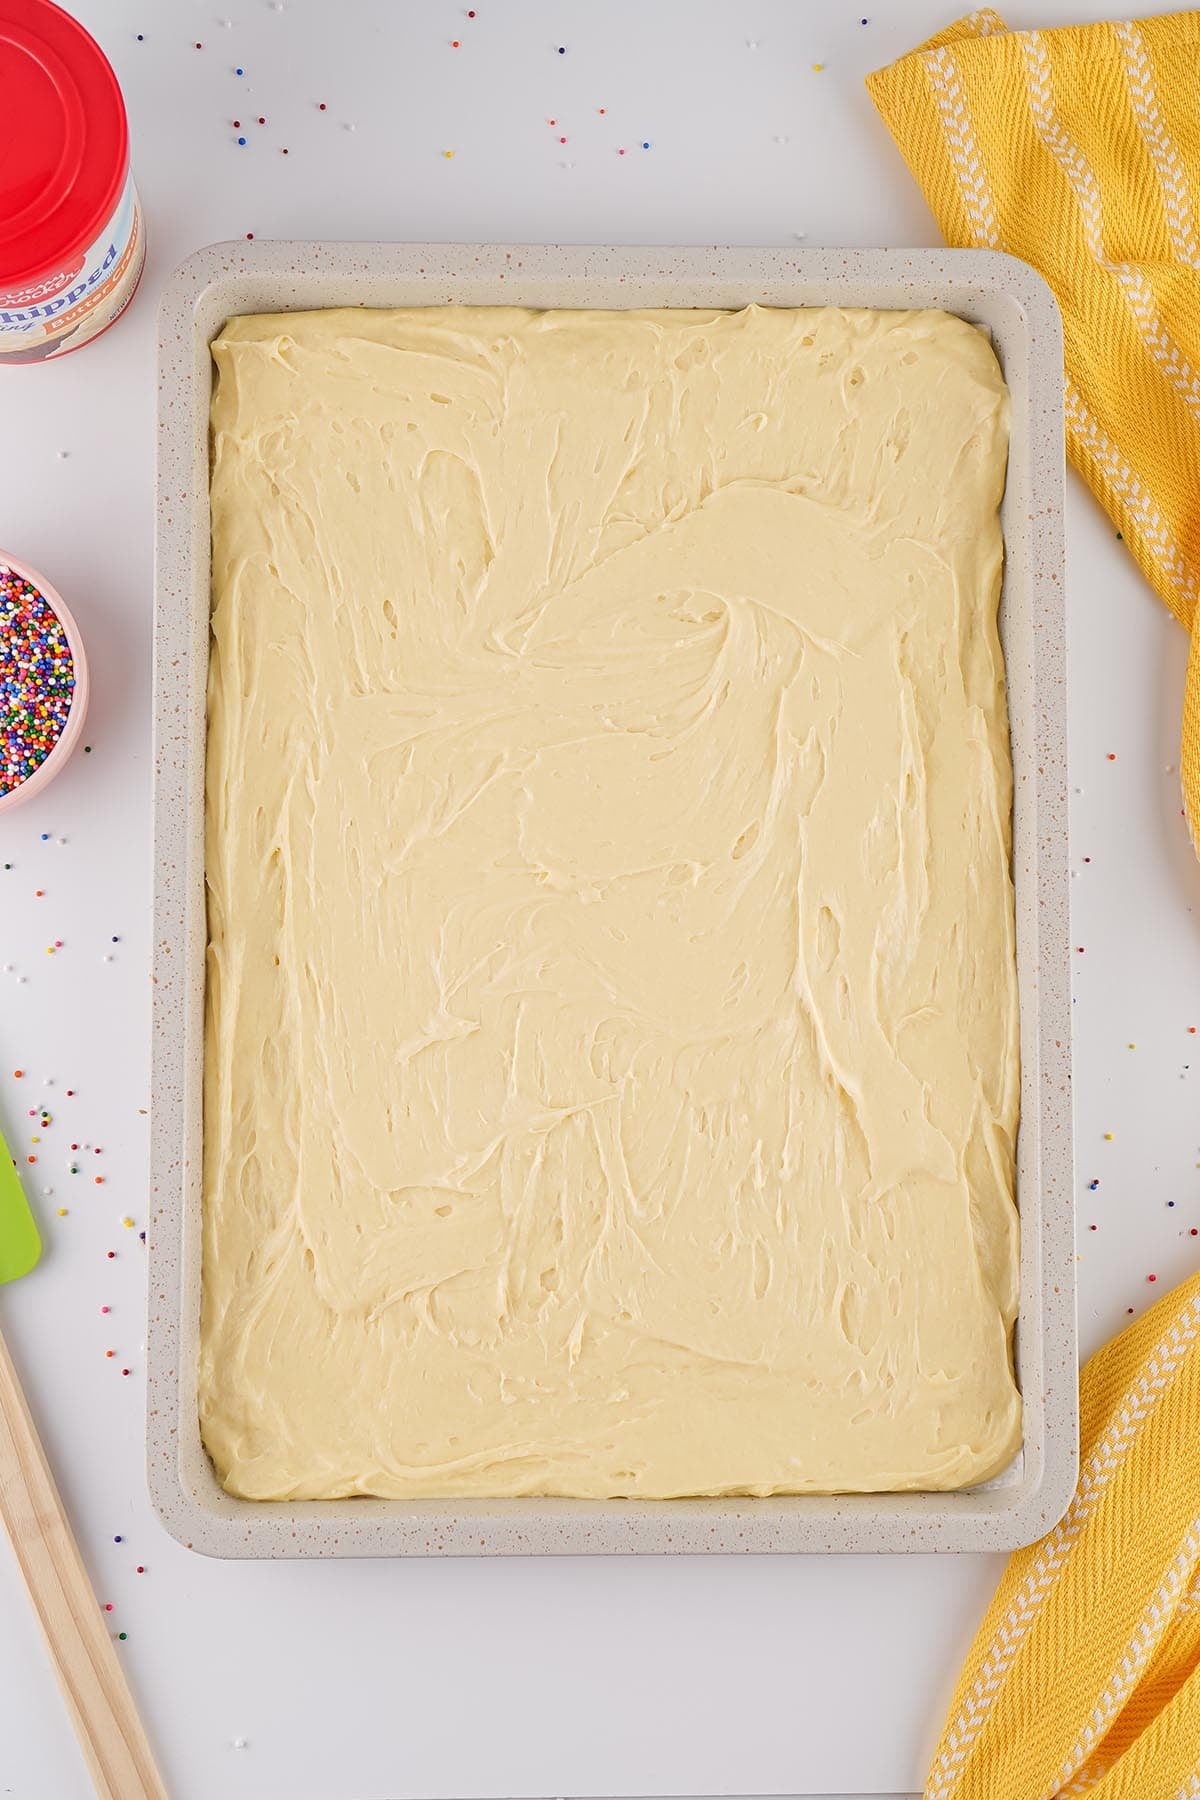
Step 4: Cool completely Let the cake cool all the way before you assemble, about an hour. This is the step that makes or breaks clean layers.
Step 5: Cut the cake rounds Using a 3-inch biscuit or cookie cutter, cut out 14 cake circles. If they do not lift out with the cutter, slide a butter knife underneath to gently lift them.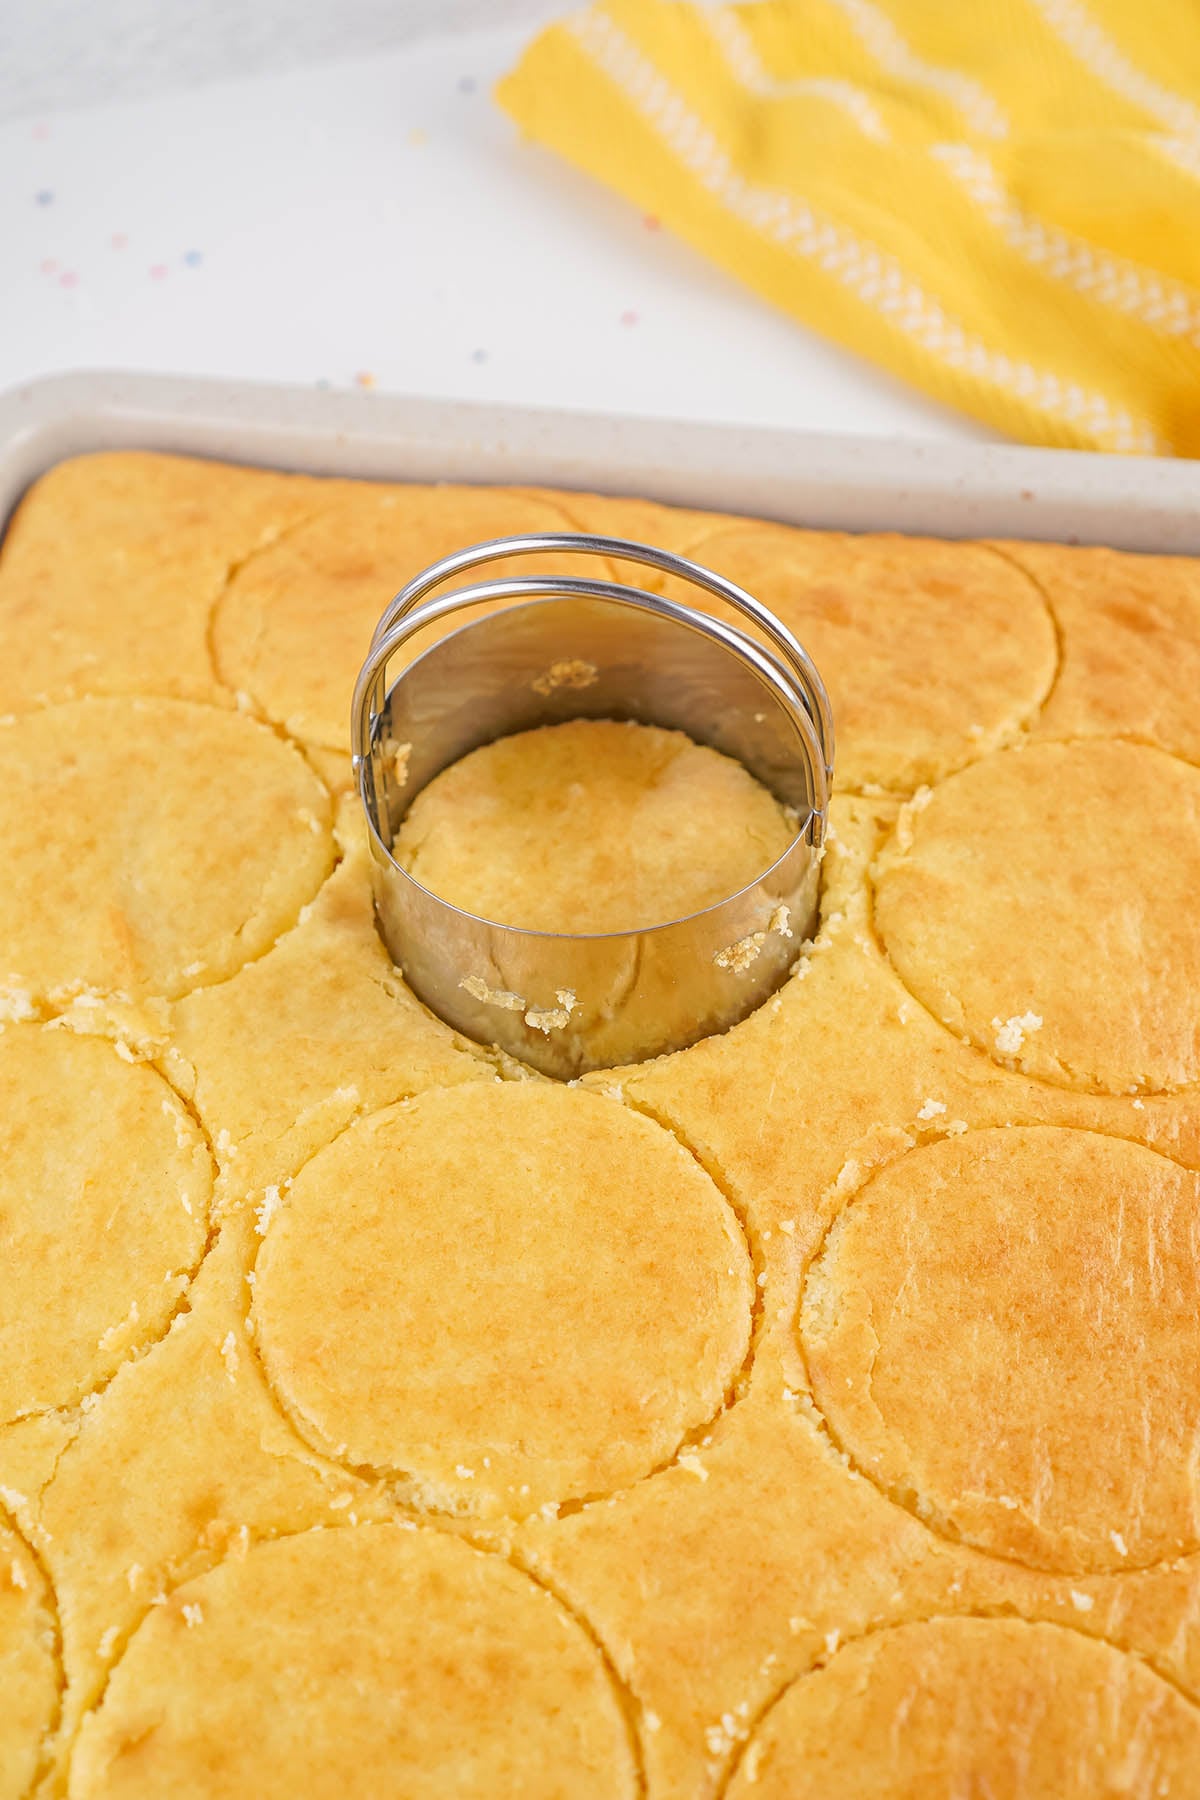
Step 6: Layer the first round Place one cake circle in the bottom of each of the 7 cups. Press down gently so the cake sits snug and flat in the bottom.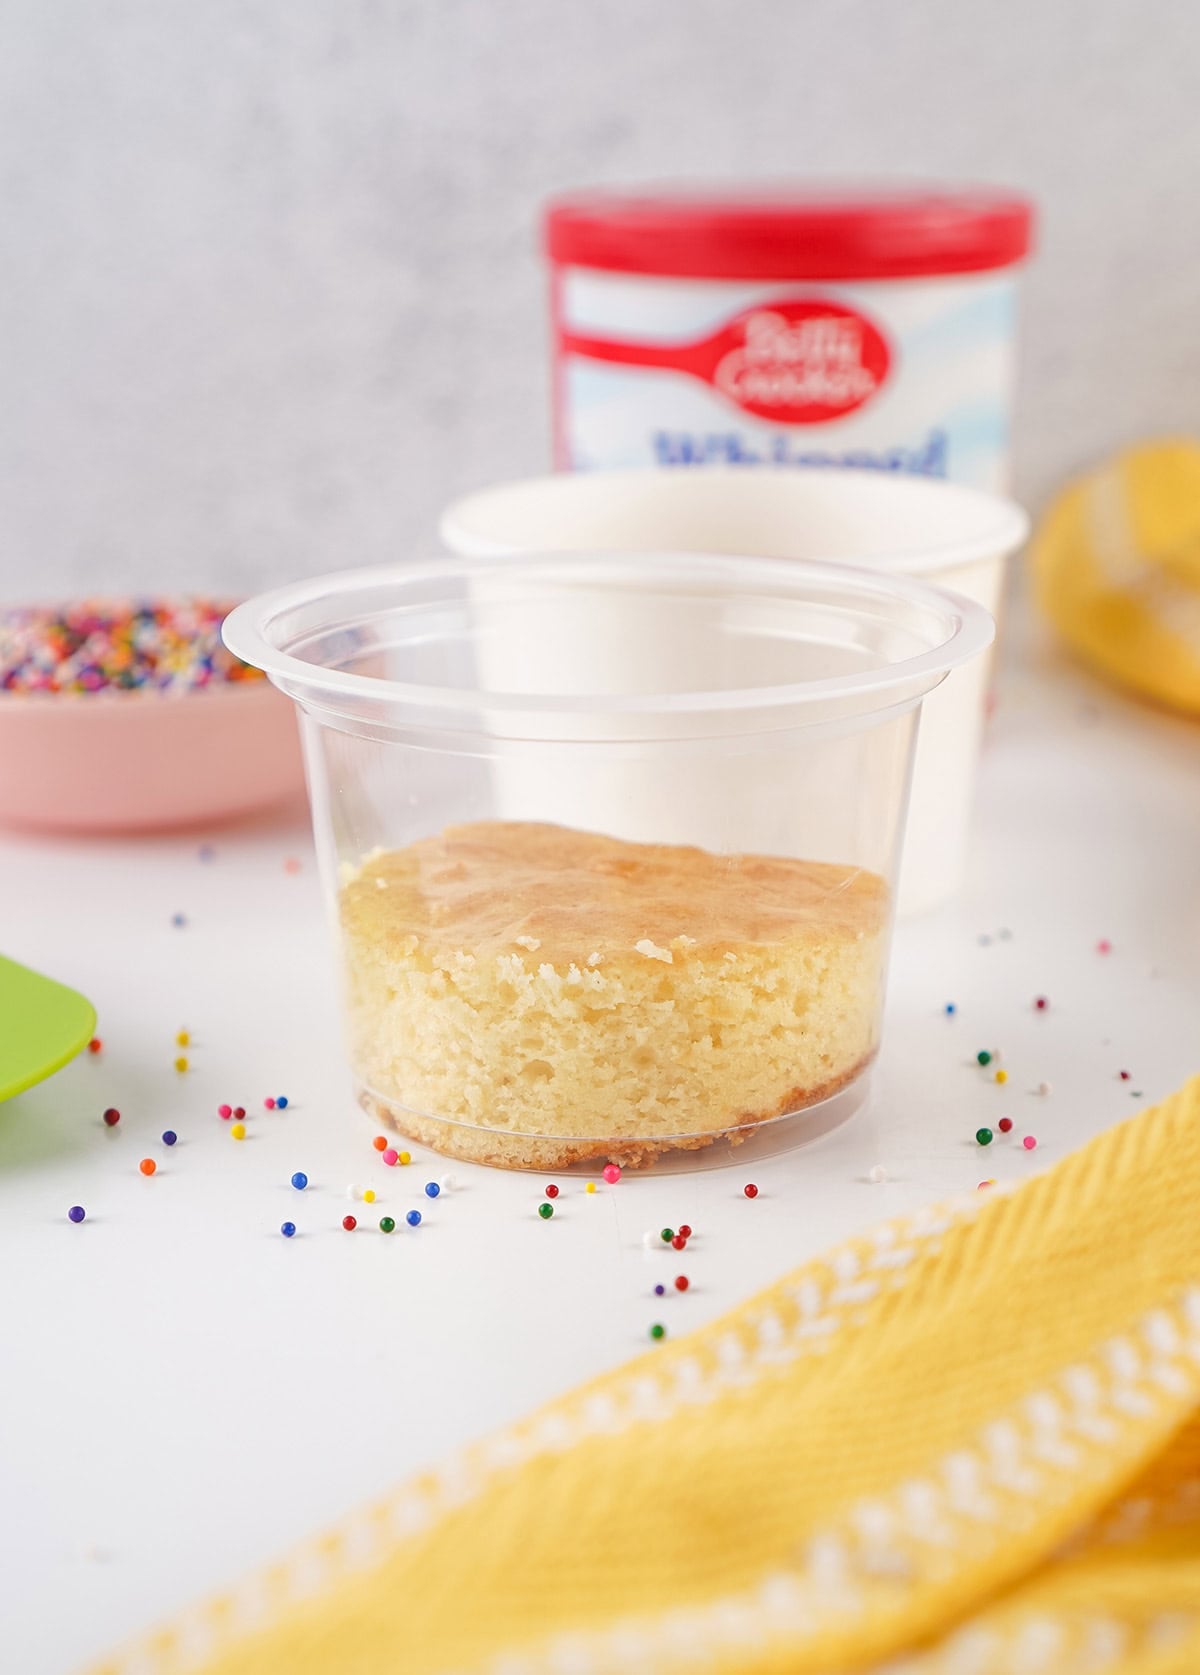
Step 7: Pipe the frosting Add about 12 ounces of frosting to a piping bag fitted with an Ateco #2 tip. Pipe around the edge of the cake first, then fill in the center. You do not need a ton, and you do not need to spread it after.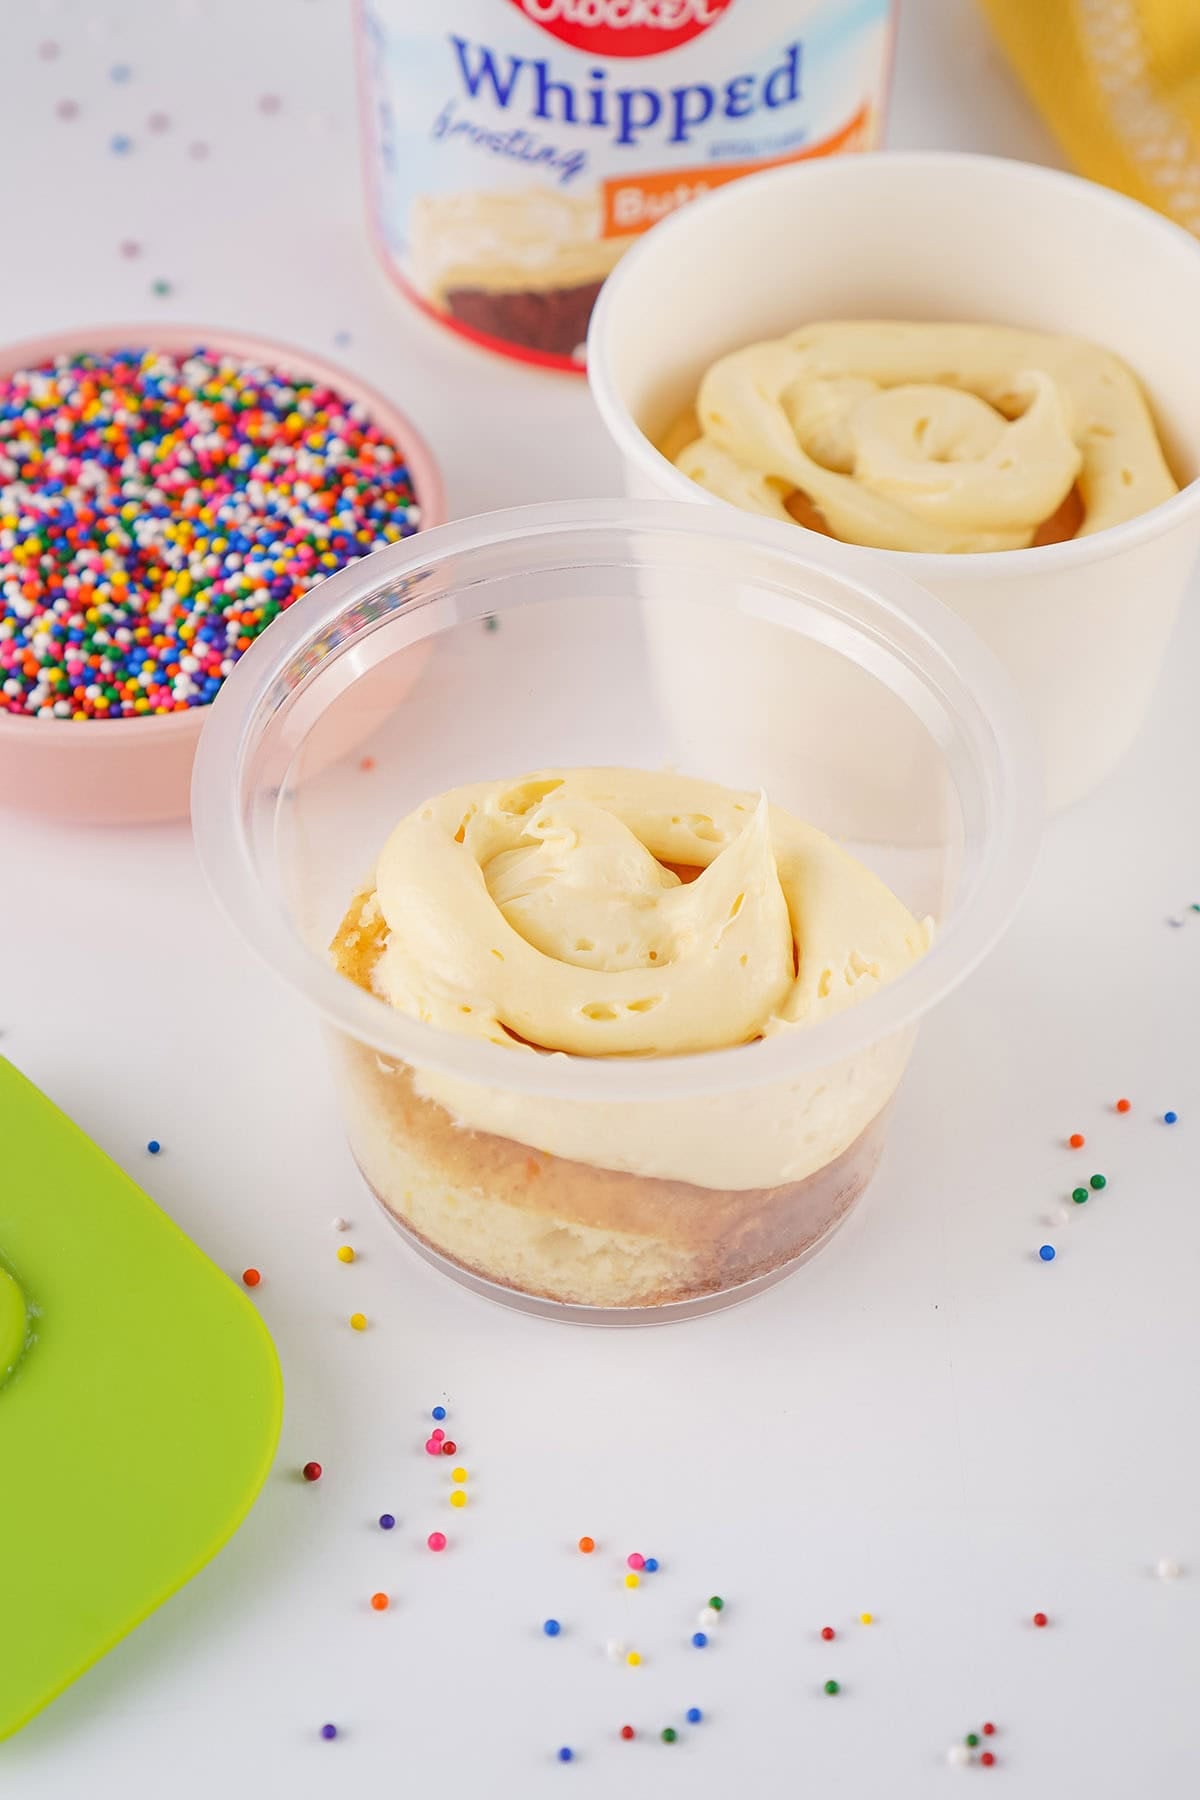
Step 8: Add the second layer Set a second cake round on top of the frosting in each cup. Dollop more frosting on top with a butter knife, press it down until the top is full, then scrape the excess off flush with the rim using the flat back of the knife. Wipe the edges of the cups clean with a paper towel.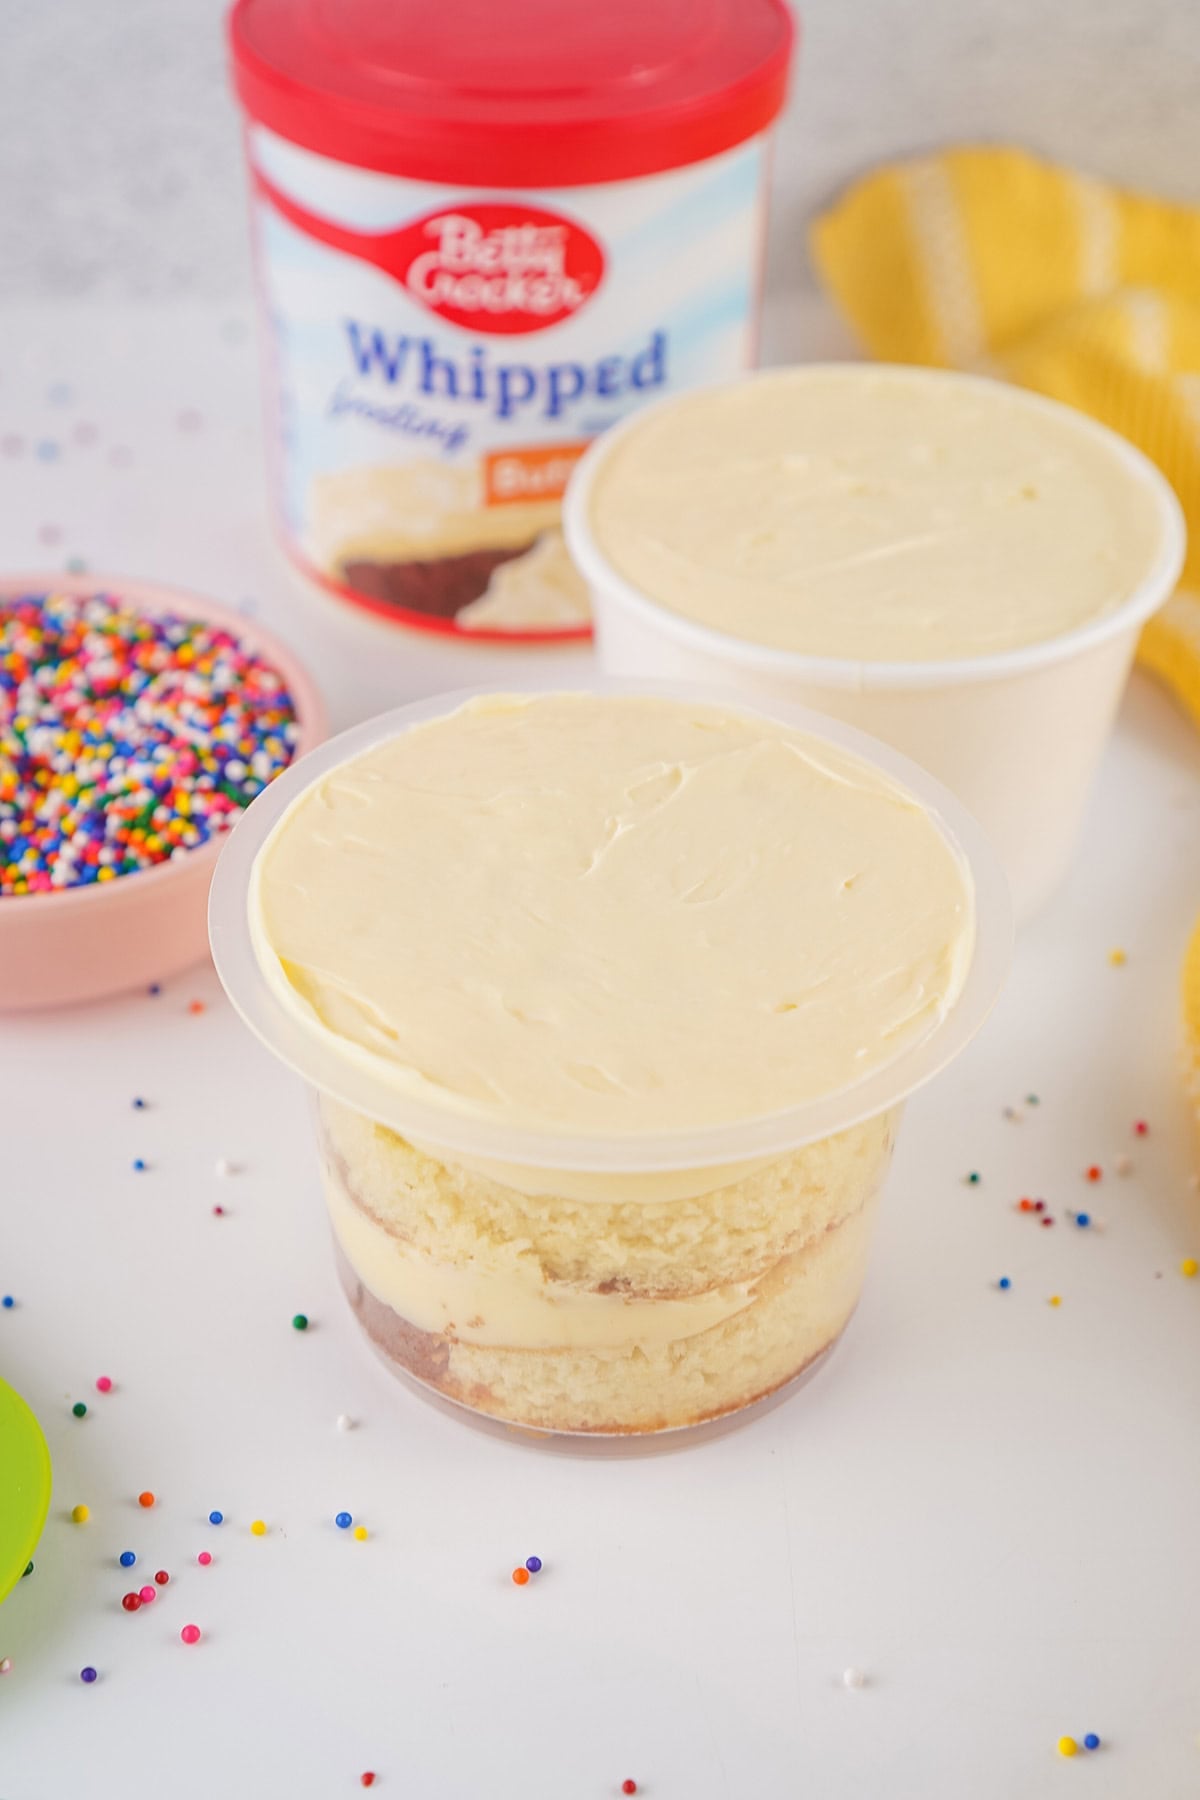
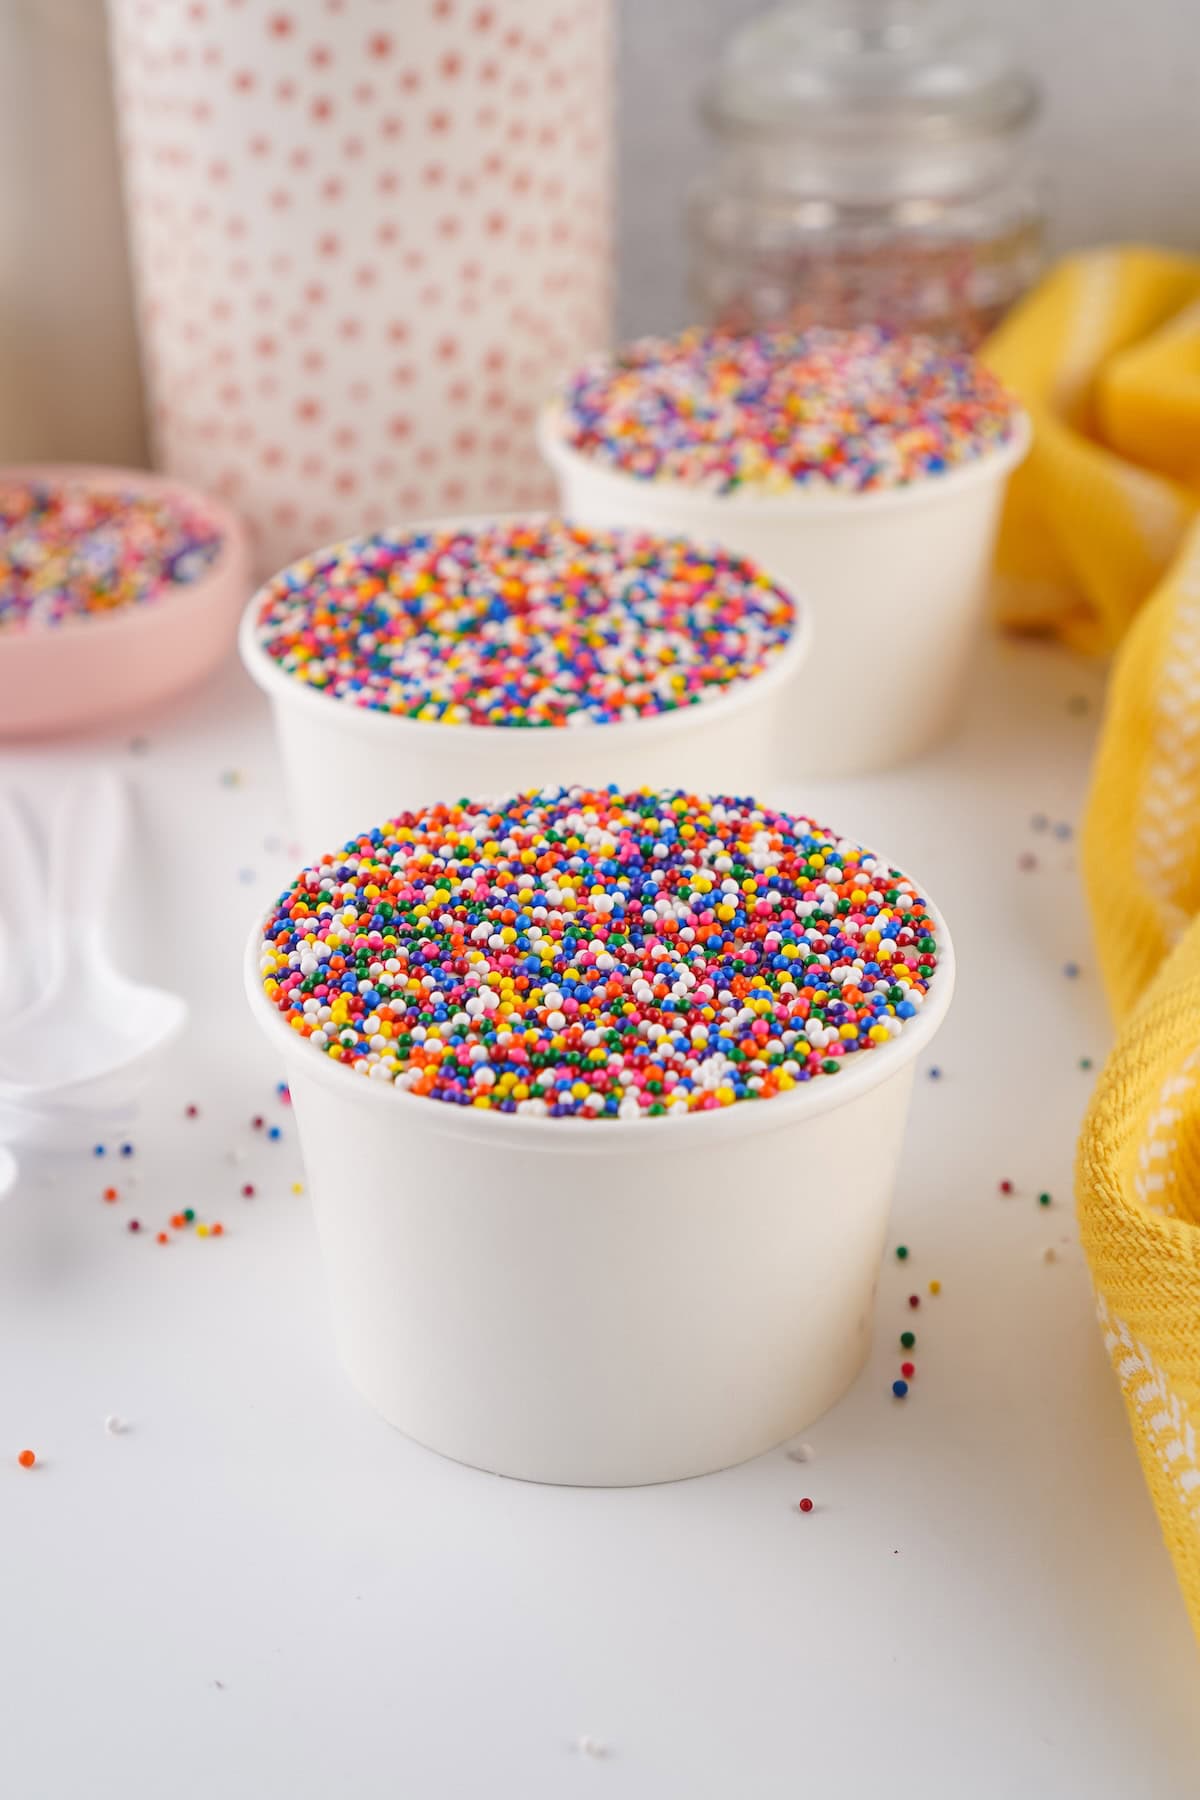
Step 9: Dip in sprinkles Pour the rainbow nonpareils onto a small plate. Dip each cup frosting side down into the sprinkles and give it a gentle press so they stick. Do not twist the cup or the sprinkles will smear. You will need to refill the plate a couple of times as you work through all 7 cups.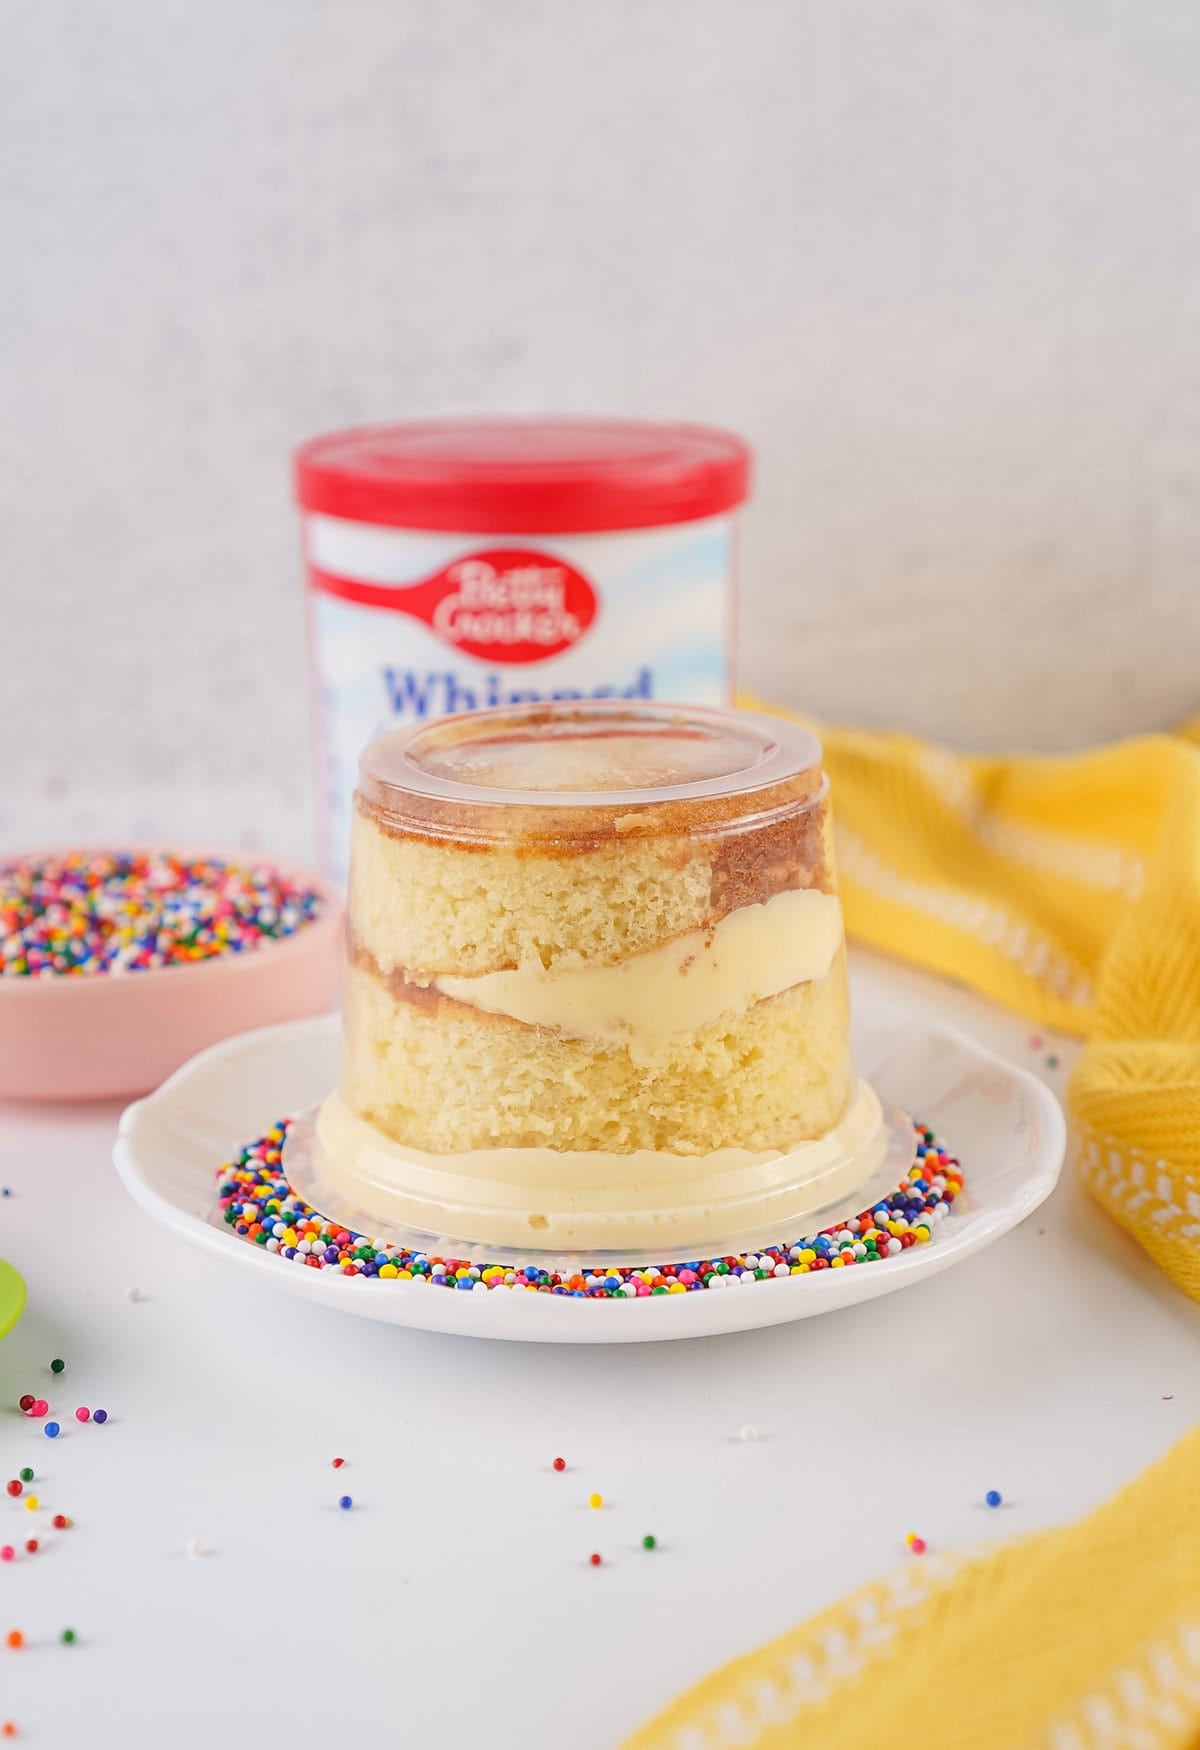
Step 10: Clean up the edges Lift the cup straight up and gently slide any excess sprinkles off the edge so you get a clean, even circle. Then grab a spoon and dig in.
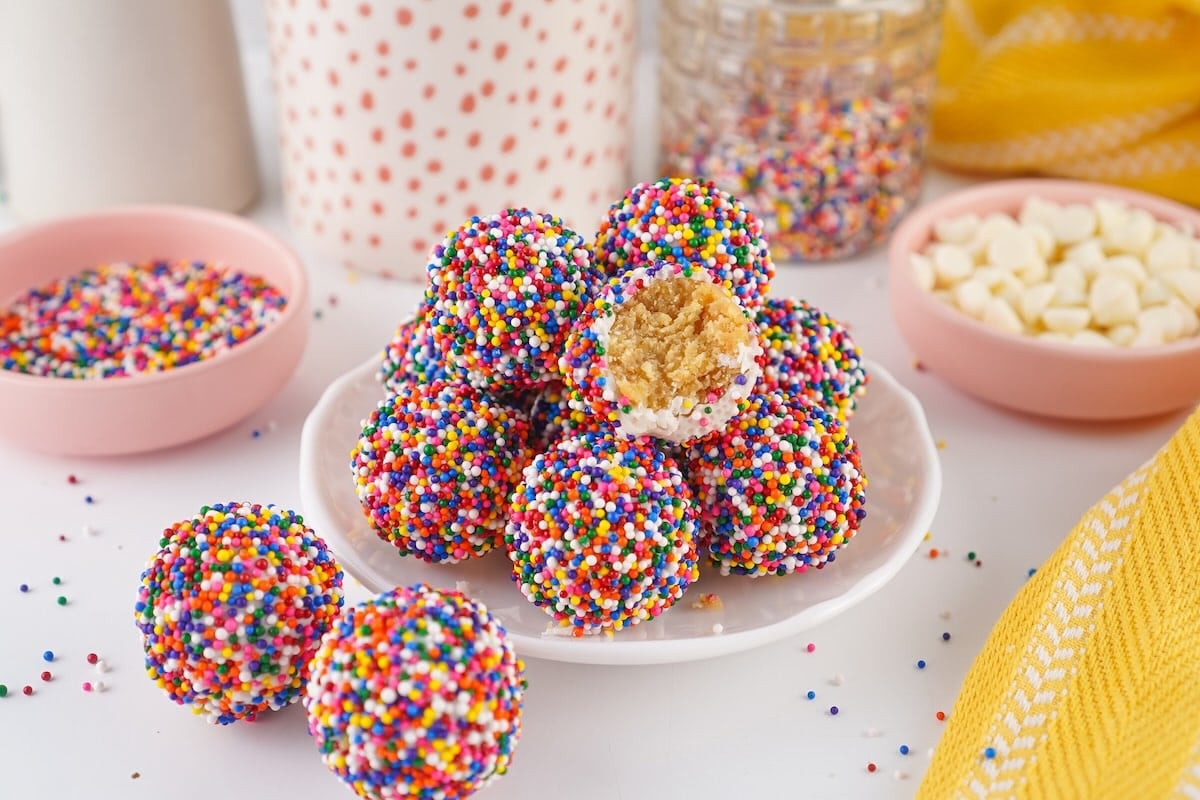
Don’t Toss the Scraps, Make Dot Cake Bites
After you cut your cake rounds, you are left with a pile of cake scraps, and I never throw them out. I roll them into my dot cake bites, little cake balls dipped in white chocolate and rolled in the same rainbow nonpareils. Head over for the full method, including how to make a whole batch on purpose.
Make-Ahead and Storage
- These are one of my favorite make-ahead desserts. I tested holding them in the fridge, and after four days the nonpareils still had not bled into the frosting, so you have a few days of lead time before a party.
- Cover and store the cups in the fridge for up to 1 week. To freeze, place them in an airtight container for up to 3 months. They taste as good a day or two after assembling as they do the moment you make them.
If you like desserts you can build in cups ahead of time, my no-bake Oreo dessert cups are another easy one to keep on hand.
More Dessert Recipes
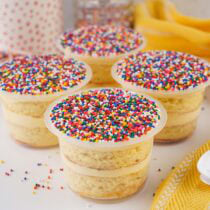
Dot Cakes
Ingredients
- 14.25 ounce box Betty Crocker Super Moist White Cake Mix (13.25 or 15.25 ounce boxes also work)
- 24 ounces Betty Crocker Whipped Butter Cream Frosting
- 3.4 ounces Instant Vanilla Pudding
- 1½ cups Whole Milk
- ½ cup Salted Butter melted
- 4 Egg Whites
- 1 tablespoon Clear Vanilla
- 4 ounces Rainbow Nonpareils
- Nonstick Cooking Spray
Instructions
- Preheat the oven to 350 degrees fahrenheit. Spray a 15x10x1 baking sheet with nonstick cooking spray and cover the bottom only with parchment paper.Nonstick Cooking Spray
- In a large mixing bowl, combine the cake mix, milk, vanilla pudding mix (dry), melted butter, vanilla, and egg whites. Mix until thoroughly combined. The mix will be a little sticky in comparison to regular cake mix.14.25 ounce box Betty Crocker Super Moist White Cake Mix, 3.4 ounces Instant Vanilla Pudding, 1½ cups Whole Milk, ½ cup Salted Butter, 1 tablespoon Clear Vanilla, 4 Egg Whites
- Pour the batter into the prepared pan and spread evenly to all the edges.
- Bake for 18-20 minutes or until a toothpick comes out clean.
- Remove from the oven and let cool completely, this takes about an hour.
- Using a 3-inch biscuit or cookie cutter, cut out 14 cake circles. They may not come out with the cutter, and that’s just fine. You’ll just use a butter knife to gently lift them out when you’re ready to use them.
- Place one cake circle in the bottom of all 7 containers. Be sure to gently press down on the cake so it rests snug and flat in the bottom.
- Place 12 ounces of frosting in a frosting bag with an Ateco #2 tip and pipe a small amount of frosting on top of the cake layer. I begin by going around the edge of the cake, then fill in the circle. You don’t want a ton of frosting, but the tip should help with limiting the amount. You don’t need to spread the frosting after adding it.24 ounces Betty Crocker Whipped Butter Cream Frosting
- Place another cake circle on top of the frosting, in each cup.
- Using a butter knife, dollop frosting into the top of each cup, and then gently press it down until the top is full, then scrape the excess off the top, using the flat back of the knife, until the frosting is flush with the top of the cup.
- Clean the edges of the cups using paper towels.
- Place the sprinkles on a small plate (you’ll need to refill the plate a couple of times).4 ounces Rainbow Nonpareils
- Dip the cups, frosting side down, into the sprinkles. Give it a little press to ensure the sprinkles stick, but do not twist.
- Lift the cup up and gently slide the excess sprinkles off the edge to make a clean circle of sprinkles. Grab a spoon and enjoy!
Jenn’s Notes
- These are one of my favorite make-ahead desserts. I tested them in the refrigerator, and even after four days, the nonpareils stayed intact without bleeding into the frosting, making them a great option to prepare several days before a party.
- Keep the cups covered and refrigerated for up to 1 week. For longer storage, freeze them in an airtight container for up to 3 months. They’re just as delicious a day or two after assembling as they are when freshly made.
- Stick with nonpareils instead of jimmies. Those tiny round sprinkles create the smooth, even coating that gives these treats their signature look. Larger sprinkles, jimmies, or shaped varieties can leave gaps and won’t provide the same polished finish.
- Pick up a larger container of sprinkles. You’ll need quite a bit for this recipe—about 4 ounces—which is often more than a standard small jar contains. Having extra on hand makes the dipping process much easier.
- Dip straight down and lift straight up. Avoid twisting the cup into the sprinkles. A simple press-and-lift motion keeps the frosting smooth and creates a neat, uniform coating.
- Let the frosting come to room temperature first. Softer frosting is easier to pipe, smooth out, and coat with sprinkles. Cold frosting straight from the refrigerator can be difficult to work with and may not hold the sprinkles as evenly.


These were so good and everyone loved the way they looked and will make these again in about 2 weeks
So glad you enjoyed them! Thank you so much for the great feedback!
Just wondering where did you get the cups?
Hi – I have them linked in the post, but the clear ones can be found here https://amzlink.to/az033pca8g5Os and the standard white containers are here: https://amzlink.to/az0KqSBh3cgx8
Hven’t made these yet. What kind of container are you putting these in? They sound fun and delicious and would like to try them.
Here are the links for the containers I used. The clear ones can be found here https://amzlink.to/az033pca8g5Os and the standard white containers are here: https://amzlink.to/az0KqSBh3cgx8
Come back and let me know what you think!