
This post may contain affiliate links. Please read our disclosure policy.
Make this DIY Sidewalk Chalk Popsicles and keep the kids entertained on a hot summer day with a fun chalk painting activity.
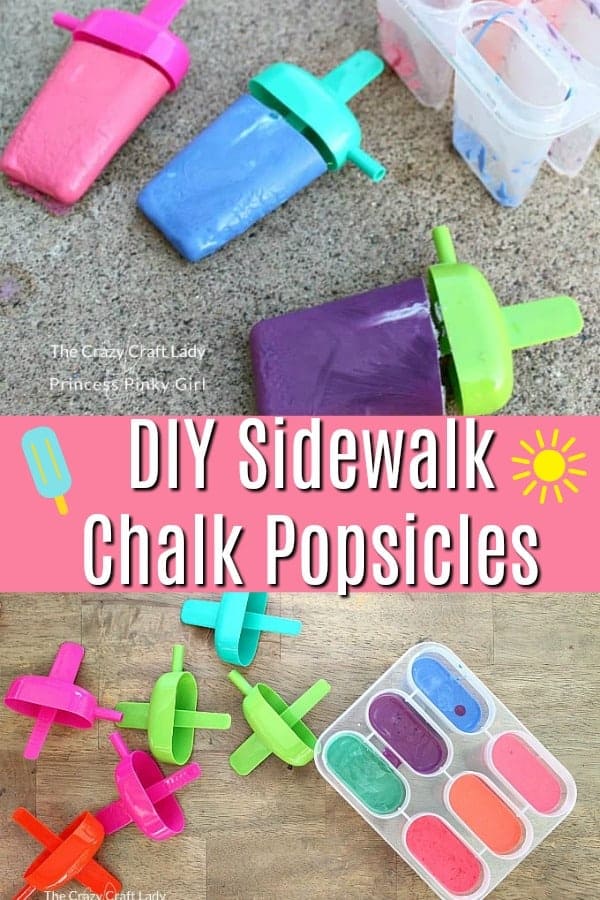
DIY Sidewalk Chalk Popsicles
Hey there! I’m Aimee, and I blog over at The Crazy Craft Lady where I strive to make everyday creative with simple crafts, easy family-friendly recipes, organizing solutions, and DIY decor projects.
Thanks so much to Jenn for letting me stop in today and share this guest post for DIY Sidewalk Chalk Popsicles. I whipped up this fun summer craft with my 5-year-old twins, and I think this is their new favorite kind of sidewalk chalk.
That’s no small feat, since those two are pretty invested in their chalking activities and sidewalk chalk art!
Have you seen Jenn’s super cute Sidewalk Chalk Activities? There are so many fun things you can do with Sidewalk Chalk to really keep the kids engaged!
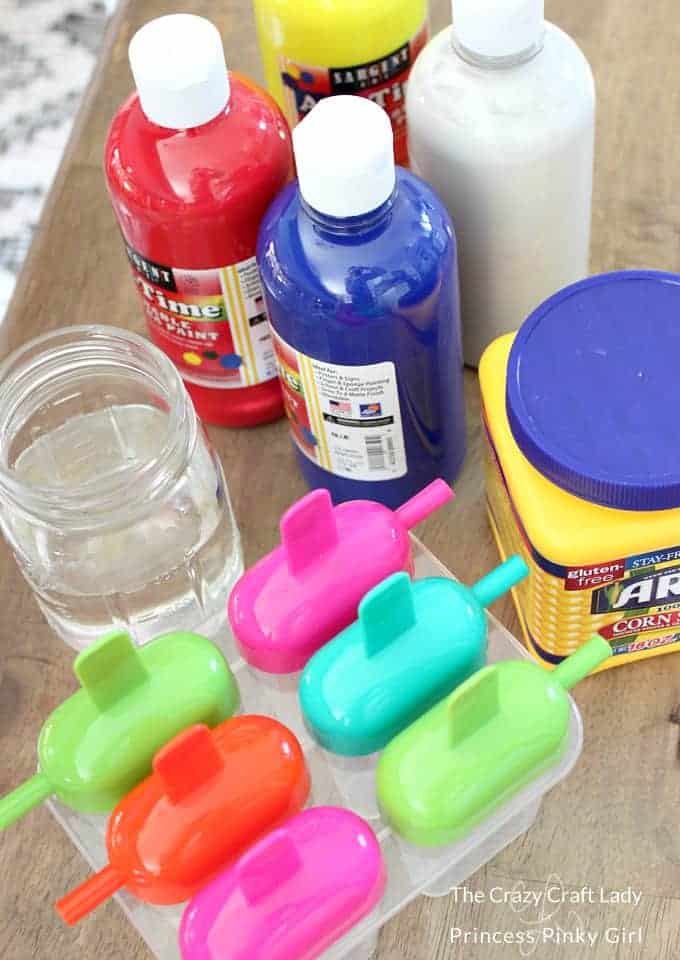
What supplies are needed to make your own Sidewalk Chalk Popsicles?
Honestly, you don’t need much! (note: affiliate links provided below)
- Washable tempura paint – use the primary colors (red, blue, yellow) to mix a variety of fun colors
- Corn starch
- Water
- Measuring cup and spoons
- Popsicle molds
- Small mugs or bowls (for mixing)
- Spoons (for stirring)
Tutorial: How to Make DIY Sidewalk Chalk Popsicles
Step 1: Combine ¼ cup corn starch, ¼ cup water, and 2 tablespoons of paint.
Tip on mixing custom colors: If you want to make custom colors, you can mix two different paint colors. For example, use one tablespoon of blue paint and one tablespoon of yellow paint to make green chalk paint. If you want to get even more creative, change up the ratios. For example, try 1 ½ tablespoons of blue paint and ½ tablespoon of yellow pain to make teal. As long as you use about 2 tablespoons of paint (give or take), you will be just fine.
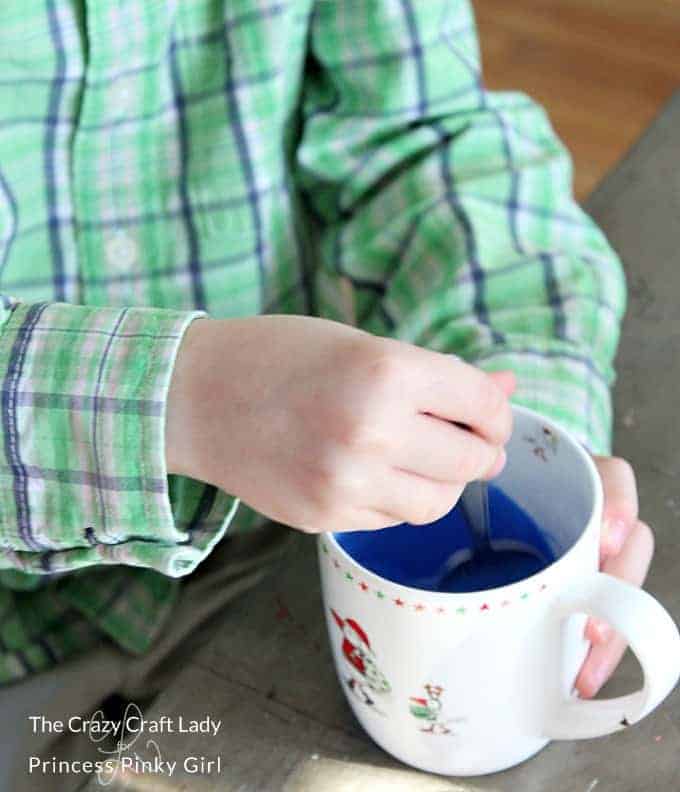
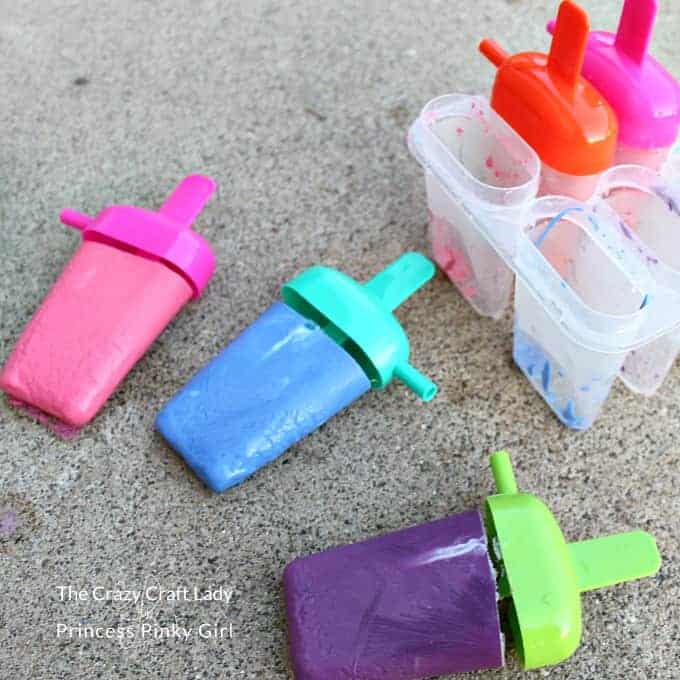
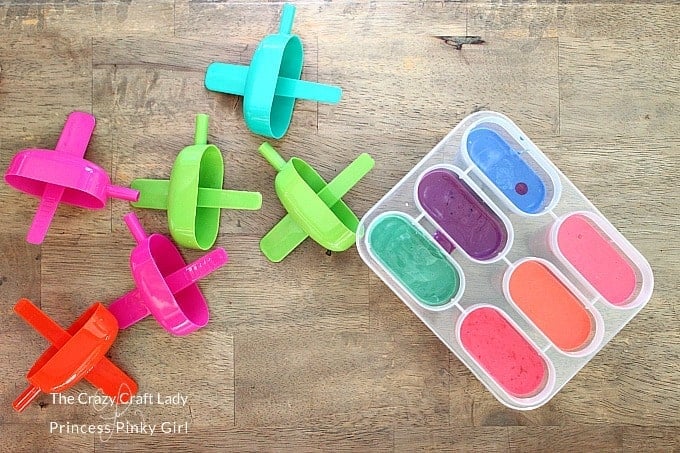
Step 2: Stir the mixture, and make sure it is combined and free of clumps. Carefully pour the chalk paint mixture into popsicle molds. These popsicle molds came from the dollar store. Add the popsicle handles. Freeze overnight.
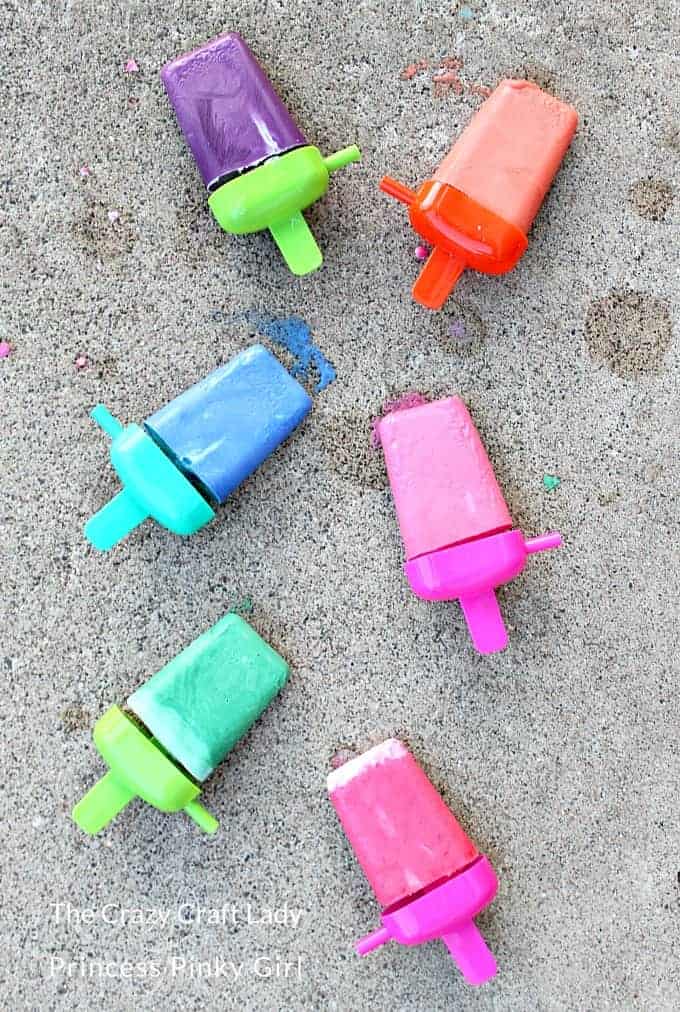
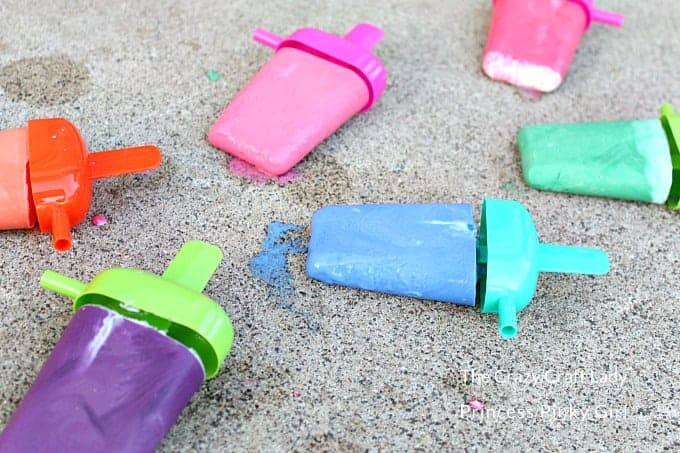
Step 3: Run the popsicle molds under warm water briefly to loosen the popsicle chalk pieces.
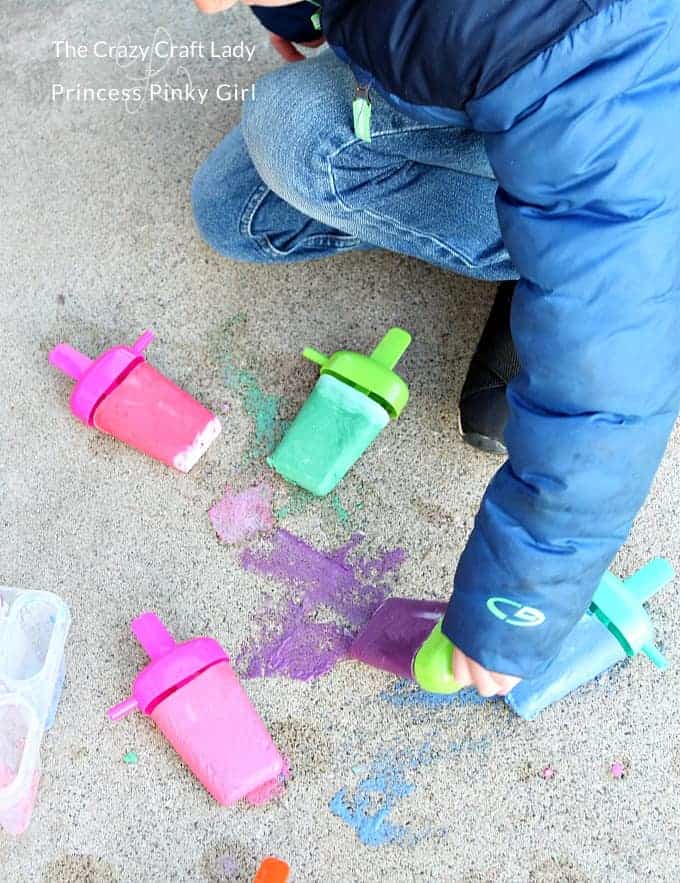
Then find a hot slab of cement, and let your imaginations run wild.
We have had a very cold spring in Minnesota, so we still had jackets on. Even though temps were in the high 30s, the chalk still melted as we wrote on the sidewalk.
We can’t wait to give this DIY popsicle chalk a try when the weather finally warms up around here.
If you’re looking for more inspiration for the kiddos this summer, look no further than a classic ice cream treat. I’ve got two posts that I think you’ll love:
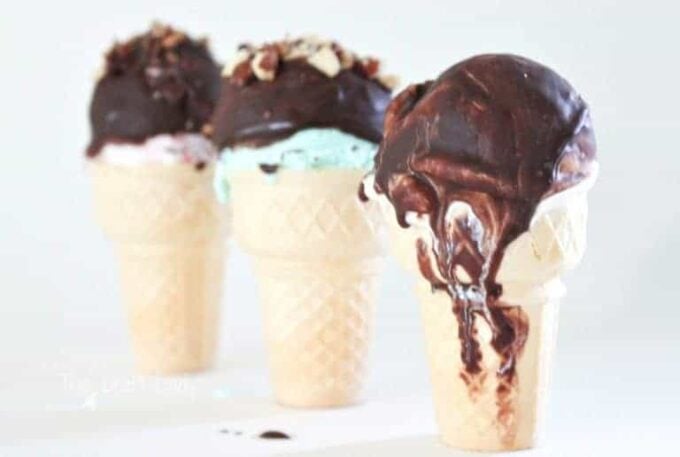
First, chocolate-dipped ice cream cones aren’t just for the ice cream shop anymore. See how easy it is to make your own dipped ice cream cones at home:
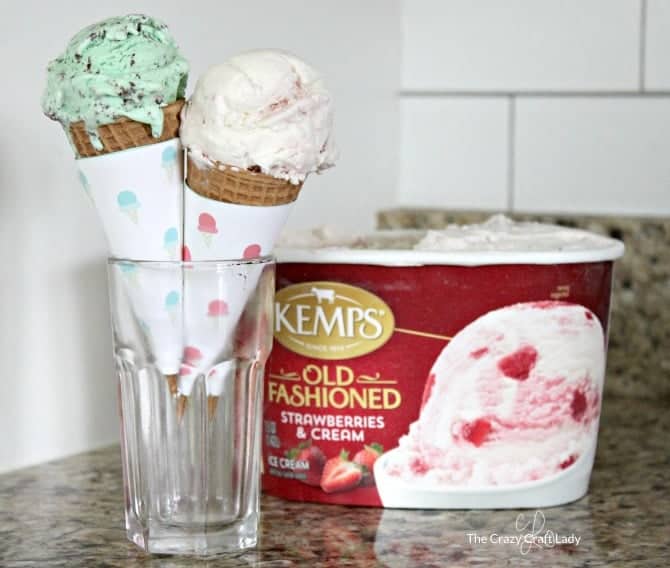
Second, make that sweet treat a little more fun with these cute printable cone wrappers:
Need some other fun summer desserts? One of our new favorites are these Watermelon Cakepops! Your kids will totally get a kick out of them after they come in from playing outside!


This is such a FUN idea! I love it. I love coming up with ideas to surprise my kids. I have big plans for the last day of school this year. Every year I do something crazy to make them smile. 🙂 I will have to remember this idea for the summer. My girls will love it! Thanks for the idea. 🙂