
This post may contain affiliate links. Please read our disclosure policy.
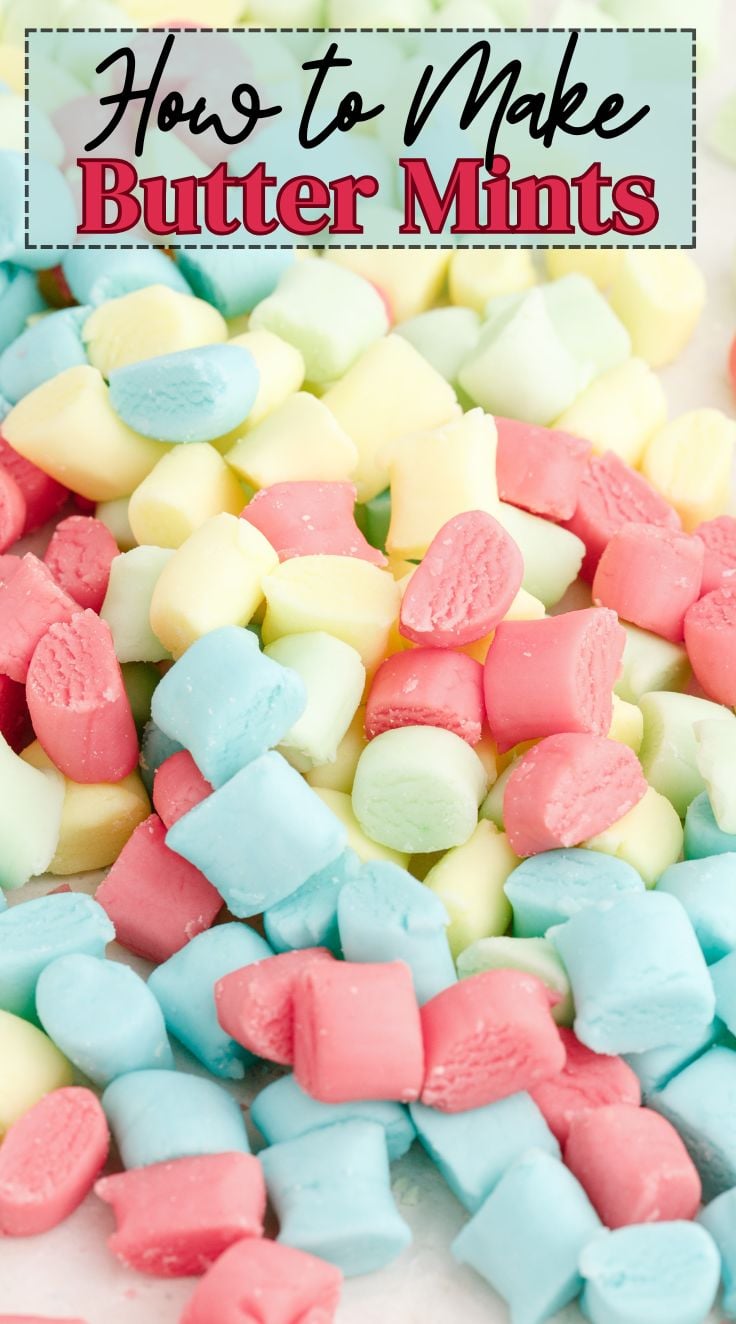
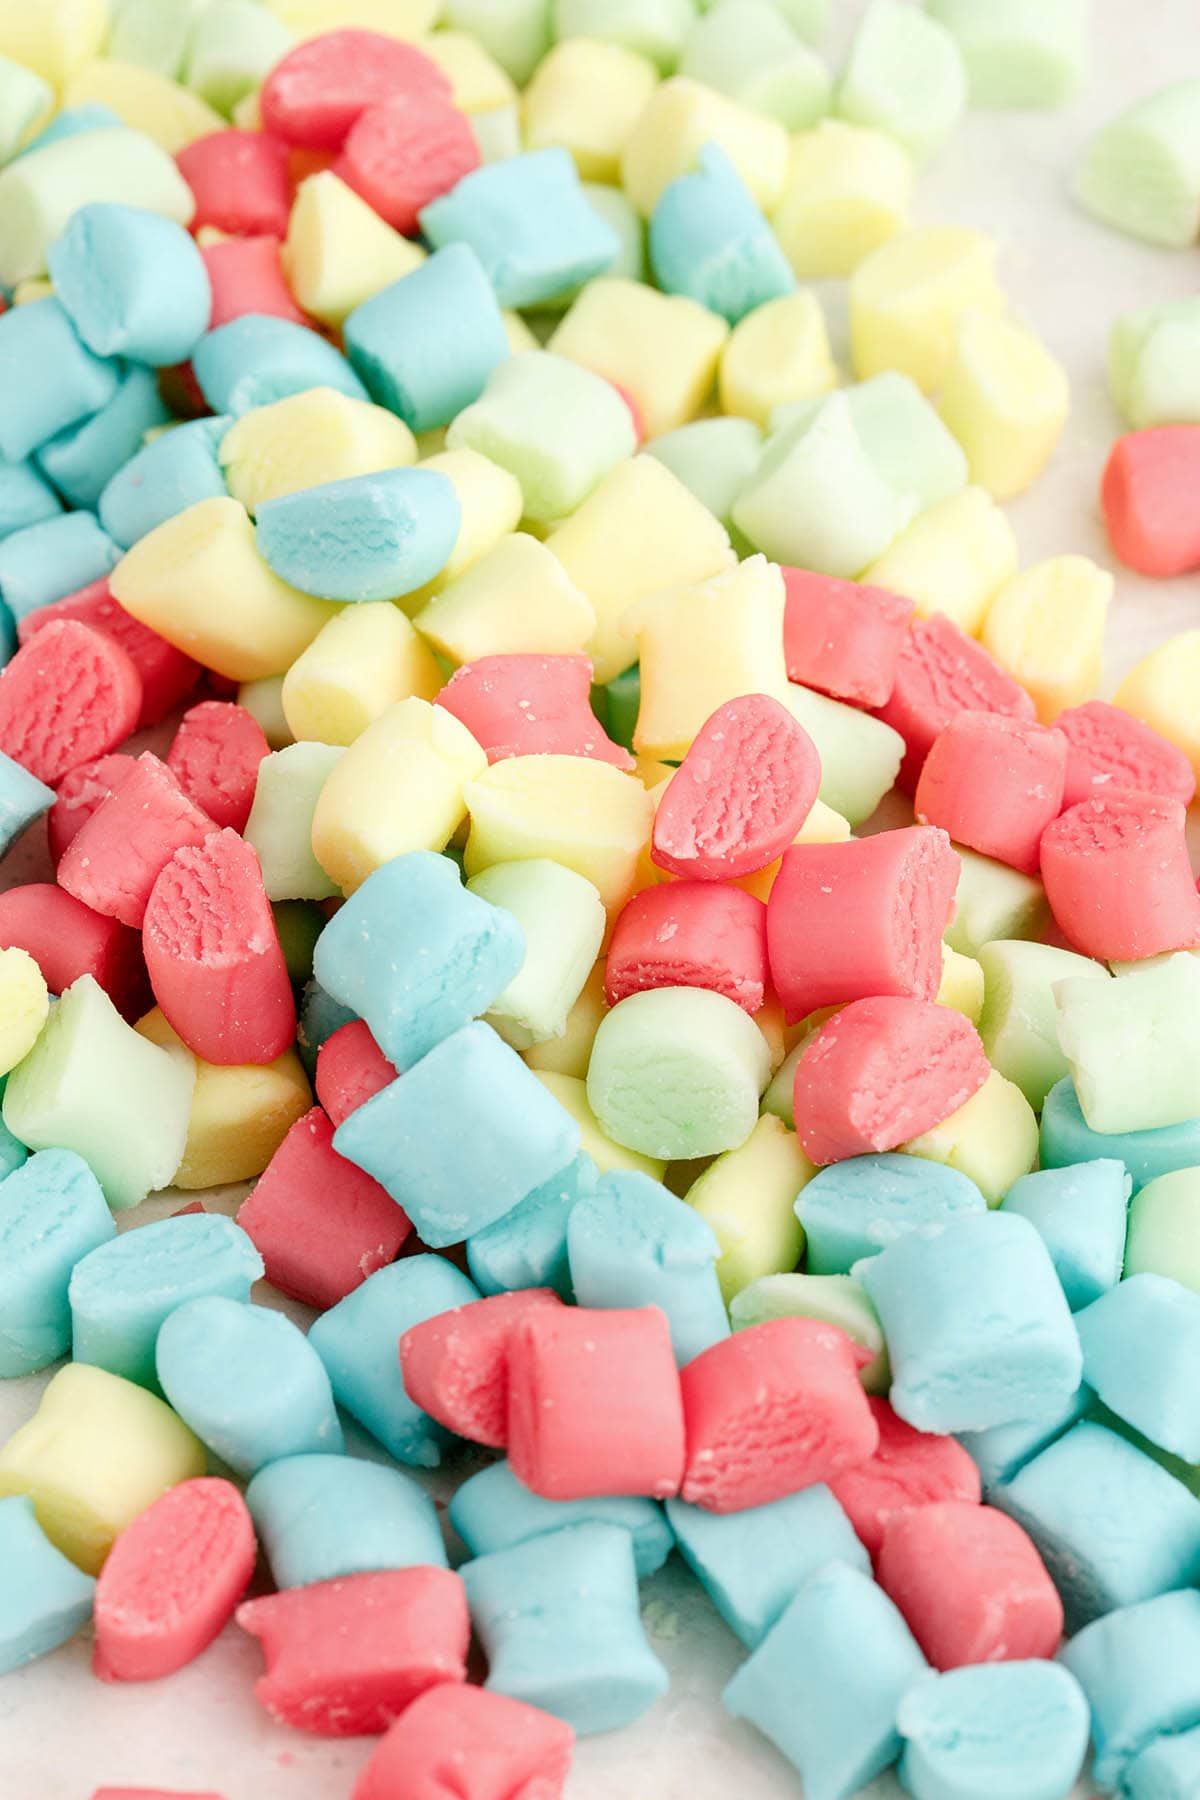
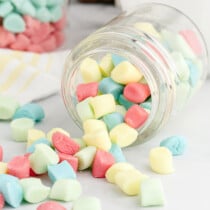
These Homemade Butter Mints are just like the soft, creamy mints you’d grab after dinner at your favorite restaurant. Made with just 5 simple ingredients, they melt in your mouth and are perfect for holidays, showers, or anytime you want a sweet little treat.
Why You’ll Love These Butter Mints
- Made with just 4 simple ingredients and naturally gluten-free
- No-bake and beginner-friendly: just mix, chill, and cut for melt-in-your-mouth butter mints
- Easy to customize for Valentine’s Day, Easter, Christmas, and special events
- Store well at room temperature, making them ideal as wedding mints or dinner mints for entertaining and gifting
- A nostalgic, old-fashioned butter mint recipe that brings back memories of classic weddings and restaurant treats
Ingredients Notes
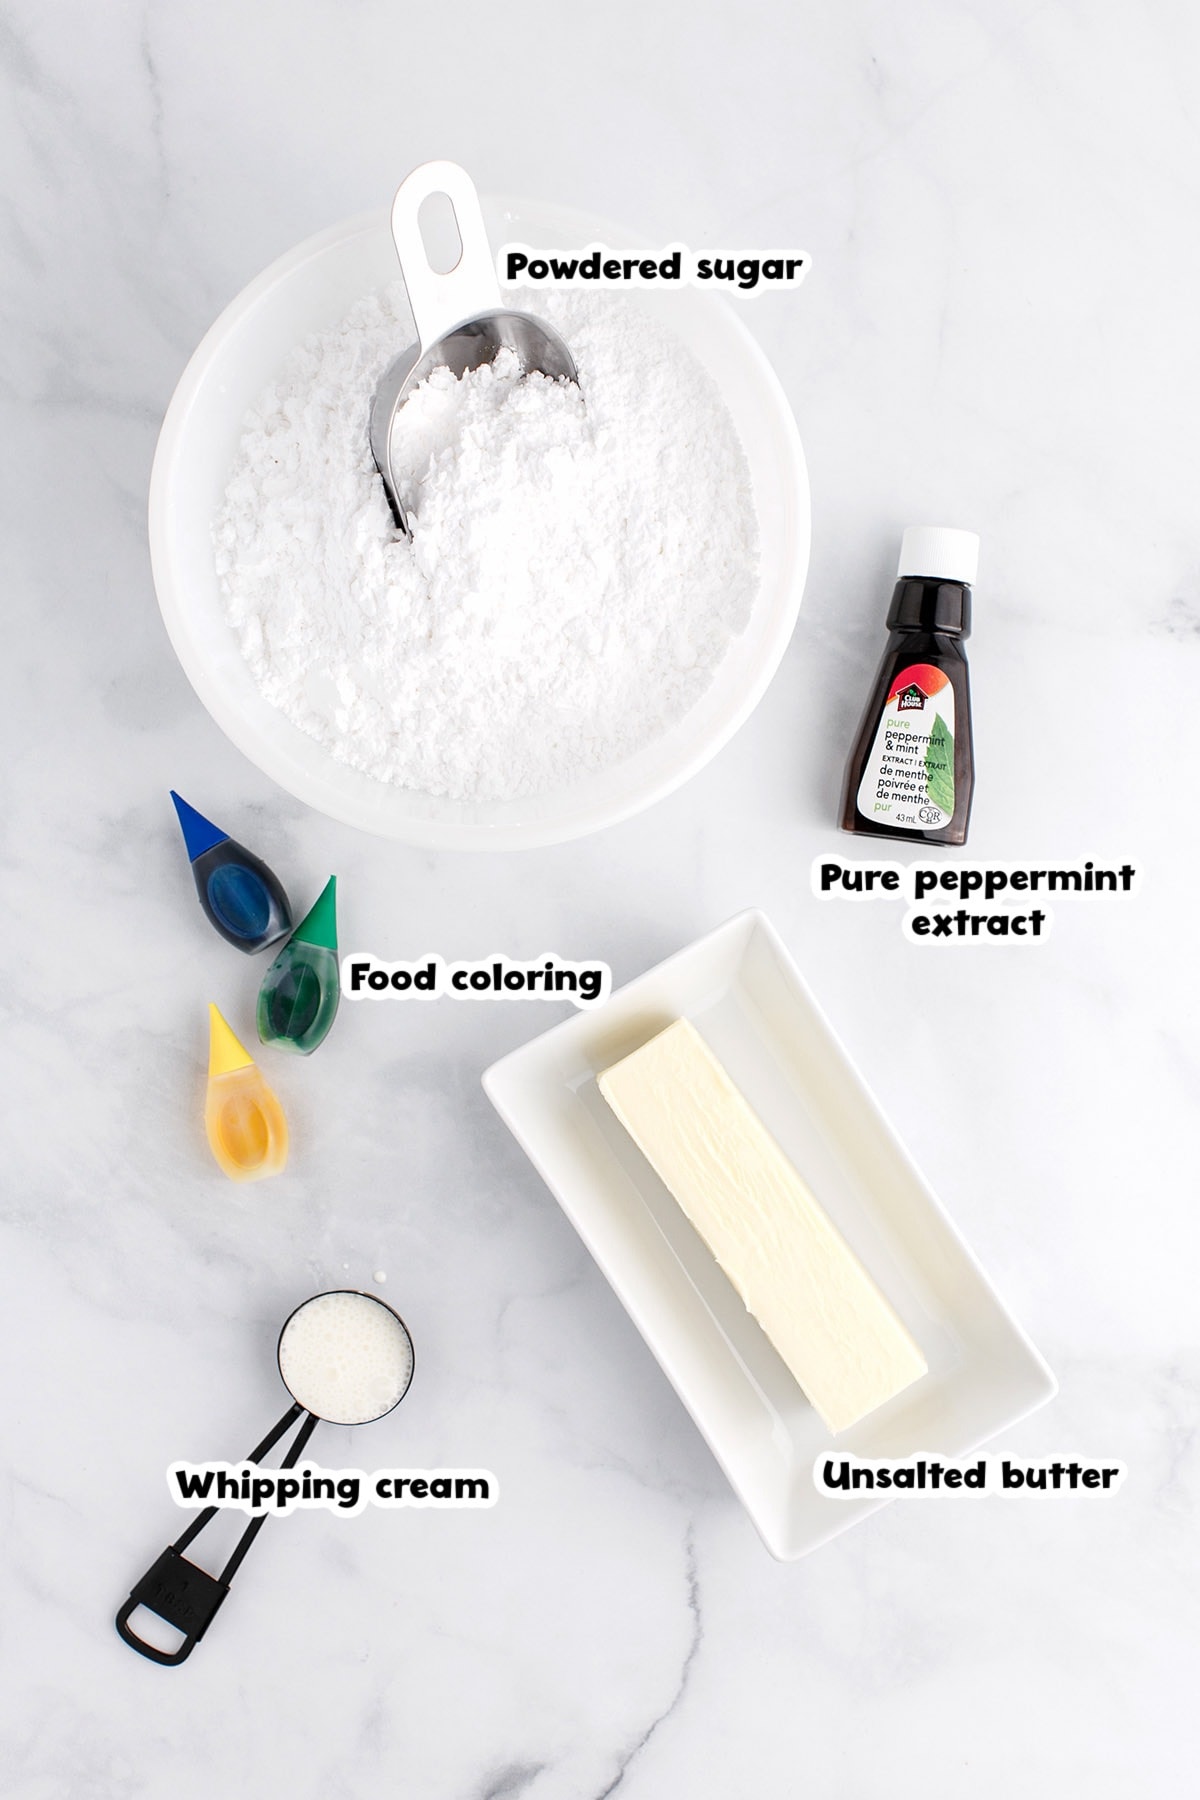
- Unsalted butter – You can use salted butter if needed, but it will add a little salty taste.
- Whipping cream – Keeps the mints soft and smooth. Heavy cream can work if necessary.
- Powdered sugar – The base of the dough, giving it structure and sweetness.
- Pure peppermint extract – Classic for that cool, refreshing flavor. Swap with vanilla, lemon, cherry, or coconut extract to mix things up.
- Food coloring (optional) – Use gel food coloring or liquid food coloring to match any party theme or holiday.
See the recipe card for full information on ingredients and quantities.
How to Make Butter Mints (Step-by-Step)
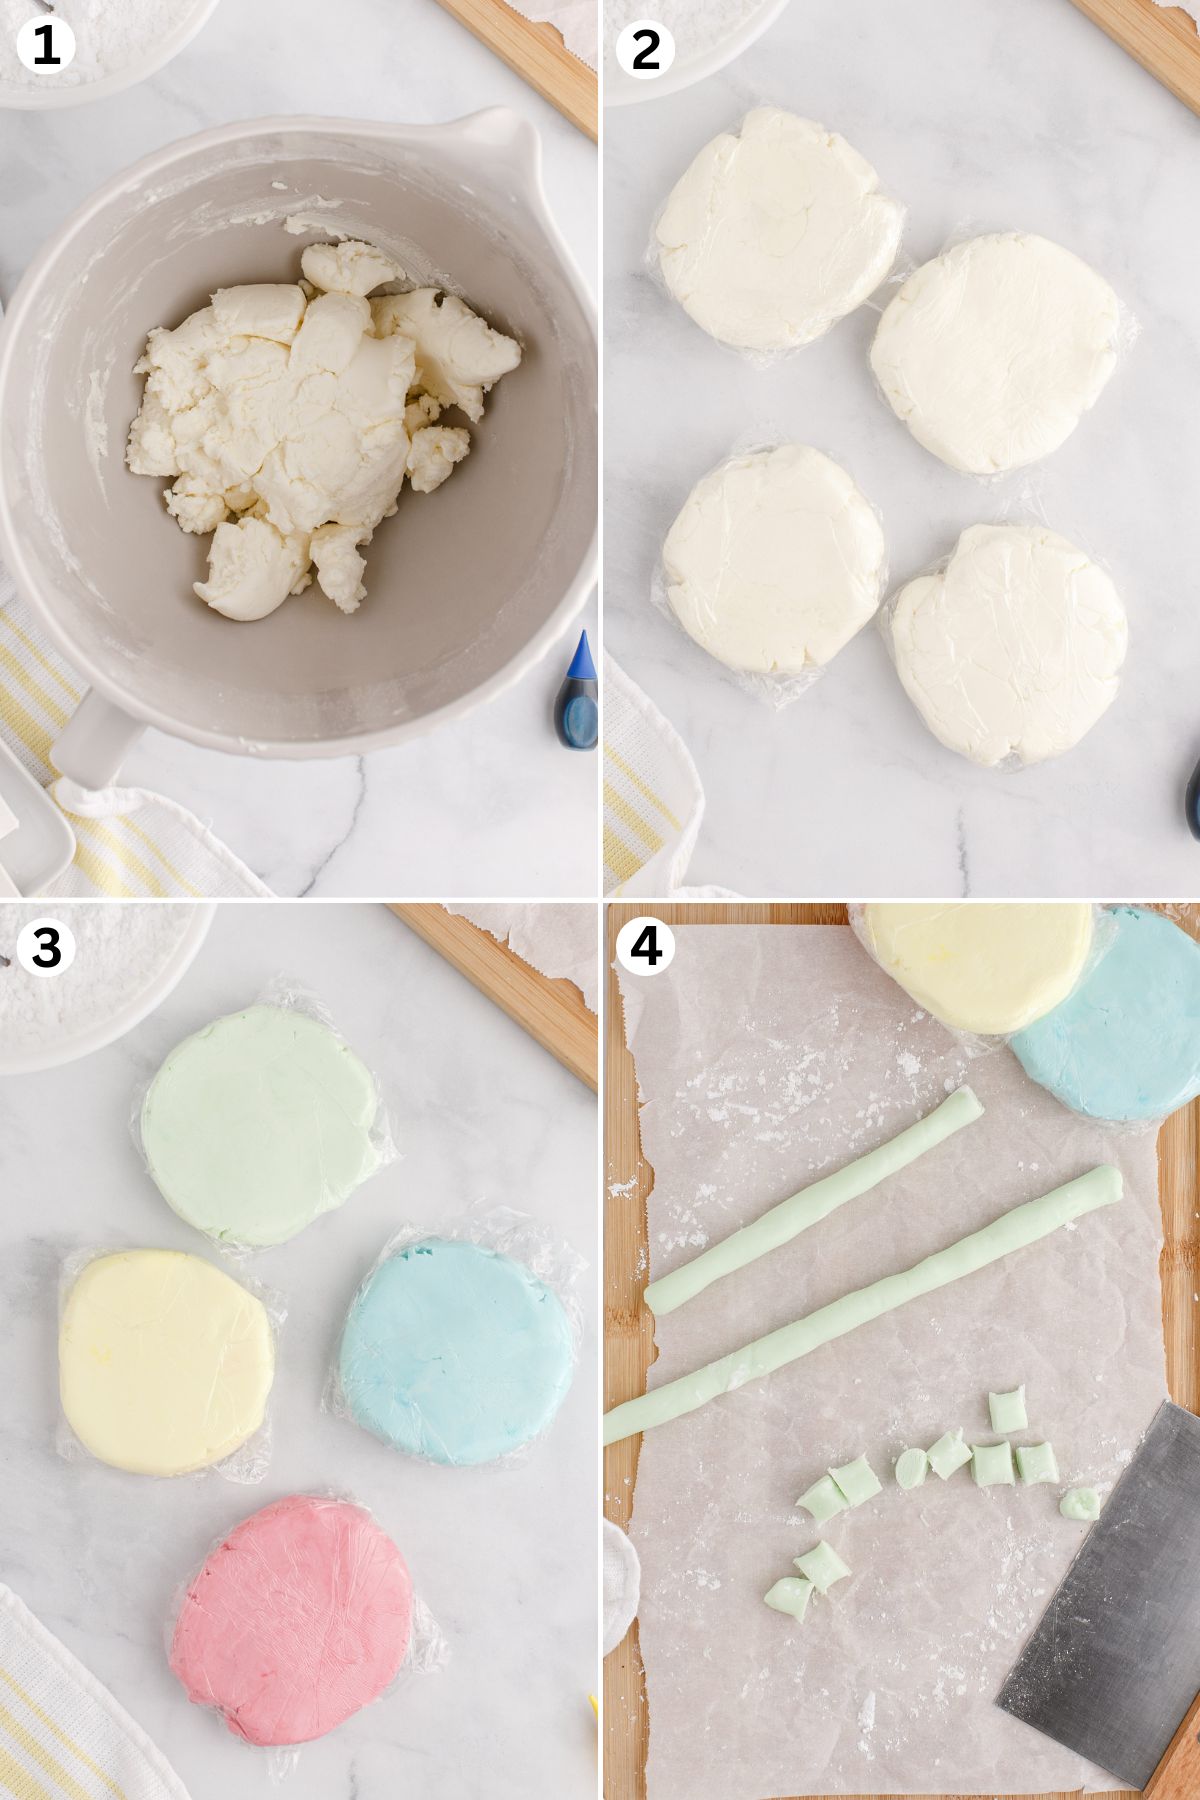
- Make the mixture: In the bowl of a stand mixer, cream together butter, whipping cream, 1 cup of powdered sugar, and peppermint extract until smooth. Gradually mix in the remaining powdered sugar until the dough is firm and starts to pull away from the sides of the bowl.
- Divide and color: Divide the dough evenly based on how many colors you want to use. Add food coloring to each portion and knead until the color is fully blended. Wrap each colored portion in plastic wrap and chill for 1 hour.
- Shape and cut: On a work surface dusted with powdered sugar, roll each chilled portion a long rope. Cut into small pieces using a sharp knife or bench scraper.
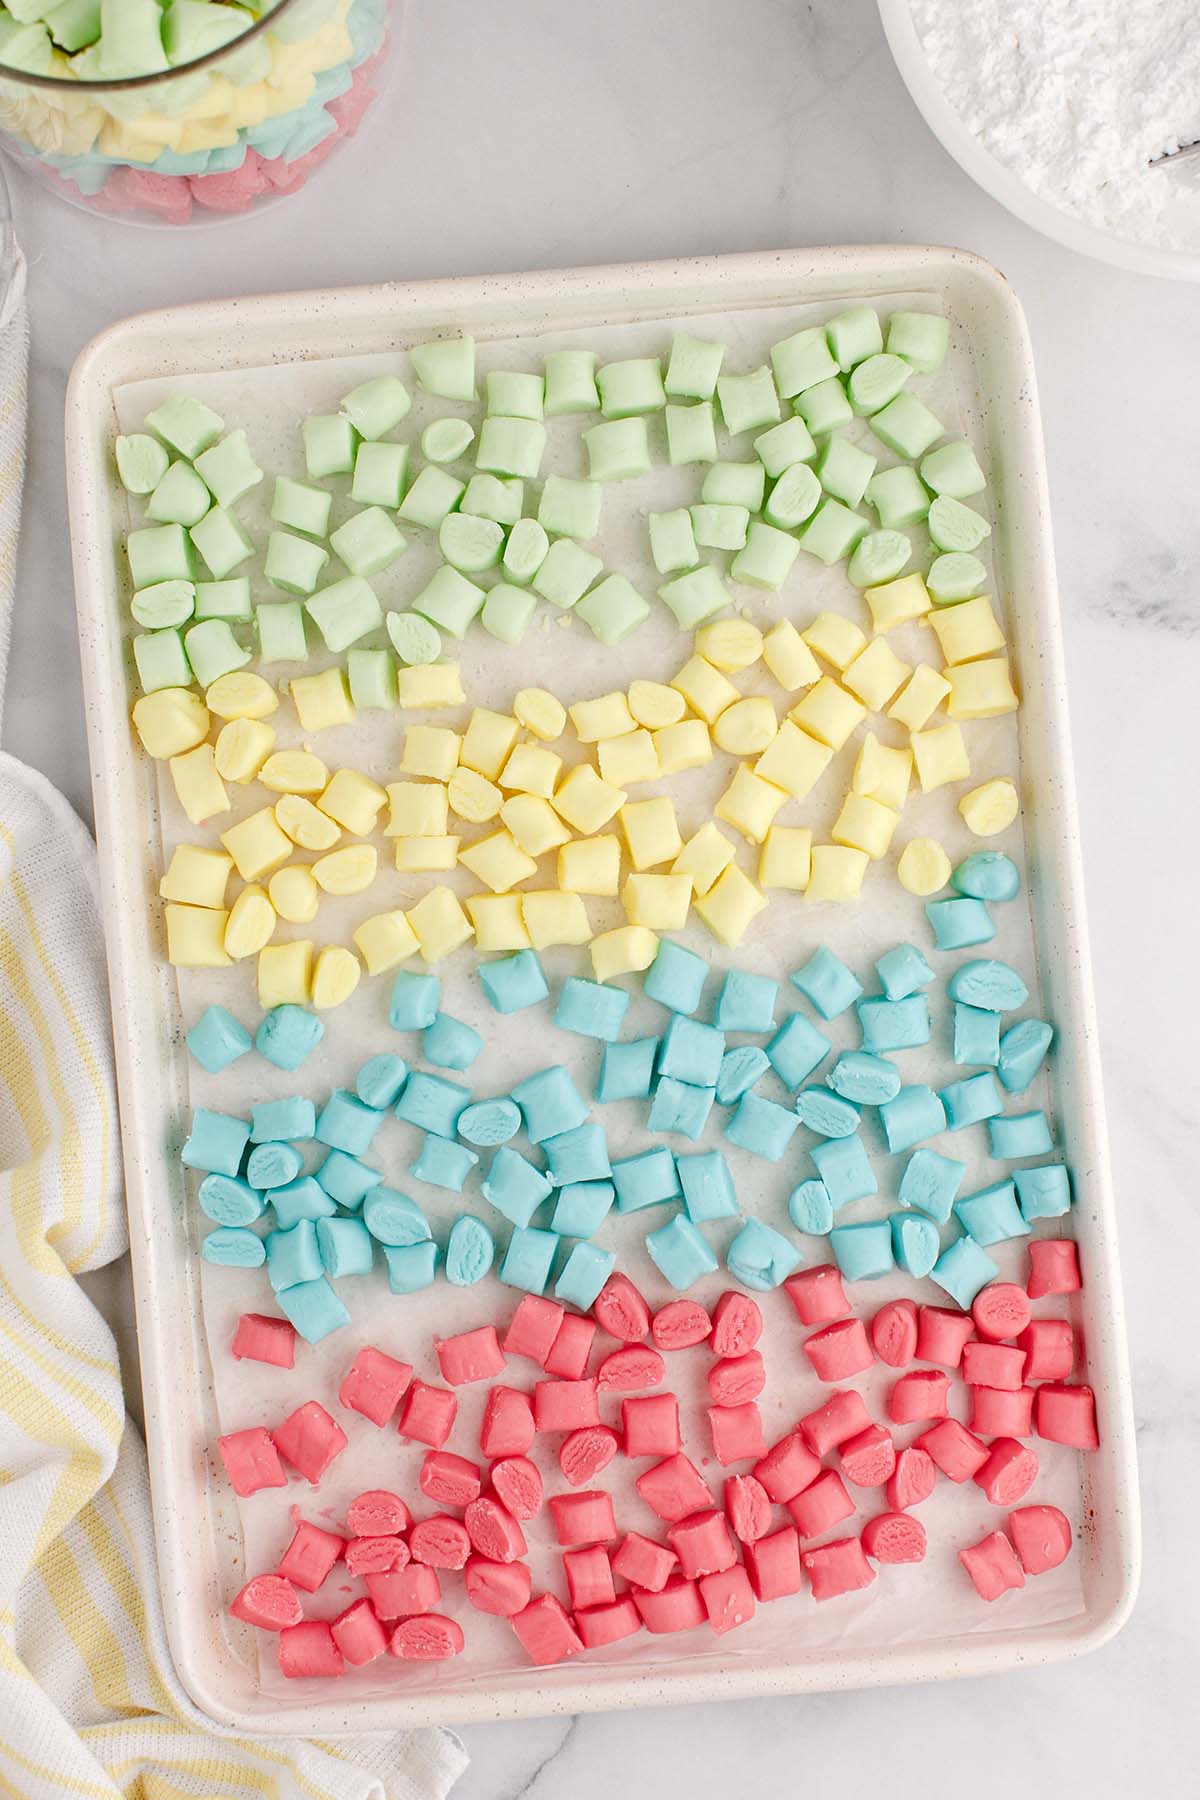
- Dry: Spread the cut mints in a single layer on a sheet pan or cutting board. Let them dry at room temperature for about 12 hours until firm.
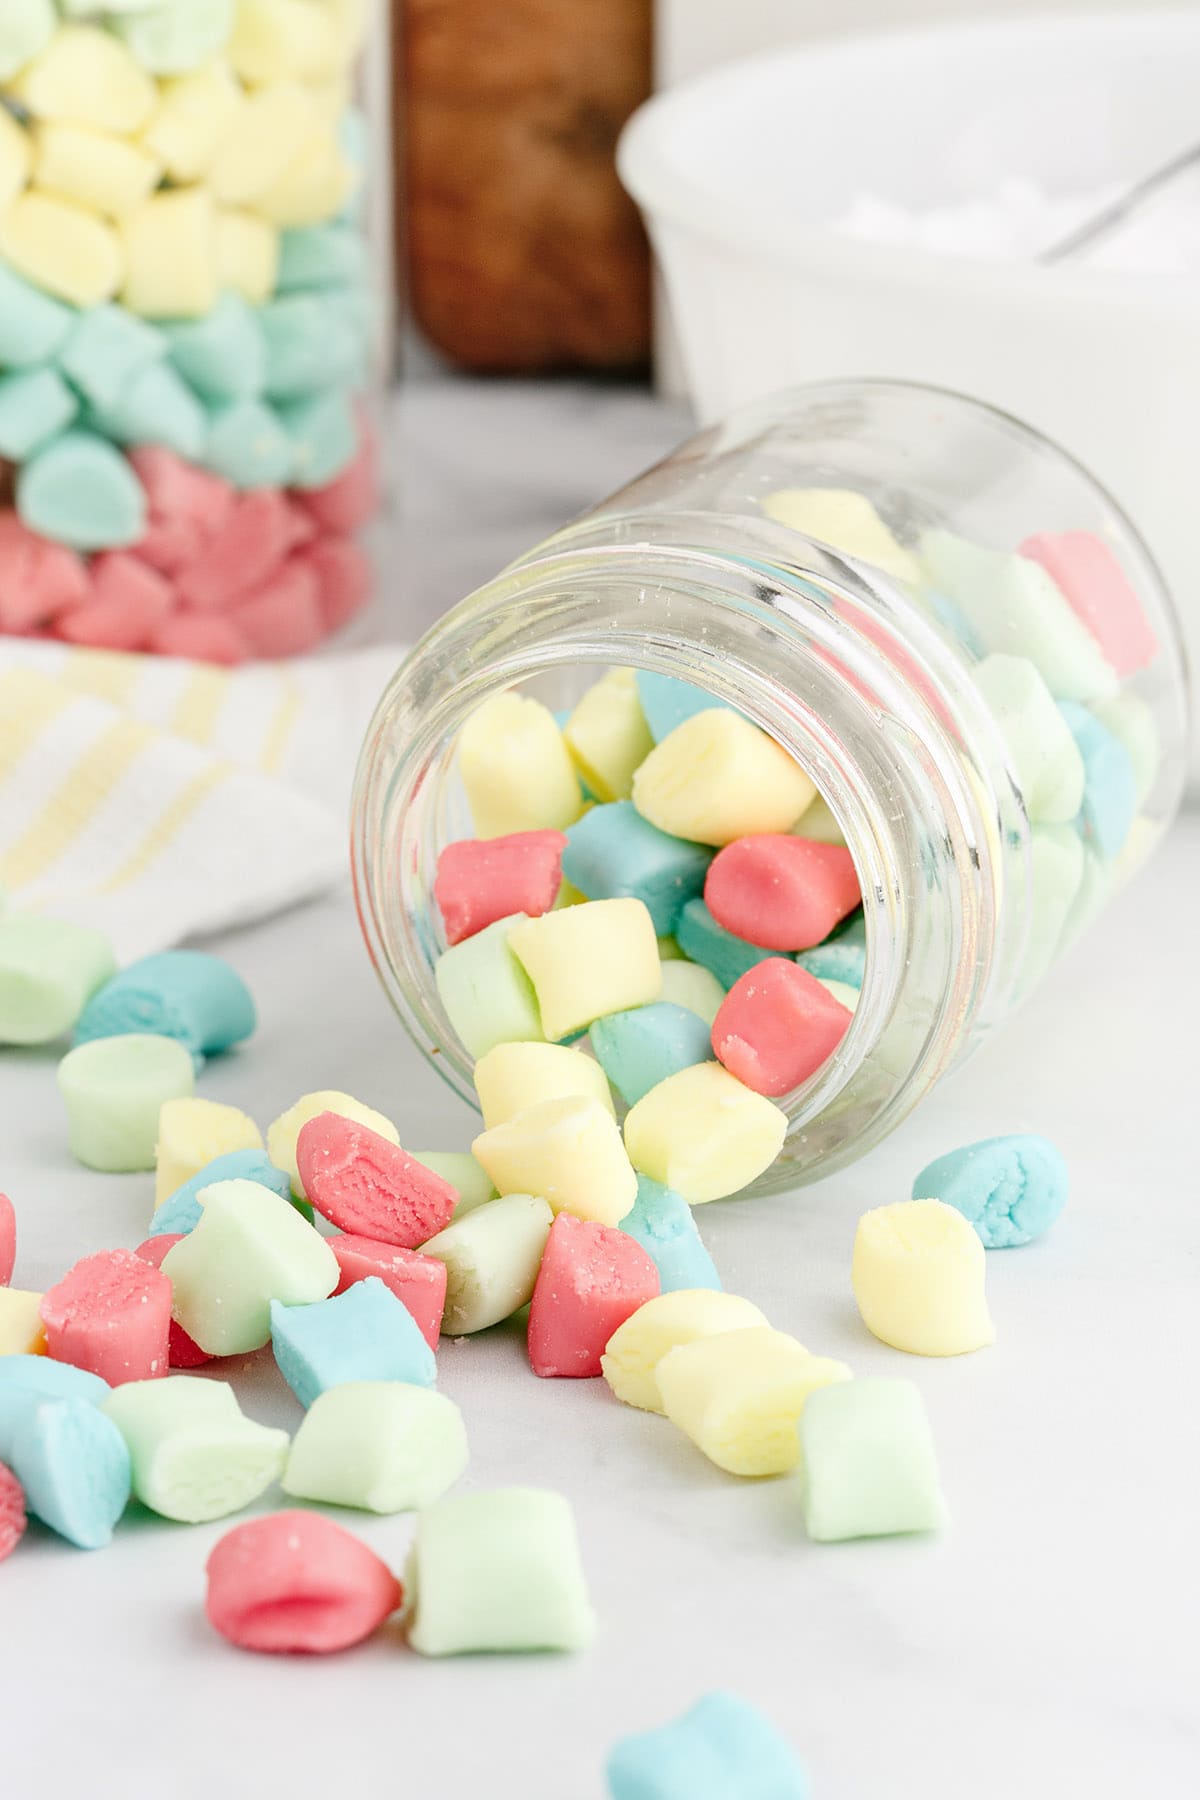
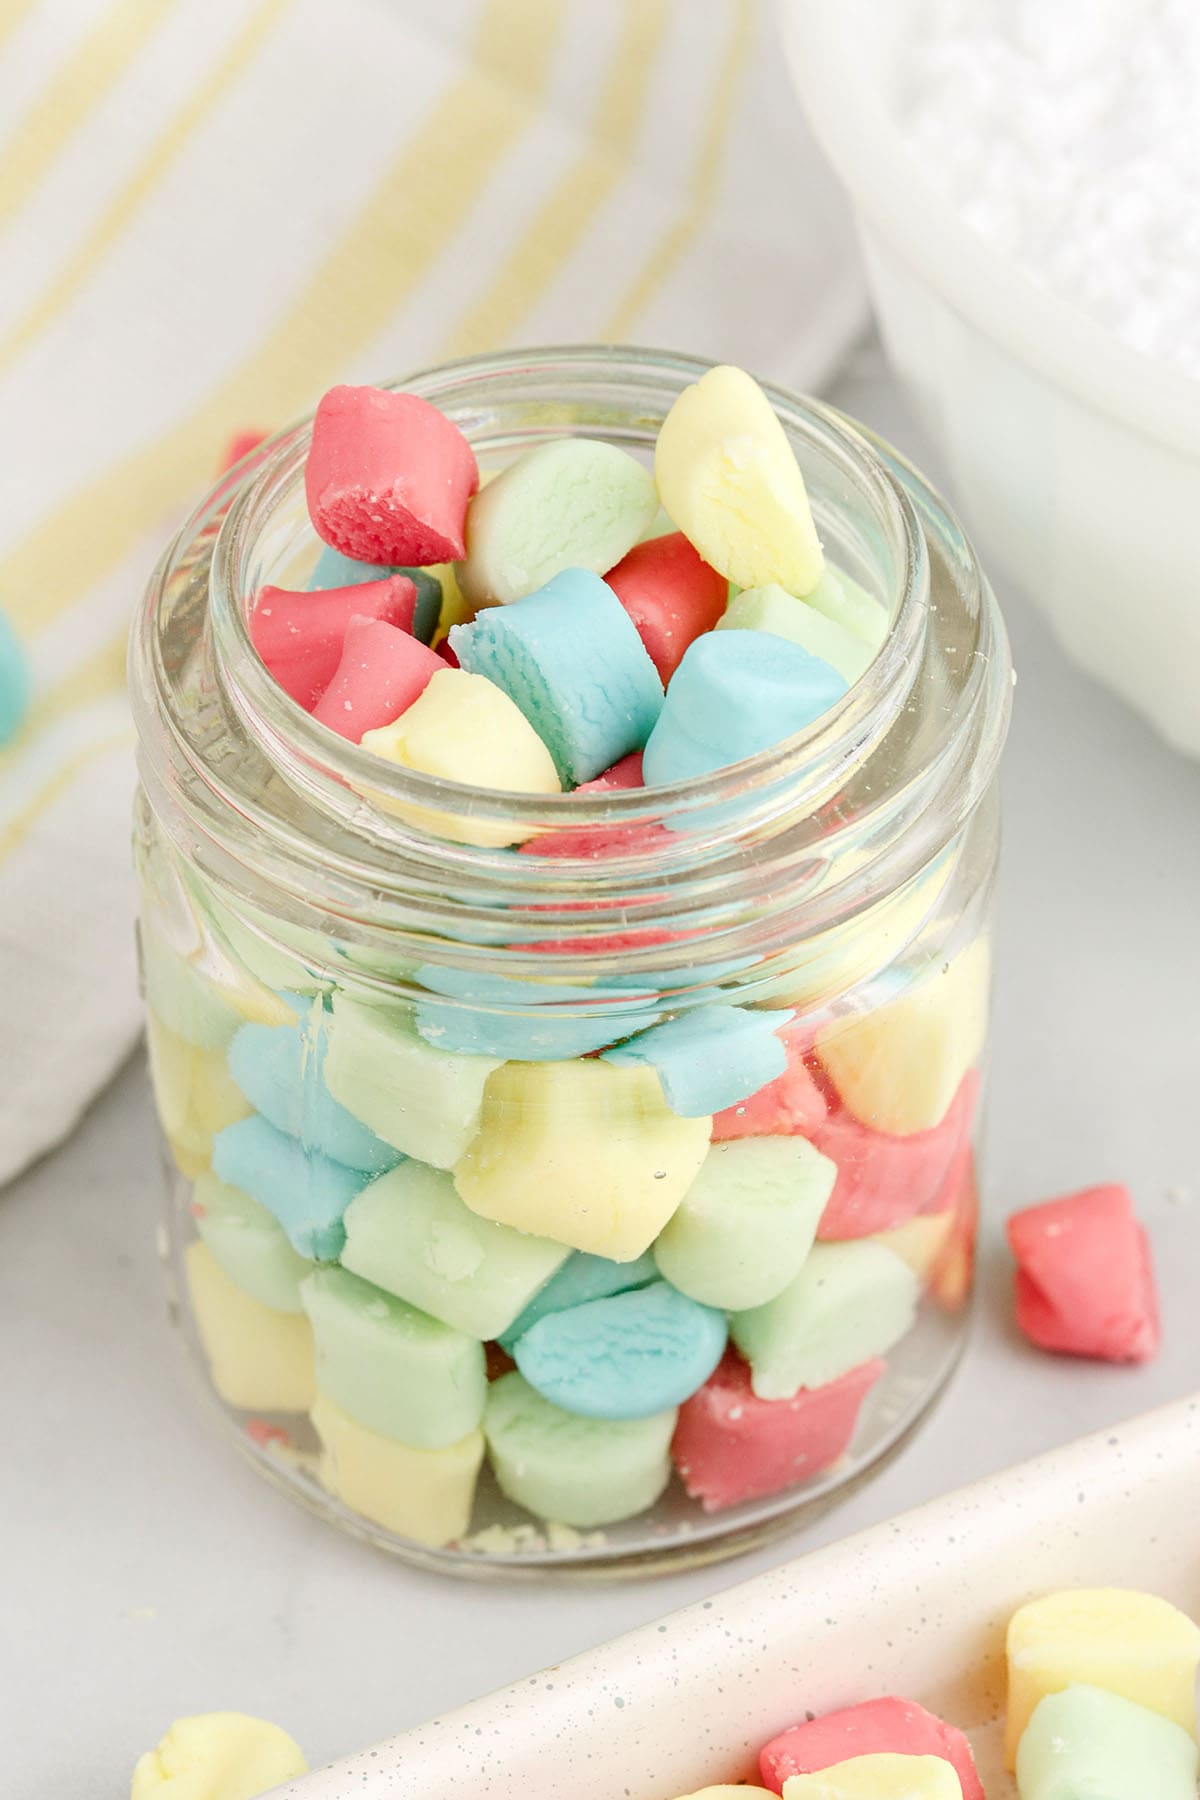
- Serve or store: Enjoy your homemade butter mints right away, or store them in an airtight container at room temperature for up to 2 weeks. Great for gifting!
Storage Instructions
- Store: Keep butter mints in an airtight container at room temperature for up to 2 weeks.
- Soften (if chilled): If stored in the fridge, let them sit at room temperature for 3–4 hours before serving to allow the butter to soften.
- Freeze: Place mints in a freezer-safe container or ziploc bag and freeze for up to 2 months. Thaw at room temperature before serving.
Frequently Asked Questions
They’re called butter mints because butter is a key ingredient, giving these candies their rich, smooth, and creamy texture.
Yes! Store them in the refrigerator for up to 1 week. Before serving, let them sit at room temperature for 3–4 hours to soften for the best texture and flavor.
Yes! You can use sprinkle silicone or rubber molds lightly with powdered sugar to prevent sticking. Be sure to chill the mints before unmolding for clean shapes.
Simply add powdered sugar a tablespoon at a time until the dough becomes firm but still pliable. Avoid adding too much to keep the mints soft.
Butter mint flavor is a sweet, subtle blend of creamy butter and cool, refreshing peppermint. It’s delicate and smooth, making these melt-in-your-mouth mints.
More Easy Holiday Treats to Try
If you loved these butter mints, here are more easy homemade treats that are perfect for the holidays:
- Peppermint Meltaways – buttery cookies with a soft peppermint flavor
- Christmas Coal Fudge – fun, rich, and giftable
- Candy Christmas Trees – adorable edible decorations
- Little Debbie Christmas Cake Balls – festive and fun to make
- Christmas Cake Mix Cookies – quick cookies with holiday colors
- Eclair Cake (No-Bake) – layered and creamy
- Easy Tiramisu (No-Bake) – rich, classic, and done in 15 minutes
If you’ve tried this Butter Mints Recipe or any other recipe on my website, please leave a star rating and let me know how it turned out in the comments below.
Butter Mints
Ingredients
- 1 stick butter unsalted
- 1 tablespoon whipping cream
- 4 cups powdered sugar divided (plus more for dusting)
- ½ teaspoon pure peppermint extract
- 1-4 drops food coloring or more is desired for a brighter color
Instructions
- In the bowl of a stand mixer, cream together butter, whipping cream, 1 cup of powdered sugar and peppermint extract until smooth.1 stick butter, 1 tablespoon whipping cream, 4 cups powdered sugar, ½ teaspoon pure peppermint extract
- Push down any dough that is on the sides of the bowl and add in another cup of powdered sugar and run again. Repeat until all the sugar is gone and the dough starts to pull away from the sides.
- If using multiple colours, divide evenly and wrap each section in plastic wrap to prevent from drying. Note: I weigh the whole ball on a scale and then divide evenly.1-4 drops food coloring
- Starting with 1 section add 1-4 drops of your color of choice and work in until evenly distributed. Note: We did Y-4, G-2, B-2, R-1. Wrap again and chill in the fridge for 1 hour. Repeat for the other colors.
- Working with 1 color at a time on a cutting board dusted with icing sugar, roll dough into a ½” thick rope shape with the palm of your hand and cut with a sharp knife or dough scraper.
- Leave cut pieces on cutting board or transfer to a baking sheet and allow them to dry at room temperature for about 12 hours.
- Store at room temperature, in an airtight container, for up to 2 weeks.
Jenn’s Notes
- To Store: Store your butter mints at room temperature, in an airtight container, for up to 2 weeks or in the refrigerator for up to 1 month.
- To Freeze: Freeze your mints in airtight containers or in freezer bags for up to 2 months.
- I used peppermint extract, not peppermint oil, for this recipe. Oils are stronger than extracts and typically have a 1:4 ratio (1/4 teaspoon of oil = 1 teaspoon extract).
- Make sure to measure the peppermint extract carefully. Too much will make your mints taste like toothpaste!
- You may need to add more powdered sugar to the mixture to get your peppermint patty dough to be the right consistency. You do not want it too stiff, but it should not be sticky.
- I used Y-4, G-2, B-2, R-1 to color my mints.


perfect buttery mints, I didn’t add any color as I made them for a wedding 💍💒 I place 6 piece in a small bag with wedding color bow.
So glad you enjoyed them! Perfect for a wedding!
I love butter mints. Thanks for the recipe
Thank you, Lanelle!
We are thinking of making these for my granddaughter’s graduation. They sound so creamy and good! Is there a substitution for the whipping cream?
Yummy
yummy yummy
could you use icing tips…flower…to give shape to mint dough?
hmmmmm…. I don’t know if you could get the dough to push through the tips, but I would totally give a try! It could work!
I would say you could probably roll it out flat and use tiny cookie cutters to make designs.
looks yummy!
My guys love these mints from parties. I will try this soon for them.