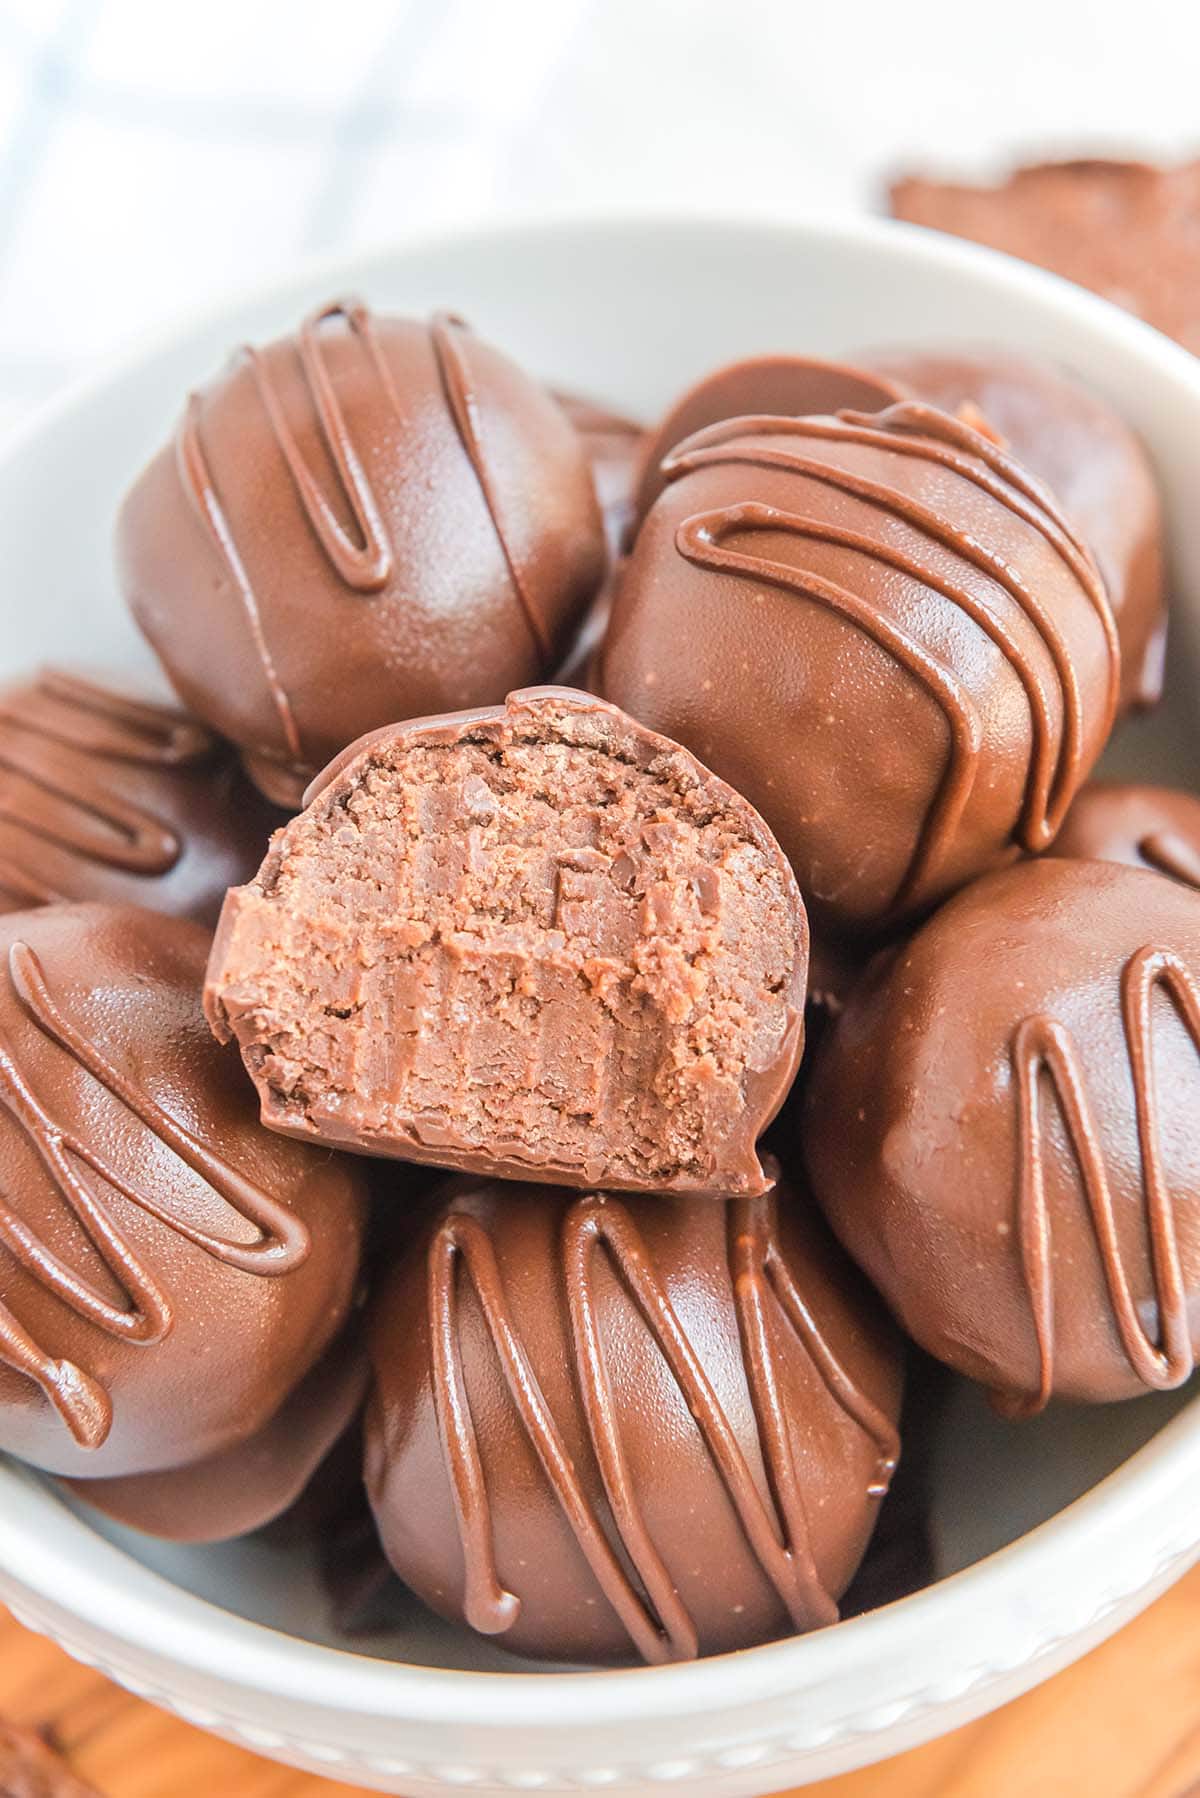
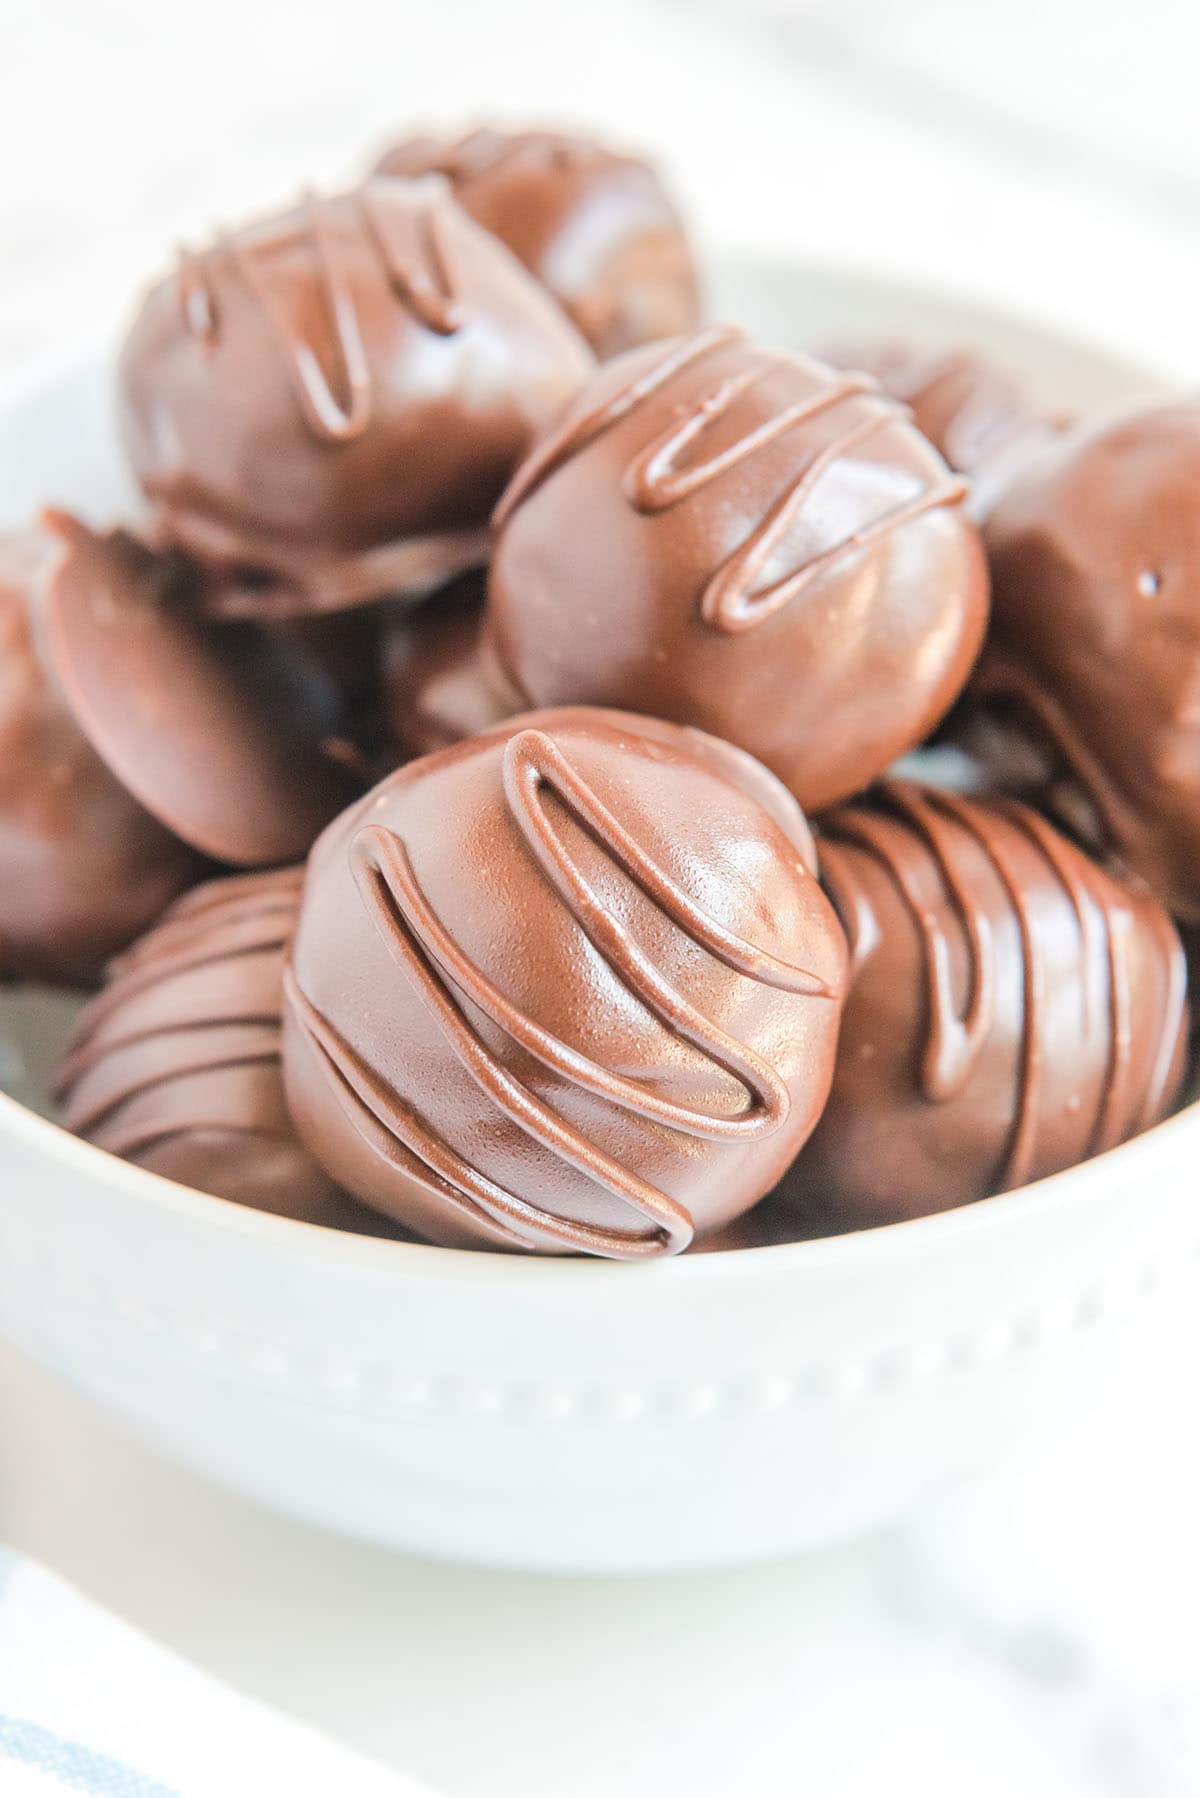
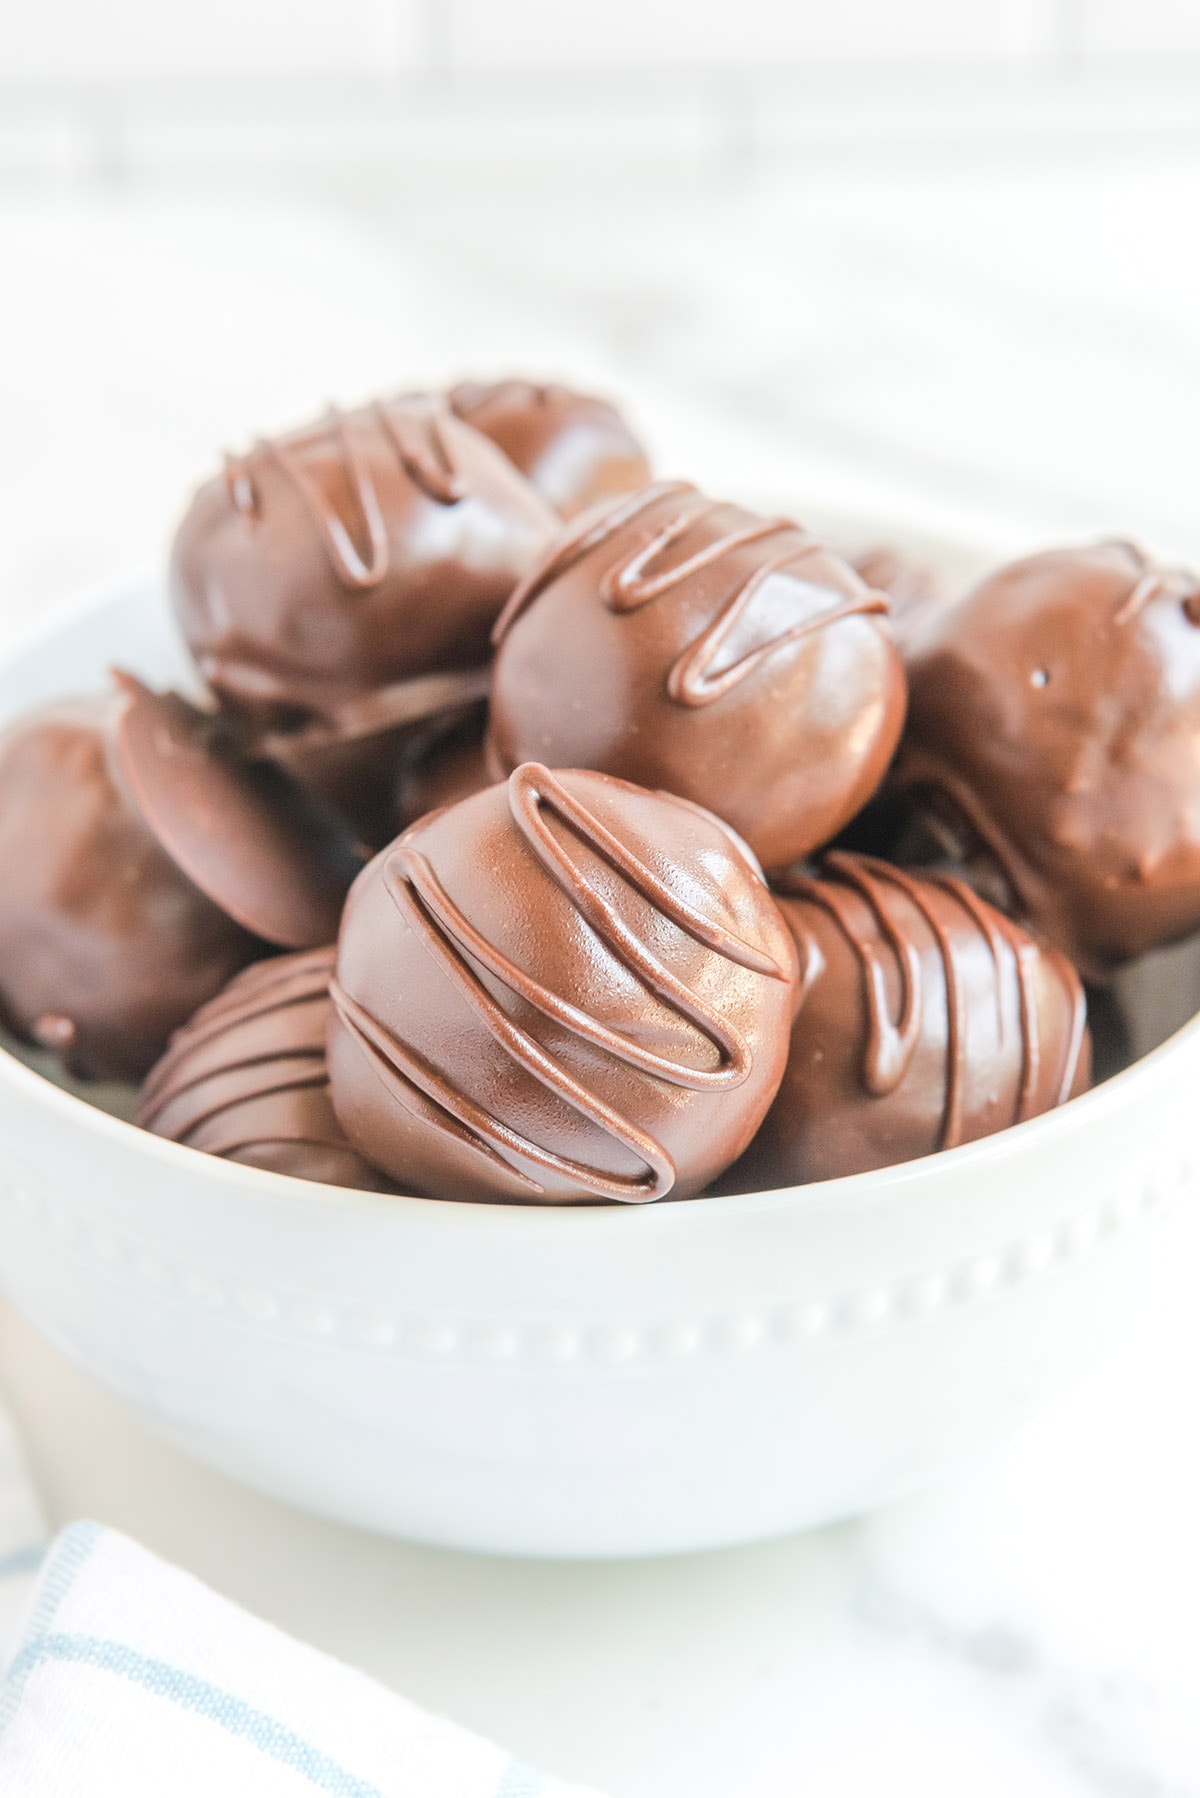
These Brownie Truffles offer a delightful combination of rich brownie bites and a chocolate coating for an irresistible dessert. This easy recipe combines a basic box of brownies with cream cheese and vanilla extract to create the most delicious candy-coated no-bake brownie cheesecake balls with brownie mix.
Easy Brownie Mix Truffles
Our no bake Brownie Truffles are easily made using only a box of fudge brownie mix (no eggs, oil, or butter needed), cream cheese, vanilla, and melted candy for coating.
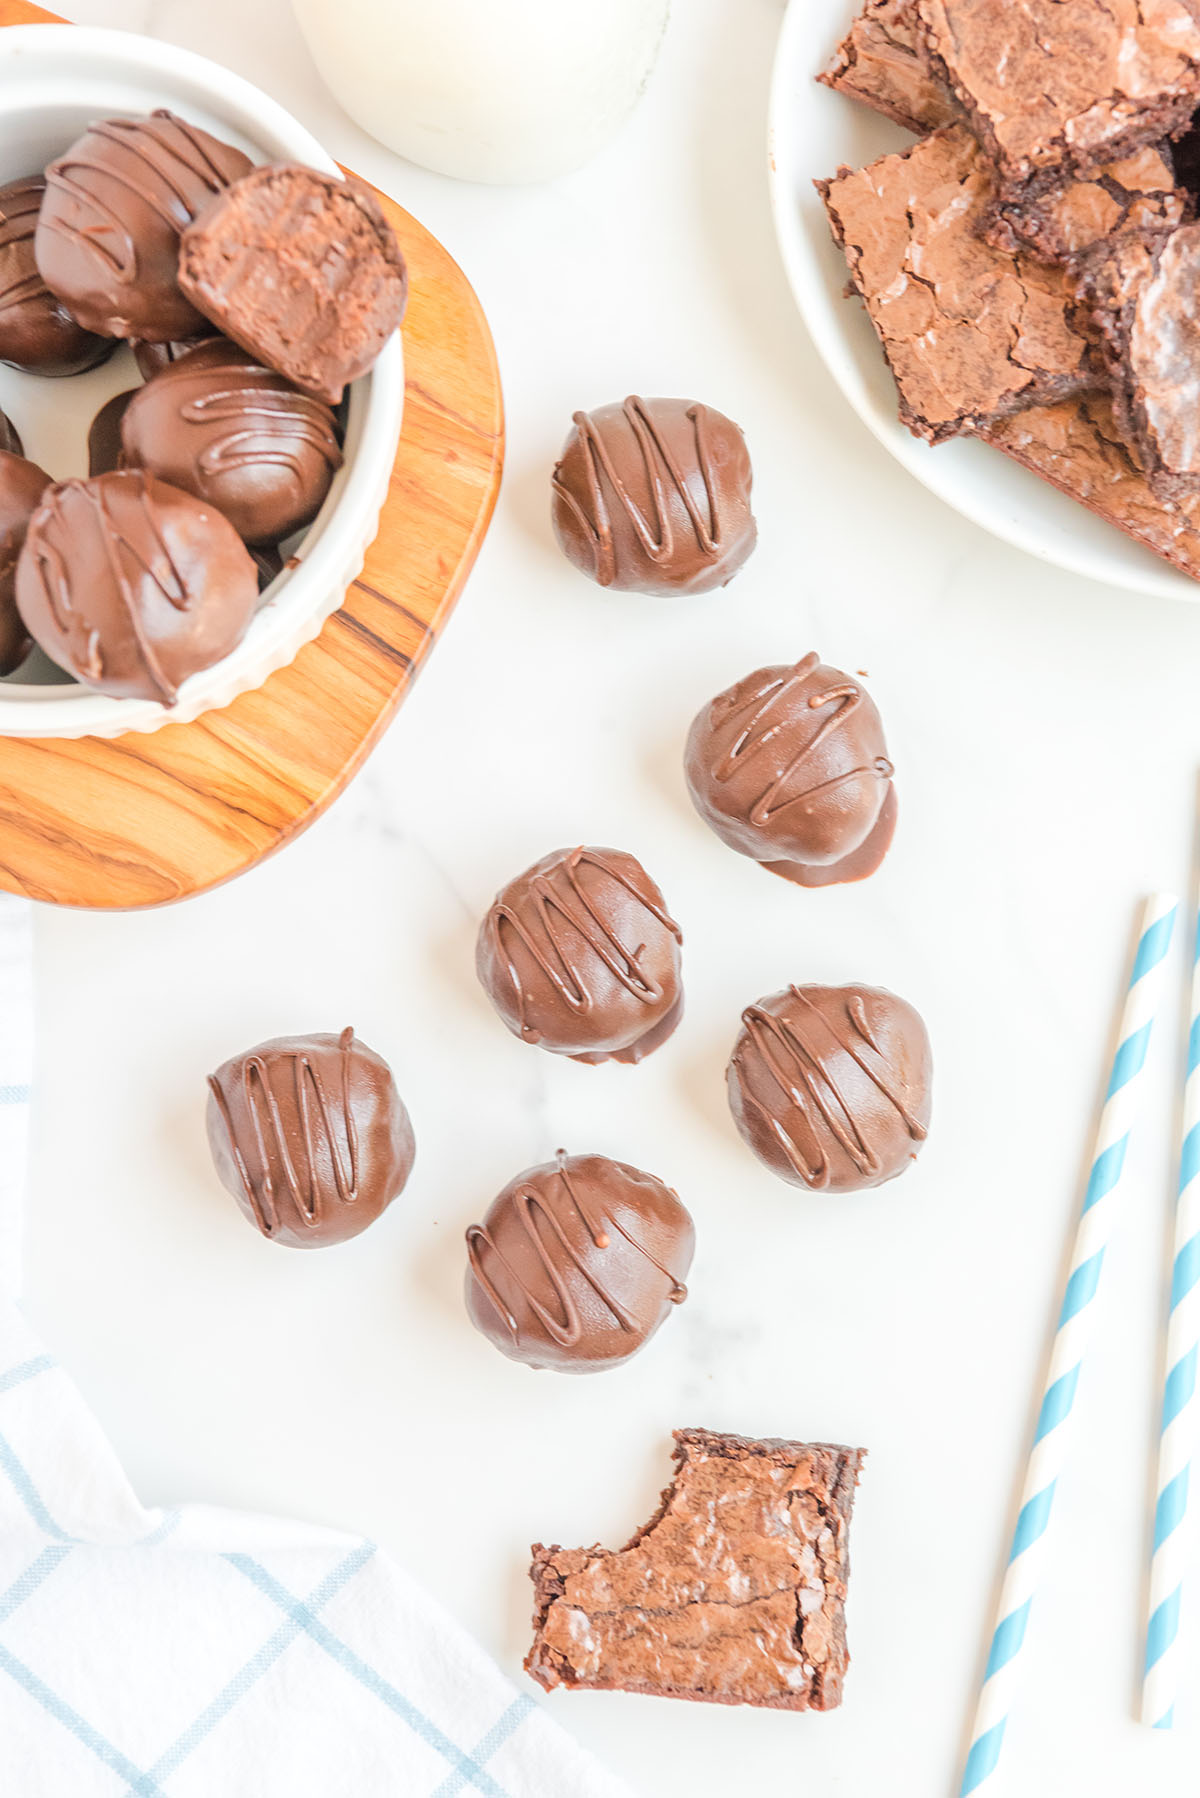
Making these no-bake truffles is as simple as scooping the 3-ingredient brownie batter, rolling it into round balls, coating each in melted chocolate, and piping lines of chocolate onto the brownie bites.
These small-sized treats taste like the best bite of unbaked brownie batter prepared as brownie cheesecake balls – but no need to worry about consuming raw flour because the brownie mix is heat treated so it’s completely safe to eat (you can even lick the bowl before washing)!
With their fudge-like consistency and rich chocolate flavor, no bake brownies that are covered in a hard chocolate coating may just make you rethink your favorite brownie recipe.
Why We Love This Brownie Truffle Recipe
- Quick and easy to make, especially because it’s no bake.
- Uses only a handful of simple ingredients.
- Brownie truffle balls taste like a fudgy brownie that you don’t have to bake.
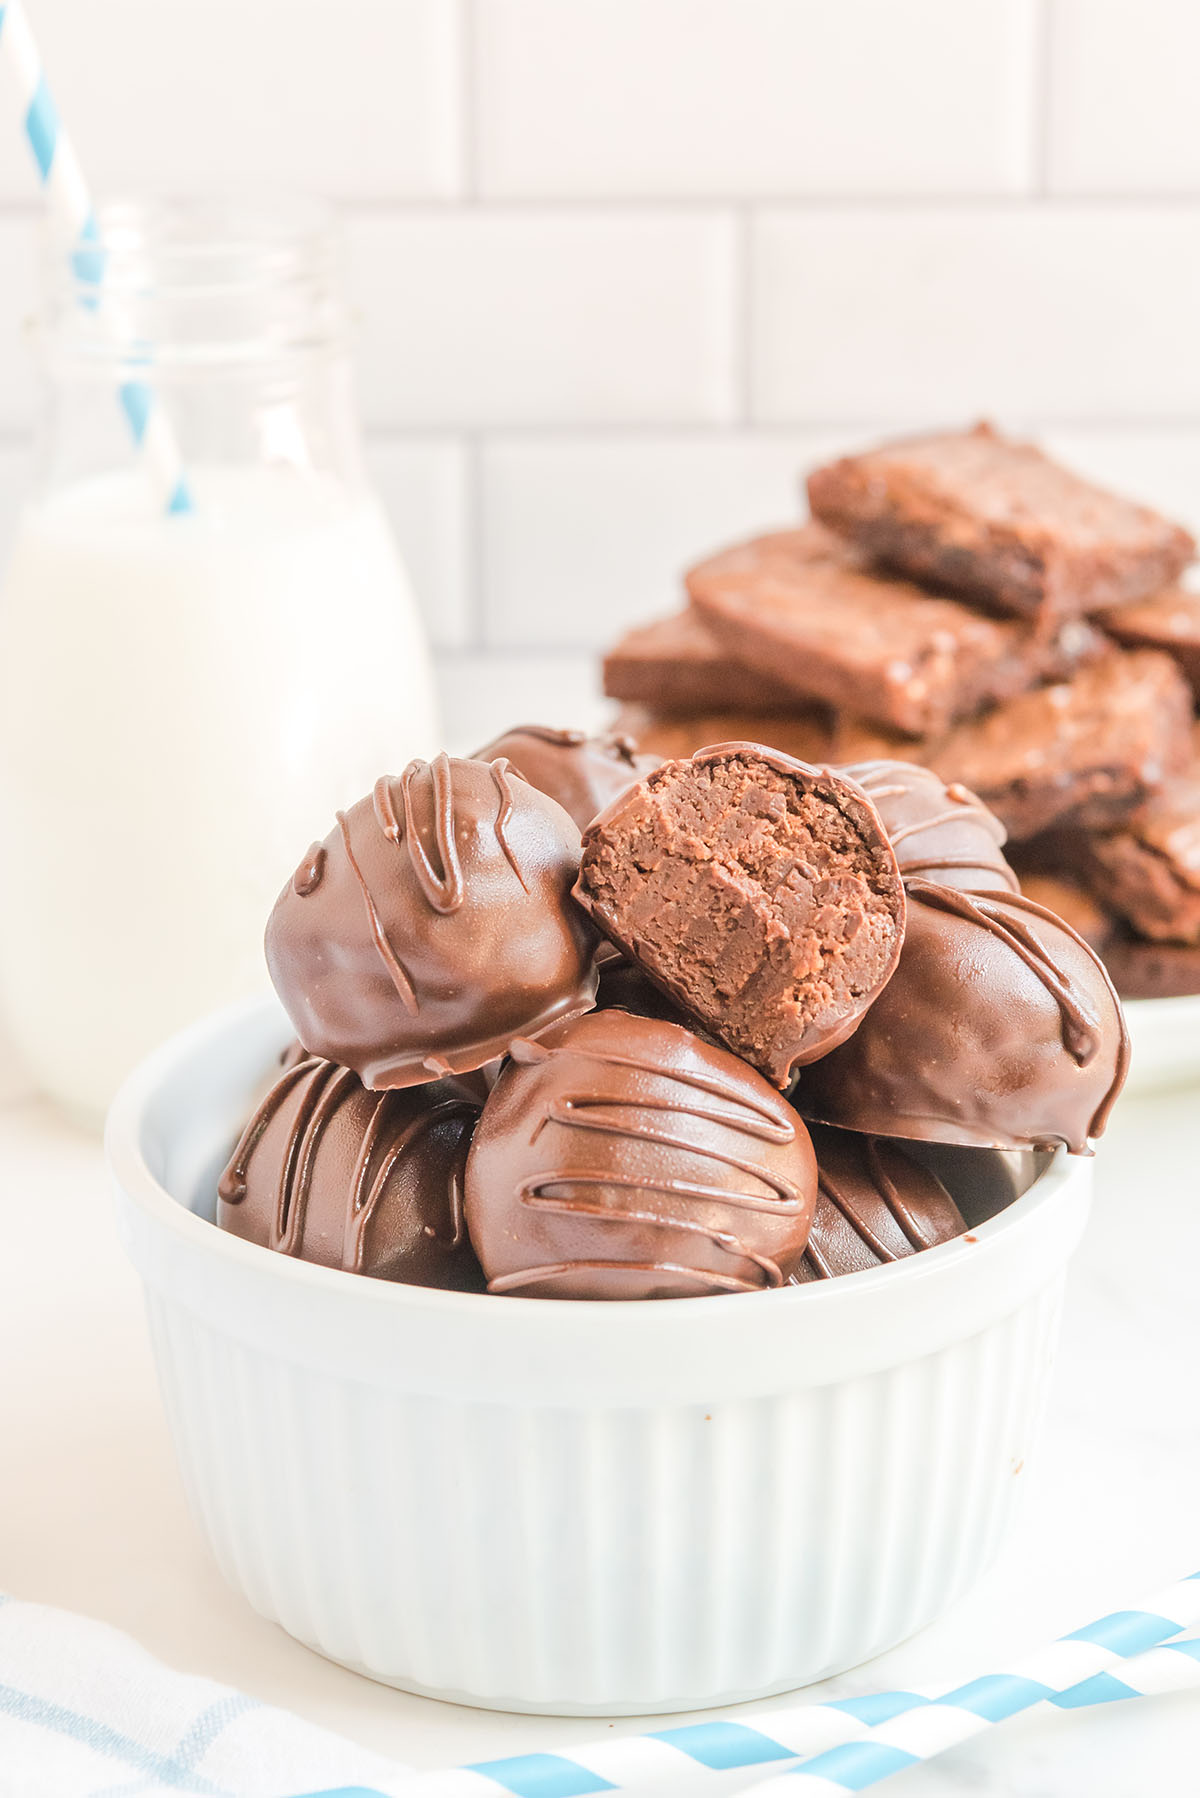
- Hardened exterior shell with a soft, moist interior makes them a great finger food and single-serving snack.
- Deliciously decadent mini-desserts that are perfectly portioned and portable.
- Perfect for gift-giving, holiday parties, or placing on a dessert tray.
Brownie Truffles Ingredients
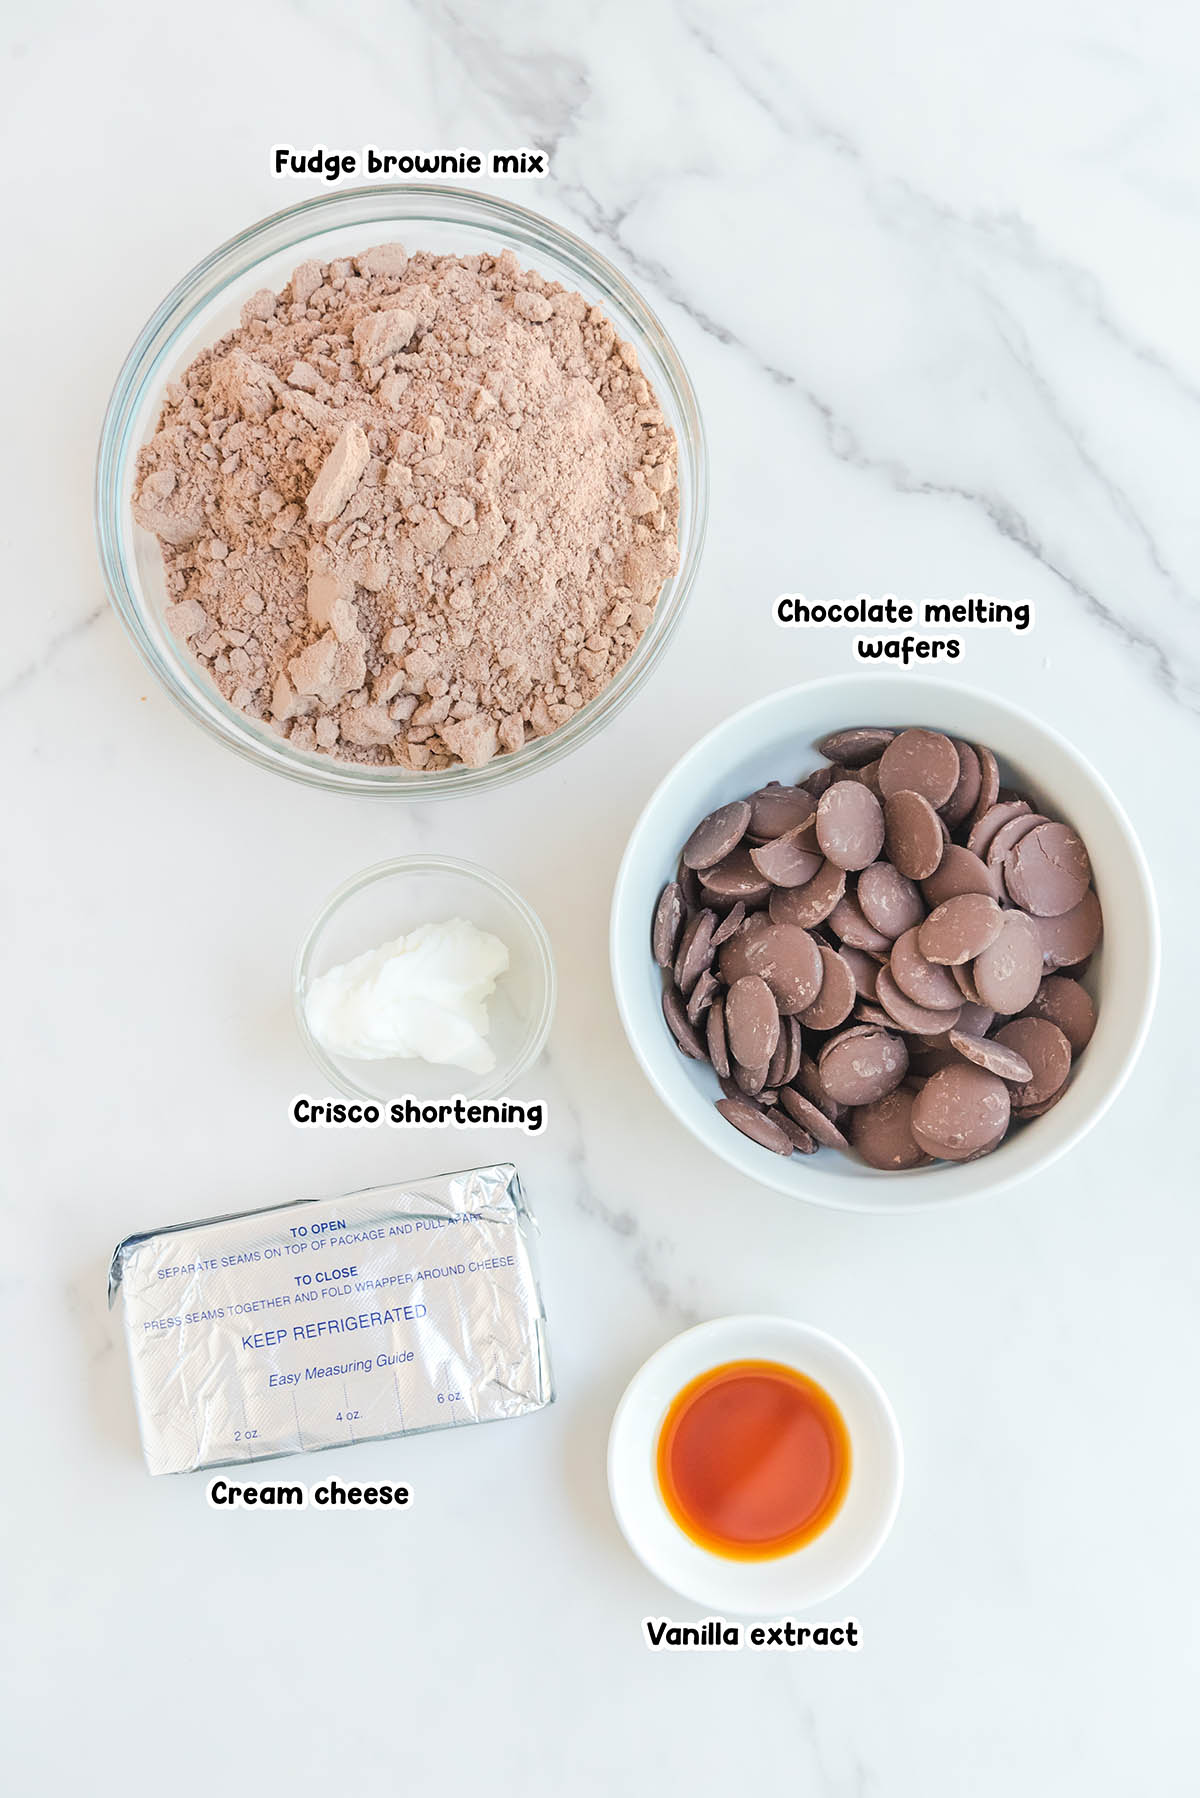
- Fudge brownie mix
- Cream cheese
- Vanilla extract
- Chocolate melting wafers
- Crisco shortening
Substitutions and Additions
- Choose Your Chocolate: You can substitute the chocolate melting wafers for brown or black candy melts or use chocolate almond bark to coat these chocolate-covered truffles. I prefer not to use chocolate chips because the chocolate doesn’t turn out as smooth.
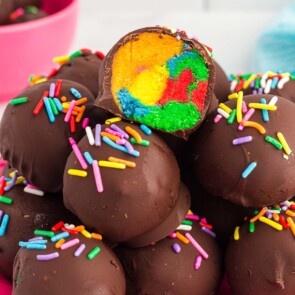
- Decorate Your Dessert: Feel free to use an assortment of colorful sprinkles to decorate your desserts. You can also use colored sanding sugar, cookie crumbles, or crushed nuts to customize the outer coating. Or drizzle some melted chocolate on top to help cover any imperfections.
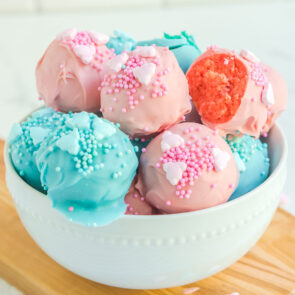
- Customize Your Candy: You can use a variety of colored sprinkles to make brownie truffles for any holiday or celebration. Add rainbow sprinkles for a birthday-themed party; red and green sprinkles for Christmas; pink and red sprinkles for Valentine’s Day; pretty pale colors for Easter.
Recommended Tools
- Large cookie sheet
- Parchment paper
- Mixing bowls
- 1-½ inch cookie scoop
- Stovetop pot
- Rubber spatula
- Forks or dipping tools
- Piping bag or Ziploc bag
How to Make Brownie Truffles
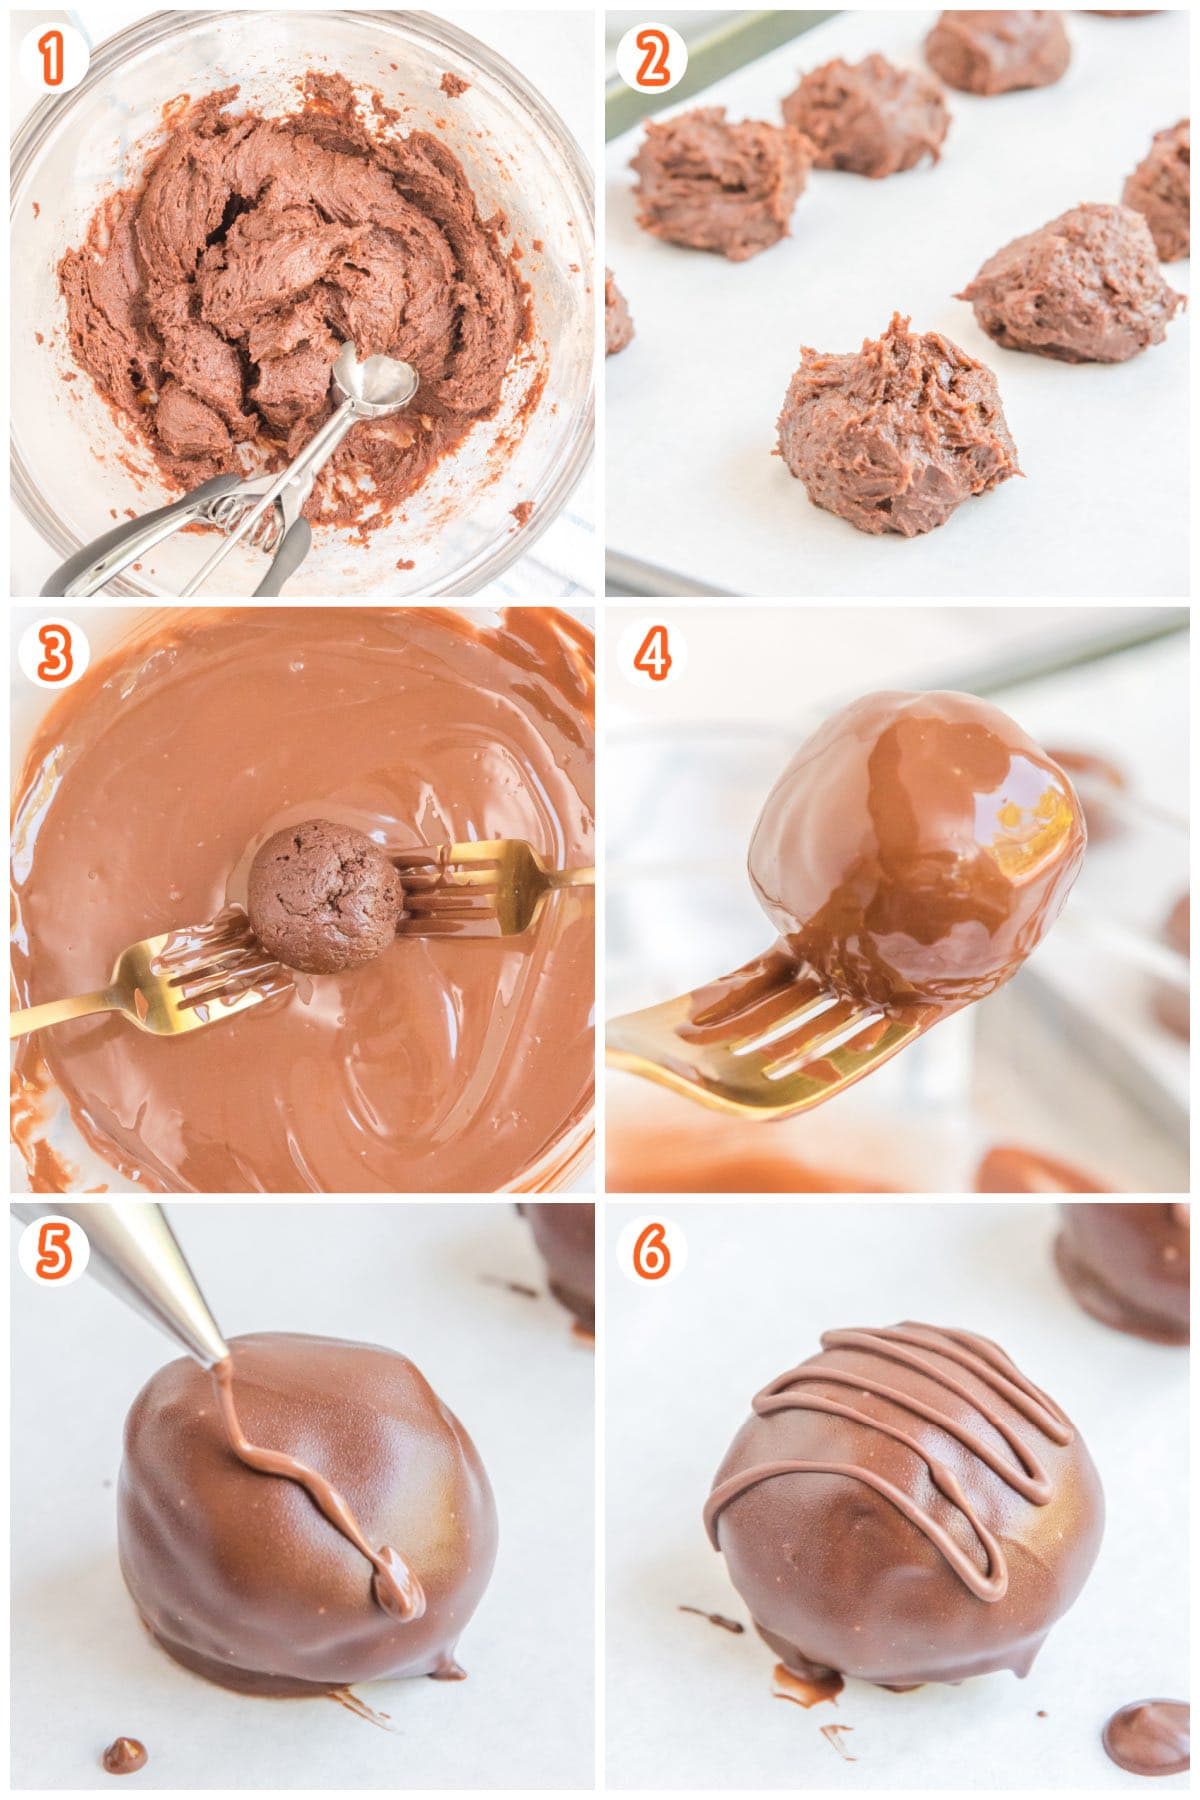
- Make The Brownie Mixture: Cream together the brownie mix, cream cheese and vanilla extract until fully combined and “dough-like”.
- Make Brownie Balls: Scoop the mixture and roll into balls. Use the palms of your hands to smooth and round each ball. Chill in the refrigerator for 1 hour.
- Melt The Chocolate: Melt the chocolate wafers in a double boiler, stirring frequently. Add crisco and stir until the chocolate is smooth, silky and fully melted. Remove from heat.
- Cover In Chocolate: Dip each truffle ball into the melted chocolate, to cover completely. Cool in the fridge for an additional 30 minutes.
- Melt More Chocolate: Repeat the double boiler process for the remaining melting wafers. Melt the chocolate, adding more crisco, and mix until silky smooth. Remove from heat.
- Decorate: Pipe chocolate lines over each truffle and place in the refrigerator to chill for an additional 30 minutes.
- Serve: Serve chilled and enjoy!
How To Heat Treat Brownie Mix
To heat treat the brownie mix in the microwave, heat the brownie mix in a microwave safe bowl for (2) 30-second intervals stirring in between. Allow the cake mix to come to room temperature before using.
To heat treat the brownie mix in the oven, place brownie mix on a large cookie sheet prepared with parchment paper. Evenly spread your brownie mix out to cover the entire sheet. Cook brownie mix at 350 degrees for 5 minutes and allow it to come to room temperature before use.
Why Do I Have to Heat Treat My Dry Brownie Mix?
It is important to heat treat the dry brownie mix before adding it to the cream cheese. Flour in uncooked batter can cause sickness and can carry bacteria. So, a quick heat treatment is needed to ensure that those germs are killed off. It’s super easy to do this by placing it in the microwave or oven for 1-2 minutes.
Melting Chocolate In The Microwave
You can use the microwave method for this chocolate, although the double boiler seems to melt the chocolate better. If you use the microwave, microwave first on 50% power of defrost mode for 1 minute. Stir the wafers, add in the crisco, and microwave for 30 second intervals stirring in between until the chocolate is silky smooth. Do not microwave utensils.
Tips For Making The Best Brownie Truffles
- These truffles are best served a little chilled.
- Make sure the cream cheese is at room temperature to avoid lumps in the cream cheese mixture.
- I prefer using full-fat cream cheese for this recipe because I think it gives these treats the most flavor and richness. Reduced fat would still work, but they may not be as rich tasting.
- Ghirardelli melting wafers are the easiest to work with and yield a very smooth finish!
How to Store Homemade Truffles
- To Store: Keep truffles stored inside the refrigerator for up to 5 days to avoid sweating or cracking.
- To Freeze: You can freeze and store the uncoated truffles for up to 2 months. You will need to thaw them overnight in the refrigerator before coating them.
More Easy Truffles Recipes
Other Easy Cheesecake Recipes
- Reese’s Cheesecake
- Easy no-bake cheesecake bites
- Mini Cheesecakes
- Blueberry Cheesecake Bars
- Fireball Whiskey Balls
- Lemon Oreo Truffles
Brownie Truffles
Ingredients
- 18.3 ounce box fudge brownie mix heat treated
- 8 ounce block of cream cheese softened at room temperature
- 1 teaspoon vanilla extract
- 1½ cups chocolate melting wafers
- 1 tablespoon crisco shortening
Instructions
- Prepare a large cookie sheet with parchment paper and set aside.
- In a medium mixing bowl cream together the brownie mix, cream cheese and vanilla extract until fully combined and “dough-like”.
- Using a 1-½ inch cookie scoop, scoop the mixture and roll into 1 – 1-½ inch balls. Use the palms of your hands to smooth and round each ball. Do this until the mixture is completely used. See notes for additional tips.
- Place each truffle ball on the sheet of parchment paper and place inside the refrigerator for 1 hour.
- About 5-10 minutes before the chilling time is complete, begin to prepare your melting chocolate by first adding the chocolate wafers to a large bowl, reserving about ¼ cup for garnishing lines.
- Next, place that bowl over a stovetop pot containing 3-4 inches of water. Bring water to a boil, creating a double boiler.
- Stir the wafers frequently using a rubber spatula as the chocolate melts. Add 1 tablespoon of the crisco and continue to stir until the chocolate is smooth, silky and fully melted. When done, remove from heat.
- Using two forks or dipping tools, dip each truffle ball into the melted chocolate, covering it completely. Roll the ball, working it into the chocolate to cover it completely.
- Place each chocolate covered truffle on parchment paper and repeat the process for all truffles.
- Place inside the refrigerator and allow to cool for an additional 30 minutes.
- When the truffles have almost finished chilling, repeat the double boiler process for the remaining melting wafers. Melt down the chocolate, adding a small amount of more crisco and mix until silky smooth. When done, remove from heat.
- Using a piping bag or small plastic Ziploc bag, pipe chocolate lines over each truffle, moving the bag back and forth.
- Repeat this process for all truffles one at a time before placing in the refrigerator to chill for an additional 30 minutes before serving.
Jenn’s Notes
- To Store: Keep truffles stored inside the refrigerator for up to 5 days to avoid sweating or cracking.
- To Freeze: You can freeze and store the uncoated truffles for up to 2 months. You will need to thaw them overnight in the refrigerator before coating them.
- Truffles are a commonly found recipe with little variations while preparing properly. Key ingredients and processes within this recipe are commonly found. There have been tweaks to create originality. This recipe is exclusively written and shot for one buyer only.
- MICROWAVE INSTRUCTIONS for heat treating brownie mix: To heat treat the cake mix, microwave the cake mix in a microwave safe bowl for (2) 30-second intervals stirring in between. Allow the cake mix to come to room temperature before using.
- OVEN INSTRUCTIONS for heat treating brownie mix: place cake mix on a large cookie sheet prepared with parchment paper. Evenly spread your cake mix out to cover the entire sheet. Cook cake mix at 350 degrees for 5 minutes and allow it to come to room temperature before use.
- You can substitute the chocolate melting wafers for brown or black candy melts. However the chocolate is much more delicious!
- Ghirardelli melting wafers are the easiest to work with and yield a very smooth finish!
- PRO TIPS: When rounding your brownie truffles, be sure to wash your hands a few times in between. The brownie mix will best form balls when rolled with clean hands. You won’t get perfectly round edges. They will have rough sides when first rolled. This is why you should roll them again after they have chilled to shape them even more before dipping them in chocolate!
- You can use the microwave method for this chocolate, although the double boiler seems to melt the chocolate better. If you use the microwave, microwave first on 50% power of defrost mode for 1 minute. Stir the wafers, add in the crisco, and microwave for 30 second intervals stirring in between until the chocolate is silky smooth. Do not microwave utensils.
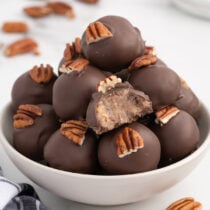
- These have a rich brownie taste to them! You can really taste the fudge-like consistency and the rich chocolate flavor.
- The inside of these are mildly moist, soft and thick!
- Keep truffles stored inside the refrigerator to avoid sweating or cracking!



By far the easiest dessert I’ve ever made and the richest tasting. I made these for a Christmas party and they were a smash. Love this recipe!
Hi Kim! Thanks so much for the feedback! So glad it was a hit!