These watercolor mason jars are the perfect solution for storing painting and craft supplies, or to use as a simple vase for fresh flowers. I love simple and easy mason jar crafts!
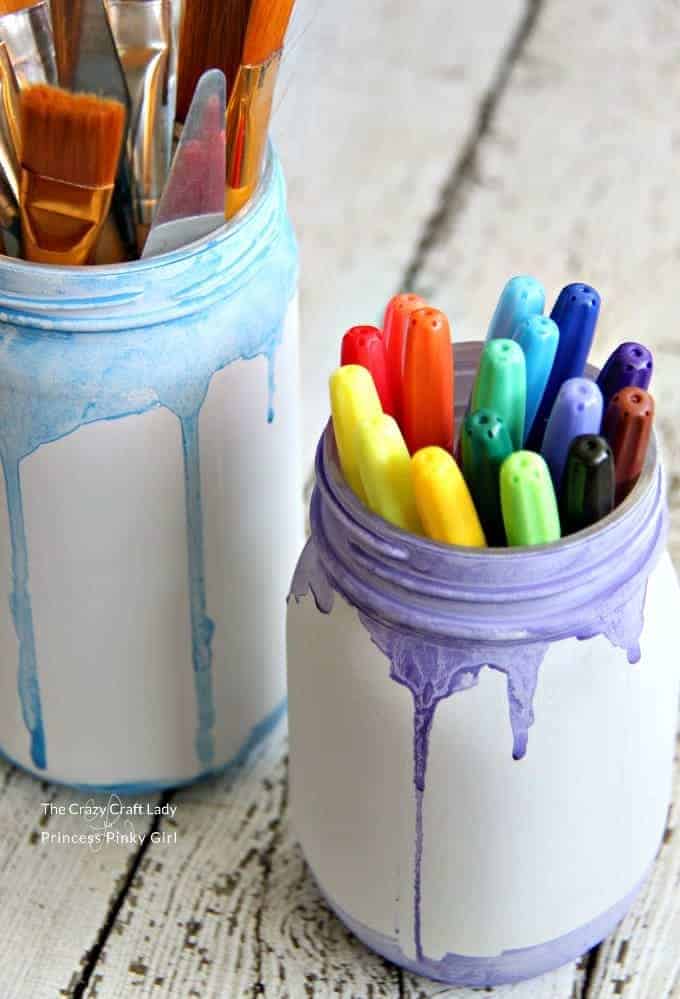 These super simple watercolor mason jars are the perfect quick craft for your craft room or painting studio. Using chalk paint and acrylic paint on mason jars is extremely popular, so give watercolor a try this time.
Hi guys! I’m Aimee, and I blog over at The Crazy Craft Lady where I strive to make everyday creative with simple crafts, easy family-friendly recipes, organizing and DIY decor projects.
Thanks so much to Jenn for letting me stop in today and share this guest post – my super simple watercolor mason jars. I hope you all enjoy it!
Jenn loves mason jar anything! Check out this great Mason Jar Gift ideas Round-up and with Halloween around the corner, these super fun Halloween Mason Jars luminaries. They are a great project to do with your kids this Halloween!
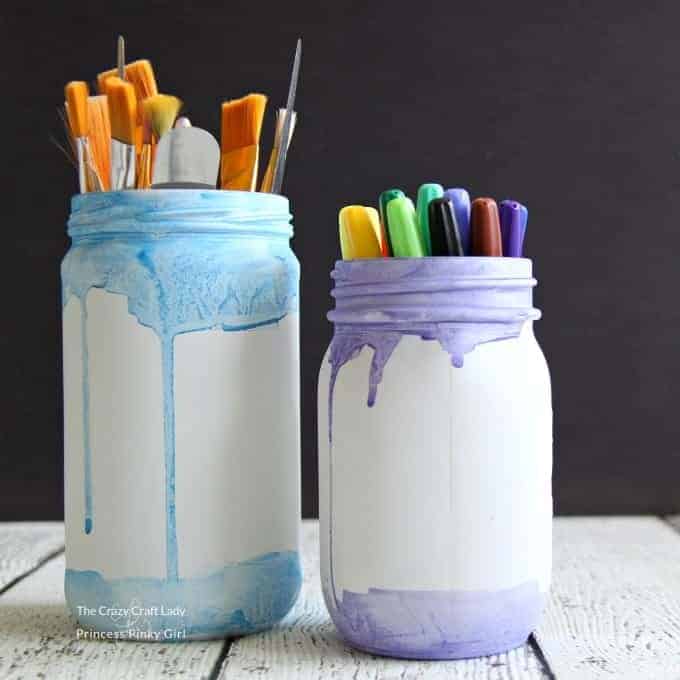
Supplies needed to make these cute watercolor mason jars:
- Glass mason jars , empty and clean
- White spray paint
- Cardboard or other flat surface for painting
- Watercolor paints, any color you like
- Paint brush
- Water and bowl for watercolor paint
- (optional) clear acrylic spray for sealing the watercolor paint
A quick note on the glass jars: you can either buy mason jars at the craft or grocery store or you can upcycle empty glass jars from your kitchen. Here’s a tutorial for my favorite way to remove labels from wine and other glass bottles.
Directions – Easy Watercolor Mason Jars
- First, in a well-ventilated area (I prefer to go outdoors) spray paint the glass jars white. You will need to spray 3-4 very thin coats of spray paint to get complete coverage without pooling or dripping paint.
- Then allow the white paint to dry completely.
- Next, grab your favorite watercolor paints. There’s no need for anything fancy – I used paints from my kids’ craft supply stash. Mix up the watercolors, and paint the top rim of the mason jar.
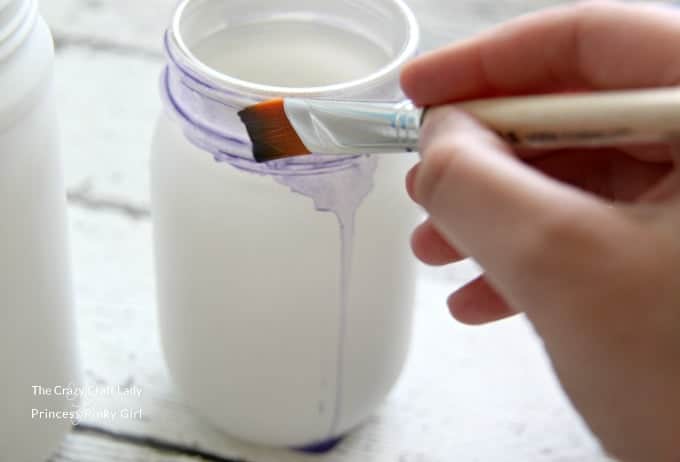
- Then, you can follow any pattern you like here. Layer the watercolor, coaxing drip lines by pooling paint in selected spots. I just pooled paint at random, allowing drip lines to form. Then I used a paper towel to clean up the dripping paint at the bottom of the jar. Too easy!
- If the paint is not dark enough, allow it to dry partially and then add more. You can layer as much paint as you like.
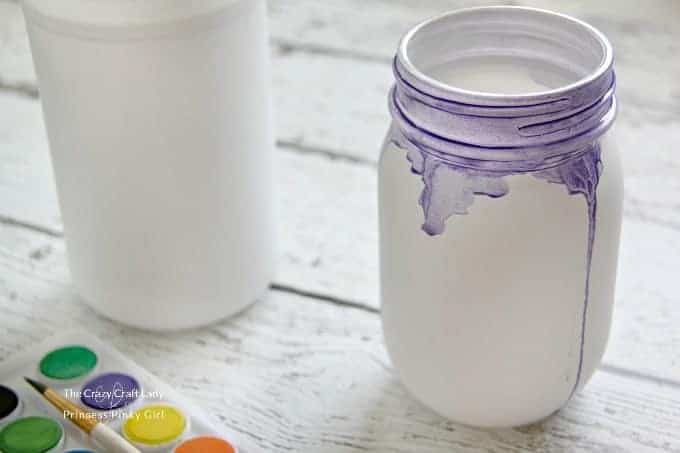
- Let the watercolor paint dry completely. If you plan to use these jars as vases or anything else that may be exposed to moisture, I recommend sealing the paint. Use a coat of clear spray to ensure your watercolor paint doesn’t wash away.
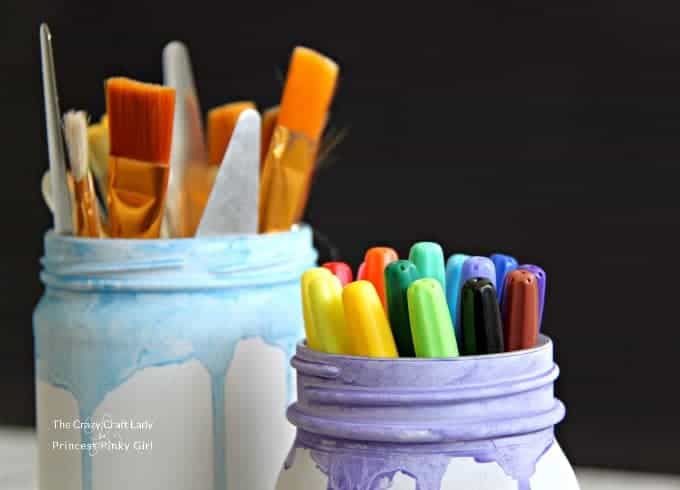
The Finished Project – Watercolor Jars
You can fill these watercolor mason jars with just about anything you like – fresh flowers, greenery, paint brushes, or other crafting supplies. I think they are perfect for storing my paint brushes, palette knives, and fabric markers.
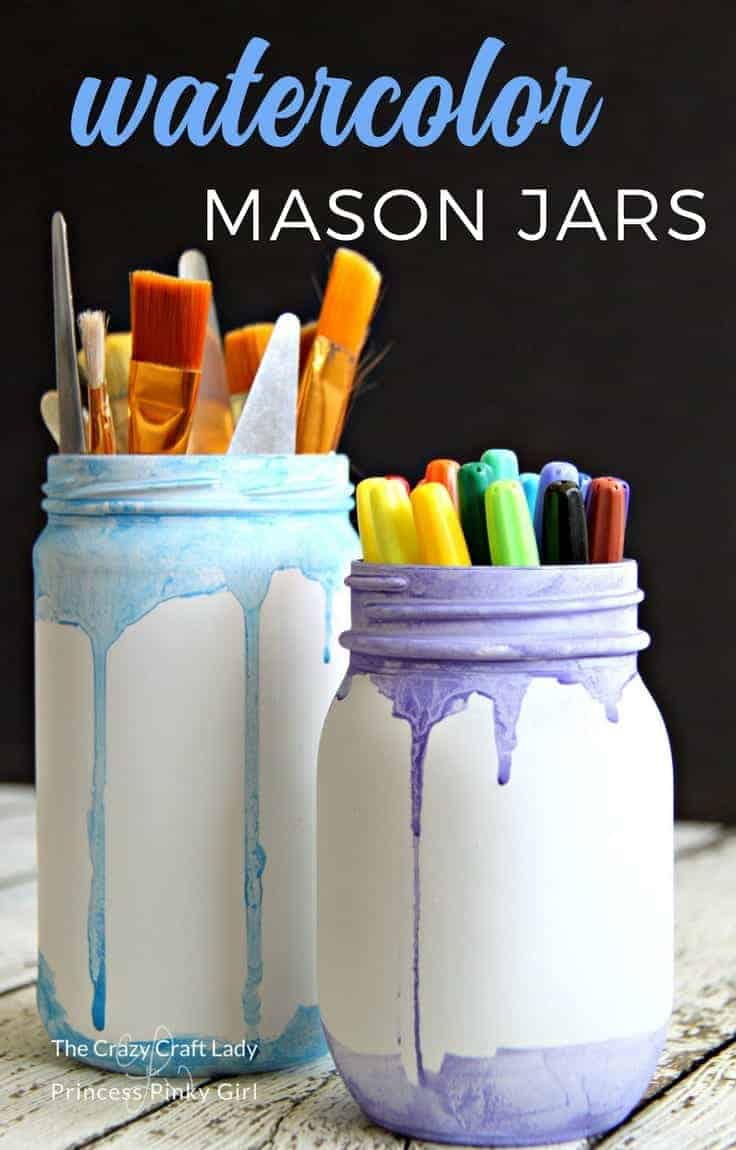
These little jars would make a fantastic gift or addition to a painting studio or craft room.
If you liked this watercolor craft, I think you’ll love these projects as well:
My Favorite Kids Watercolor Kids Craft – Magic Watercolor Painting

