This post may contain affiliate links. Please read our disclosure policy.

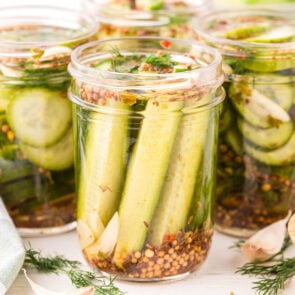
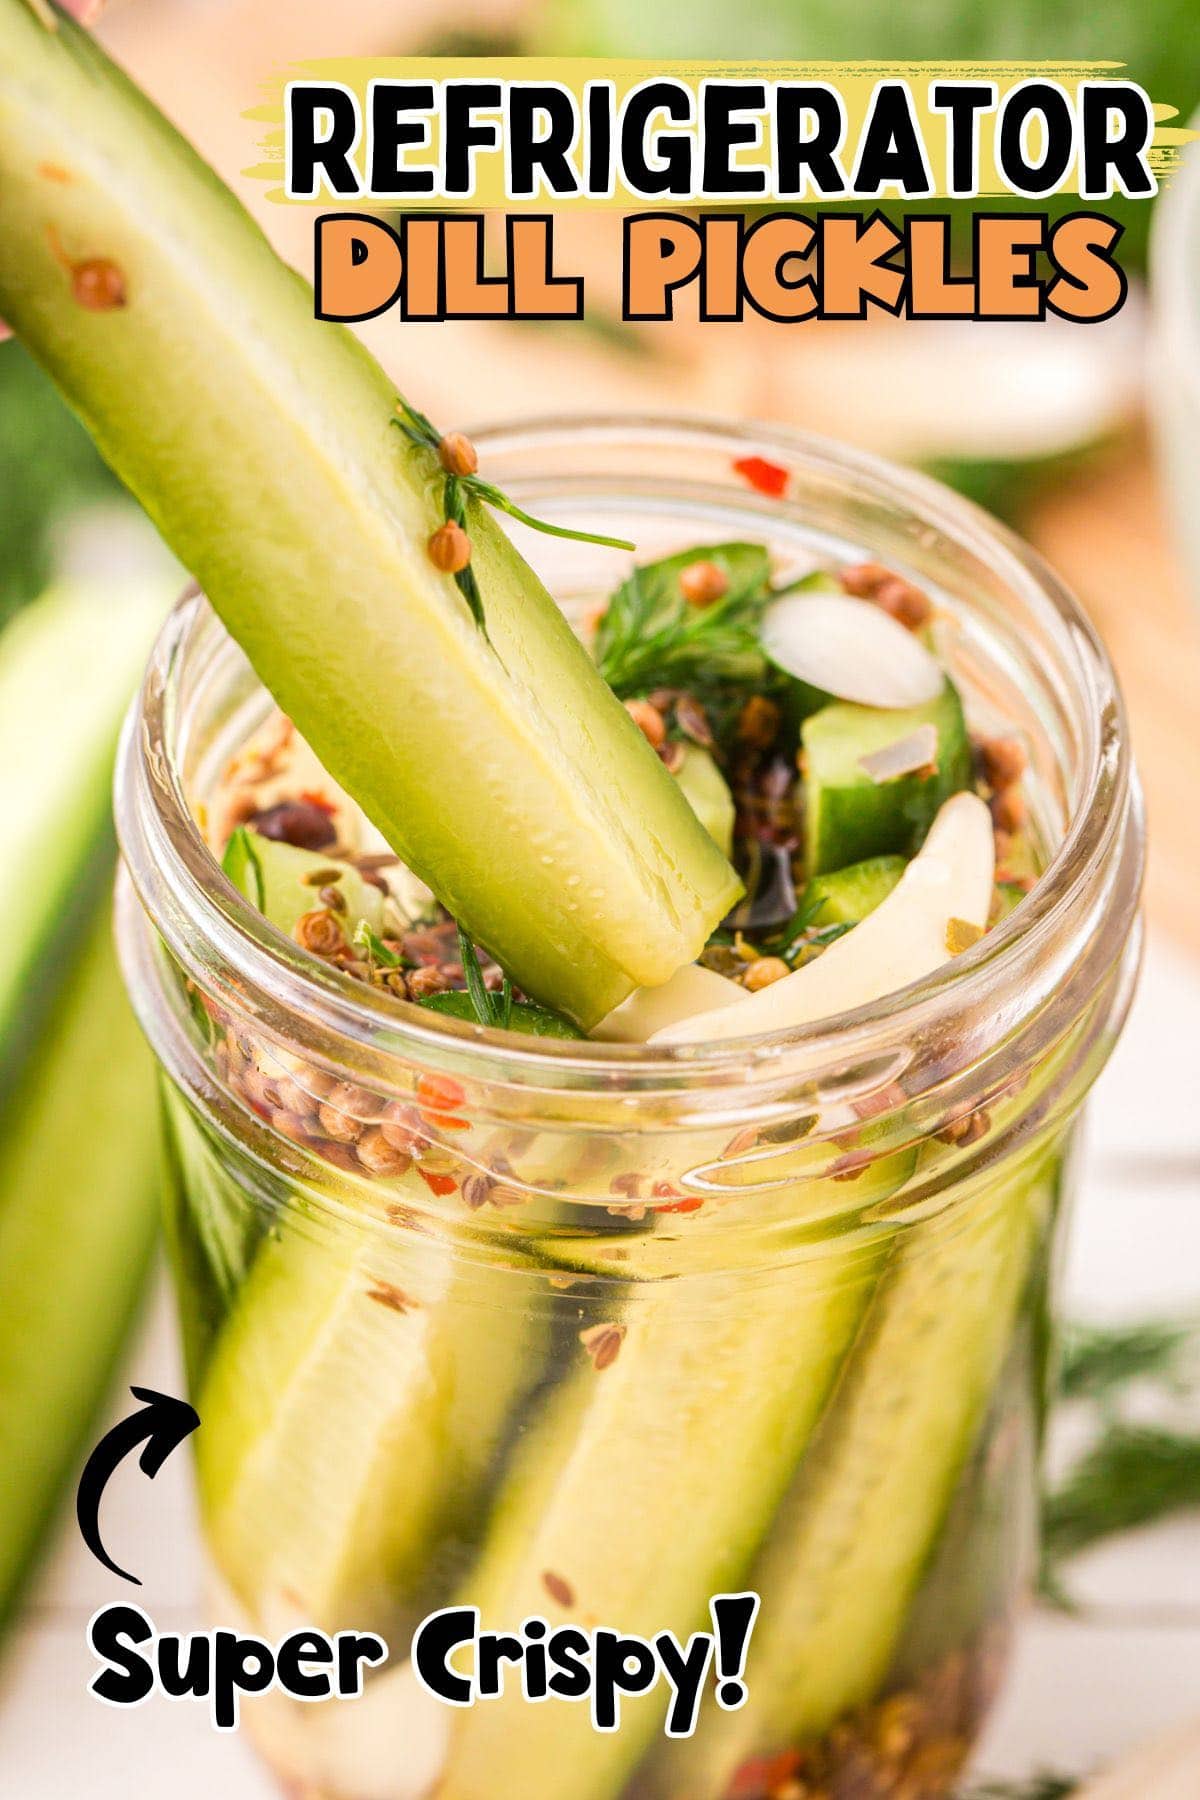
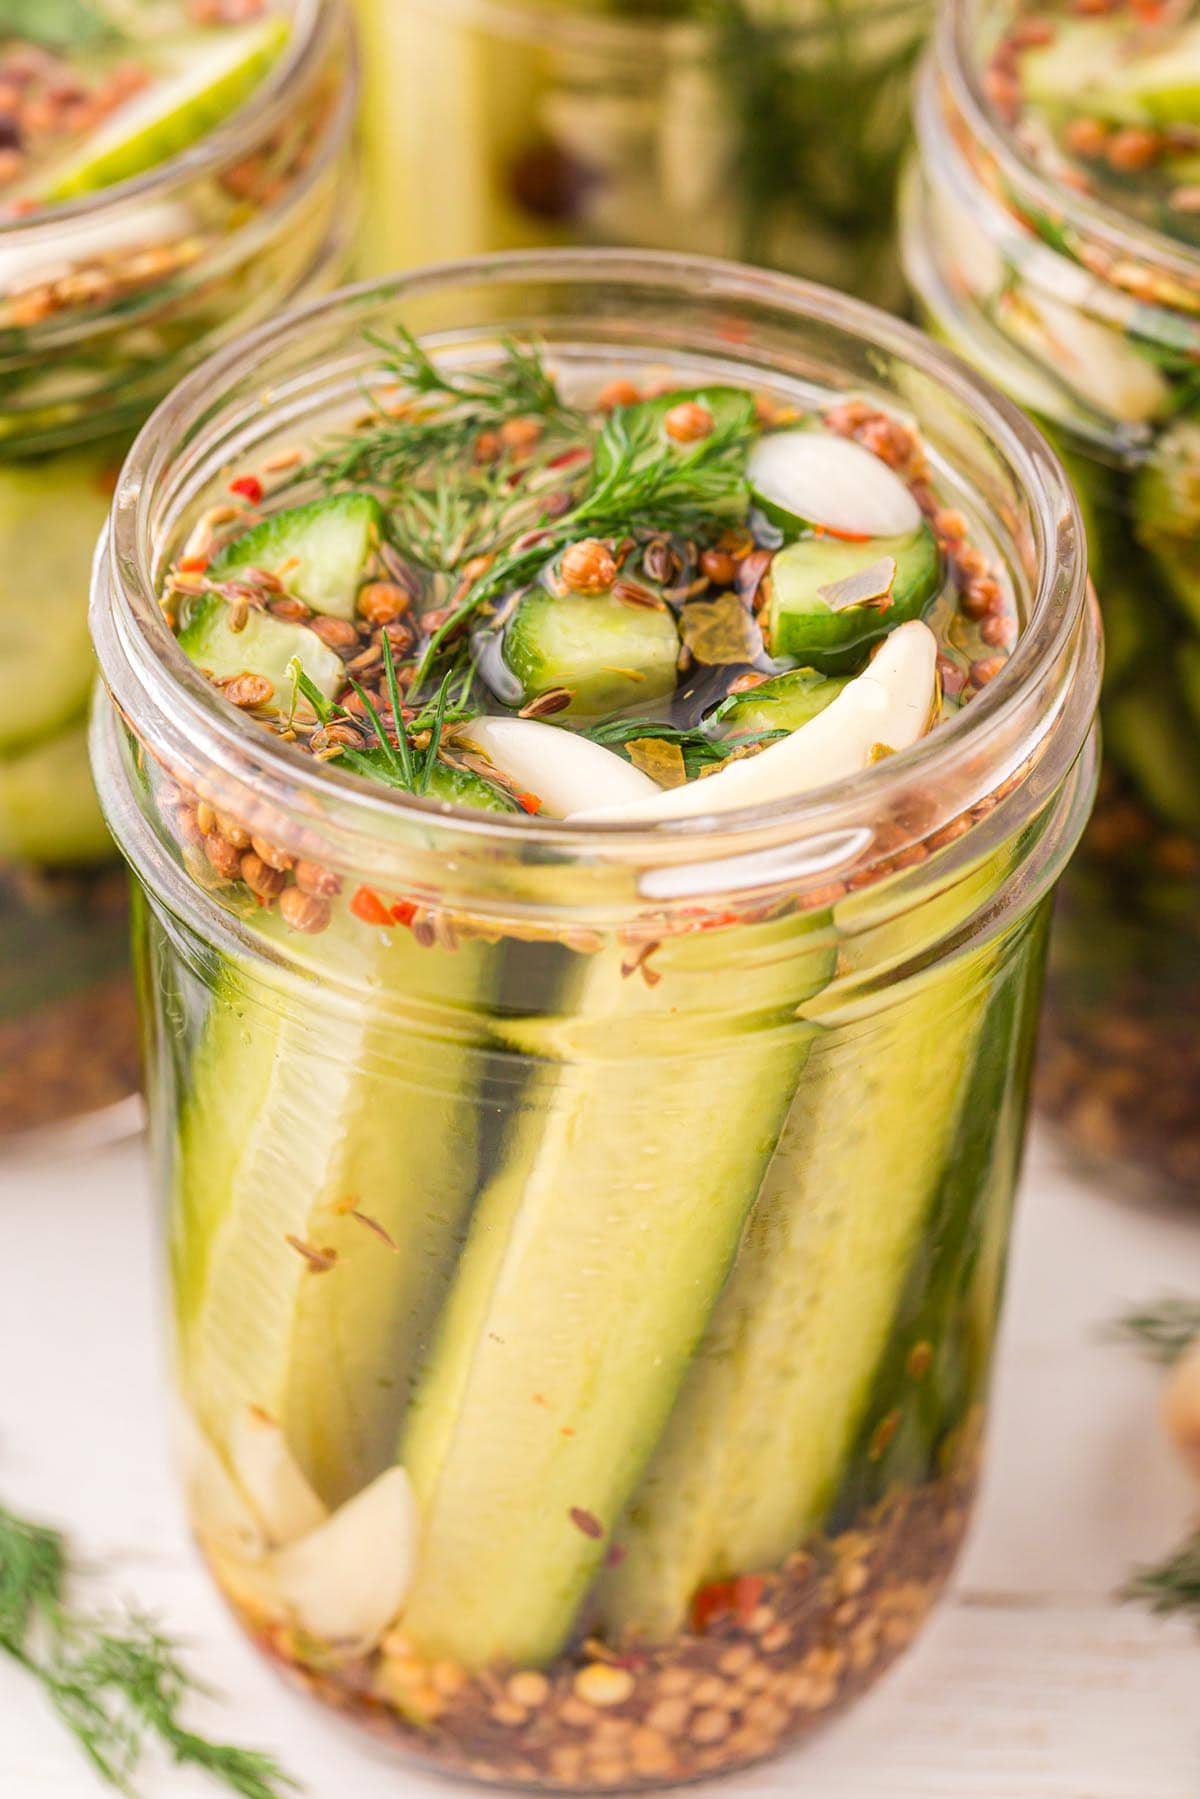
This easy Refrigerator Dill Pickles recipe is the perfect way to preserve your raw cucumbers. So simple to make with fresh dill, garlic, and plenty of spices, these spears are crispy and crunchy and have a delicious tangy taste.
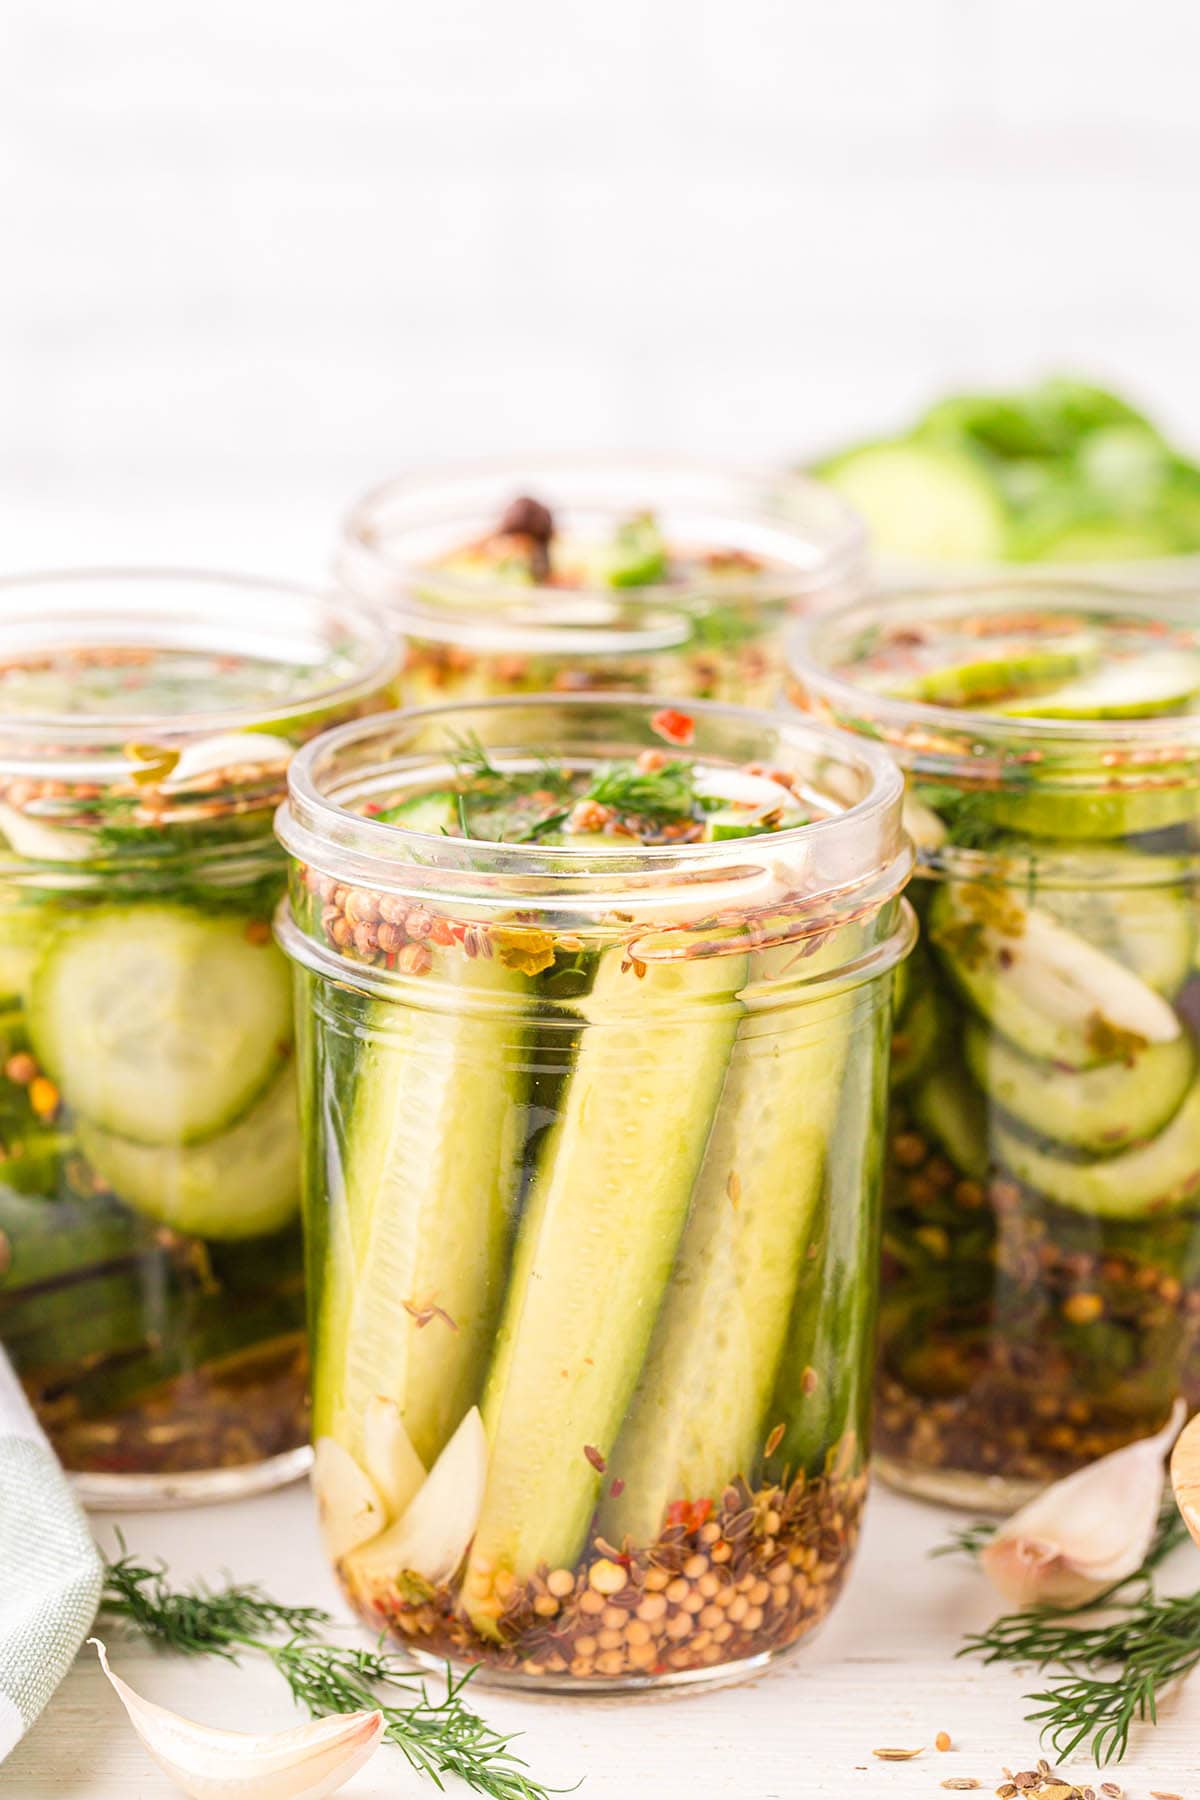
Pucker up, pickle fans! Our Refrigerator Dill Pickles are filled with fresh flavor and taste so much better than any store-bought brand. This dill pickle recipe begins with a simple vinegar-based pickling brine that requires no complicated canning process. Jars of homemade dill pickles are stored in the fridge and ready for snacking within a day (or a week for best results).
First time fermenting your food? Have no fear because there’s nothing hard about making homemade pickles except waiting for them to ferment.
Ingredients Notes
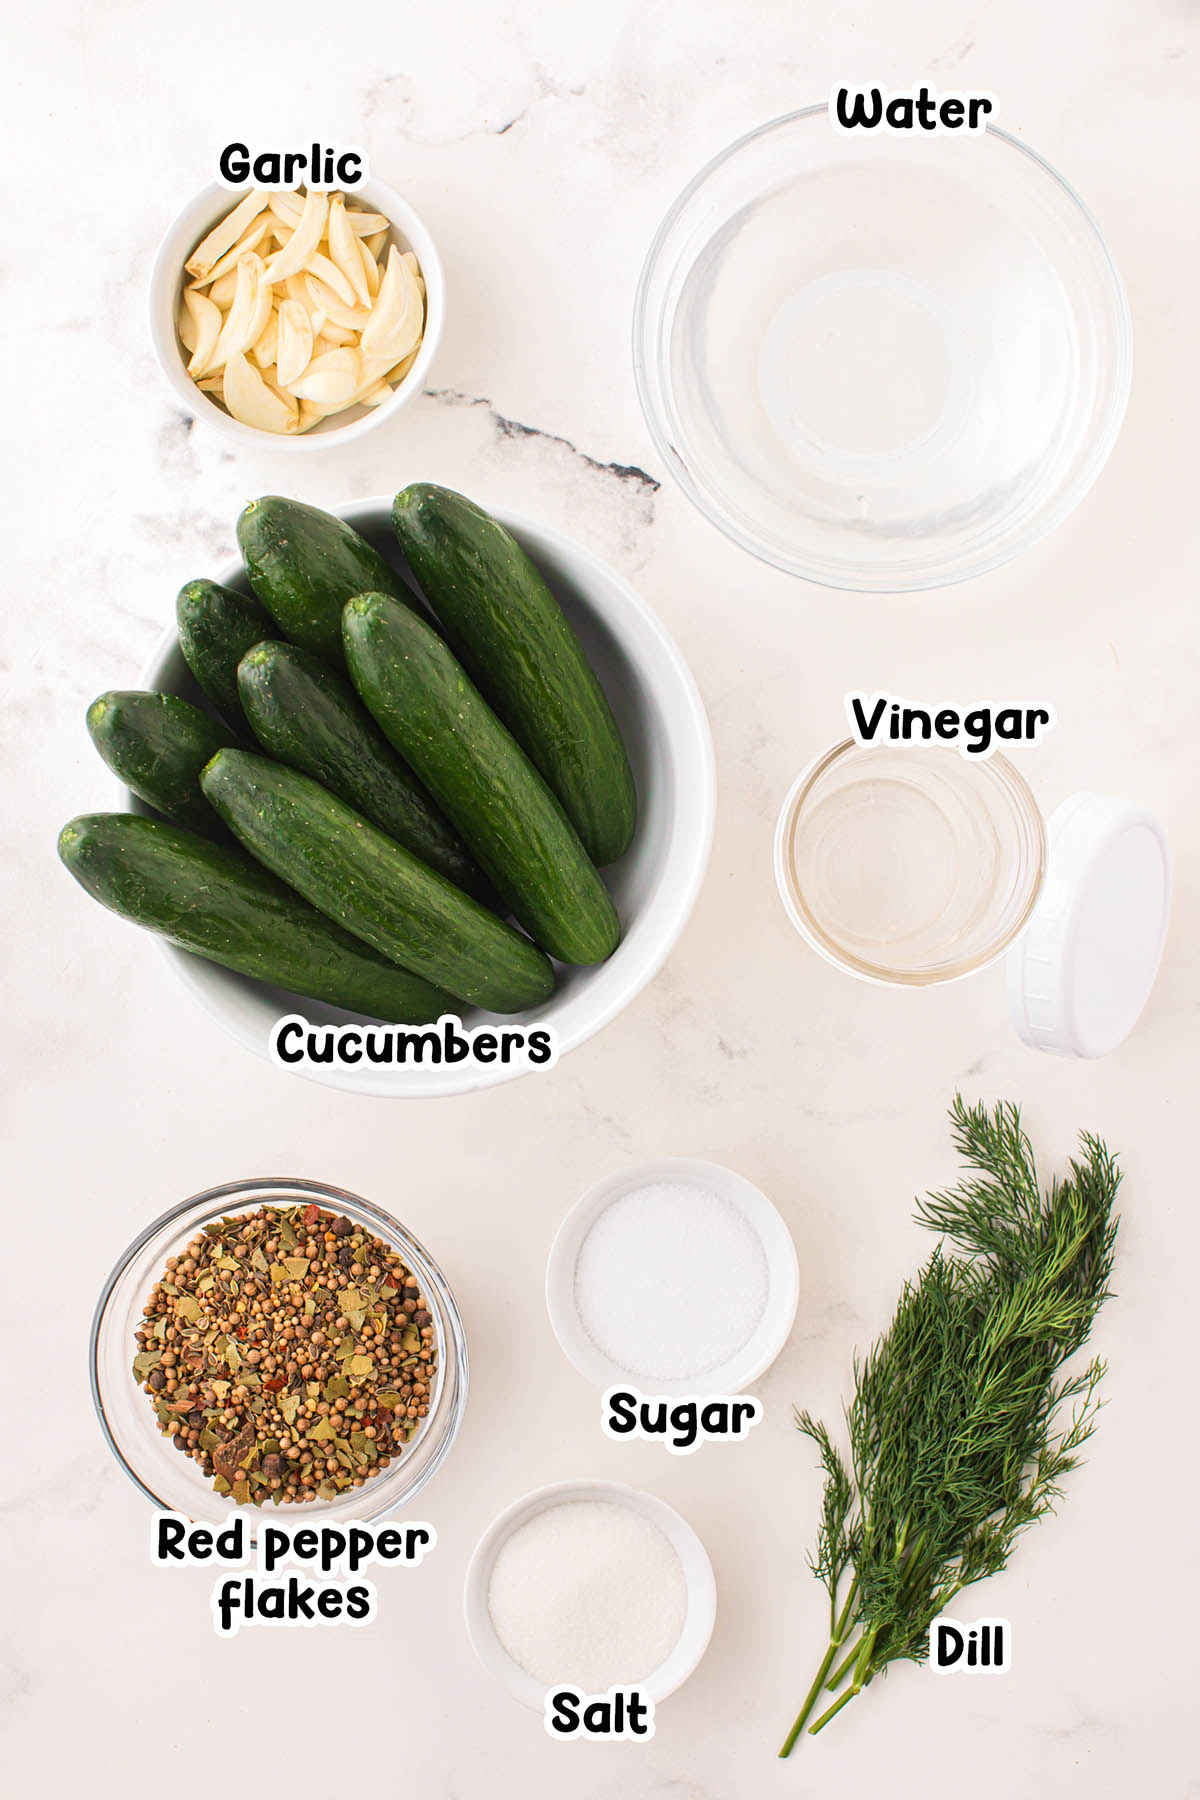
- Water
- White distilled vinegar: You can use apple cider vinegar, too, although the flavor profile will be different.
- Kosher salt: A coarse sea salt could work as well.
- Sugar: I used white granulated sugar for this recipe.
- Cucumbers: Pickling, Persian, or English cucumbers work well.
- Fresh dill: Dried dill or dill seeds can work in a pinch, but you will have to alter the amount used according to your preference. Keep in mind that the flavor will be different and possibly more intense than fresh.
- Garlic cloves: For this recipe, I sliced whole garlic into cloves. Minced or pre-minced garlic can also work if needed.
- Pickling spice: You can create your own pickling spice using whole black peppercorns, yellow mustard seeds, fennel, bay leaves, or any other combinations that work for you!
See the recipe card for full information on ingredients and quantities.
How to Make Refrigerator Dill Pickles
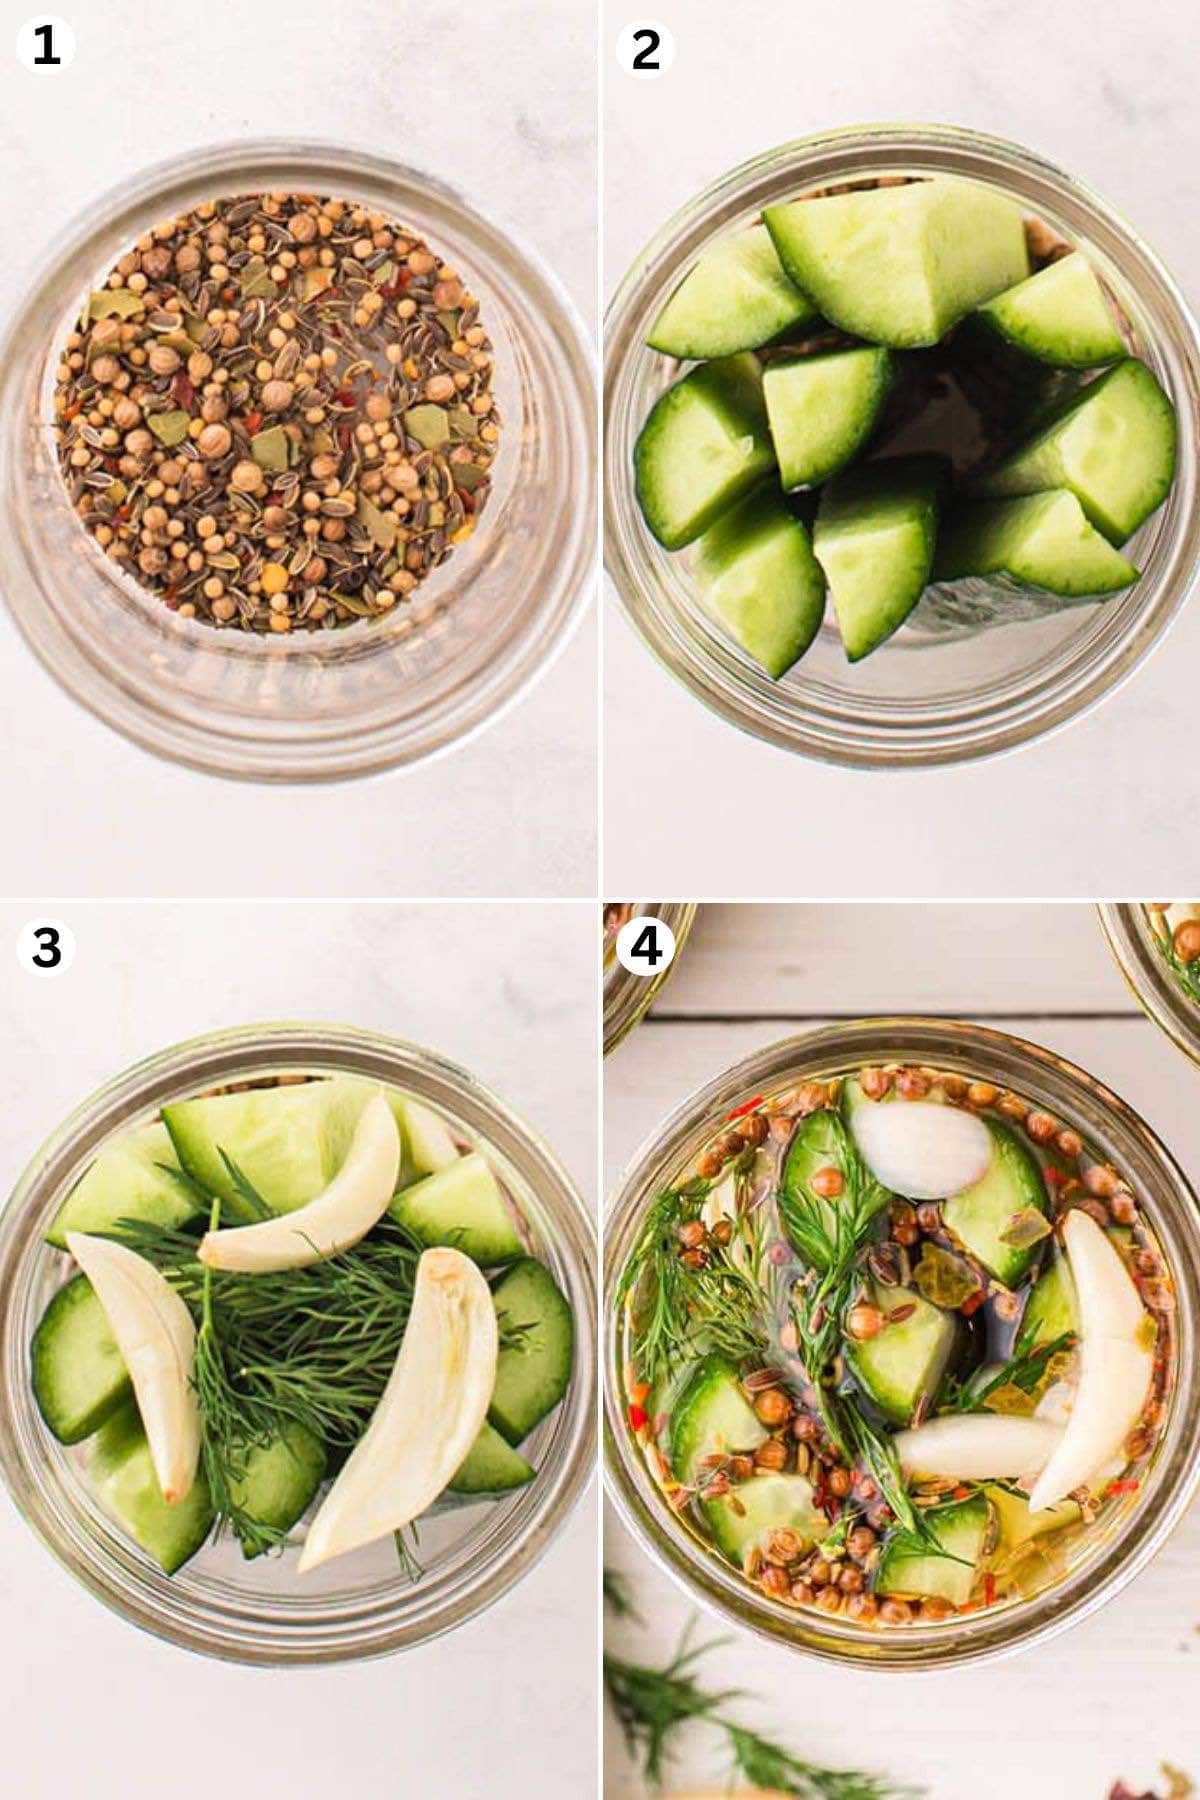
- Wash: Wash all jars, lids and rings through the dishwasher or hand wash in hot water to sterilize them. Set aside.
- Make The Vinegar Mixture: Combine the water, vinegar, salt, and sugar and simmer on medium heat until the salt and sugar have dissolved. Set it aside to cool.
- Cut The Cukes: Rinse and cut the cucumbers to desired shape.
- De-Stem The Dill: Remove the dill from the stem and set aside.
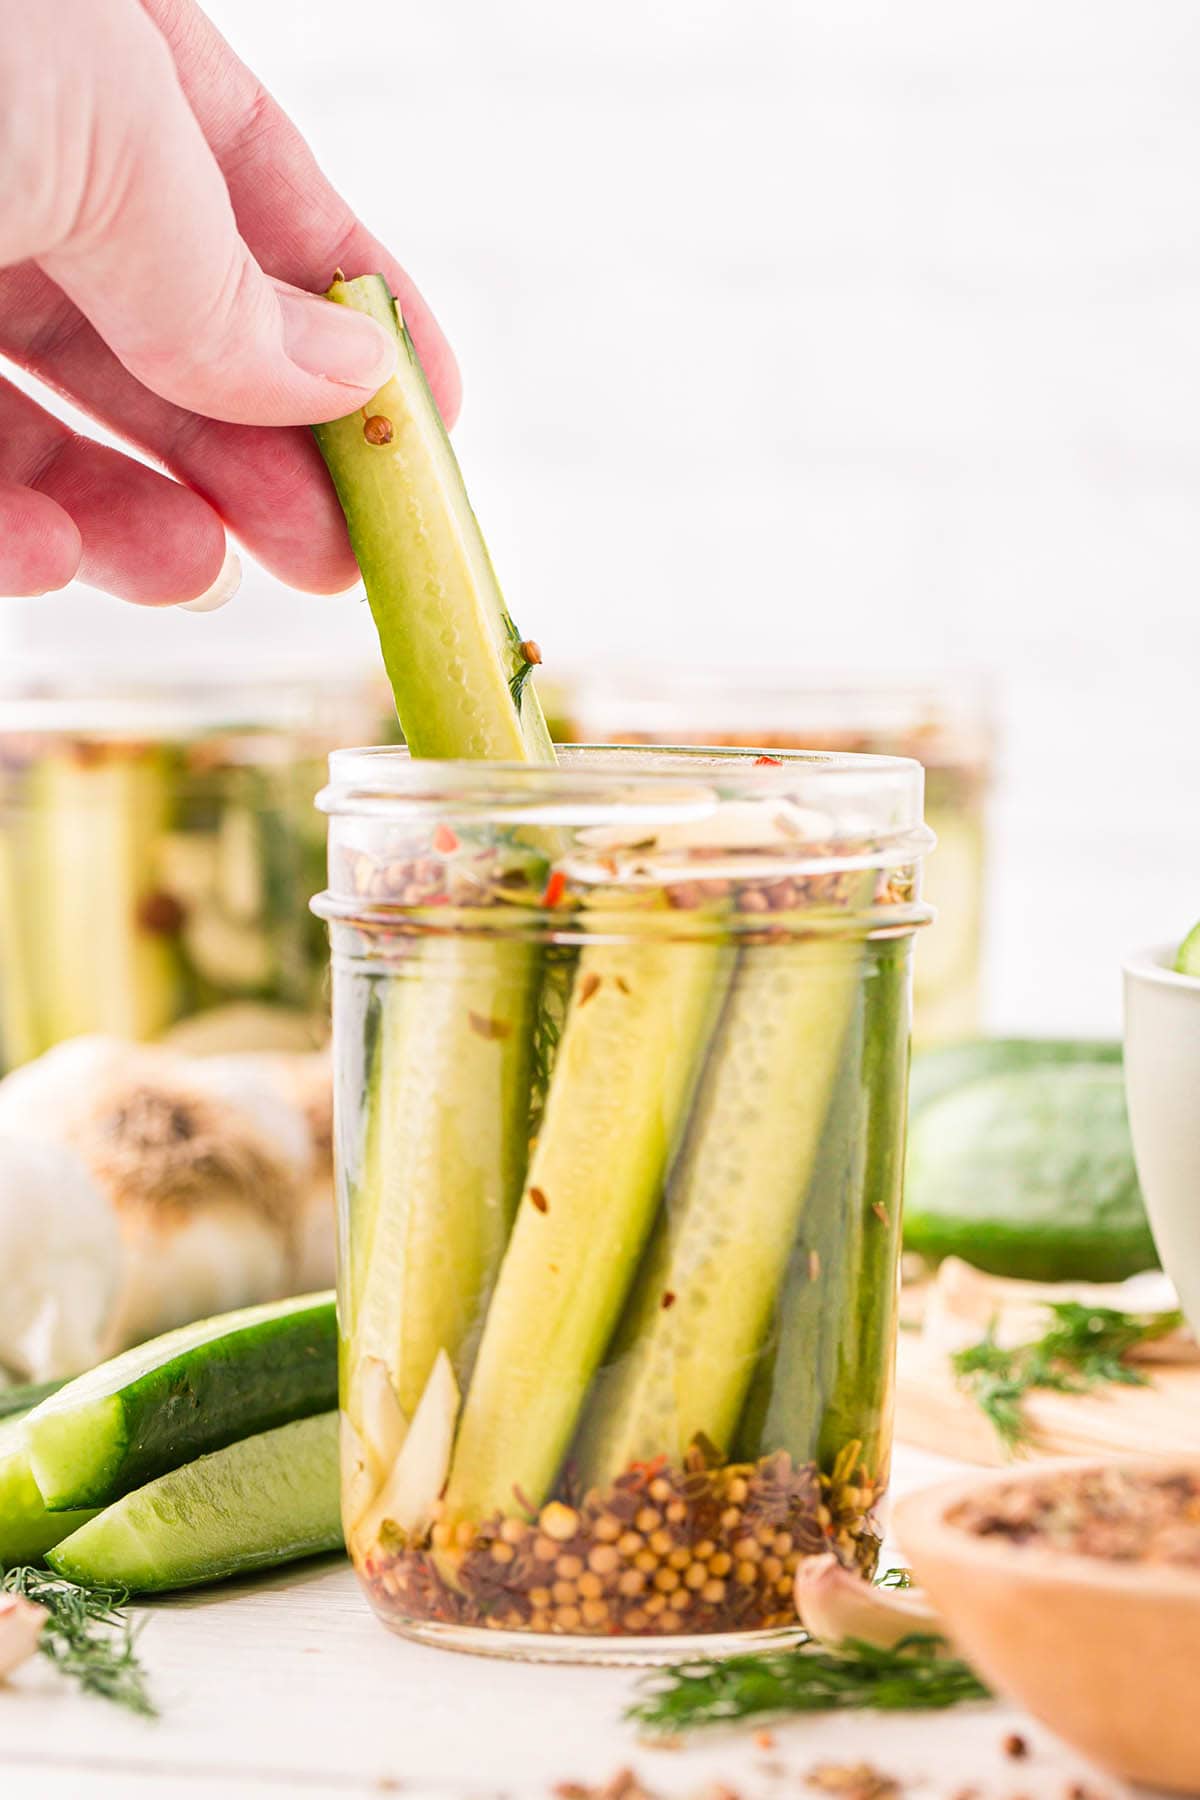
- Assemble: Add the pickling spice to the bottom of each jar, followed by a layer of cucumbers, then dill, followed by a clove of garlic. Repeat until you have a whole sprig of dill and three cloves of garlic in each jar. Finish with red pepper flakes on top.
- Pour The Pickling Brine: Pour the vinegar mixture over the pickles up to the rim of the jar and seal with the lid and ring.
- Chill: Chill in the refrigerator for 24 hours to one week for best results. Enjoy!
Serving Suggestions
I love serving these refrigerator dill pickles with hot dogs and hamburgers, but they’re also great for snacking straight from the jar. It’s like eating a tangy and salty treat with a super satisfying crunch! Keep reading more fun pickle recipes.
Color Your Cucumbers: Kool Aid pickles combine salty pickle brine with a sweet sugary drink mix to create a uniquely crunchy product with a candy-like taste. It’s always fun to give a crazy colorful twist to a classic savory condiment.
Air Fry Your Food: Air fryer pickles are coated in a flour and seasoned Panko breading mixture and cooked until crispy and have a crunchy crust. They’re the ultimate appetizer or guilt-free snack for game day and can even be served as a side dish with dinner.
Get Dipping: Dice and fold your dill pickles into a dill pickle dip. It’s an easy to make appetizer to share at parties, picnics, backyard barbecues, potlucks, and game days. Serve it with your favorite dipping companions, or use it as a sandwich spread, on toasted bagels, and in wraps.
Garnish Your Greens: You can garnish any green salad with this colorful condiment. Try topping my Big Mac Salad or Olive Garden Salad with these tangy seasoned spears.
Tips & Variations
- Shape Your Slices: Do you prefer pickle chips for snacking? Use cucumber slices instead of spears. Or use a serrated bread knife to cut fun sliced shapes with a slight wave. A crinkle knife will also work.
- Prepare Another Pint: Cucumbers can vary in size. If you end up with too many cucumbers or brine, go ahead and make more!
- Pick Your Produce: Select firm and fresh pickling cucumbers. For the best texture, look for smaller cucumbers with fewer seeds.
- Add Some Spice: You can customize your cucumbers to make them mild or spicy. If you enjoy a bit of heat, sprinkle in some red pepper flakes or fresh sliced jalapeño. Peppercorns will give them a bit of bite!
- Don’t Discard the Brine: Once the pickles have been consumed, you can reuse the brine for quick pickling of other vegetables, like onions, squash, celery, carrots, or radishes.
Proper Storage
Seal the jars tightly to prevent air exposure and refrigerate them in the coldest part of the fridge. Keep the pickles fully submerged in the brine to maintain their crispness and prevent spoilage. They are best if consumed in 2 – 4 weeks. It’s helpful to label each jar with the date of preparation.

Frequently Asked Questions
I chose to cut my cucumbers in ½ inch slices and spears. If doing all spears, you will need to place them on the pickling spice and then add the sprig of dill and cloves of garlic on top.
You should consume the pickles within a reasonable timeframe, ideally within a few weeks, for optimal quality. Regularly inspect the pickles for signs of spoilage, such as off-smells, mold, or unusual discoloration, and discard any compromised pickles.
No, the two types of pickles are not the same. Canned pickles undergo a complete canning process, including a hot water bath on the stovetop. This ensures their shelf stability for extended periods, making them suitable for pantry storage. On the other hand, refrigerator pickles are quickly pickled in a vinegar-based brine and require refrigeration. They are best consumed within a few weeks to maintain their freshness.
More Great REcipes
If you tried this Refrigerator Dill Pickles Recipe or any other recipe on my website, please leave a 🌟 star rating and let me know how it went in the 📝 comments below. Thanks for visiting!!!

Refrigerator Dill Pickles
Ingredients
- 4 cups water
- 2 cups white distilled vinegar
- 3 tablespoons Kosher salt
- 3 tablespoons sugar
- 2 pounds small to medium cucumbers
- 1 large bunch fresh dill
- 1.5 ounce jar pickling spice divided
- 12 cloves peeled garlic divided
- Red pepper flakes optional
Instructions
- Wash all jars, lids and rings through the dishwasher or hand wash in hot water to sterilize them. Set aside.
- In a large saucepan, combine water, vinegar, Kosher salt and sugar together and simmer on medium heat until the salt and sugar have dissolved, about 5 minutes.4 cups water, 2 cups white distilled vinegar, 3 tablespoons Kosher salt, 3 tablespoons sugar
- When the mixture is complete, set it aside to cool.
- Rinse cucumbers and place on a large cutting board. Remove ends and cut cucumbers to desired shape, I chose to cut them in ½ inch slices and spears.2 pounds small to medium cucumbers
- Remove the dill from the stem, keeping it in bunches and set aside.1 large bunch fresh dill
- Gather your mason jars and carefully pour 1 ½ teaspoons of the pickling spice in the bottom of each jar, followed by a layer of cucumbers, then a quarter of a sprig of dill, followed by a clove of garlic.1.5 ounce jar pickling spice, 12 cloves peeled garlic
- Repeat this until you have a whole sprig of dill and three cloves of sliced garlic in each jar.
- If doing spears, place the spears on the pickling spice and place the sprig of dill and cloves of garlic on top.
- Finish the layering with optional red pepper flakes on top.Red pepper flakes
- Very carefully, pour cooled vinegar mixture on top of the pickles up to the rim of the jar and seal the jar with the lid and ring.
- When the jars are cool to the touch, add them to the refrigerator.
- The pickles will be ready to eat in about 24 hours, but I suggested waiting one week for best results. Enjoy!
Jenn’s Notes
- Seal the jars tightly to prevent air exposure and refrigerate the jars, placing them in the coldest part of the fridge. Keep the pickles fully submerged in the brine to maintain their crispness and prevent spoilage. It’s helpful to label each jar with the date of preparation.
- Prefer pickle chips for snacking? Use cucumber slices instead of spears. Or use a serrated bread knife to cut fun sliced shapes with a slight wave. A crinkle knife will work as well.
- Cucumbers can vary in size. If you end up with too many cucumbers or brine, go ahead and make more! Prepare Another Pint: Cucumbers can vary in size. If you end up with too many cucumbers or brine, go ahead and make more!
- Select firm and fresh pickling cucumbers. Look for smaller cucumbers with fewer seeds for the best texture.
- You can customize your cucumbers to make them mild or spicy. If you enjoy a bit of heat, sprinkle in some red pepper flakes or fresh sliced jalapeño. Peppercorns will give them a bit of bite!
- Once the pickles have been consumed, you can reuse the brine for quick pickling other vegetables, like onions, squash, celery, carrots, or radishes.