This post may contain affiliate links. Please read our disclosure policy.
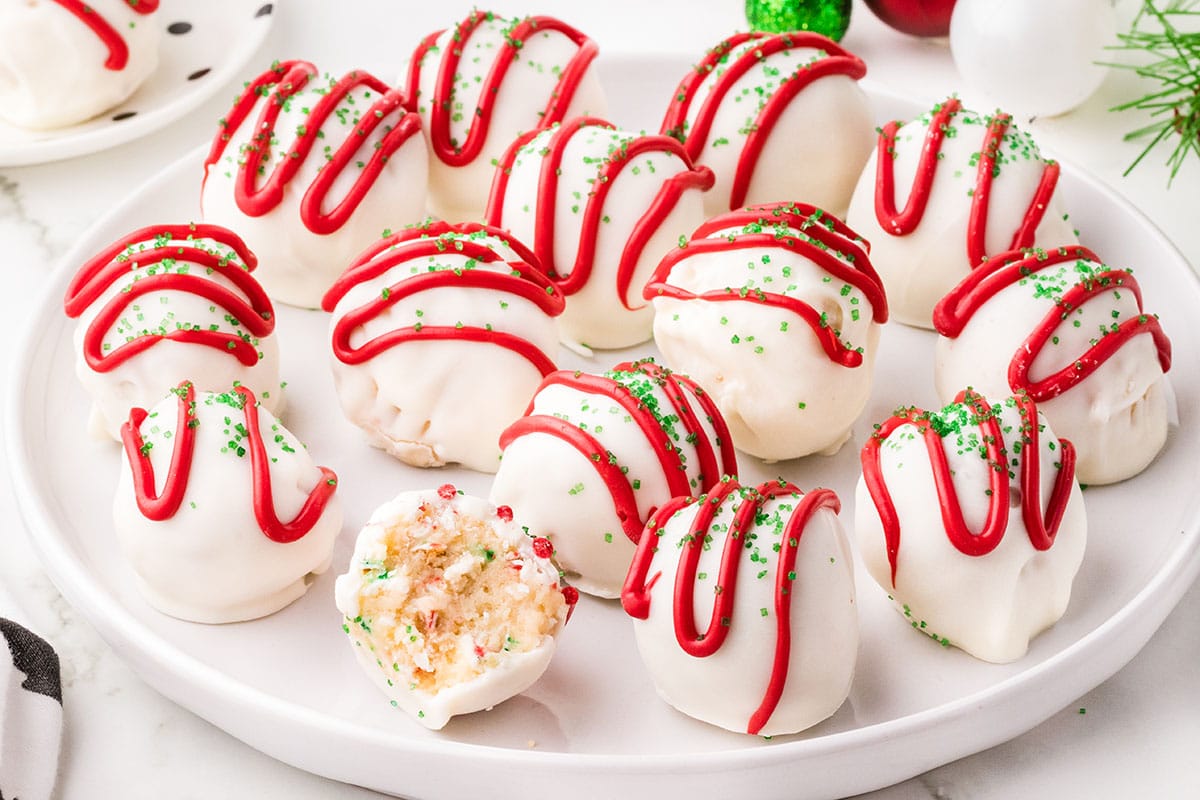
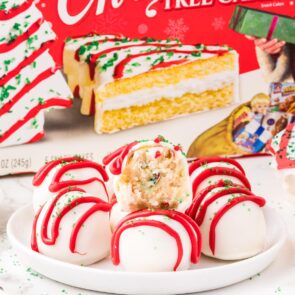
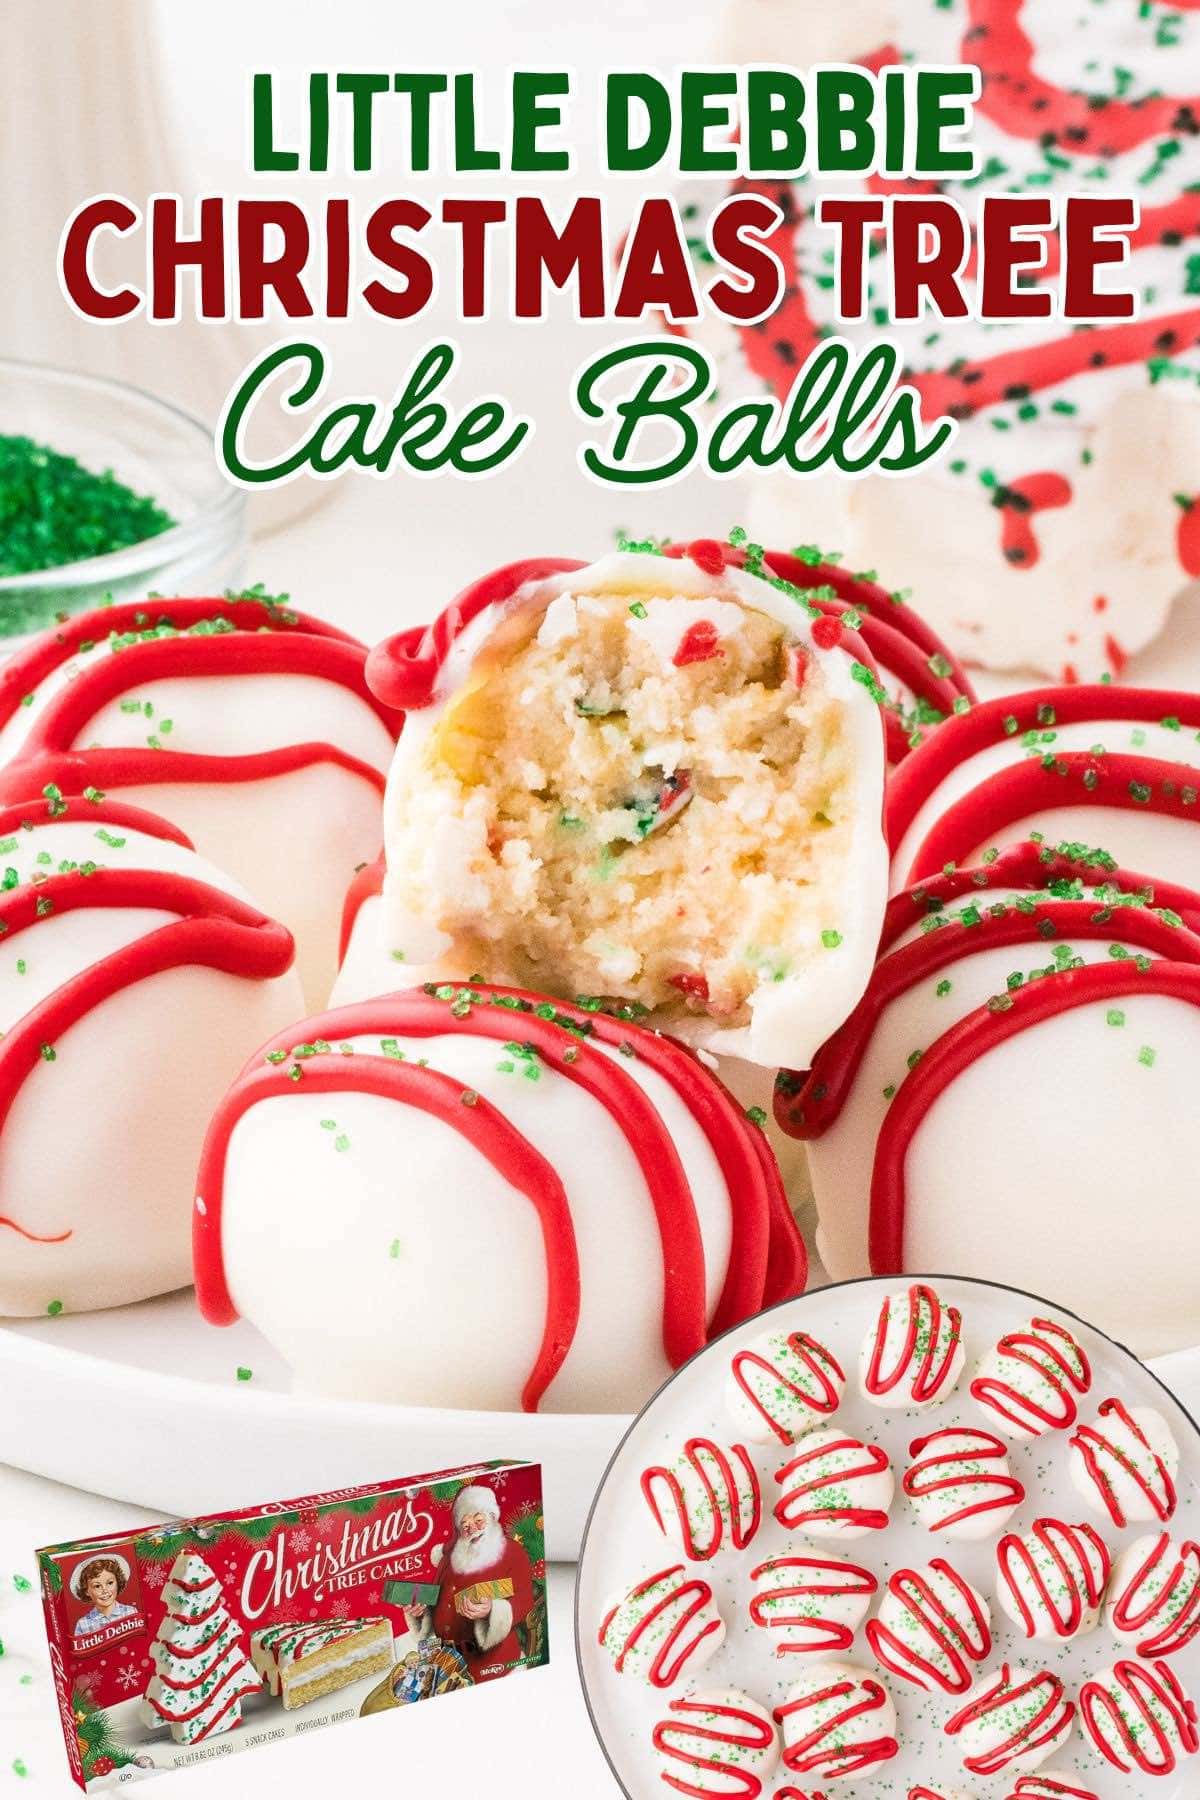
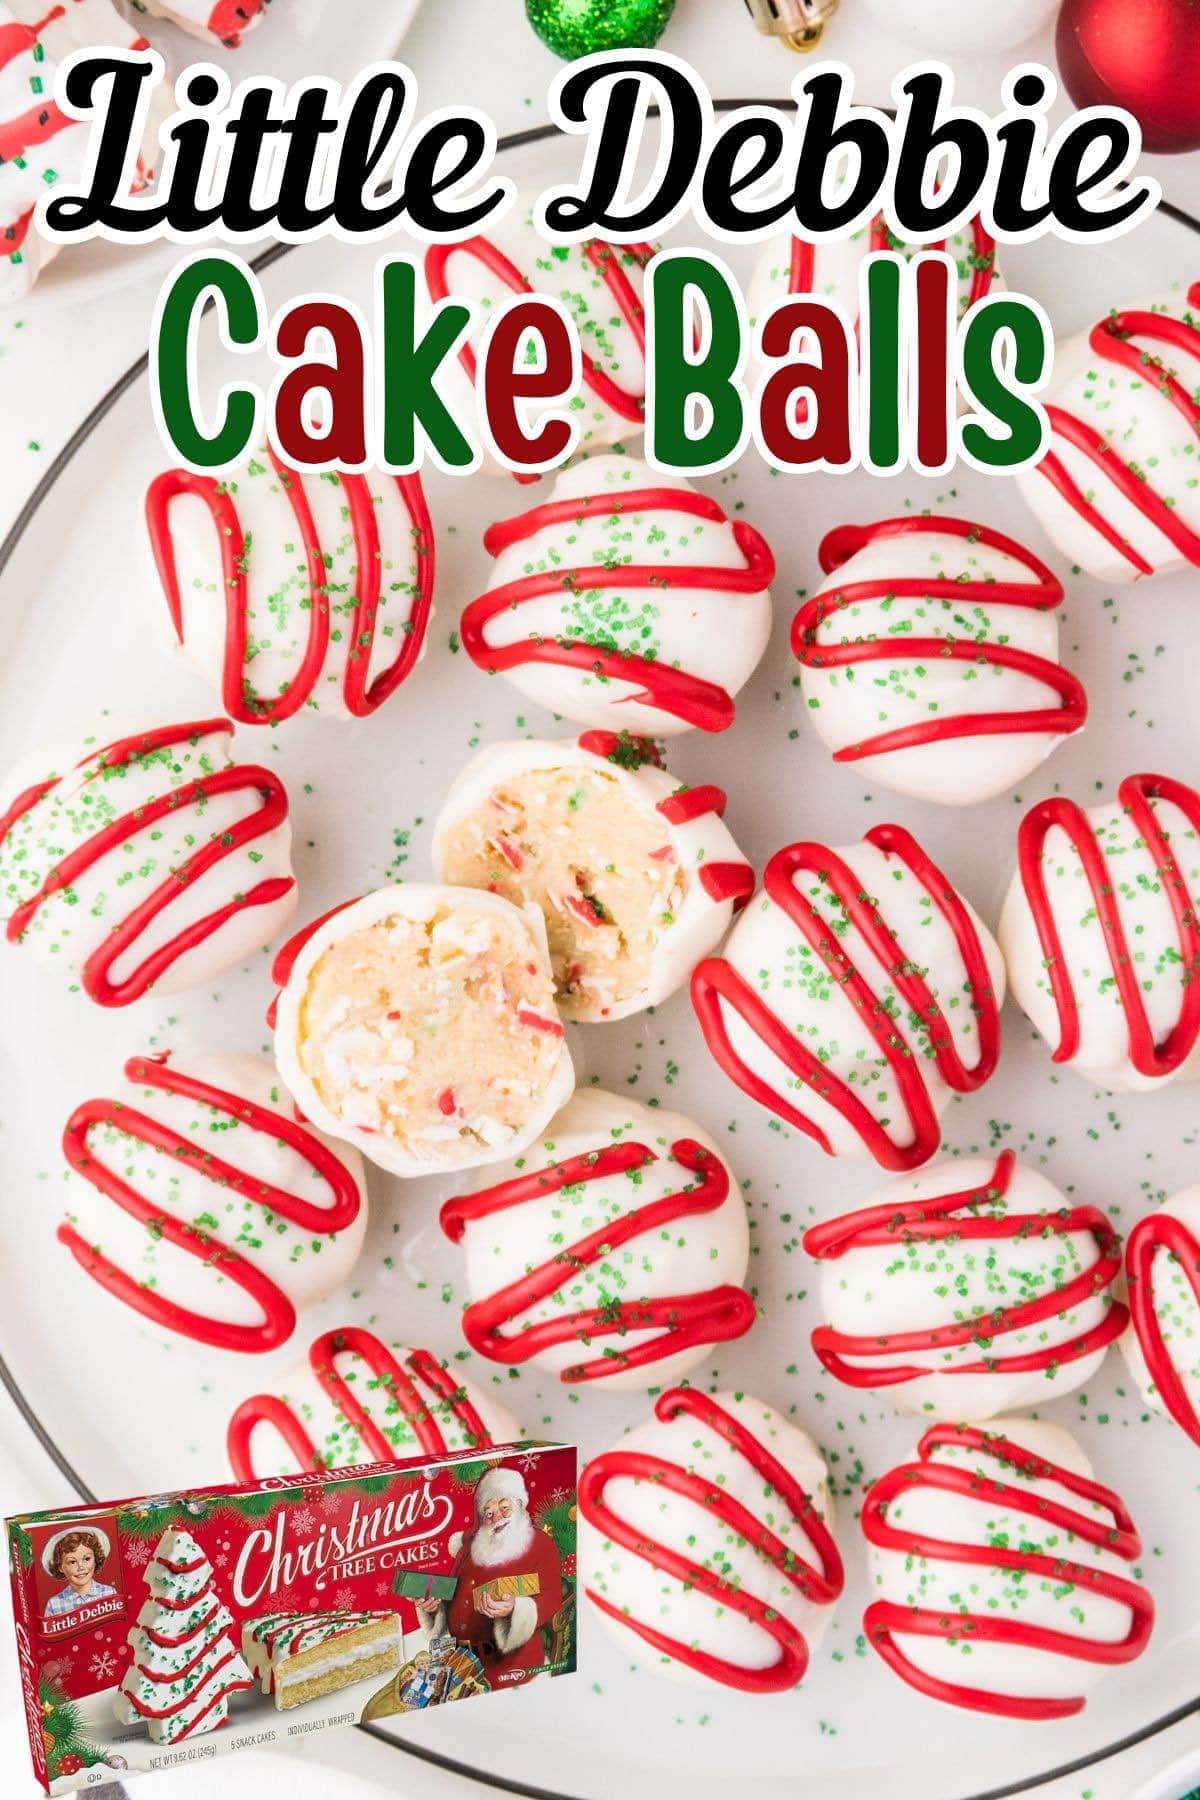
Little Debbie Cake Balls bring a seasonal twist to a beloved snack cake. These 3-ingredient chocolate-coated truffle treats are all dressed up with colored candy and sprinkles, perfect for celebrating the holidays.
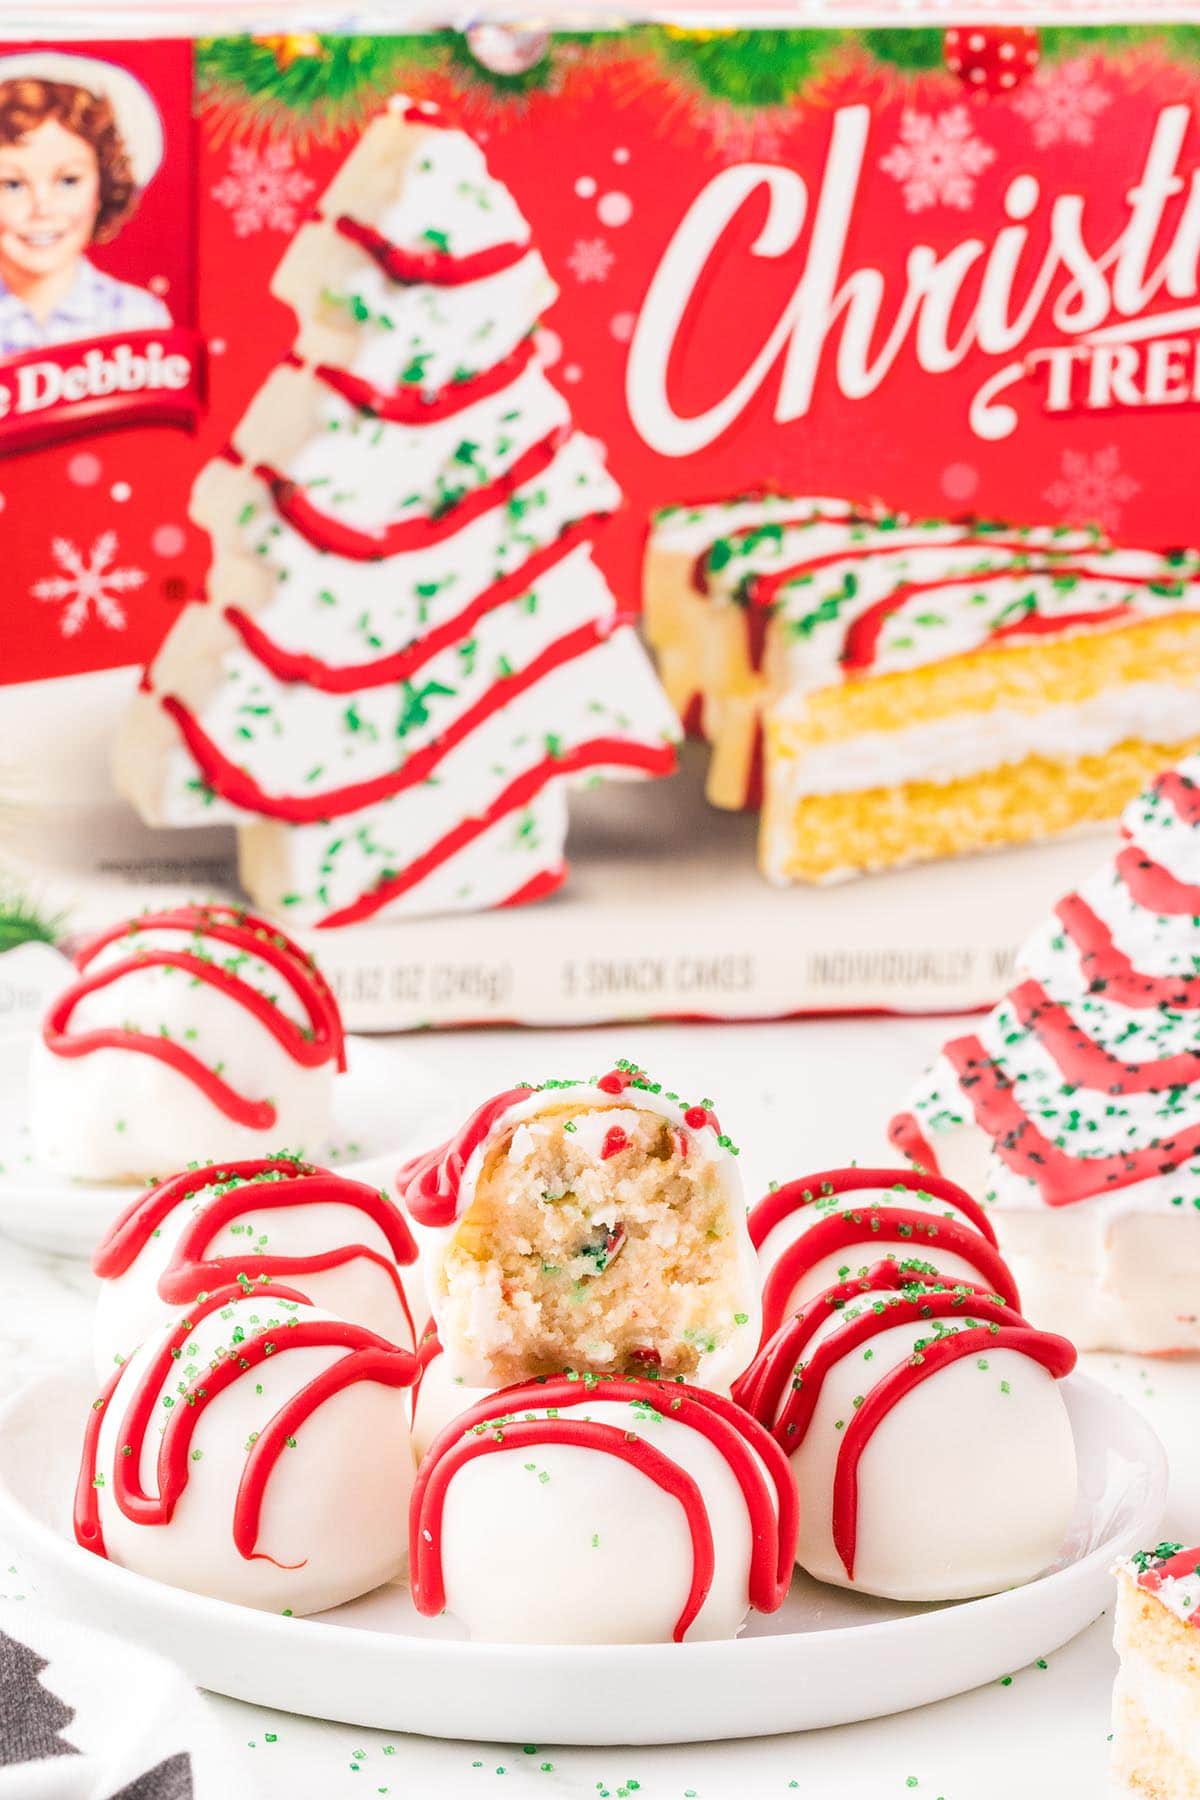
Little Debbie Christmas Cake Balls
Our easy Little Debbie Christmas Tree Cake Balls recipe turns the nostalgic flavors of an iconic cake into a festive homemade holiday treat. Using nothing more than Little Debbie snack cakes combined with cream cheese, scoop, roll, and freeze until solid so you can dip and decorate these chocolate-covered cake truffles. (How about that nifty cake ball hack!)
What Are Little Debbie Christmas Tree Cakes
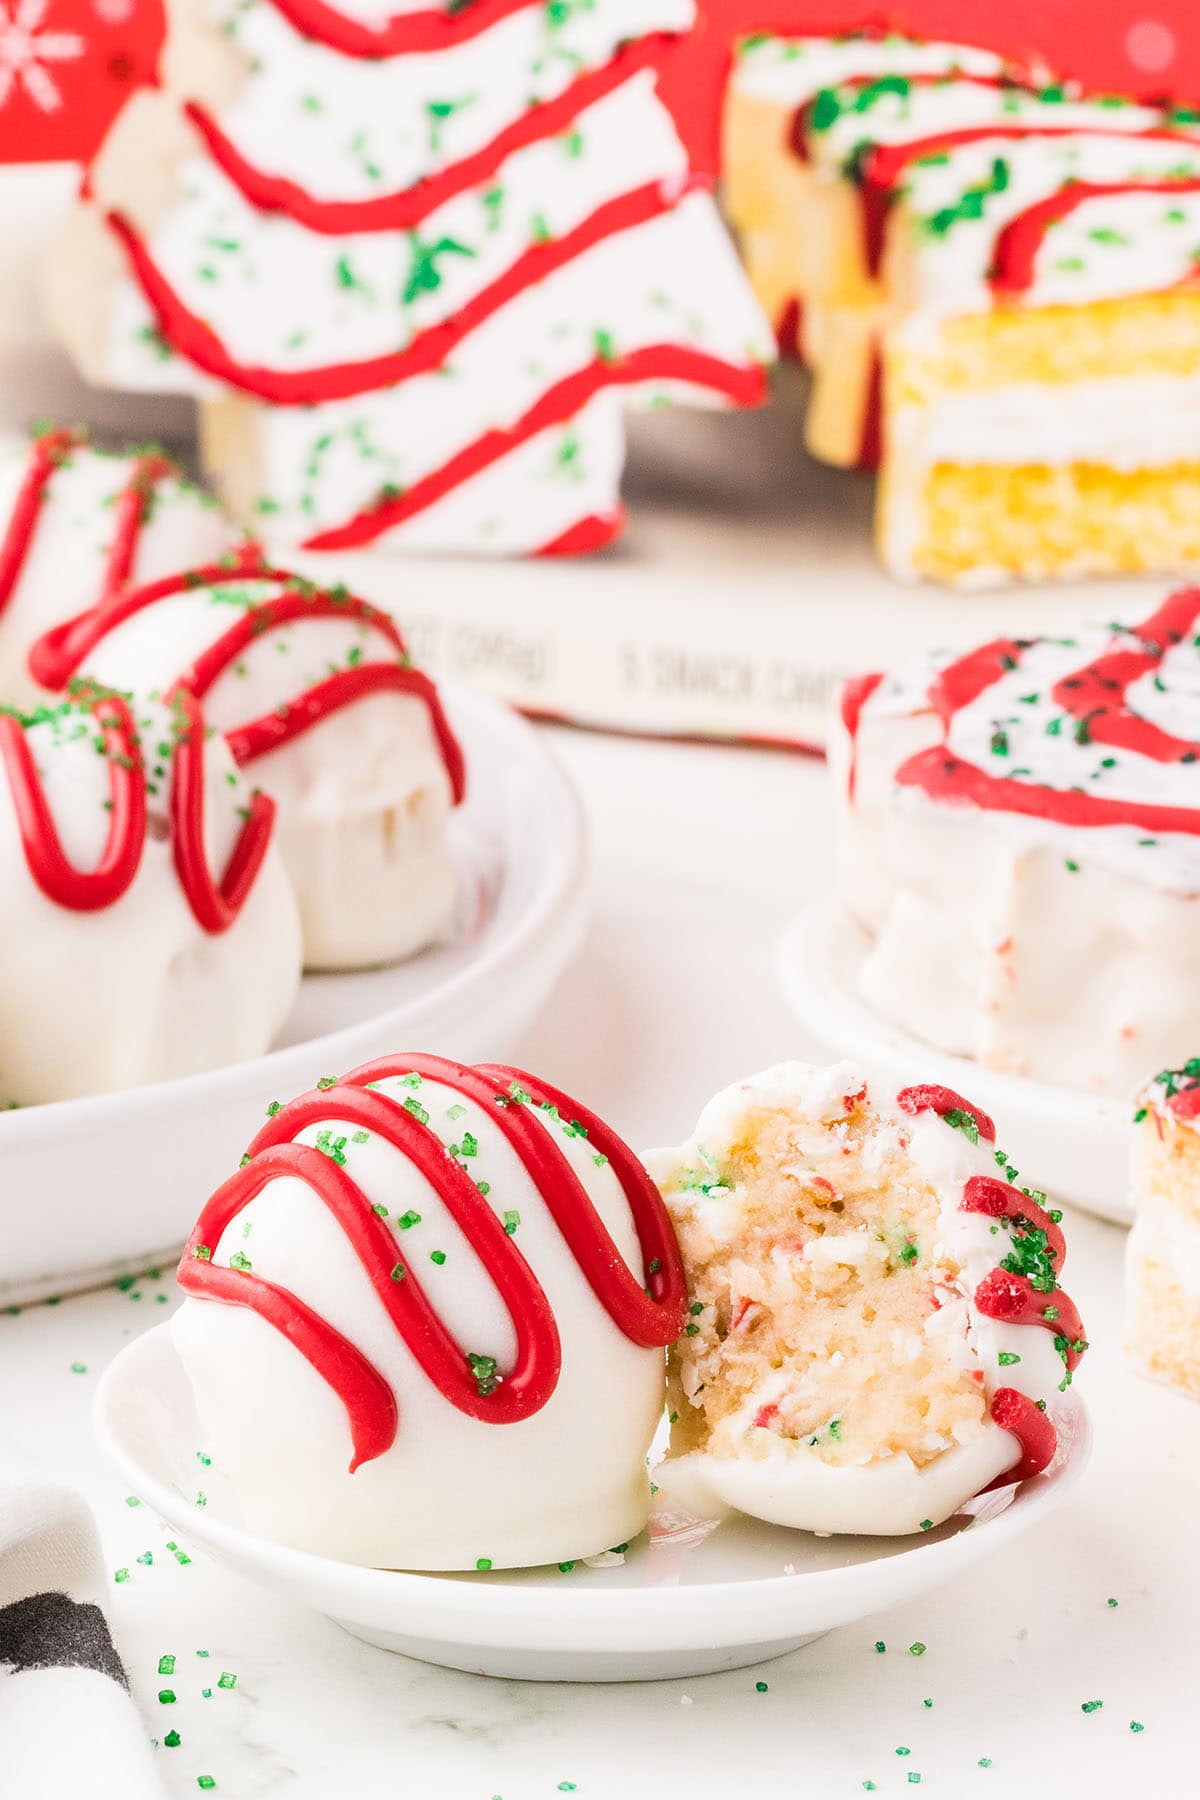
Move over, Zebra Cakes, because Little Debbie’s done it again! These tree-shaped yellow cakes are arriving on shelves just in time for Christmas. Golden cake layers are filled with smooth creme, coated in white frosting, and decorated with a garland of red icing and crunchy green sugar sprinkles.
Grab your Little Debbie cakes today because limited-edition items like these won’t last long! If you love Little Debbie desserts like I do, try my Little Debbie Cosmic Brownies and Oatmeal Cream Pie recipes, too!
Ingredients Notes
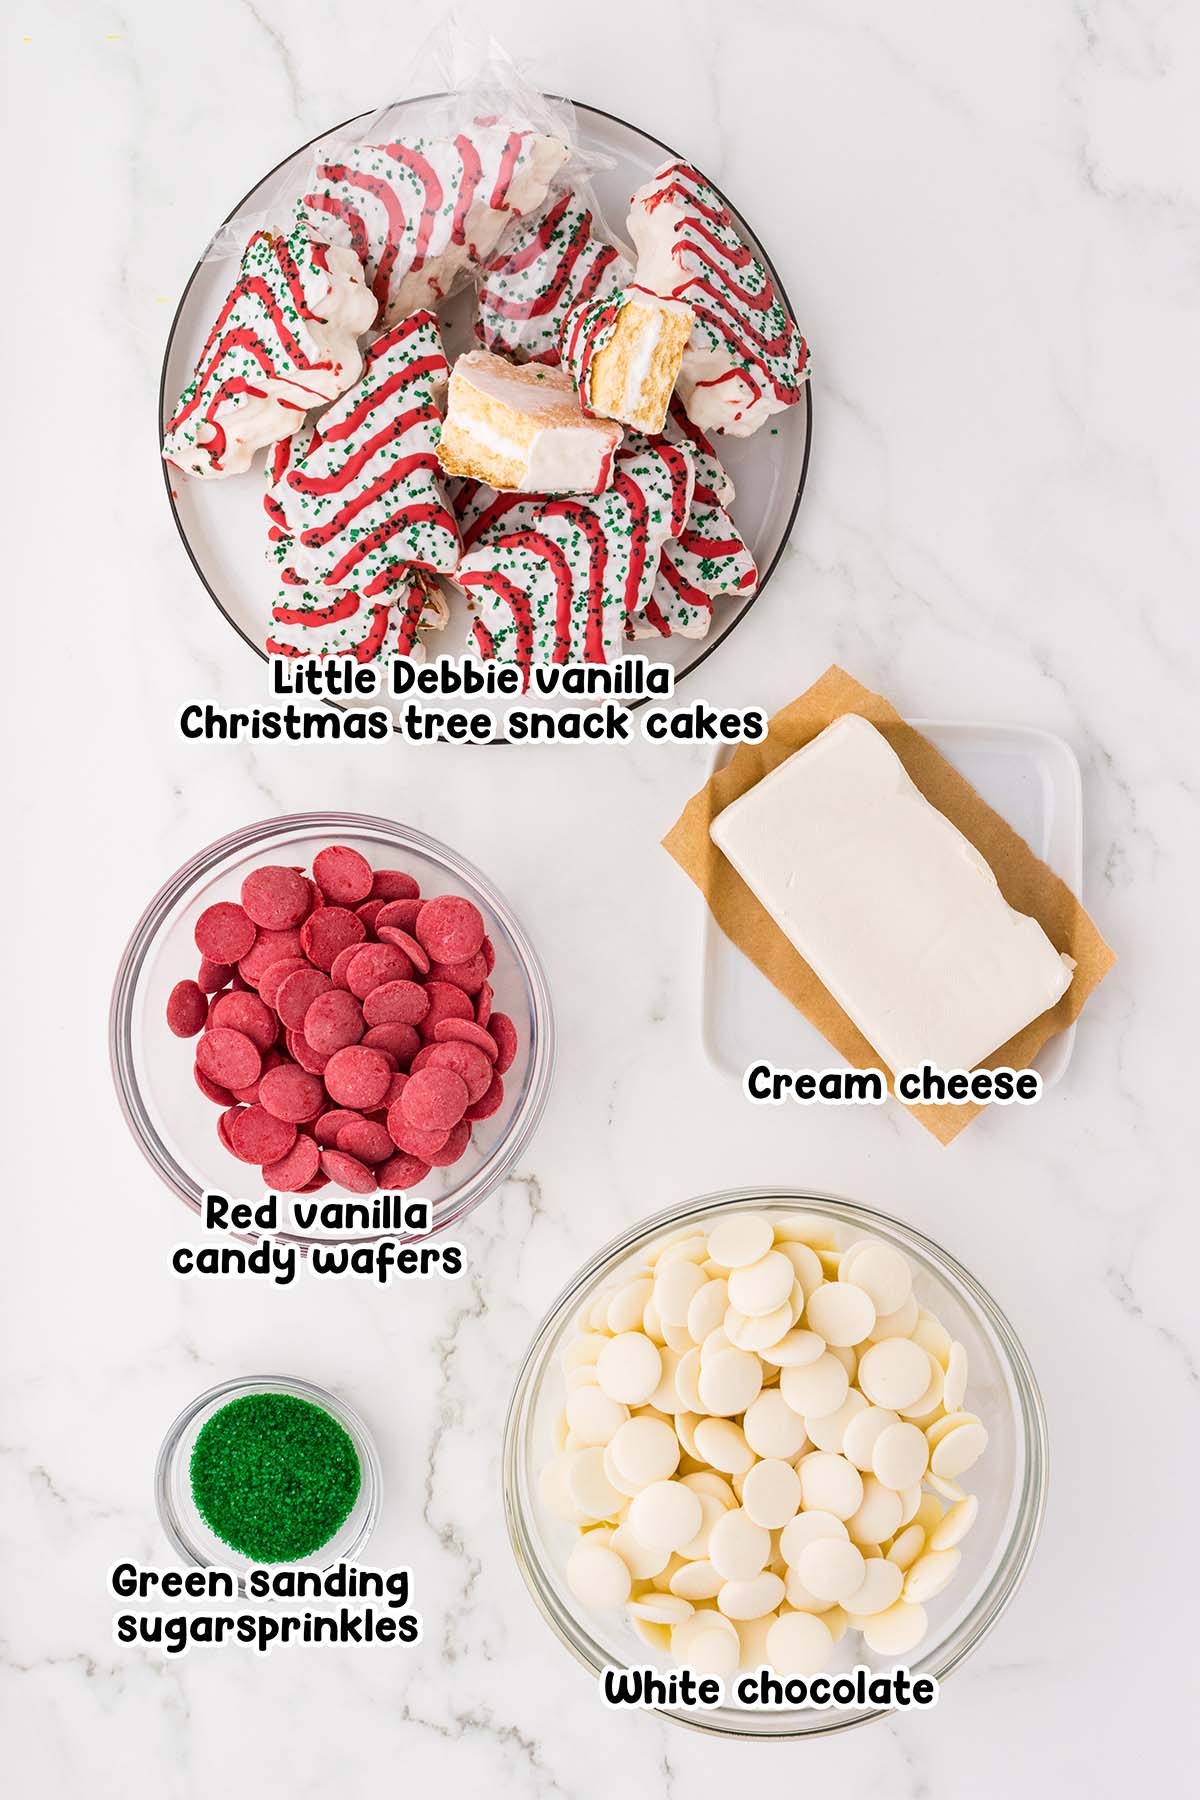
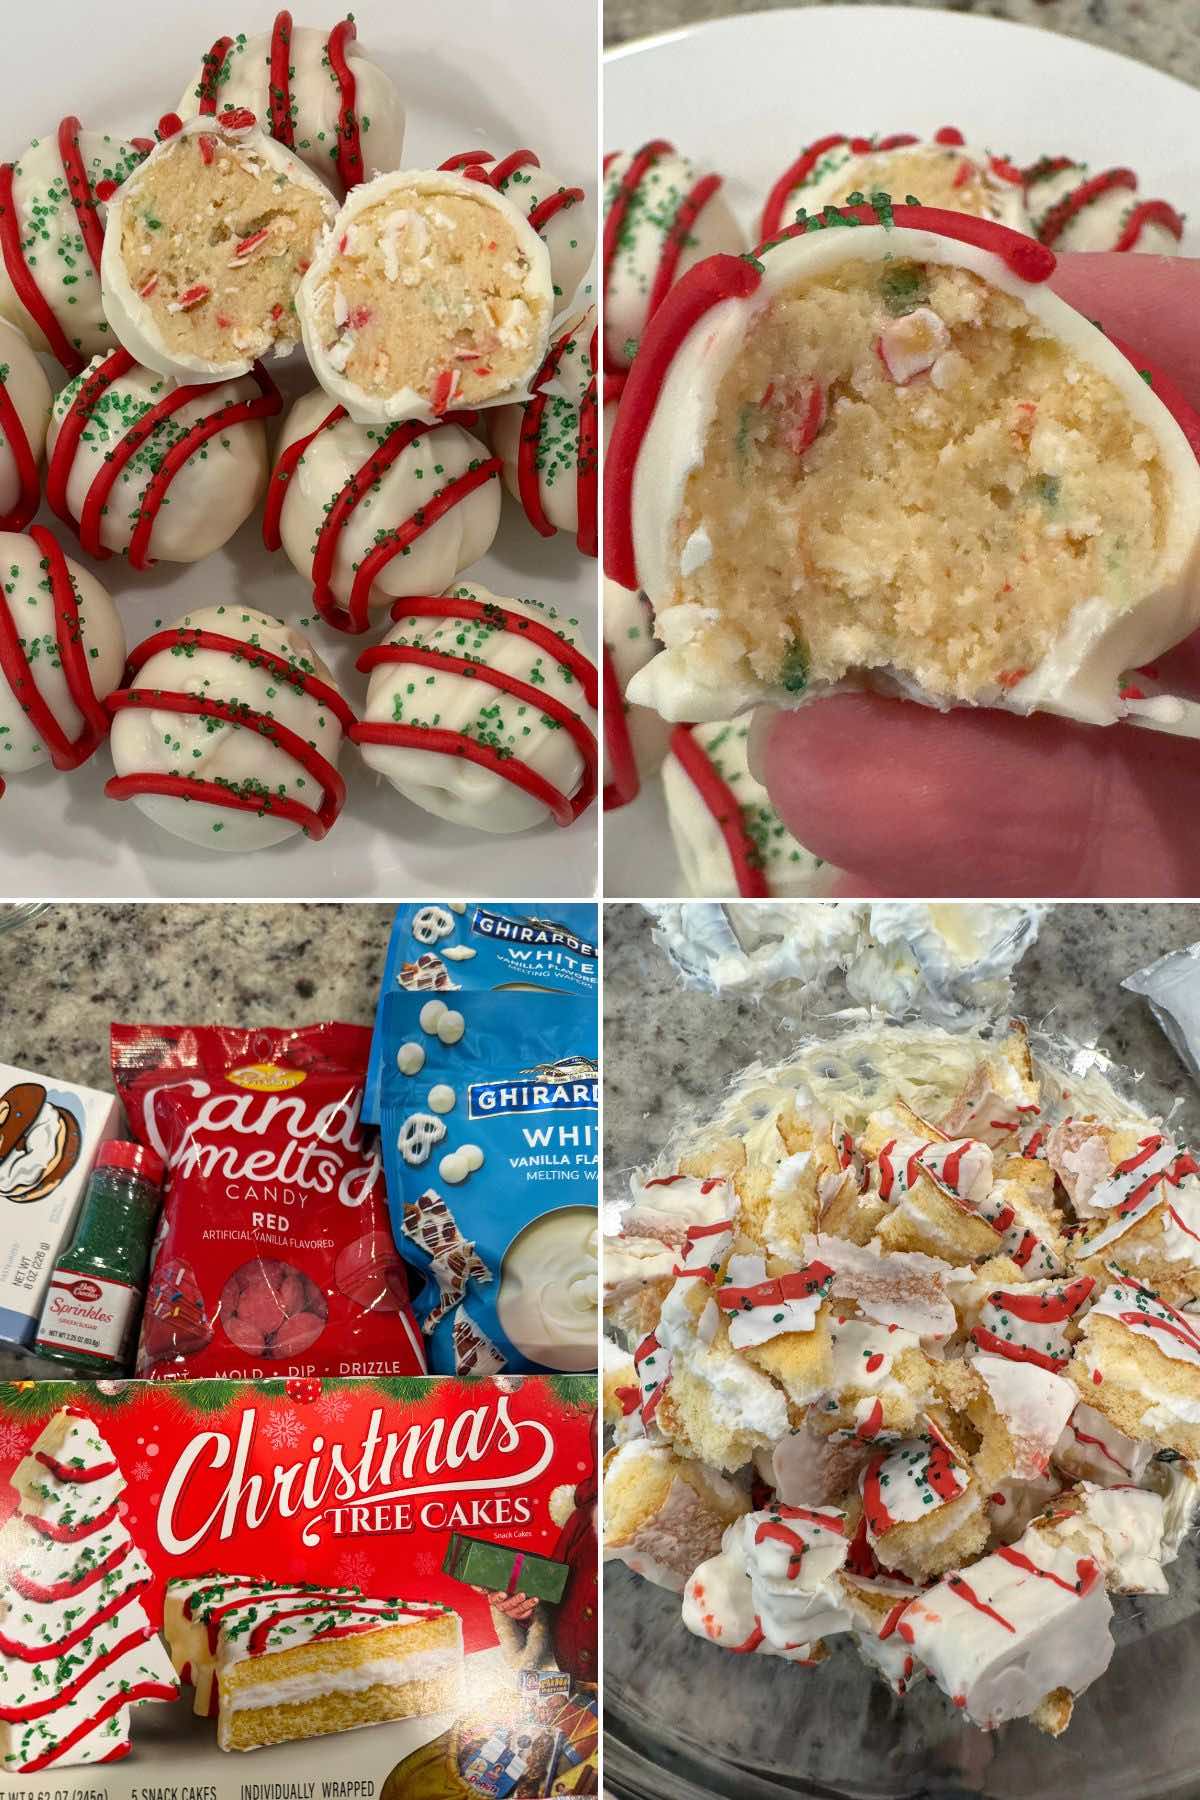
- Little Debbie Christmas tree snack cakes: The best news is you can use any Little Debbie snack cake to make these. Little Debbie Birthday Cakes, Zebra Cakes, or even Fancy Cakes should work just fine if you cannot find the Christmas Tree Cakes.
- Cream cheese: Helps to bind the crumbled snack cakes together, creating a smooth, creamy consistency that’s easy to shape. Make sure the cream cheese is softened to room temperature to avoid lumps in the mixture.
- White chocolate melting wafers: If you prefer, you can substitute vanilla-flavored almond bark in place of the melting wafers. Be sure to follow the package instructions for properly melting the vanilla almond bark.
- Red candy melts: If you do not want to use the red vanilla-flavored candy wafers to decorate your cake balls, you can add a couple of drops of red gel food coloring to any excess melted white chocolate you have after all the cake balls have been coated. Be sure to use a good-quality gel food coloring meant for use with chocolate. Start with 1-2 drops until the desired color is reached.
- Green sanding sugar sprinkles: This creates a crunchy contrast to the smooth chocolate coating and creamy cake filling.
See the recipe card for full information on ingredients and quantities.
How to Make Little Debbie Cake Balls
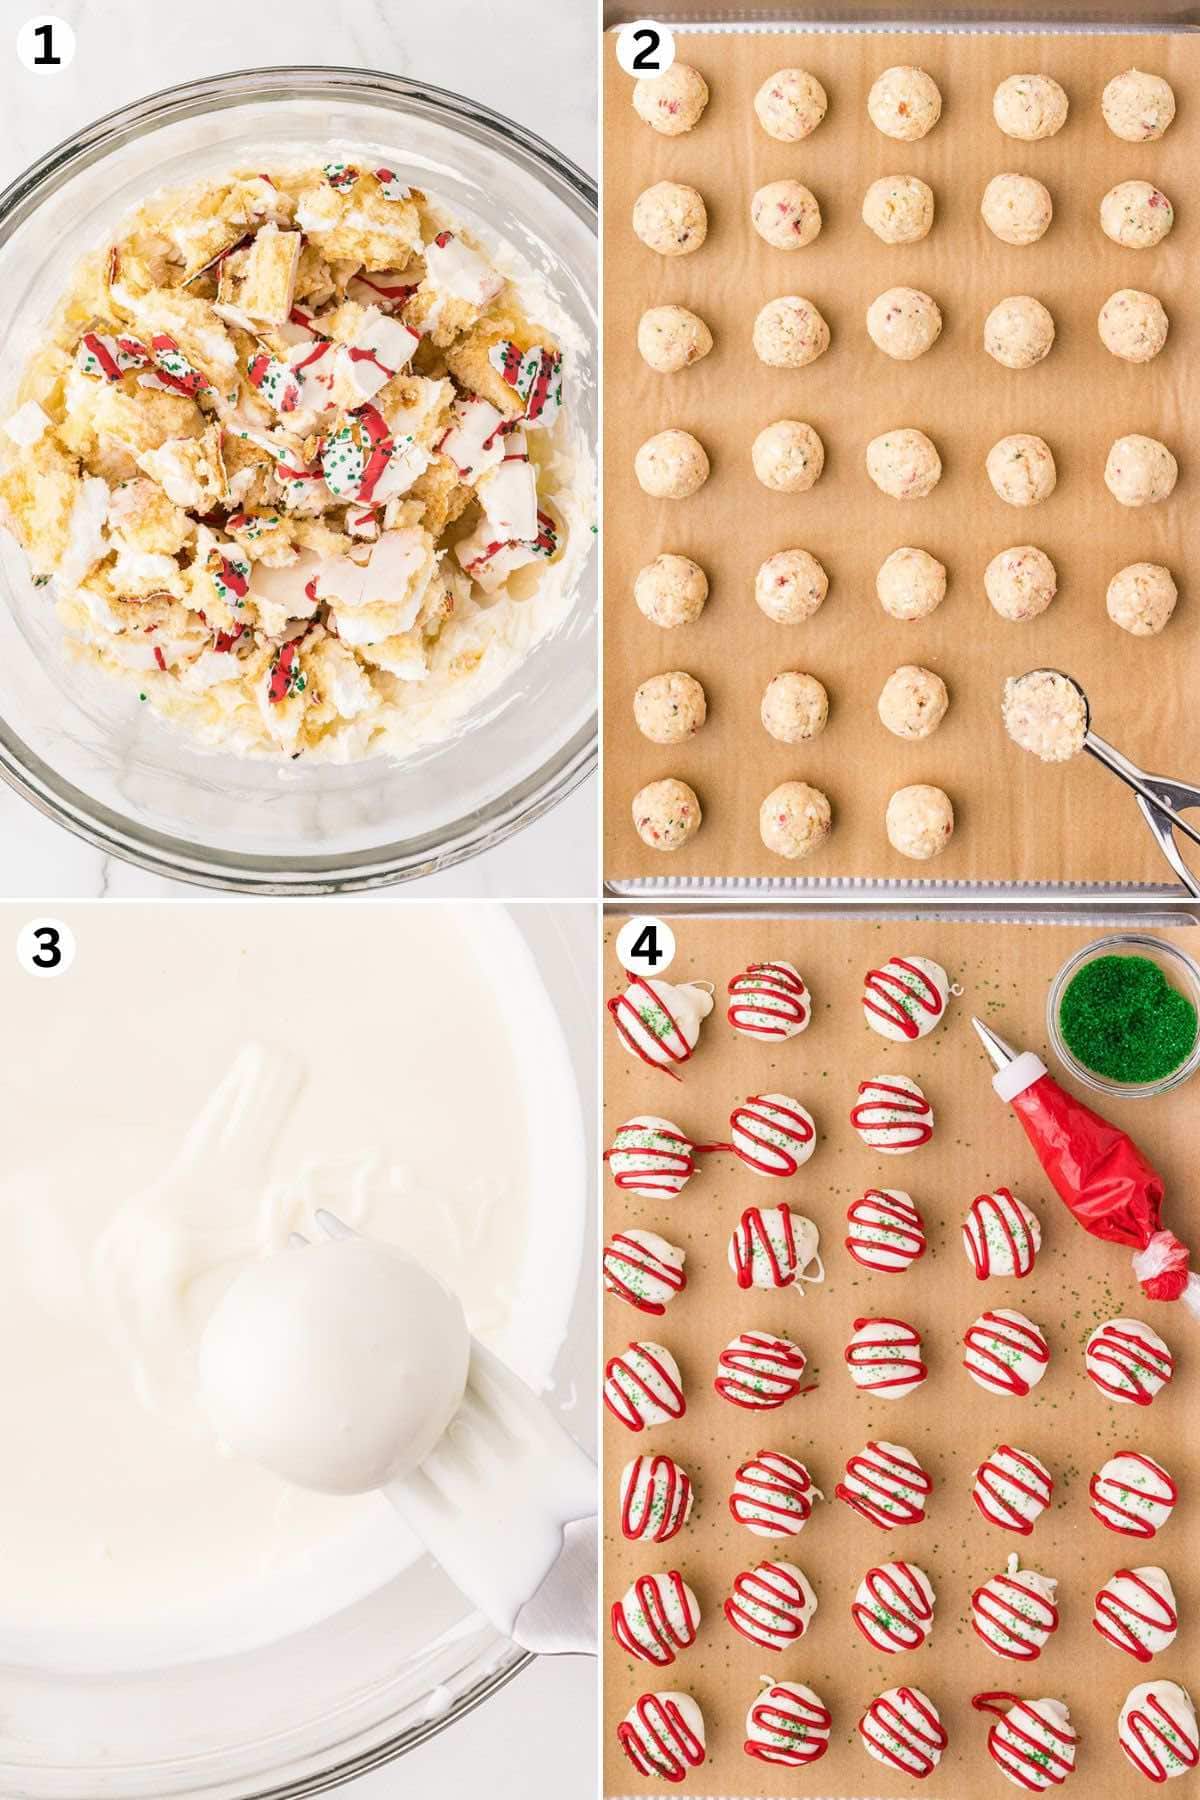
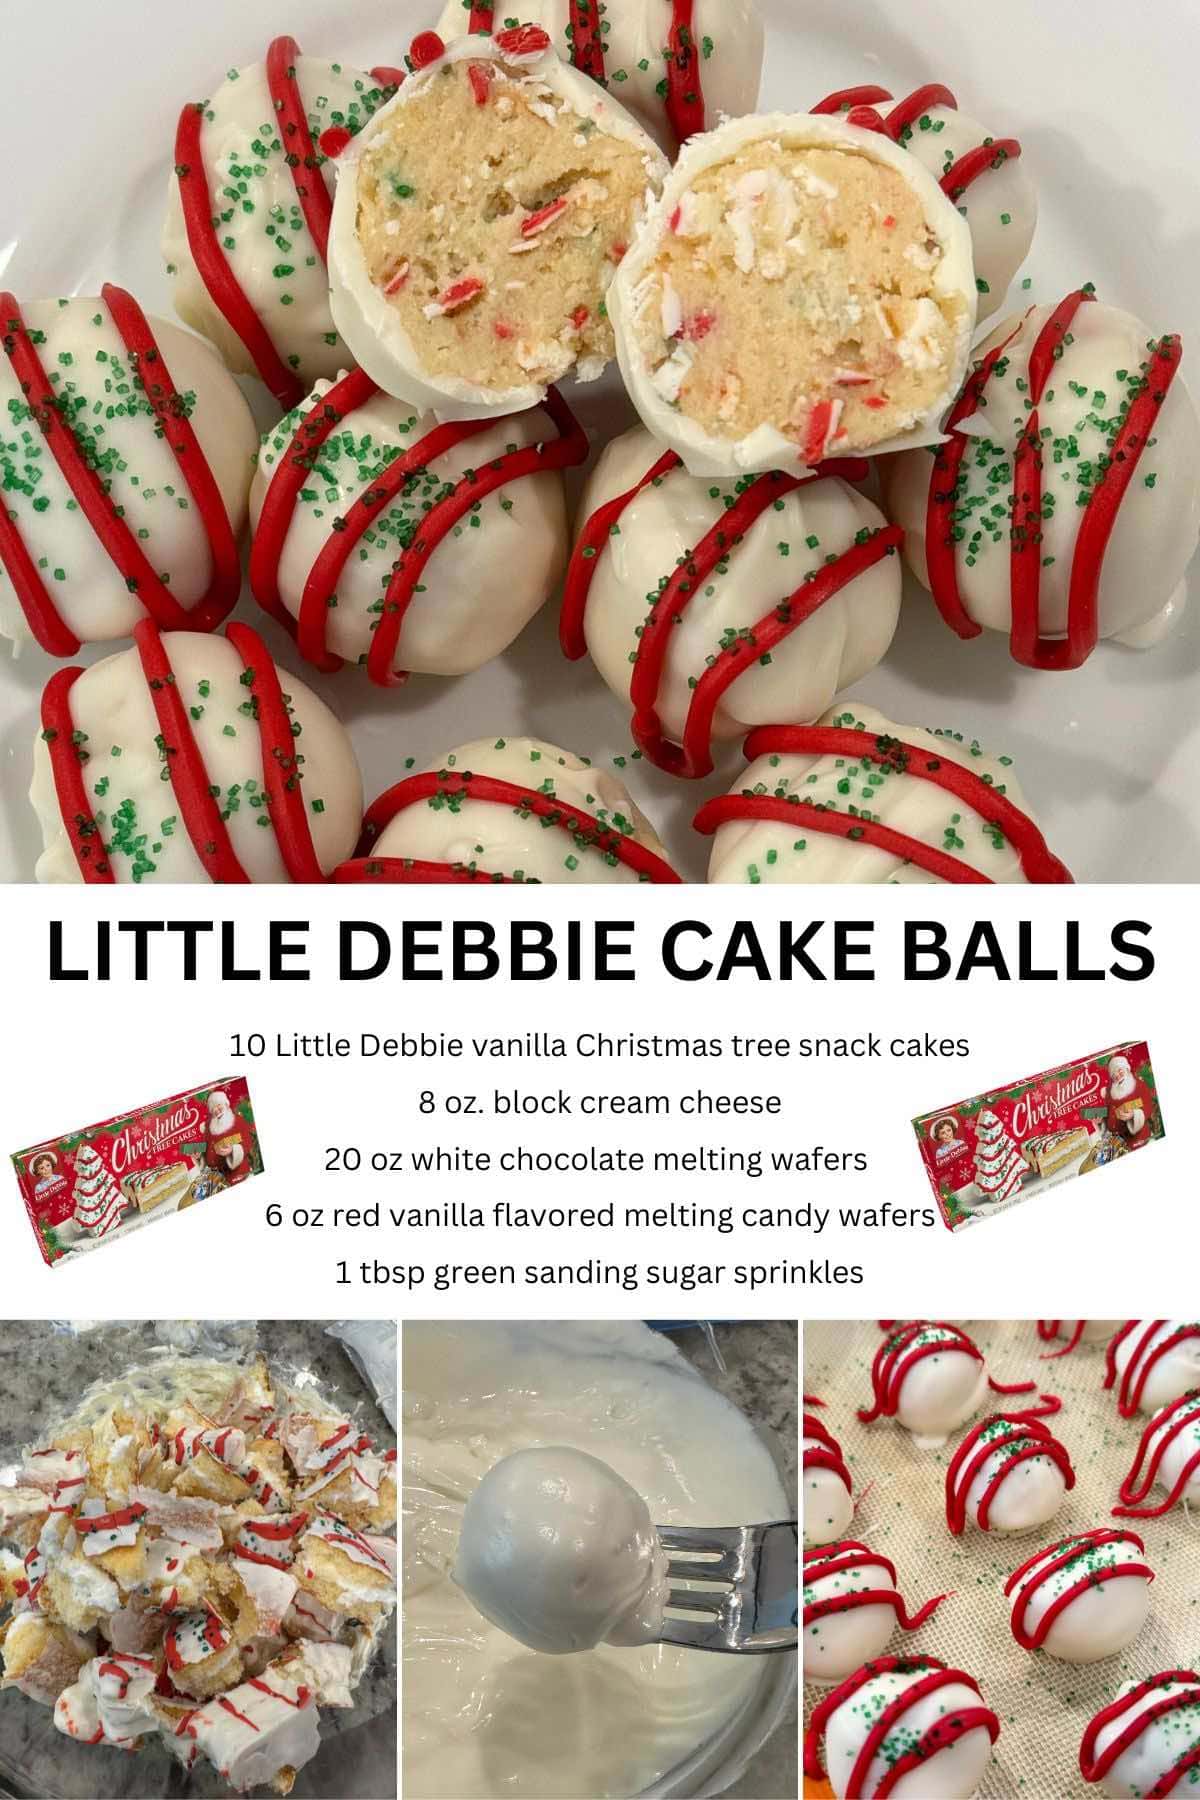
- Make The Cake Ball Mixture: Beat the cream cheese until fluffy and smooth. Add small pieces of cake to the bowl and combine until smooth.
- Roll Round Balls: Scoop out tablespoons of the cake ball mixture and roll into smooth balls.
- Freeze: Freeze the cake balls for 30-45 minutes, or until completely solid.
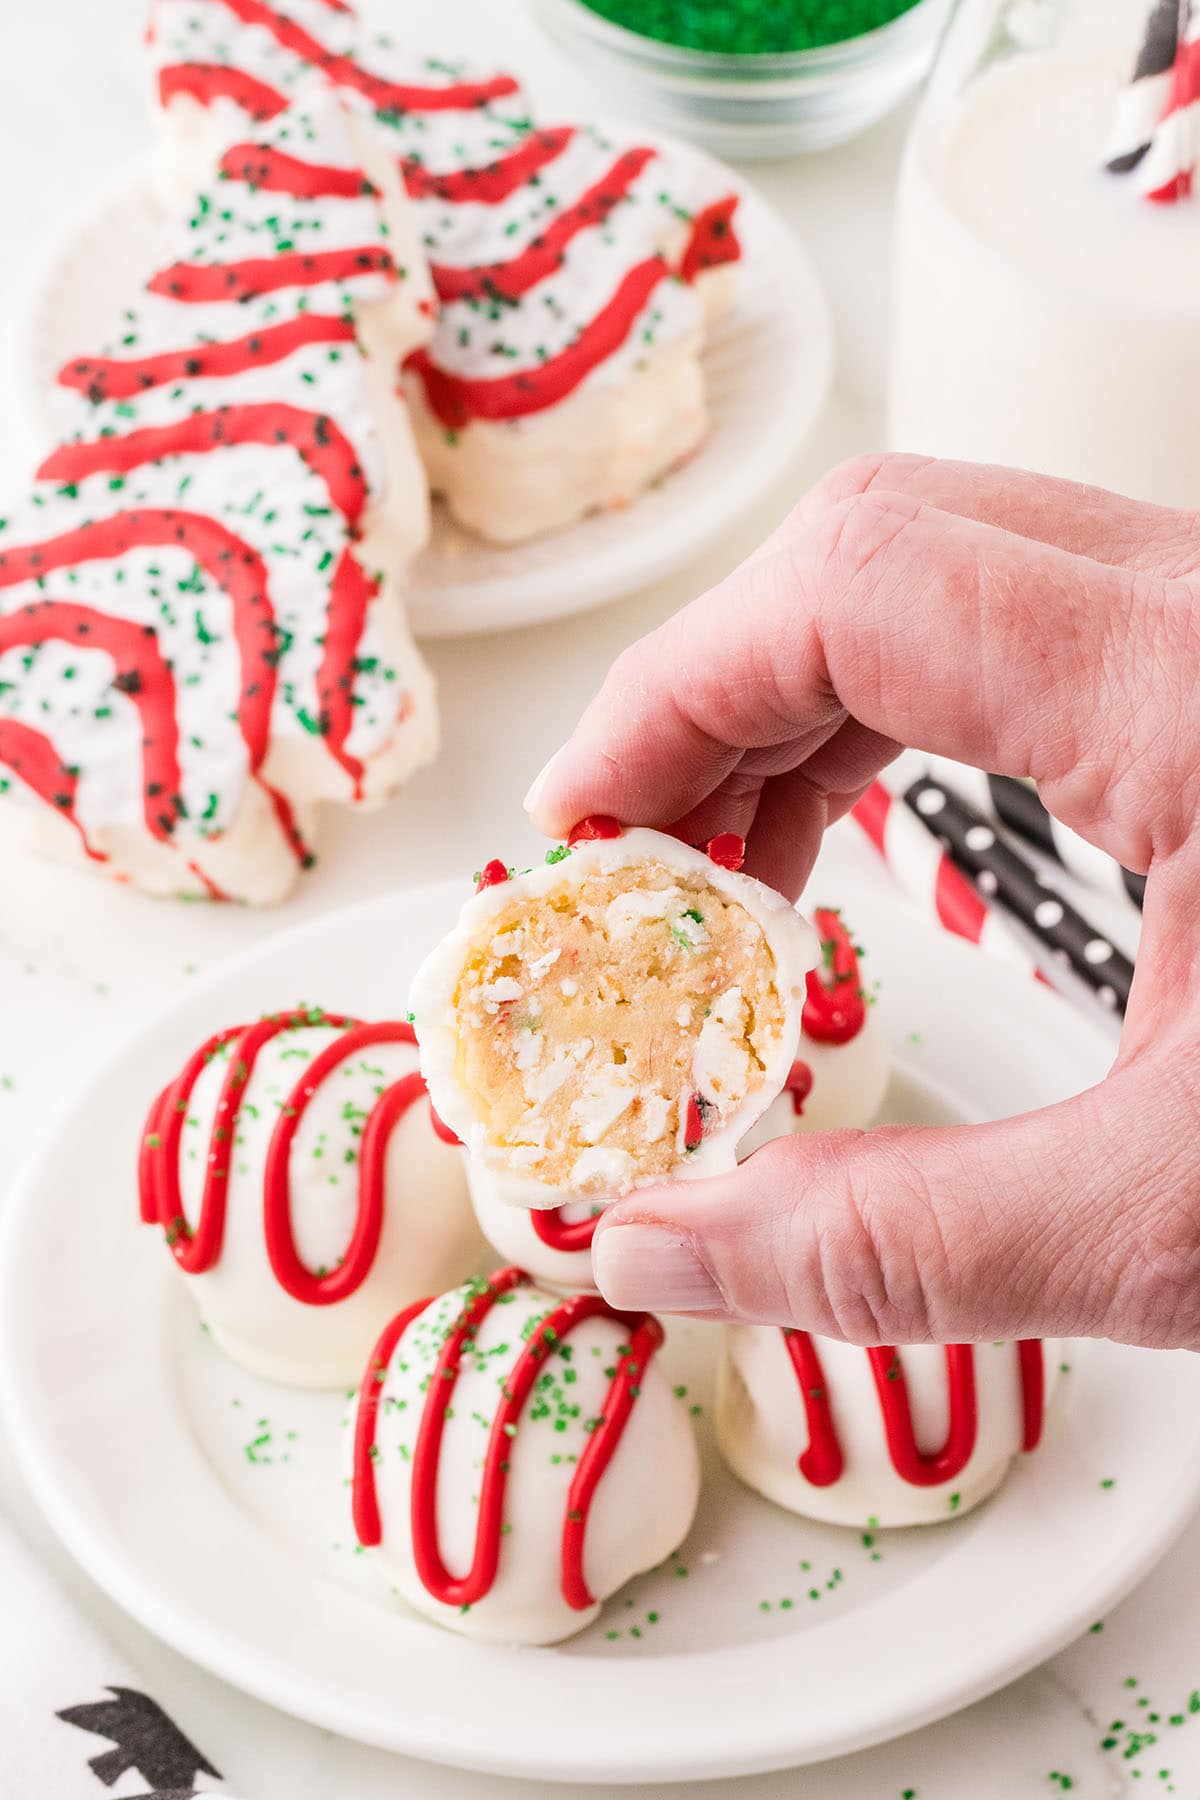
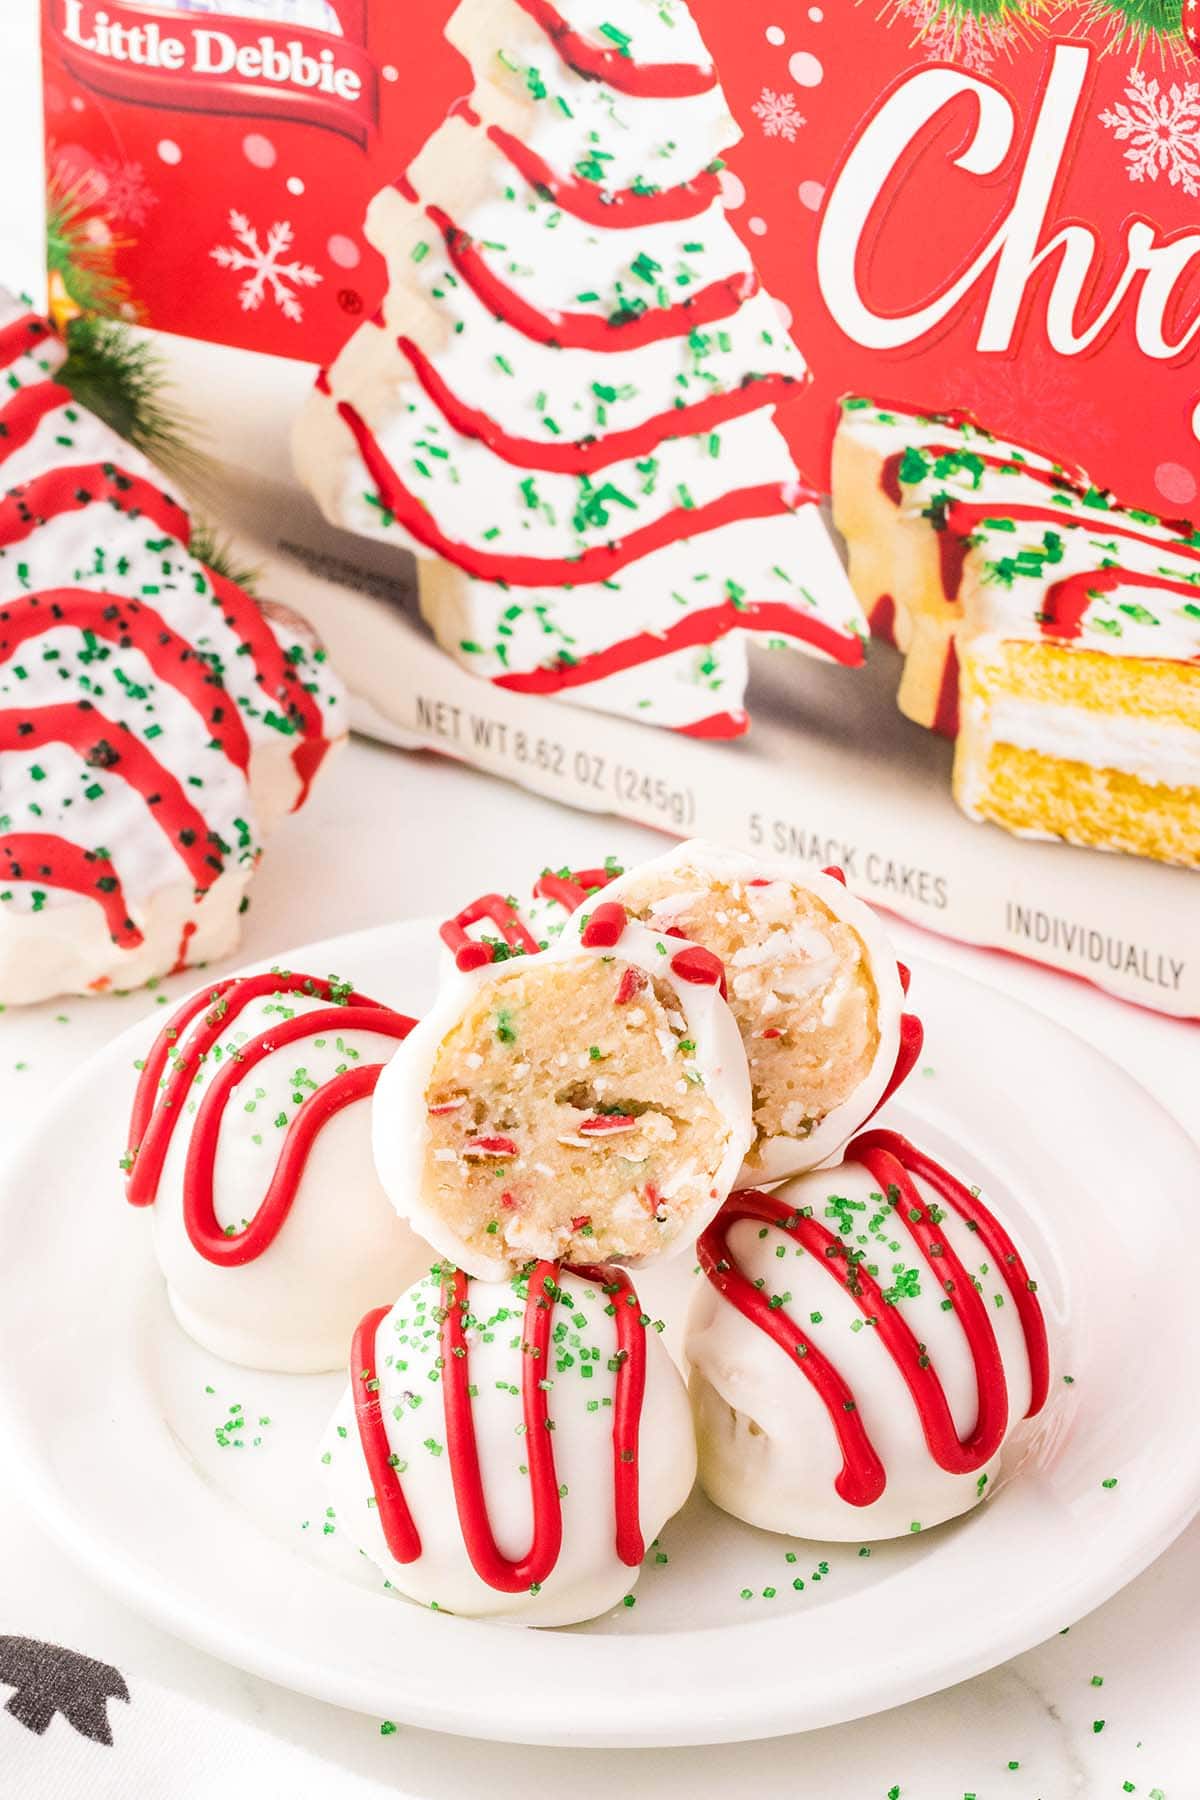
- Dip And Decorate: Coat each cake ball in melted white chocolate and pipe a decorative ziz-zag pattern across the top of the chocolate covered cake balls. Sprinkle with green sanding sugar sprinkles to mimic the look of the original Little Debbie christmas tree snack cakes.
- Set And Serve: Set for 15-20 minutes until the white chocolate coating is completely firm before serving. Enjoy!
Serving Suggestions
Little Debbie Christmas tree cake truffles make any special celebrations even sweeter! They are perfect for gift-giving, holiday parties, and dessert platters. For a fun twist, insert a stick and serve some as Little Debbie Christmas tree cake pops!
Tips & Variations
- Make More: This recipe can easily be halved or doubled, depending on the desired number of cake balls needed for serving.
- Pipe The Pattern: If you do not have a small piping bag, you can drizzle the melted red candy wafers using a small spoon to create the desired design on the top of the cake balls.
- Ensure The Sprinkles Stick: Don’t wait until all the cake balls are coated in white chocolate before adding the red drizzle and green sanding sprinkles; otherwise, the sprinkles will not stick! The frozen temperature causes the white chocolate to harden quite quickly, so it’s best to complete 1-2 cake balls at a time to ensure the green sanding sprinkles stick to the tops of each cake ball.
How To Coat Cake Balls In Chocolate
The best method for coating these balls in chocolate is to use a fork and gently tap any excess chocolate on the side of the bowl. I like to use a toothpick to remove the excess melted wafer from the bottom of the fork and then gently push the ball onto the parchment paper-lined baking sheet.
How To Soften Cream Cheese
To soften the brick cream cheese, remove the package from the foil and place it on a microwave safe plate. Heat in the microwave for 20-30 seconds or until softened. You can also leave it on the kitchen counter for 1 to 2 hours to soften to room temperature. Don’t leave cream cheese at room temperature for longer than 2 hours, or it could start to grow bacteria that could lead to foodborne illness.
Proper Storage
- To Store: These Little Debbie Christmas tree cake balls can be stored in an airtight container in the refrigerator for up to one week.
- To Freeze: Place the cake balls in an airtight container or a freezer bag, separating layers with parchment paper if necessary, and freeze for 2-3 months.
More Easy Cake Ball Recipes
If you tried this Little Debbie Christmas Tree Cake Balls Recipe or any other recipe on my website, please leave a 🌟 star rating and let me know how it went in the 📝 comments below. Thanks for visiting!!!
Little Debbie Cake Balls
Ingredients
- 10 Little Debbie vanilla Christmas tree snack cakes unwrapped from 2 – 8.62 oz. boxes
- 8 ounce block cream cheese softened to room temperature
- 20 ounces white chocolate melting wafers Ghirardelli brand used
- 6 ounces red vanilla flavored melting candy wafers Wilton brand used
- 1 tablespoon green sanding sugar sprinkles
Instructions
- Line two large baking sheets with parchment paper or a silicone mat and set aside.
- To a large mixing bowl, add the softened cream cheese and beat on medium speed, using a handheld mixer, for 1-2 minutes or until fluffy and smooth.8 ounce block cream cheese
- Break the Little Debbie vanilla Christmas tree Snack Cakes into smaller pieces and add to the bowl of beaten cream cheese. Mix on low speed just until fully combined. You may still have some small pieces of the vanilla coating from the snack cakes remaining in the mixture however the mixture should be relatively smooth.10 Little Debbie vanilla Christmas tree snack cakes
- Using a small cookie scoop, scoop out a 1 tablespoon sized portion of cake ball mixture and place into the palm of your hand. Gently roll to form a smooth ball.
- Place the Little Debbie Christmas tree cake ball onto one of the prepared baking sheets. Repeat with the remaining mixture until all the cake balls have been formed and placed onto the prepared baking sheet.
- Freeze the cake balls for 30-45 minutes, or until completely solid. This will make it easier to coat the cake balls in the melted white chocolate.
- Melt the white chocolate wafers in a medium bowl according to package directions and stir to a smooth consistency.20 ounces white chocolate melting wafers
- In a separate small bowl, melt the red vanilla flavored candy wafers according to package directions and stir until smooth. Transfer the melted red candy wafers into a small piping bag with the tip cut off.6 ounces red vanilla flavored melting candy wafers
- Place a single cake ball into the melted white chocolate, being sure to coat all sides. Using a fork, lift the coated cake ball out of the melted white chocolate and gently tap the fork on the side of the bowl allowing the excess melted white chocolate to drip back into the bowl.
- Place the white chocolate coated Little Debbie Christmas tree cake ball onto the second prepared baking sheet. Pipe a decorative ziz-zag pattern across the top of the white chocolate coated cake ball and sprinkle with a pinch of the green sanding sugar sprinkles. Try to mimic the look of the original Little Debbie Christmas tree snack cakes. Repeat until all the cake balls have been coated and decorated.1 tablespoon green sanding sugar sprinkles
- Let the Little Debbie Christmas tree cake balls set for 15-20 minutes until the white chocolate coating is completely firm before plating and serving.
Jenn’s Notes
- To Store: These Little Debbie Christmas tree cake balls can be stored in an airtight container, in the refrigerator, for up to 1 week.
- To Freeze: Place the cake balls in an airtight container or a freezer bag, separating layers with parchment paper if necessary, and freeze for 2-3 months.
- You can substitute vanilla flavored almond bark in place of the white chocolate melting wafers if desired. Be sure to follow the package instructions for proper melting of the vanilla almond bark.
- If you do not want to use the red vanilla flavored candy wafers to decorate your cake balls, you can add a couple drops of red gel food coloring to any excess melted white chocolate you have after all the cake balls have been coated. Be sure to use a good quality gel food coloring that is meant for use with chocolate. Start with 1-2 drops until desired color is reached.
- This recipe can be easily halved, or doubled, depending on the desired number of cake balls needed for serving.
- If you do not have a small piping bag, you can drizzle the melted red candy wafers using a small spoon to create the desired design on the top of the cake balls.
- If you wait until all the cake balls are coated in the white chocolate before adding the red candy coating drizzle and green sanding sprinkles, the sprinkles will not stick to the white chocolate parts of the cake balls because the frozen temperature causes the white chocolate to harden quite quickly. It is best to complete 1-2 cake balls at a time to ensure the green sanding sprinkles stick to the tops of each Little Debbie Christmas tree cake balls.

This was a hit. I took some to work and both the staff and the nurses loved them. Oh, the doctors loved them too. Thank you for such an easy recipe.
So happy to hear that. That sounds like a real hit! Thanks for sharing, and I’m glad everyone enjoyed them!
I will bemost happy I will be most happy to write and review this recipe thank you for asking.