This post may contain affiliate links. Please read our disclosure policy.
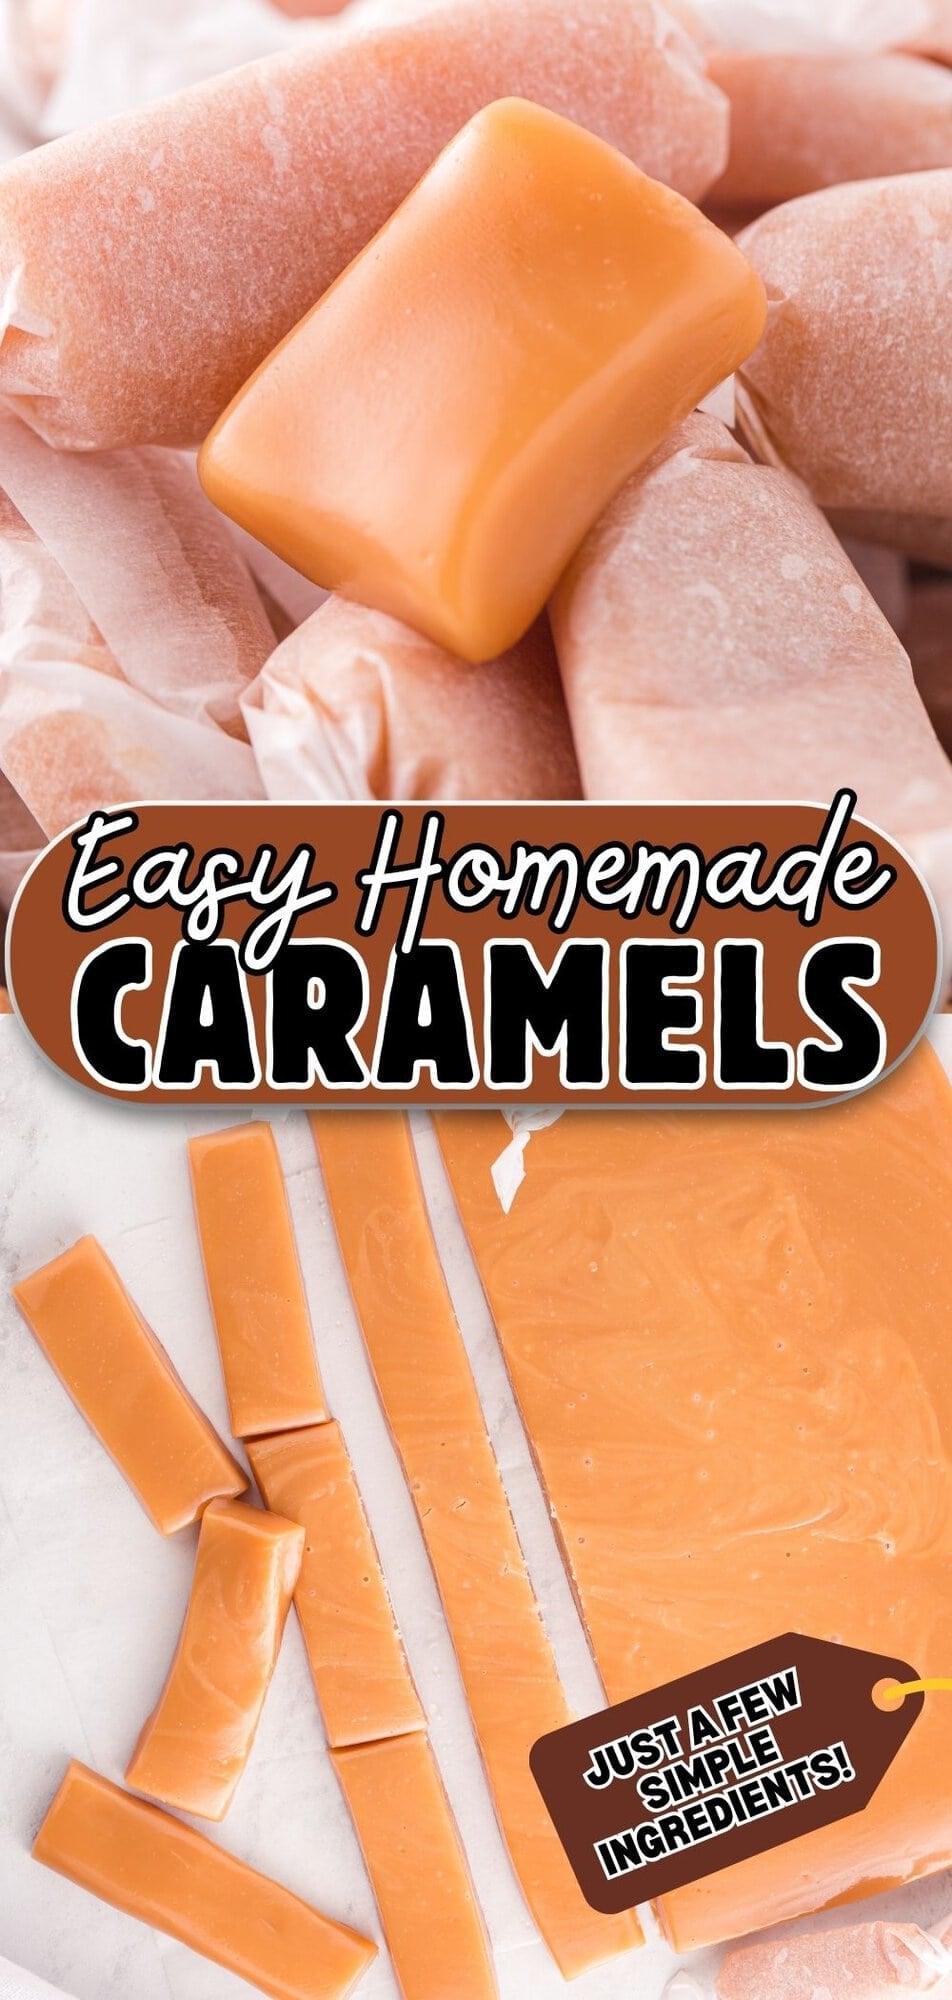
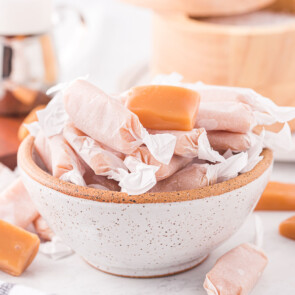
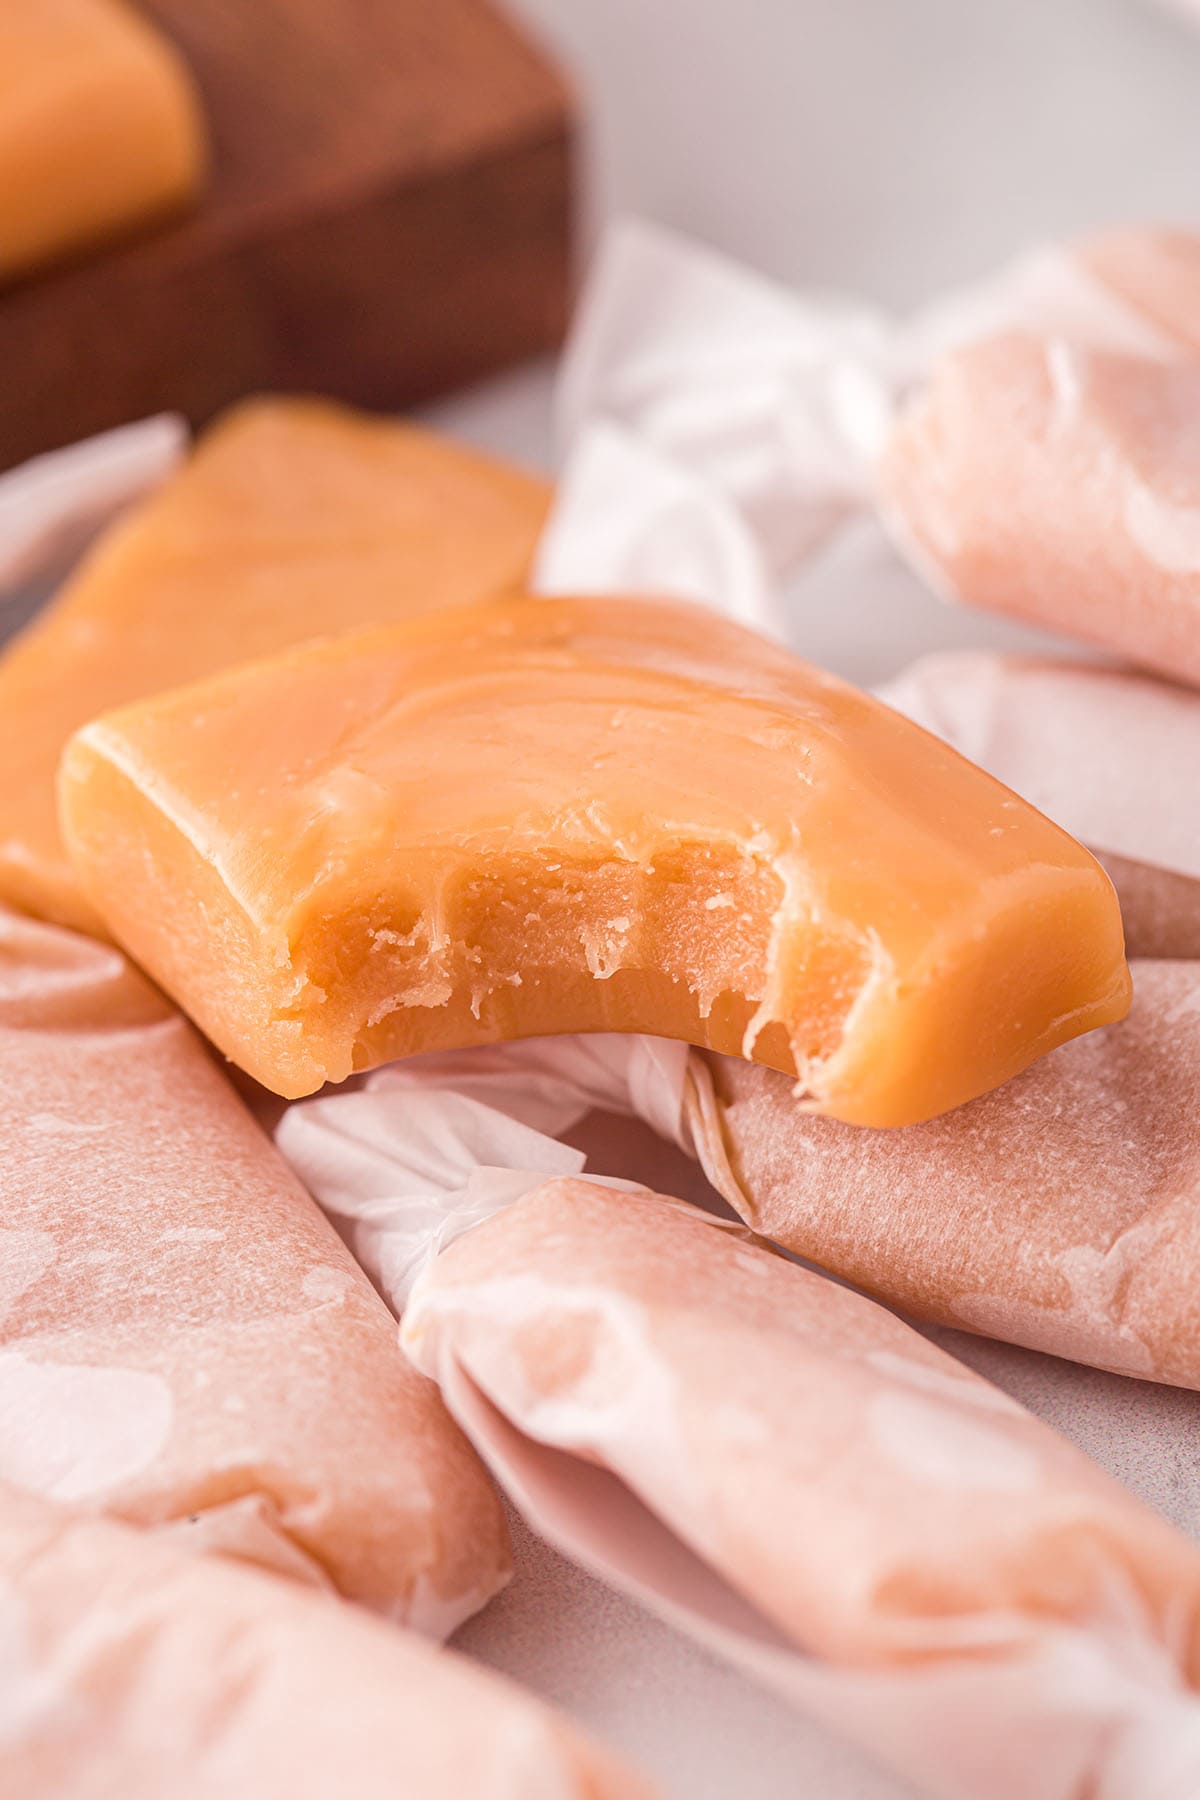
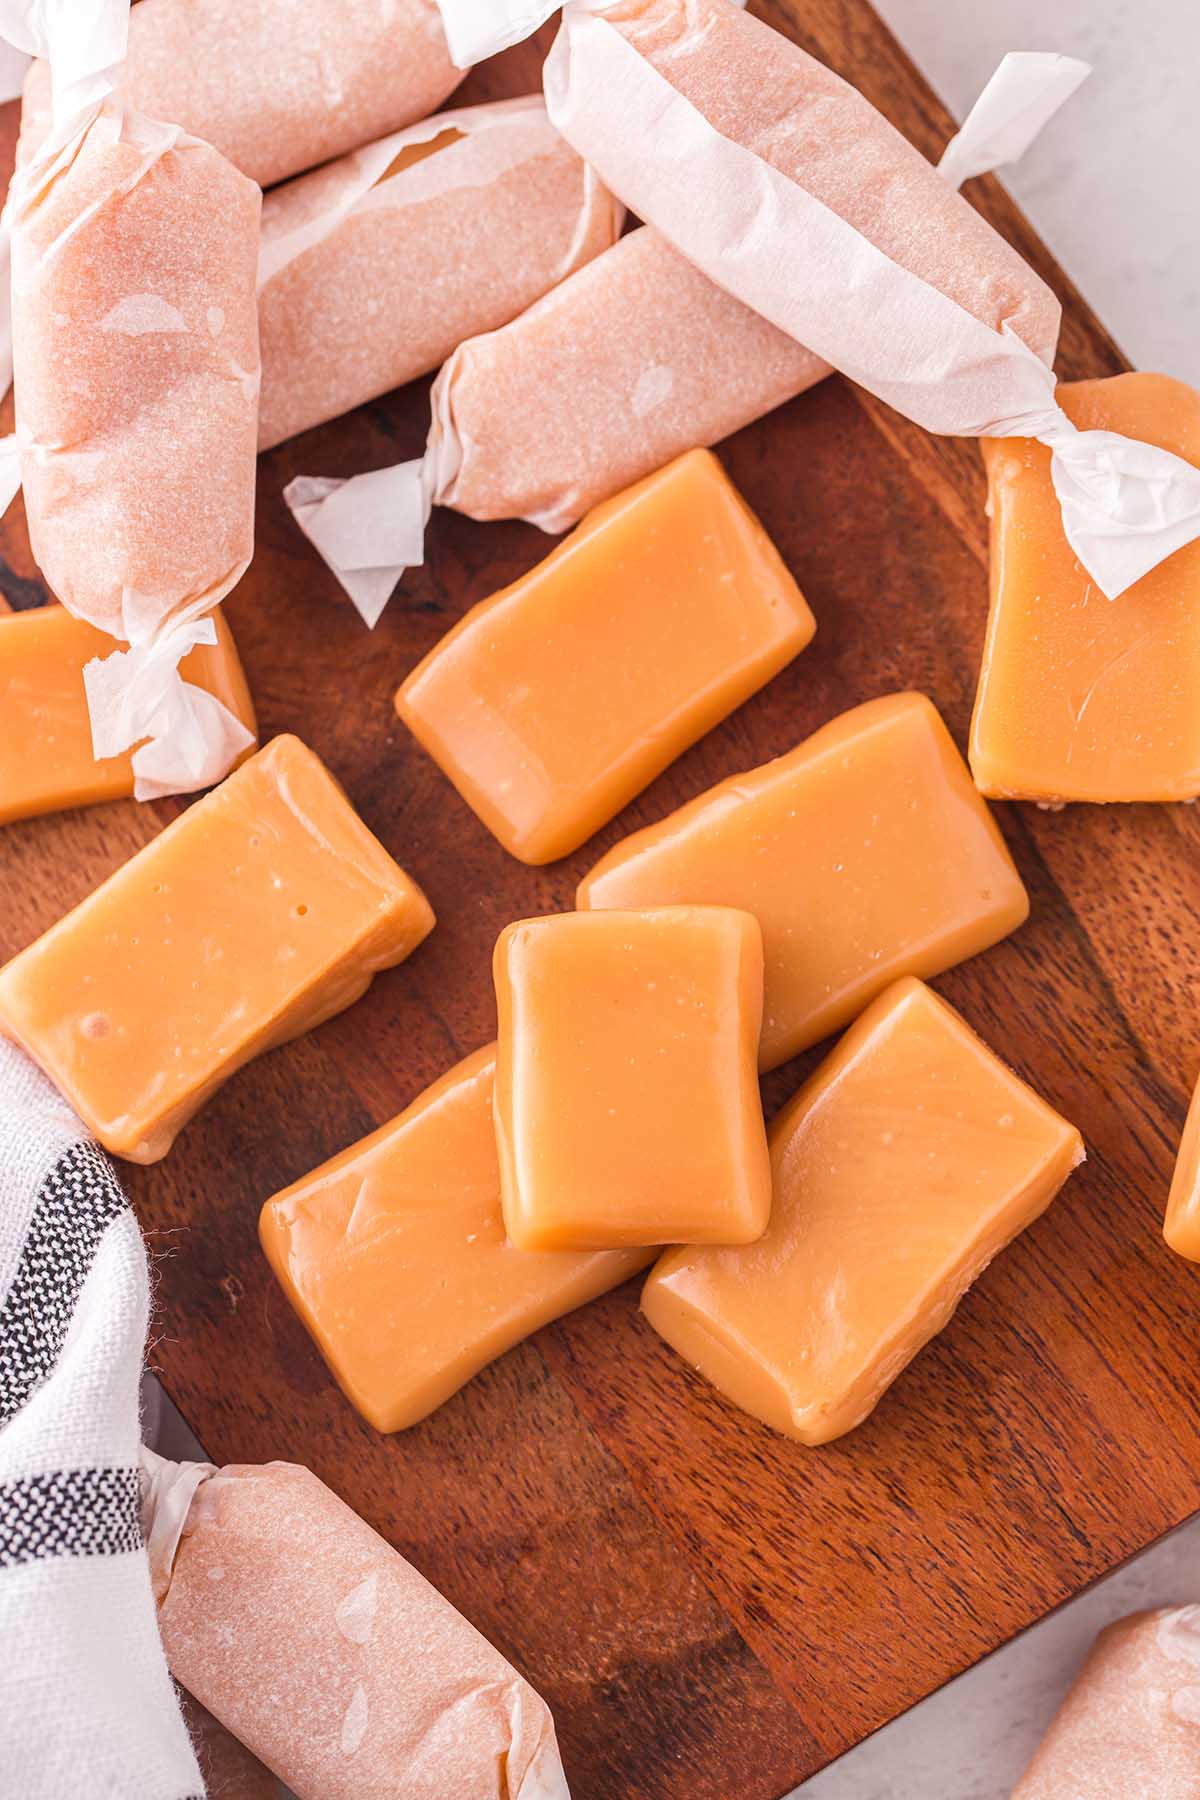
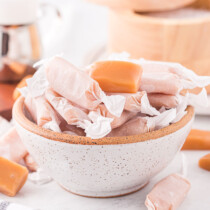
Homemade caramels are my favorite holiday gift to make, and they taste like they came from a candy shop. They’re soft, buttery and chewy, and they melt in your mouth. I wrap each one in parchment and pack them into tins to give away.
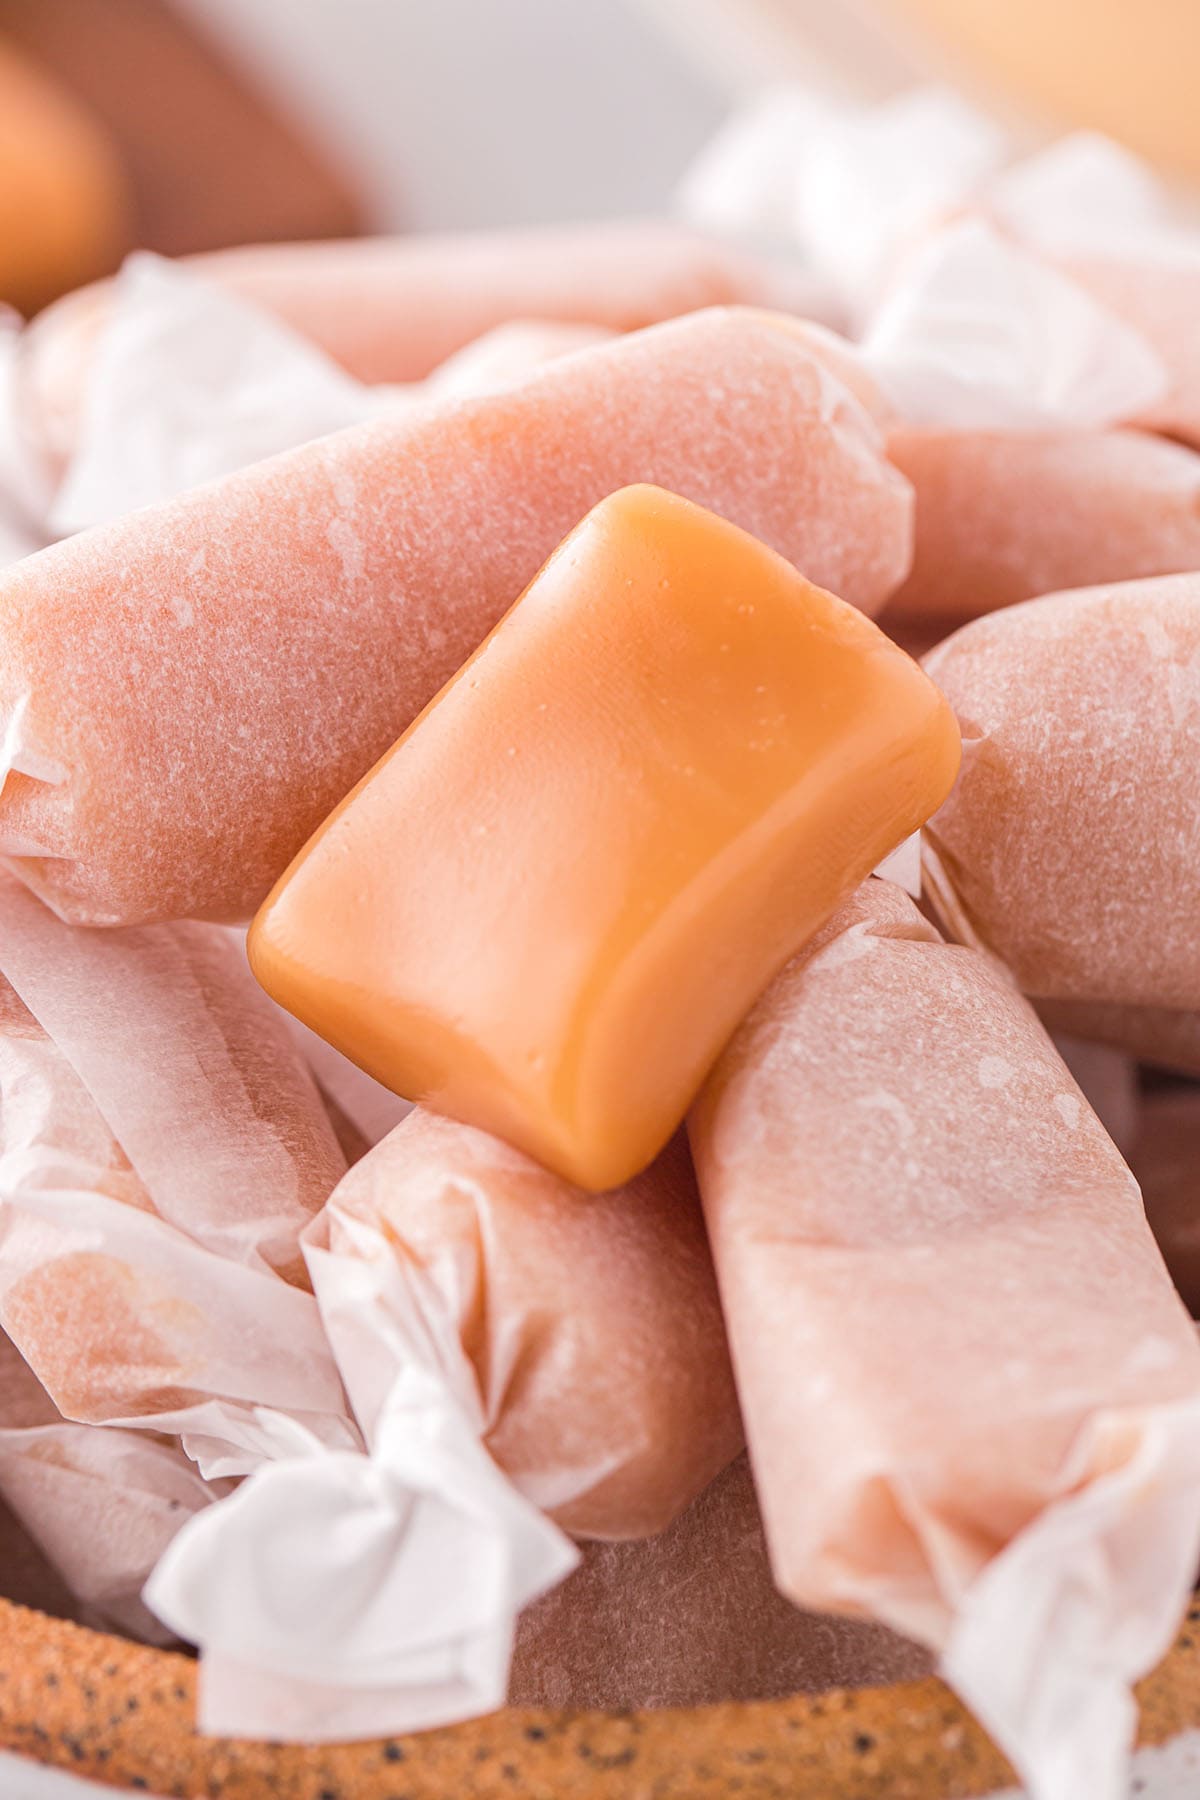
I tested these caramels batch after batch until the texture was right, soft enough to bite through easily and chewy enough to feel like the classic caramels from a candy counter. They stay soft at room temperature and wrap up neatly, so they’ve become one of my favorite treats to give during the holidays.
I make these with honey instead of corn syrup, so there’s no corn syrup and no evaporated milk anywhere in them. If you’ve been looking for homemade caramels without corn syrup, you’re in the right place.
If you’re putting together a candy tin, my Caramel Fudge and Chocolate Turtles go right alongside these.
HOLIDAY GIFTING
The Homemade Candy I Love Giving Every Holiday
I love handing out something homemade at the holidays, and these caramels are one of my favorite things to wrap up. They’re made with sugar, honey, butter, salt and cream, so I know exactly what’s in every piece I give away. Once they’re cut and wrapped in parchment, they stay soft and look like something from a candy shop. A tin of these never lasts long once it’s opened.

What You’ll Need
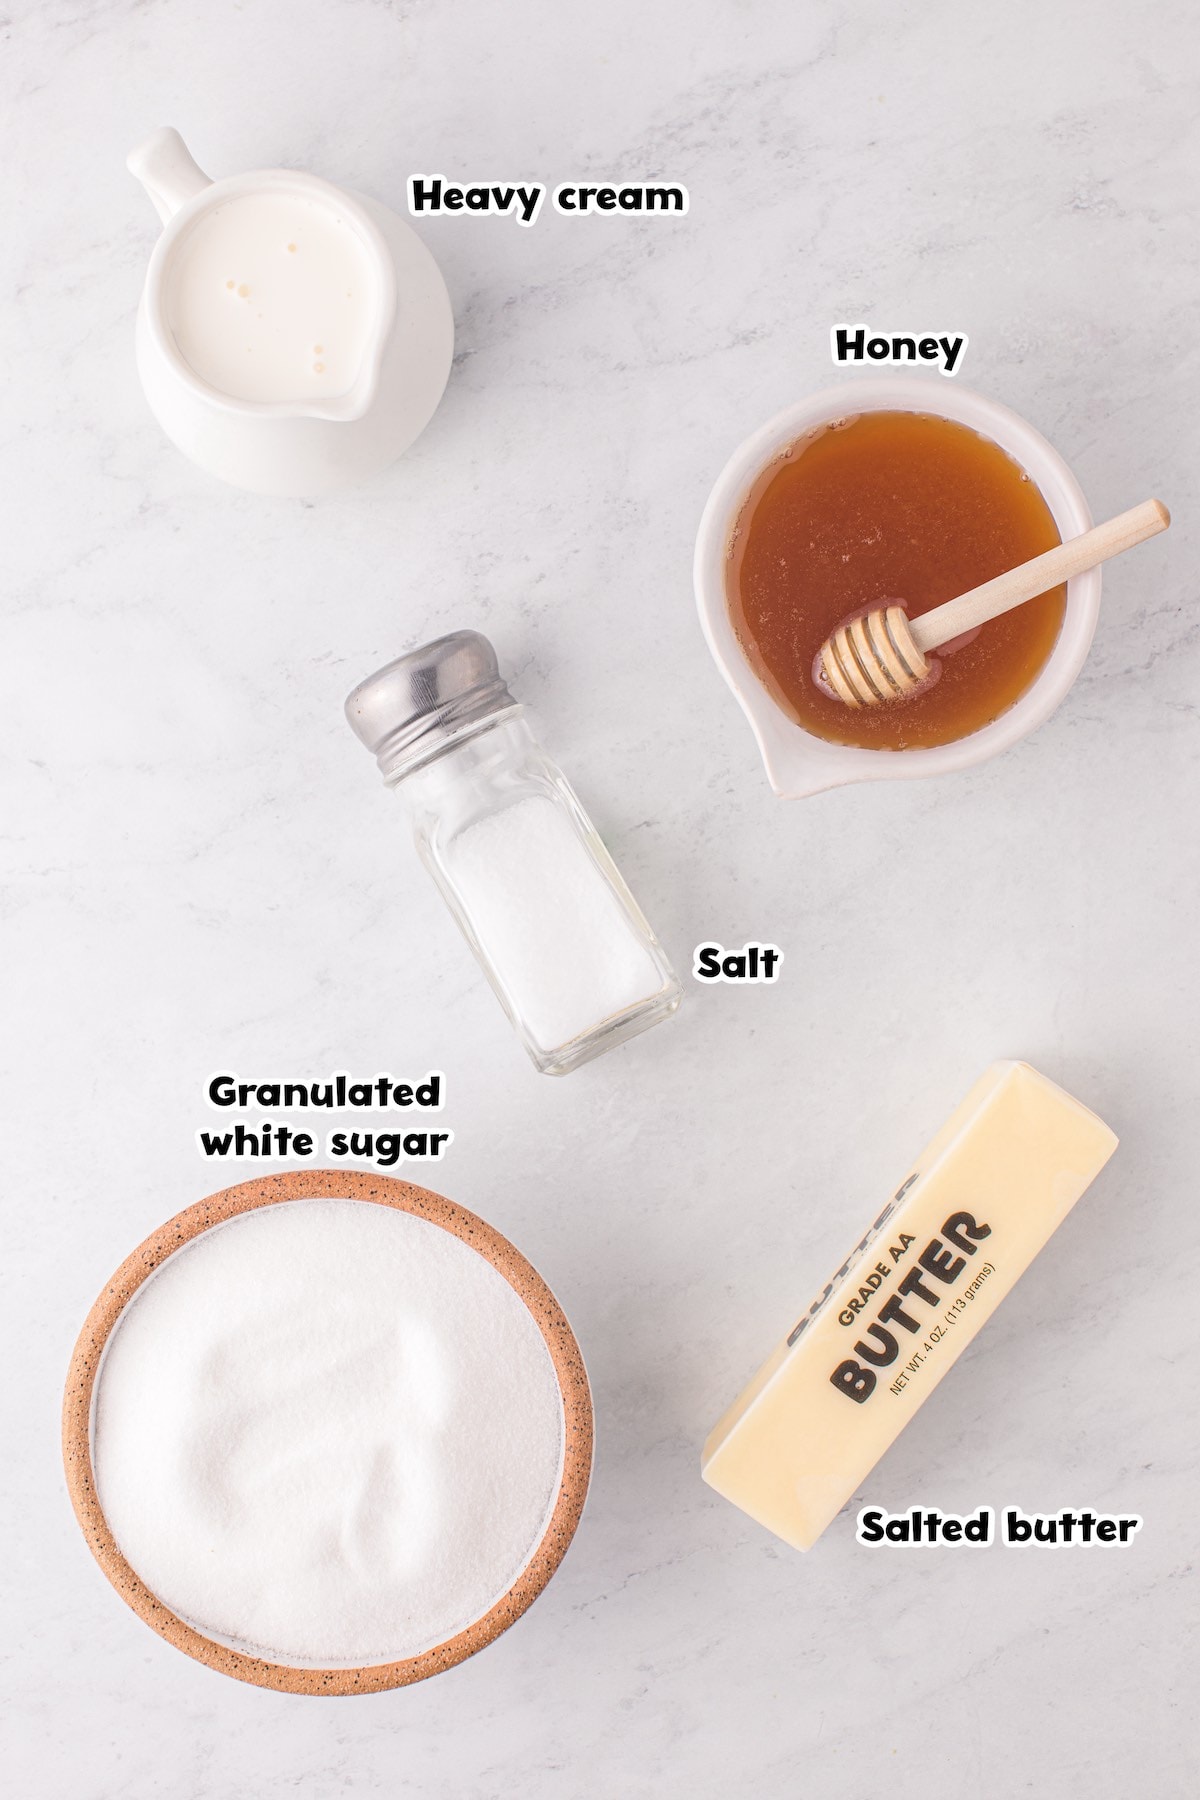
- Honey: Honey takes the place of corn syrup in this recipe, and it’s what makes these caramels different from most you’ll find. You can use light corn syrup instead, but the flavor will change slightly.
- Heavy cream: This is the one ingredient you can’t swap. The high fat content is what makes the caramel smooth, and no other type of milk works here.
- Salted butter: I use salted butter on purpose, plus a little extra salt, so the caramels don’t come out too sweet. If you only have unsalted butter, add an extra pinch or two of salt.
- Granulated sugar: White sugar is what I use. For a slightly different flavor, you can do half white sugar and half brown sugar.
How to Make Homemade Caramels
Step 1: Melt the Sugar Mixture Line your pan with parchment before anything goes on the stove, because the caramel needs to go straight in once it’s ready. Melt the sugar, honey, butter and salt over medium heat, stirring often, until it’s smooth and starting to simmer.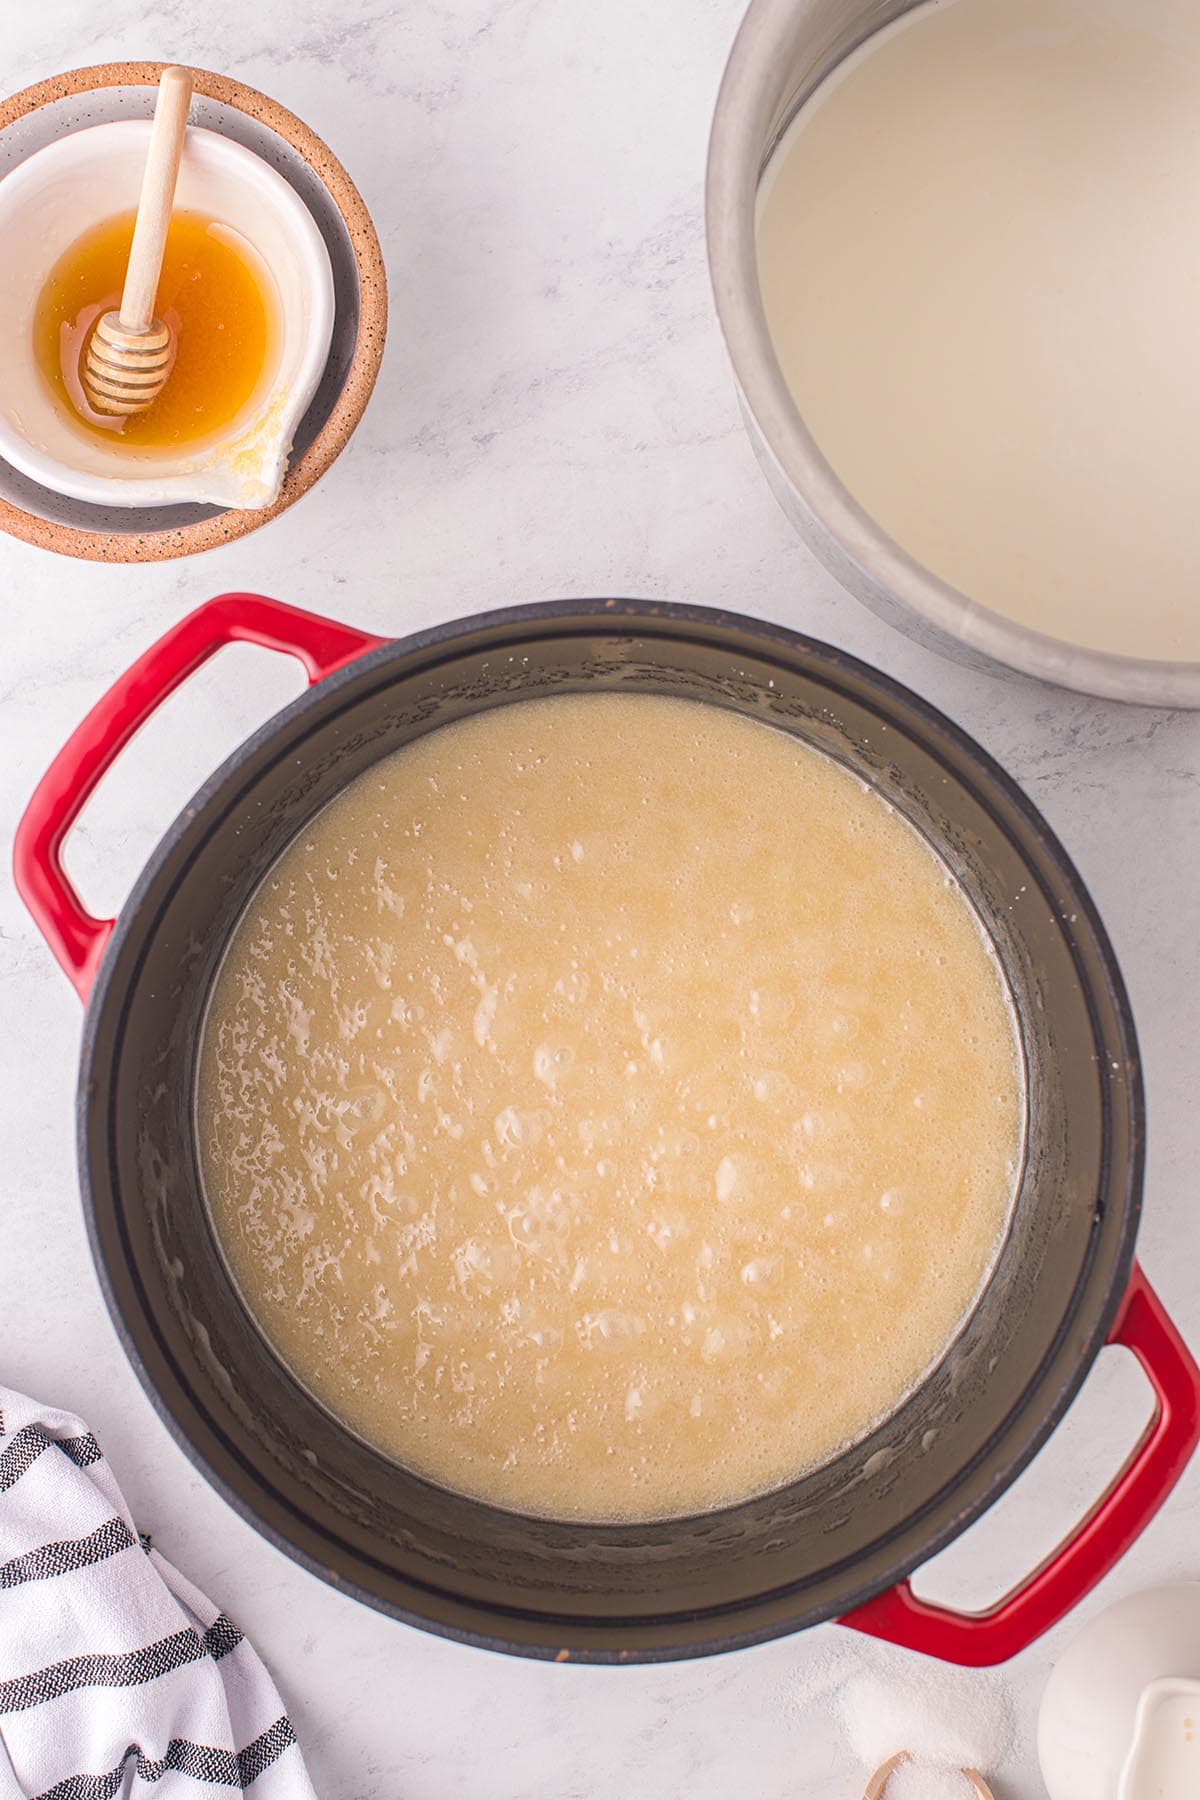
Step 2: Add the Warm Cream While the sugar melts, warm the cream in a small saucepan until tiny bubbles form around the edge. Pour it into the bubbling sugar mixture slowly over a few minutes, stirring the whole time, because warm cream blends in smoothly and cold cream can curdle when it hits the hot sugar.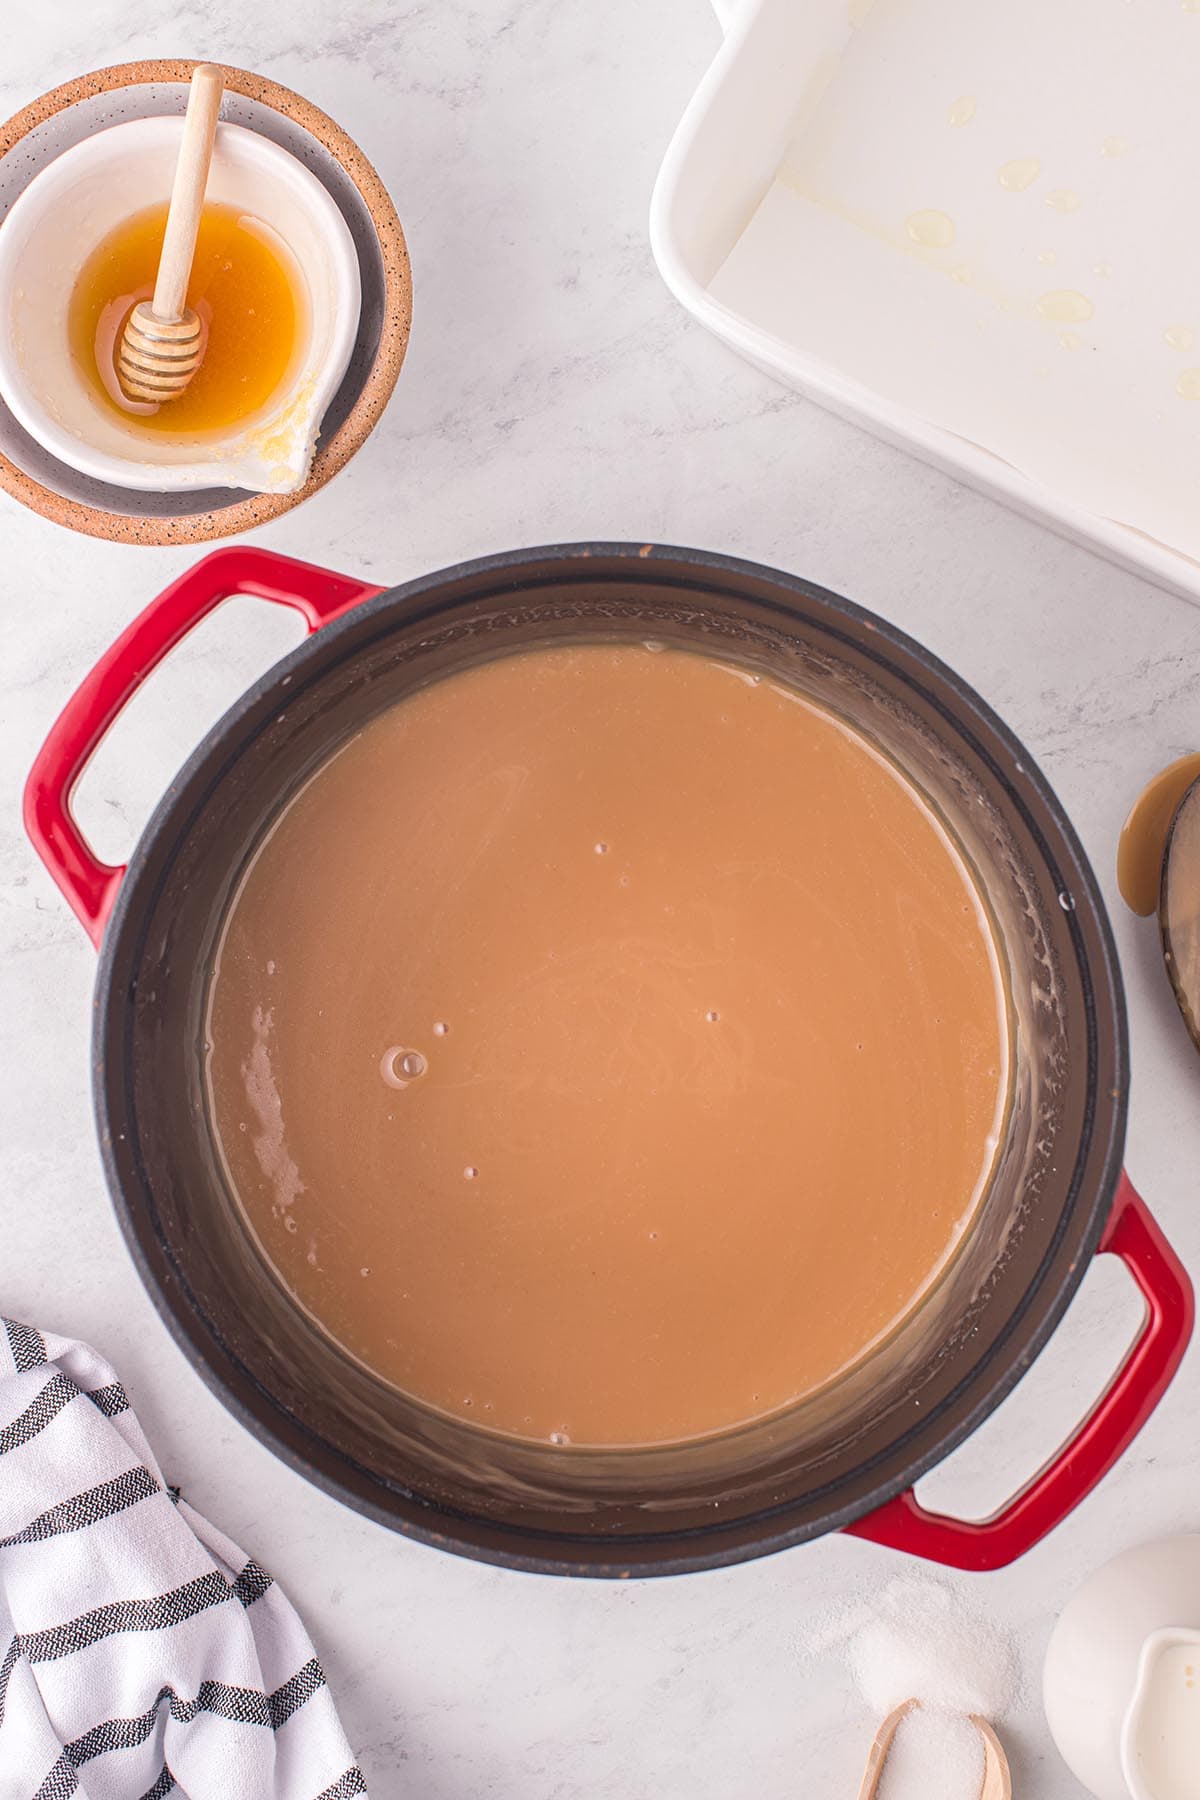
Step 3: Cook to 240°F Turn the heat to medium-low and let it boil, stirring now and then. It foams up first, then settles into a darker, thicker caramel, and that’s when you keep a close eye on the thermometer.
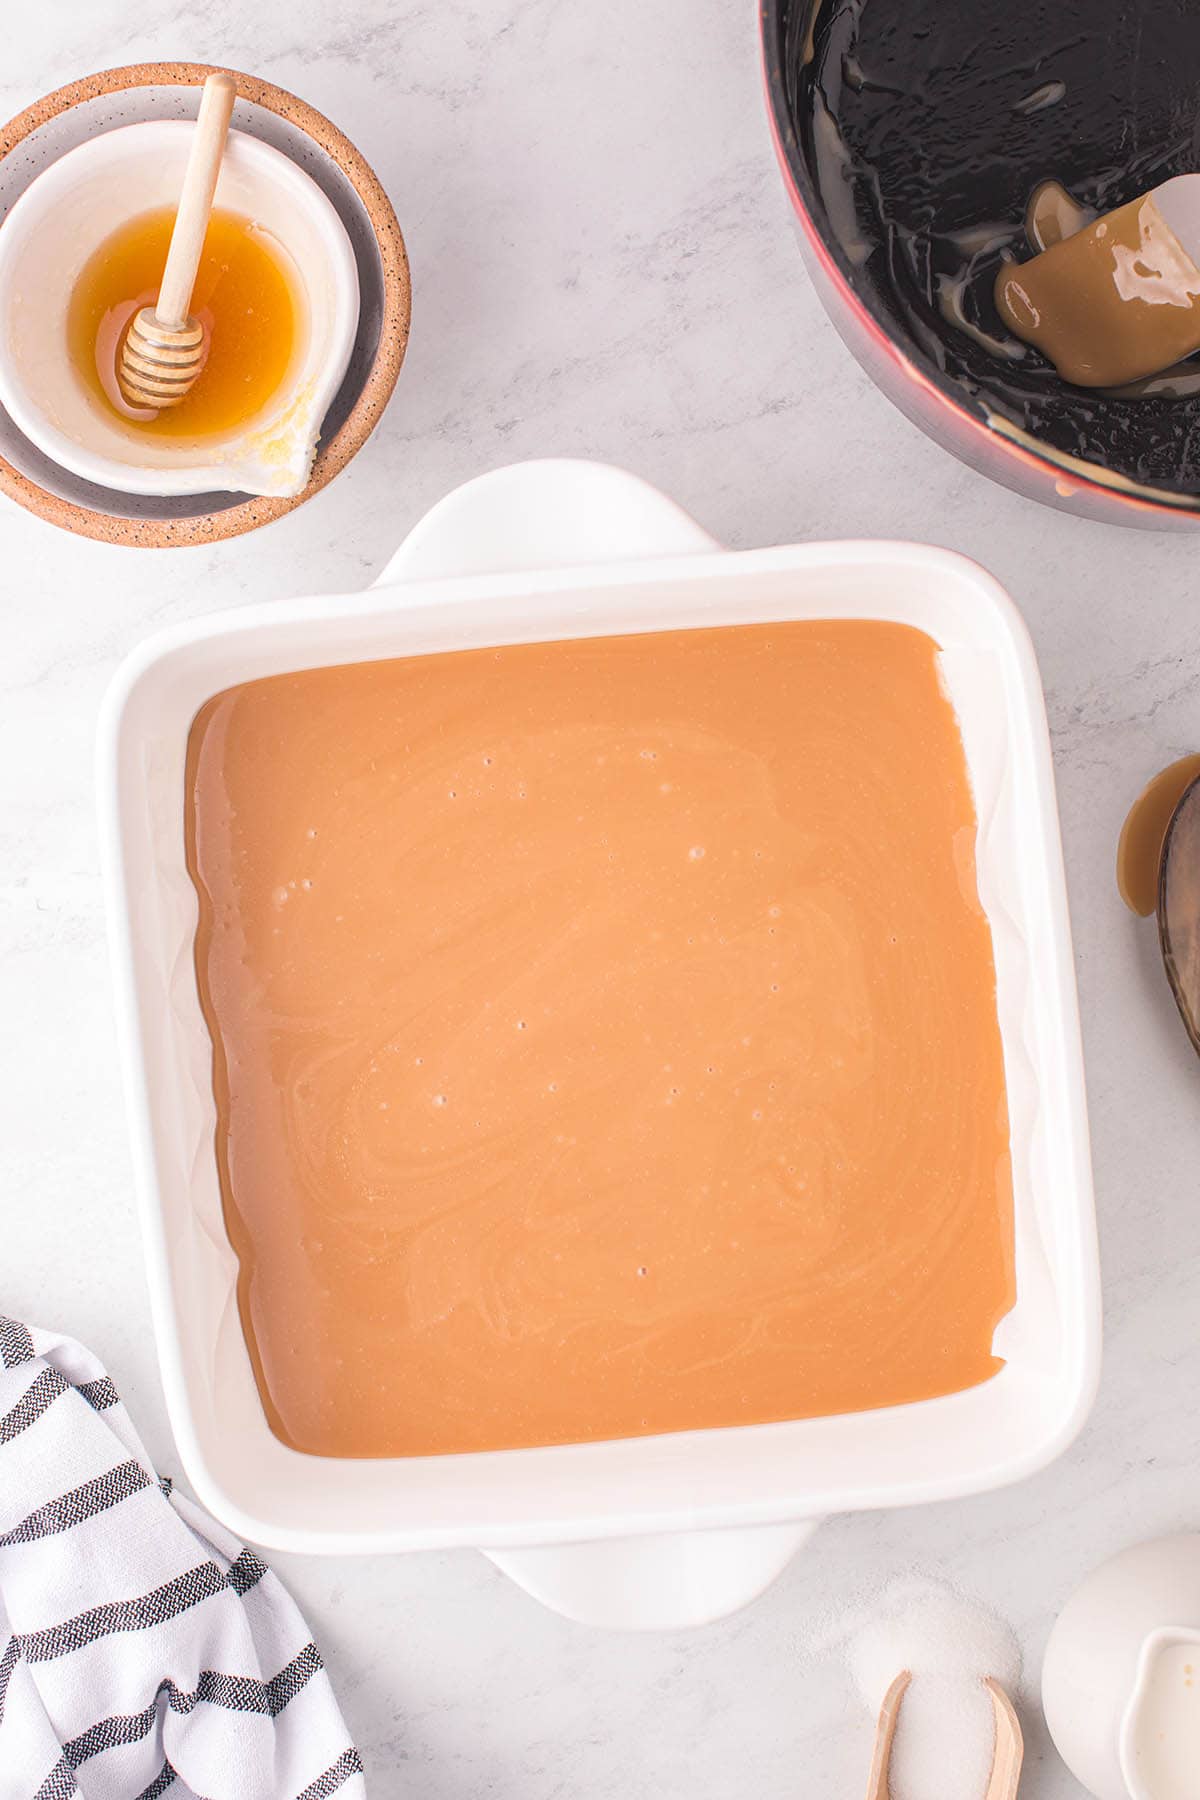
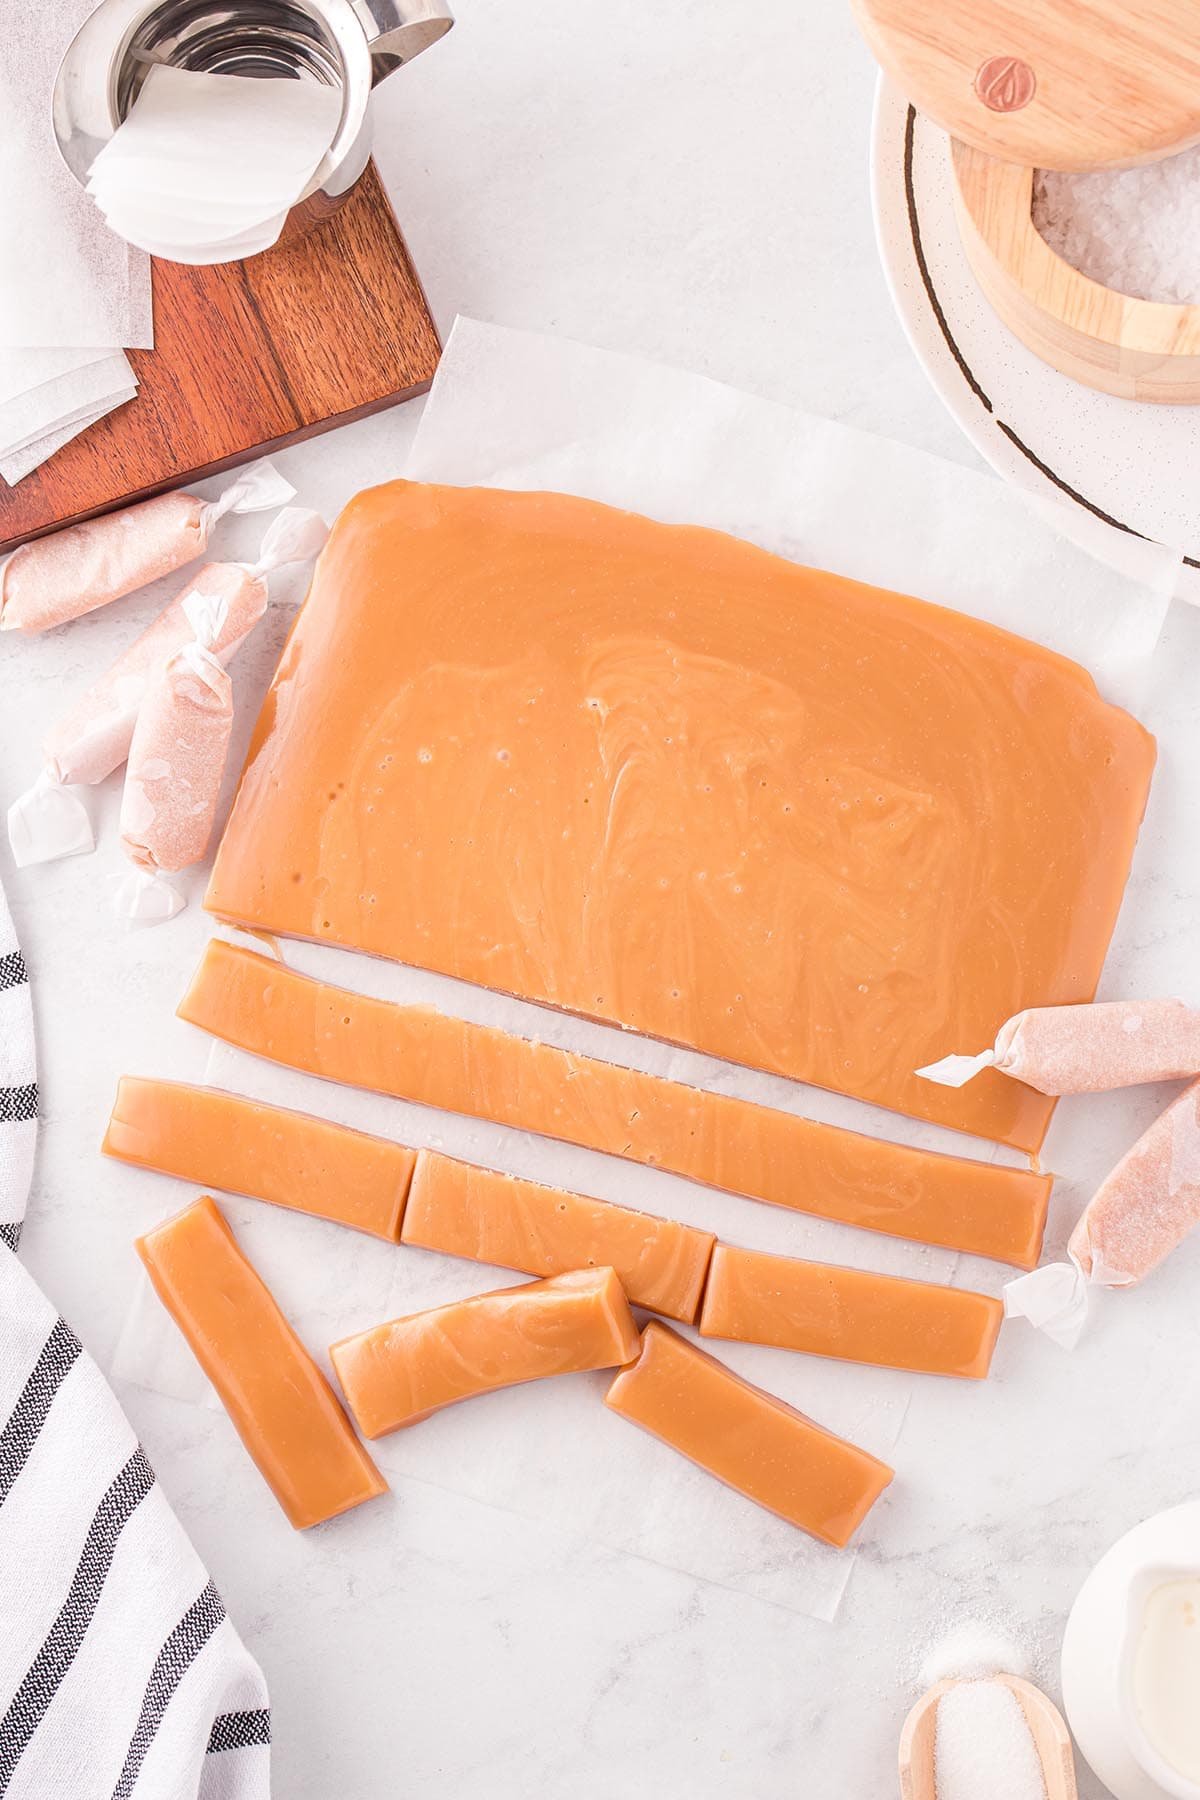
Step 4: Pour, Set and Cut Pour the hot caramel into the pan and let it set at room temperature for several hours, preferably overnight. Once it cools a little, cover the pan with plastic wrap so it doesn’t pick up any odors. When it’s set, lift it out by the parchment and cut it into squares with a pizza cutter or sharp knife, and give the blade a spray of cooking spray if it sticks.
How to Store Homemade Caramels
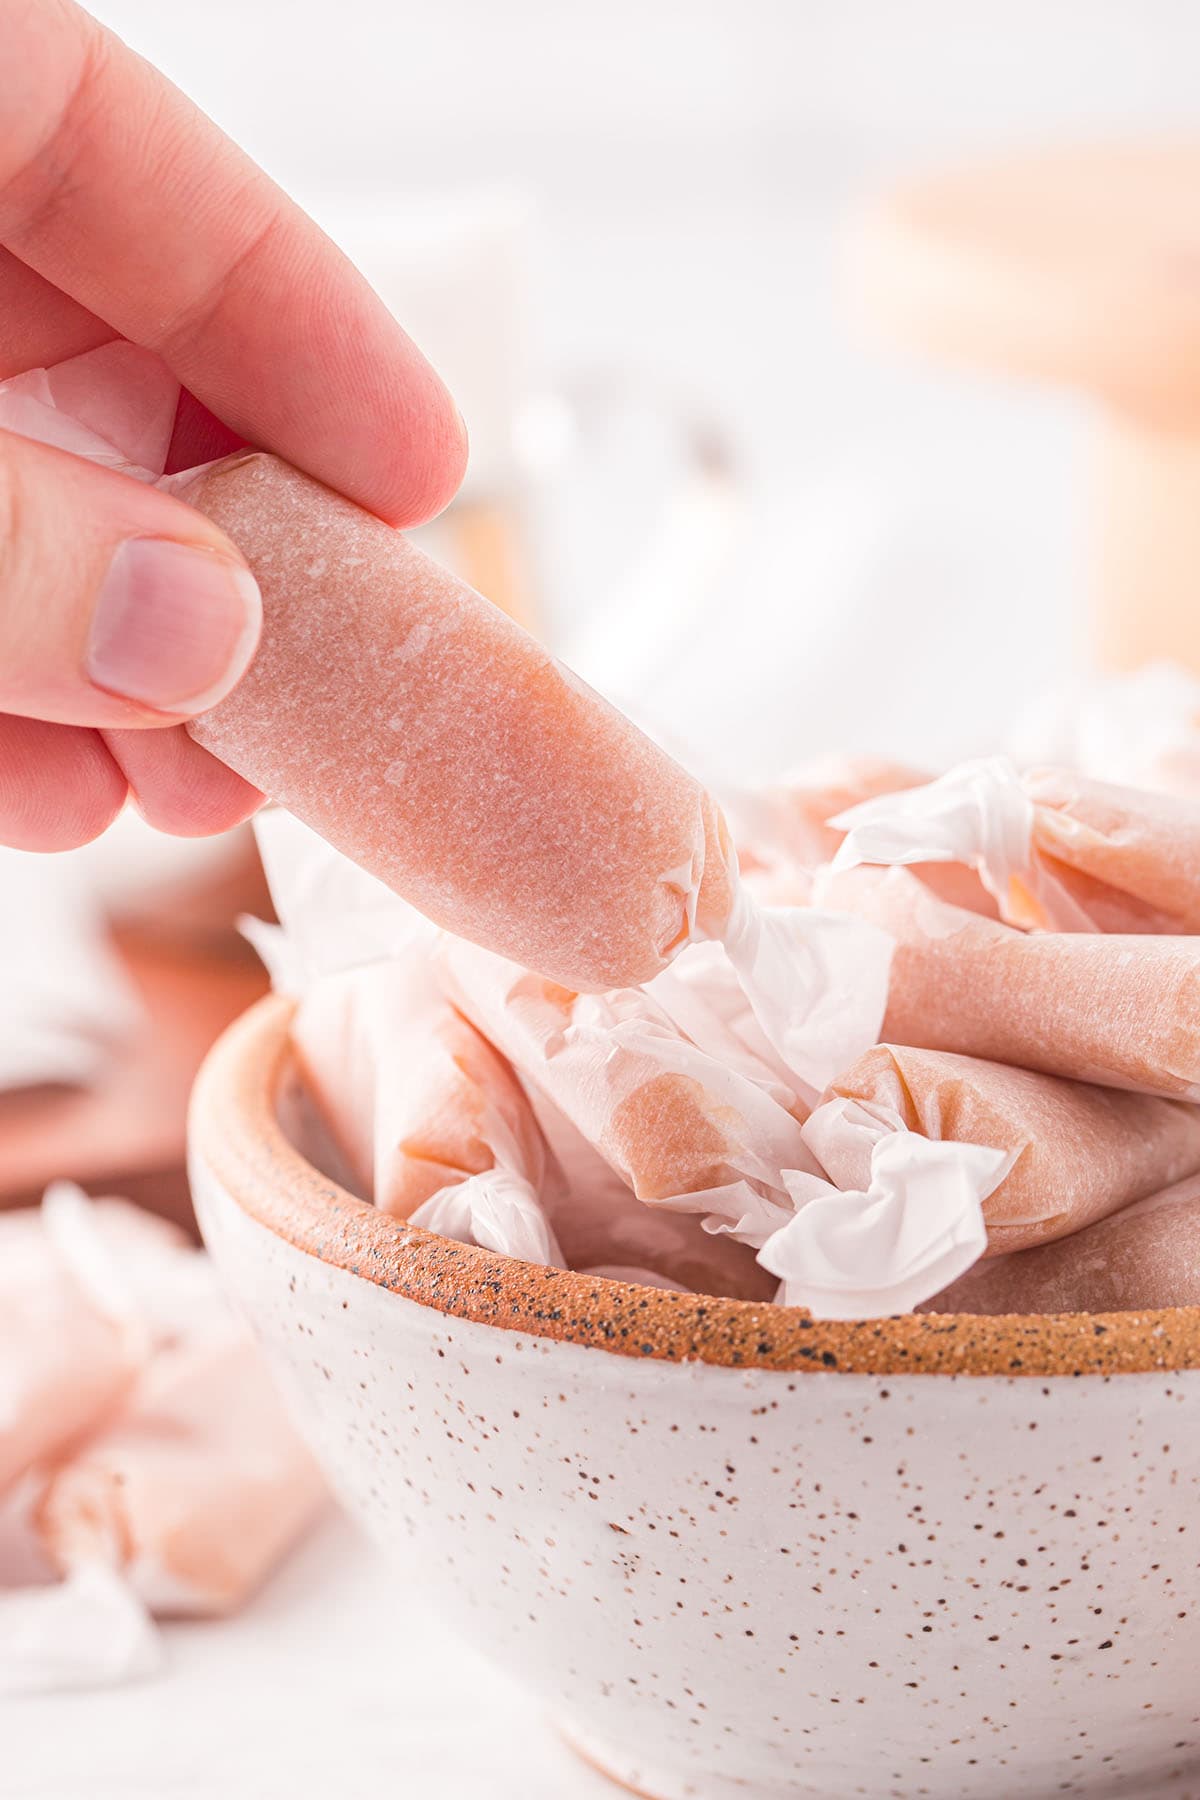
Room temperature. Wrap each caramel well and store them in a container or bag for up to 6 months. If your kitchen runs warm, find a cooler spot, because heat will soften them and they can lose their shape.
Refrigerator or freezer. They keep for up to 1 year in either one. They get very hard when cold, so let them come back to room temperature before eating.
More Homemade Candy Recipes
- White Chocolate Caramel Fudge
- Fantasy Fudge
- Jello Divinity Candy
- 2 Ingredient Fudge
- Homemade Twix Bars
Homemade Caramels
Ingredients
- 1½ cup granulated white sugar
- ½ cup honey
- 6 tablespoons salted butter ¾ stick
- ¼ teaspoon salt
- ¾ cup heavy cream
Instructions
- Line an 8 inch square pan with parchment paper or grease it well with butter or oil.
- Heat the sugar, honey, butter and salt in a large saucepan over medium heat until melted and combined and the mixture begins to simmer, about 5-10 minutes. Stir frequently.1½ cup granulated white sugar, ½ cup honey, 6 tablespoons salted butter, ¼ teaspoon salt
- While that is heating, heat the cream over medium-low heat in a small saucepan, stirring frequently. Do not boil the cream, because overheated cream can curdle. If it begins to steam, lower the heat. You will know the cream has finished heating when you see small bubbles begin to form along the outer edges of the pan.¾ cup heavy cream
- Once the caramel mixture is bubbling, slowly pour in the warmed cream, over several minutes while stirring constantly. Be sure that your mixture continues to boil the whole time and do not add the cream too quickly.
- Turn heat to medium low. Allow the mixture to boil and continue stirring occasionally, until a candy thermometer reads 240 degrees Fahrenheit. The caramel will go through a very frothy stage and then get darker and be more condensed. This process can take 10-30 minutes.
- Carefully pour the hot caramel mixture into the prepared pan and allow it to cool and set at room temperature. . I recommend giving it several hours, preferably overnight.
- Remove the caramel from the pan using the parchment paper to lift it out and then cut it into small squares or rectangles using a pizza cutter or sharp knife. Spray your cutting utensil with cooking spray if it is sticking.
- Serve immediately or wrap tightly with parchment paper and store for later.
Jenn’s Notes
- Store at Room Temperature: Wrap each caramel individually in parchment or wax paper and place them in an airtight container. They will keep for up to 6 months. If your kitchen is warm, store them in a cooler spot to prevent softening.
- Refrigerate: Store wrapped caramels in an airtight container in the refrigerator for up to 1 year. Let them come to room temperature before serving, as they become quite firm when chilled.
- Freeze: Individually wrapped caramels can be frozen for up to 1 year. Thaw at room temperature before serving for the best texture.
- No candy thermometer? Drop a little caramel into a cup of ice water and shape it. It’s ready when it’s firm, malleable and slightly sticky.
- Too soft means the caramel didn’t reach 240°F. Too hard means it went past it, and about 250°F is too far.
- You can warm the cream in the microwave in 15 to 45 second bursts, stirring in between. Don’t let it get too hot, or it can curdle.
- Cover the pan with plastic wrap once it cools slightly so the caramel doesn’t pick up odors.