This post may contain affiliate links. Please read our disclosure policy.
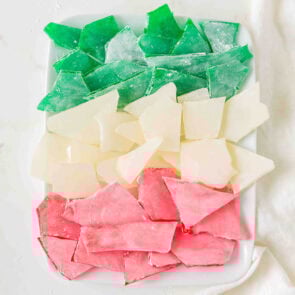
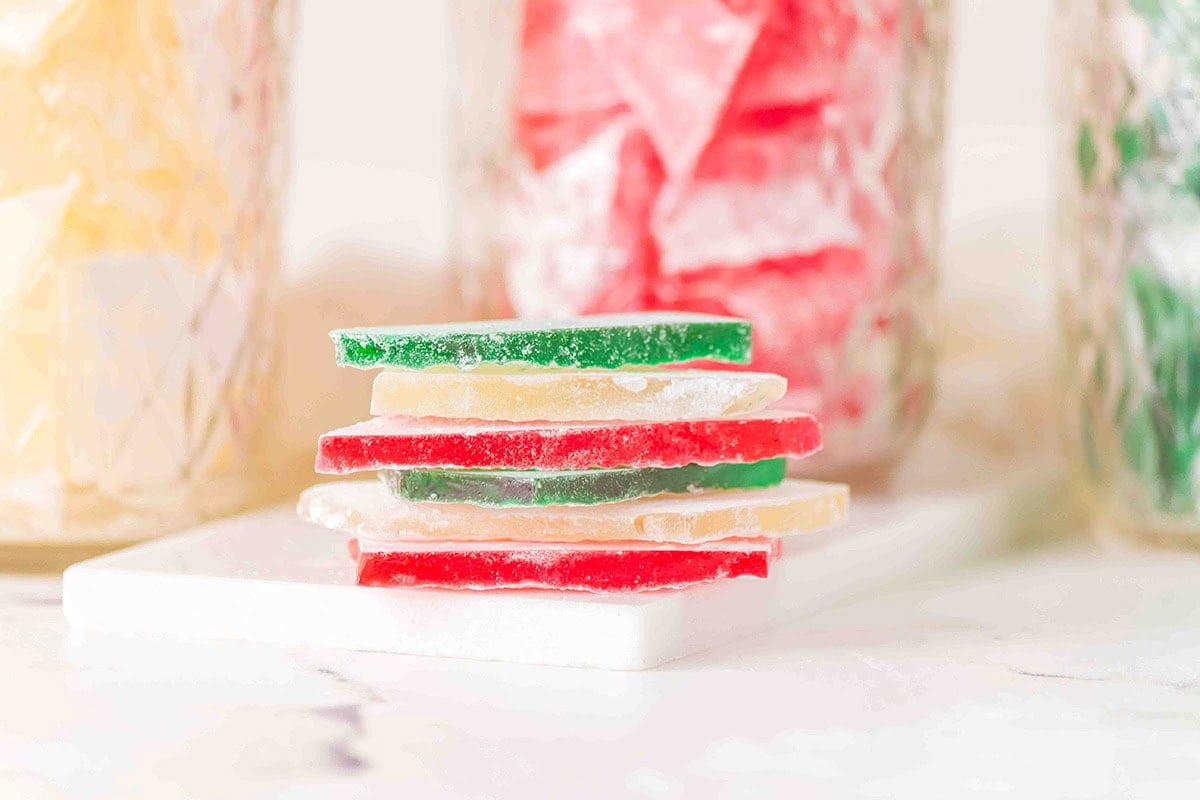
This hard candy takes me straight back to childhood. Bright colors, bold flavors, and that satisfying snap when you bite into a piece. I used to watch my grandma make it with just a few pantry staples, and now I love carrying on the tradition. It’s simple, customizable, and always a hit for gifting or sneaking from the candy jar.

Why You’ll Love This Recipe
I make this candy every year, and it never fails to bring a little joy (and sparkle) to my kitchen. Here’s why I think you’ll love it too:
- Uses just a few simple pantry ingredients
- Easy to customize with your favorite colors and different flavors of oil.
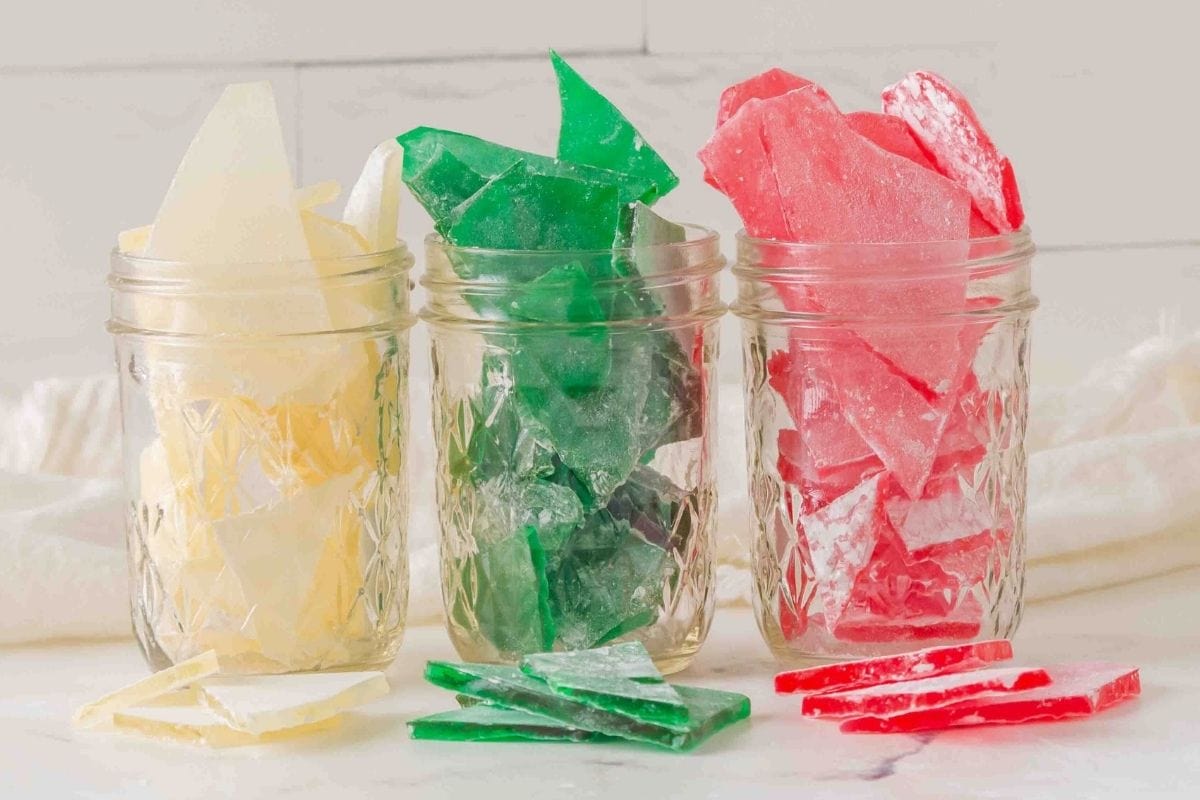
- Perfect for gifting, holiday trays, or party favors
- Brings back that nostalgic, old-fashioned candy shop taste
If you love making festive sweets like this Homemade Hard Candy, be sure to check out my Christmas Mints, Crockpot Candy and my Christmas Fudge they’re all quick, fun, and perfect for gifting.
Ingredients Notes
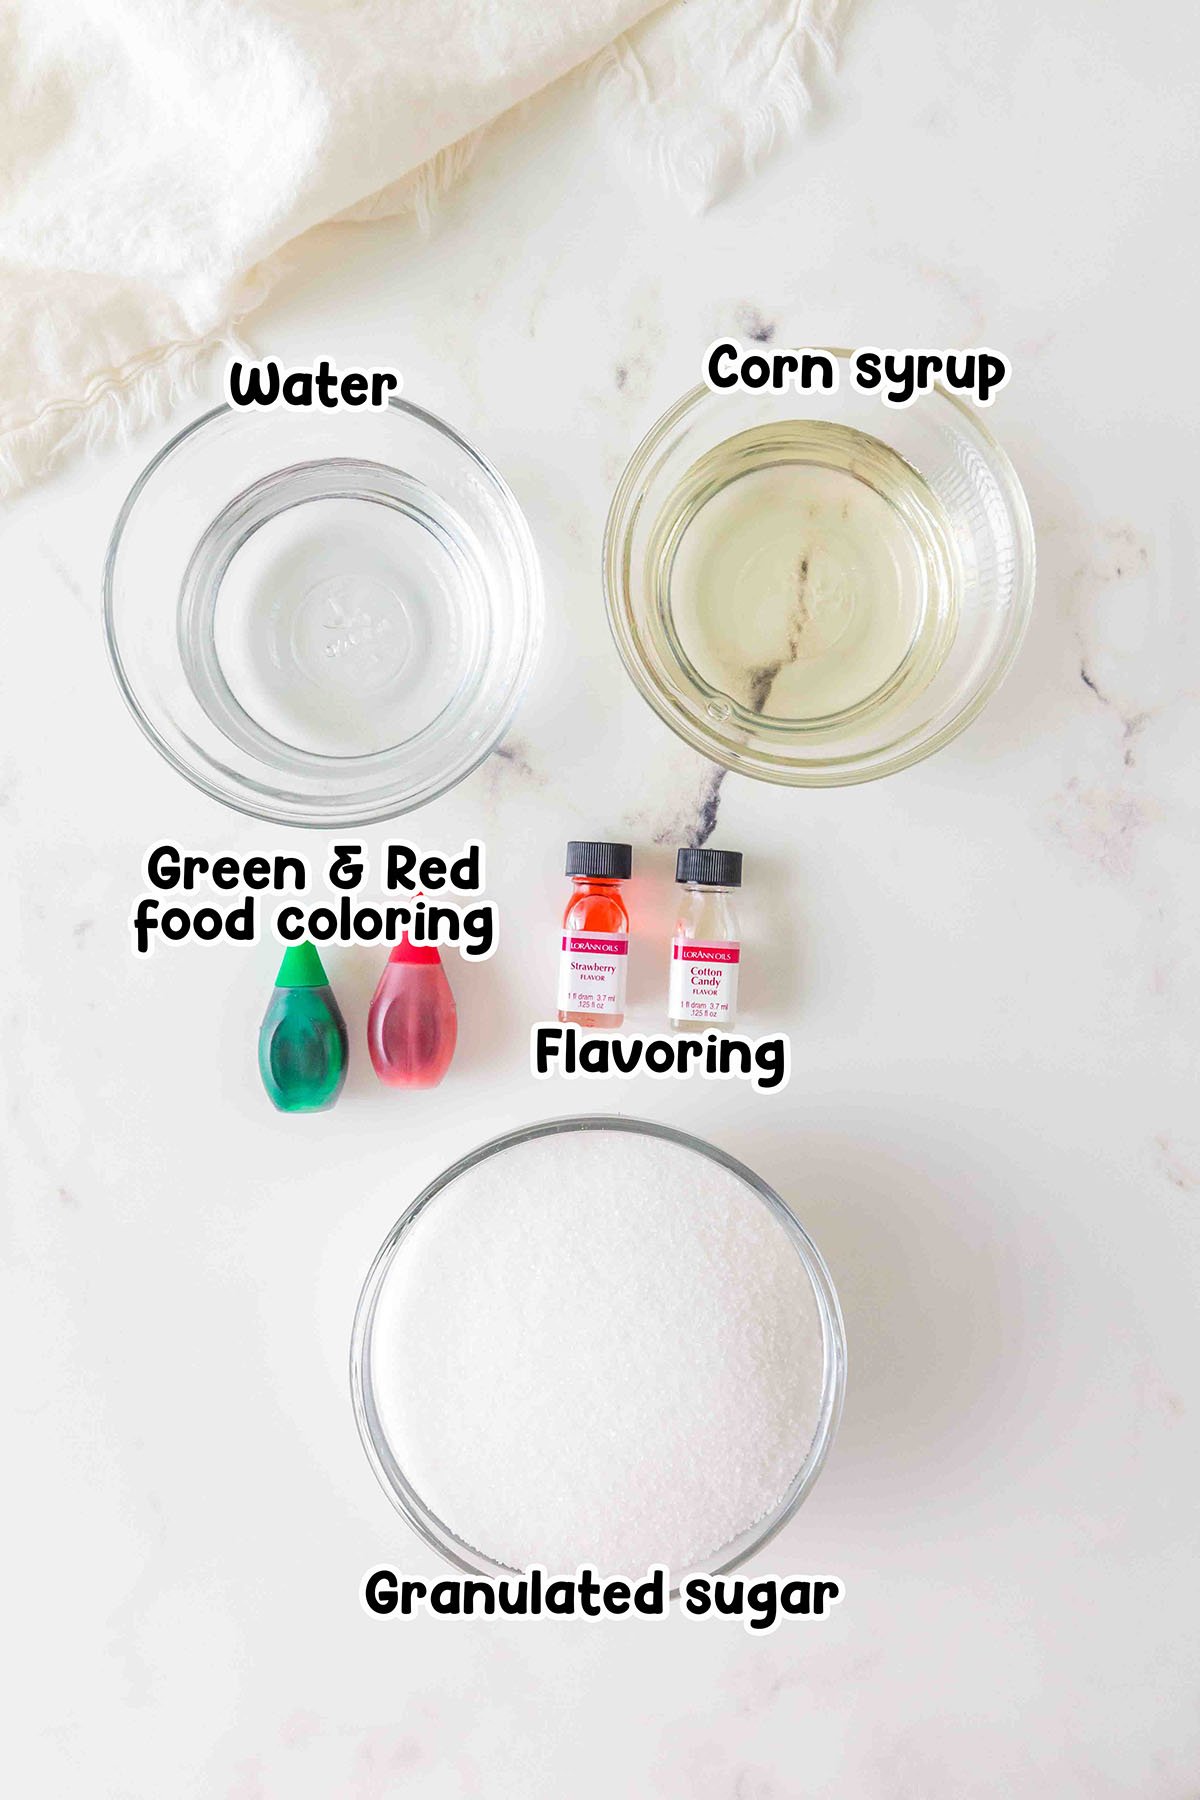
You only need a handful of simple pantry staples to make this old fashioned hard candy recipe:
- Granulated Sugar – Regular or superfine white sugar both work; superfine dissolves a little faster.
- Light Corn Syrup – Helps prevent crystallization and keeps the candy smooth. You can also use glucose syrup.
- Water – Combines with the sugar and syrup to create the candy base.
- Flavoring Extract or Oil – Try cinnamon, peppermint, or fruity options. Concentrated oils (like LorAnn oils) give a stronger, longer-lasting flavor.
- Food Coloring – Optional, but great for a festive look. Gel or liquid food coloring both work well.
- Powdered Sugar (Optional) – Dust over the candy to prevent sticking. Cornstarch can be used in place of powdered sugar if preferred.
See the recipe card for full information on ingredients and quantities.
Recipe Variations
This hard candy recipe is easy to customize with endless flavor and color combinations. Make it your own for any occasion or to fit a dietary restriction.
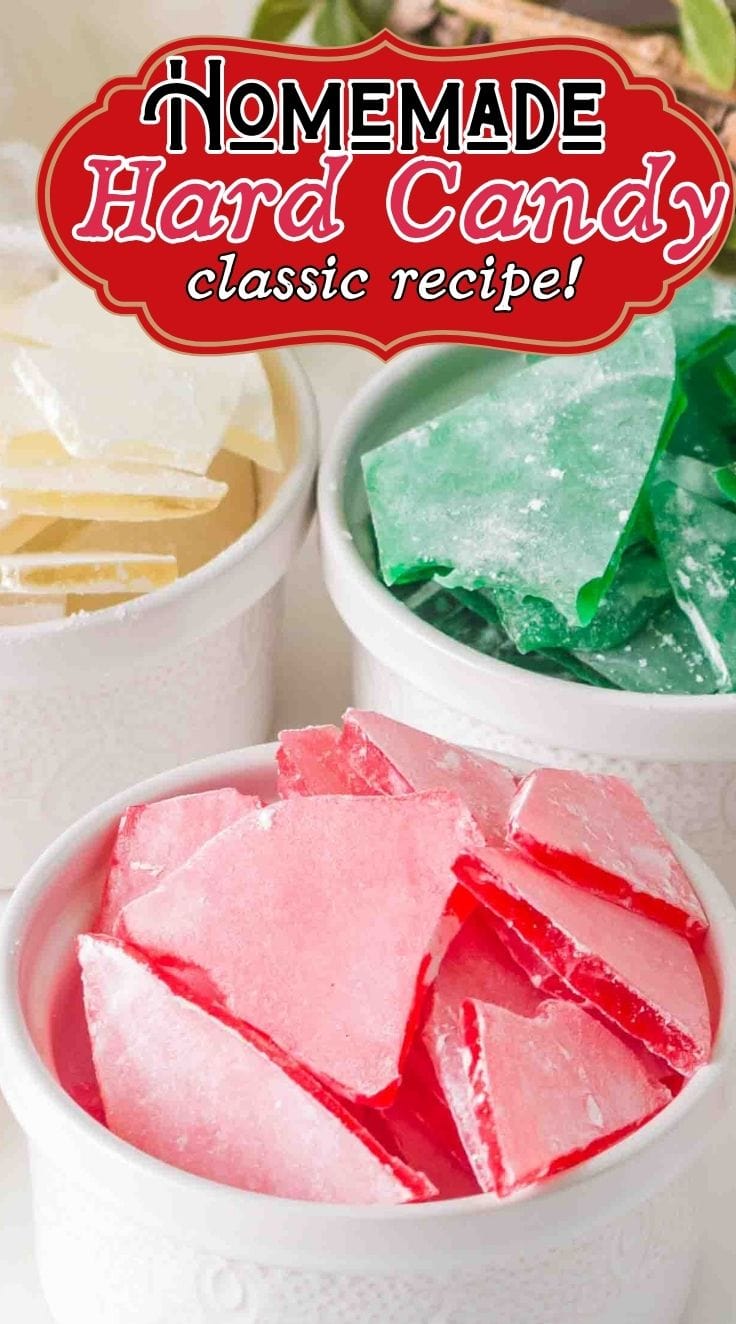
- Old-Fashioned Hard Candy – Keep it classic with peppermint or cinnamon flavoring oils for that nostalgic flavor.
- Cinnamon Hard Candy – Bold, spicy, and perfect for the holidays.
- Sugar Free Hard Candy – Swap the sugar for isomalt to make a diabetic-friendly version.
- Seasonal Candy – Try red and green peppermint for Christmas, fruity flavors for spring, or bright citrus for summer.
How to Make Old-Fashioned Hard Candy
Follow these simple steps for from-scratch hard candy with the perfect glassy crunch:
- Mix the ingredients: Combine sugar, corn syrup, and water in a heavy saucepan. Stir gently until the sugar fully dissolves and nothing sticks to the bottom of the pan.
- Boil without stirring: Bring the mixture to a boil over medium heat and watch the boiling action closely. Once the sugar syrup reaches 300 degrees F (hard crack stage), it will be clear and bubbling steadily.

- Add flavor and color: Remove from heat and quickly stir in your extract or flavor oil along with the food coloring.
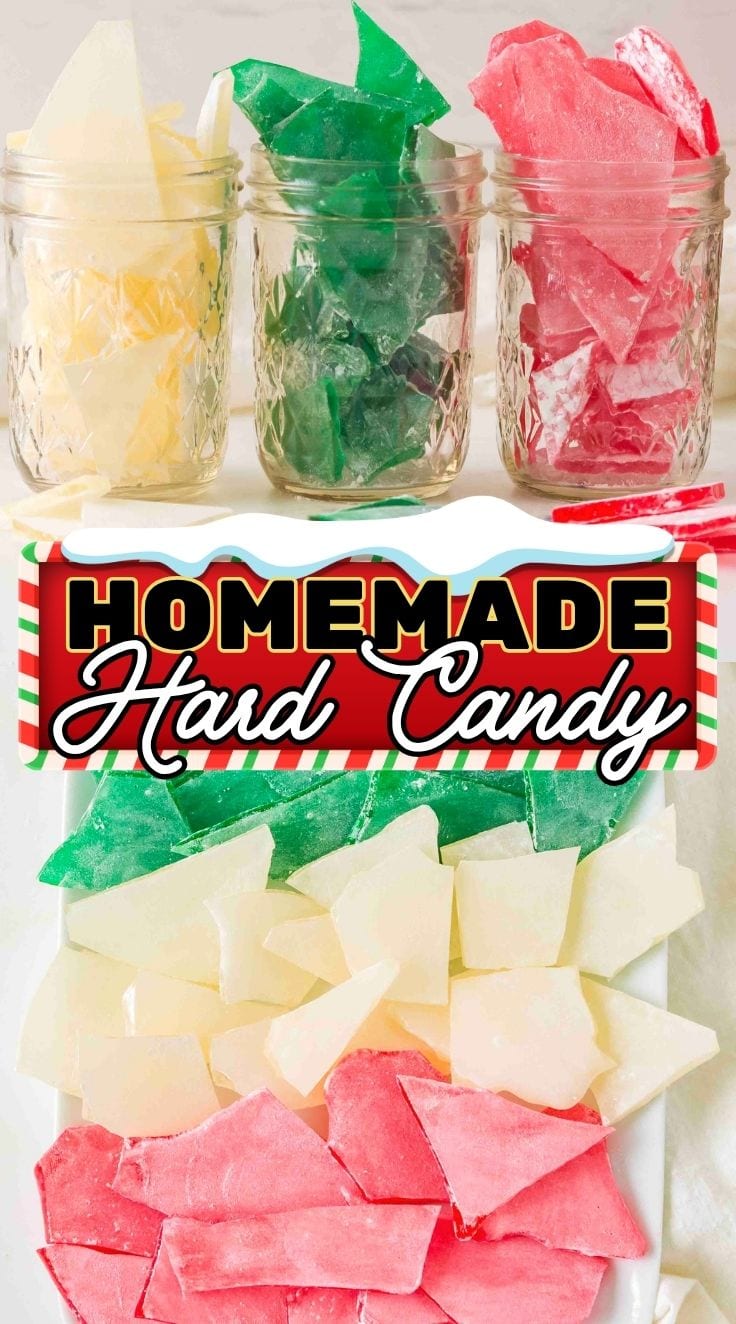
- Pour and cool: Carefully pour the hot candy onto a greased cookie sheet, silicone mat, or into hard candy molds sprayed with nonstick cooking spray. Let it cool completely.
- Break into pieces: Once hardened, break the candy into small pieces and dust with powdered sugar or cornstarch to prevent sticking.


Make Ahead & Storage Instructions
- Make Ahead: Prepare this candy up to 2–3 weeks in advance if stored in an airtight container.
- Store: Keep at room temperature, away from humidity, to maintain its crisp texture. Avoid the refrigerator, since the moisture can make the candy sticky and dull the shiny surface.
- Reheat: Not recommended-reheating the sugar syrup ruins the texture. Make a fresh batch instead.
- Freeze: Avoid freezing, as moisture will soften the candy.

More Candy Recipes You’ll Love
- Try Cool Whip Candy (our copycat 3 Musketeers Candy Bar) for a fluffy, no-bake homemade candy treat.
- Love chocolate and peanut butter? Don’t miss Buckeyes, creamy peanut butter candy centers dipped in rich chocolate.
- For holiday flair, Christmas Coal Fudge is a fun, festive, and delicious homemade fudge recipe.
- Want a candy bar feel? Check out Homemade Milky Ways, your own version of the classic candy bar.
- In the festive mood? Chocolate Christmas Candy delivers bite-sized homemade treats perfect for holiday dessert trays.
If you’ve tried this Hard Candy Recipe or any other recipe on my website, please leave a star rating and let me know how it turned out in the comments below.

Hard Candy Recipe
Ingredients
- 1 cup granulated sugar
- ⅓ cup water
- ⅓ cup clear corn syrup
- 42 drops Food coloring (liquid works best). Green 22 drops, red 20 drops
- Flavoring extract (peppermint, vanilla,…) or flavor oil (strawberry, cotton candy,…)
- powdered sugar for coating
Instructions
- Sift powdered sugar over the bottom of a cookie sheet (a rimmed sheet is easier to contain the sugar). You can also use parchment paper or a silicone mat. Just don’t skip the powdered sugar base; it keeps the candy from sticking and gives a nice finish. Set aside.powdered sugar
- In a medium saucepan, add the granulated sugar, water, and corn syrup. Gently stir until all ingredients are dissolved and no sugar is stuck to the bottom.1 cup granulated sugar, ⅓ cup water, ⅓ cup clear corn syrup
- Place on medium heat and bring to a boil.
- Keep the mixture boiling until it reaches 300 degrees F. Don’t mix.
- Once the mixture has reached 300 degrees F, remove the saucepan from the heat.
- Wait 30 seconds and add the food coloring and flavor. Extracts: Use ½ to ¾ teaspoon. Oils: Use ¼ teaspoon, Food coloring: Liquid food coloring blends more easily than gel.42 drops Food coloring, Flavoring
- Mix well until the mixture is uniform in color.
- Pour into the prepared cookie sheet and use an offset spatula to spread evenly. You need to act quickly as the mixture will start to set.
- Sift more powdered sugar evenly on top of the candy.
- Let the candy set, at least 30 minutes or until they are fully hardened.
- Use a pastry brush and brush the excess sugar off.
- Use a mallet and break the candy into bite-sized pieces.
- Store in an airtight container.
Jenn’s Notes
- Make ahead: Yes, prepare 2-3 weeks ahead if stored airtight.
- Store: Keep in an airtight container at room temperature, away from humidity.
- Reheat: Not recommended, reheating ruins texture. Make a fresh batch instead.
- Freeze: Avoid freezing, moisture makes the candy sticky and soft.
- Don’t stir once sugar dissolves. Brush down pan sides with a wet pastry brush.
- Remove promptly at 300°F (or 295°F to allow for residual heat).
- Use concentrated oils sparingly. Add off heat so flavor doesn’t evaporate.
- Stir gently and quickly after adding food coloring. Liquid colors work best.
- Over-stirring or cooking too quickly can cause cloudiness. Cook steadily and avoid excessive stirring.
- Toss cooled pieces in powdered sugar or cornstarch before storing.


Number 6., under Instructions, it says, Liquid food coloring blends more easily than gel, but at the bottom, under Jenn’s Notes it says that gel colors work best. So, which is accurate???
Sorry about that confusion. Usually I prefer gel, but for this one I think the liquid is the way to go.