
This post may contain affiliate links. Please read our disclosure policy.

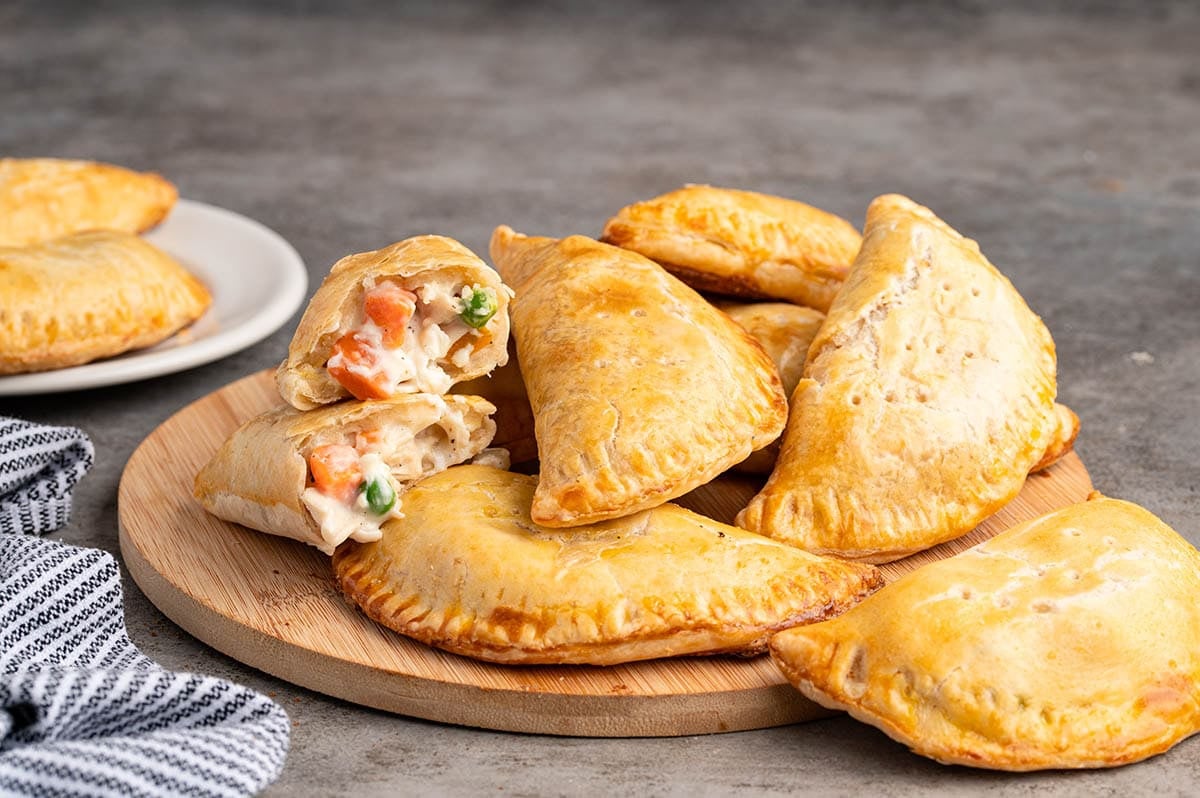
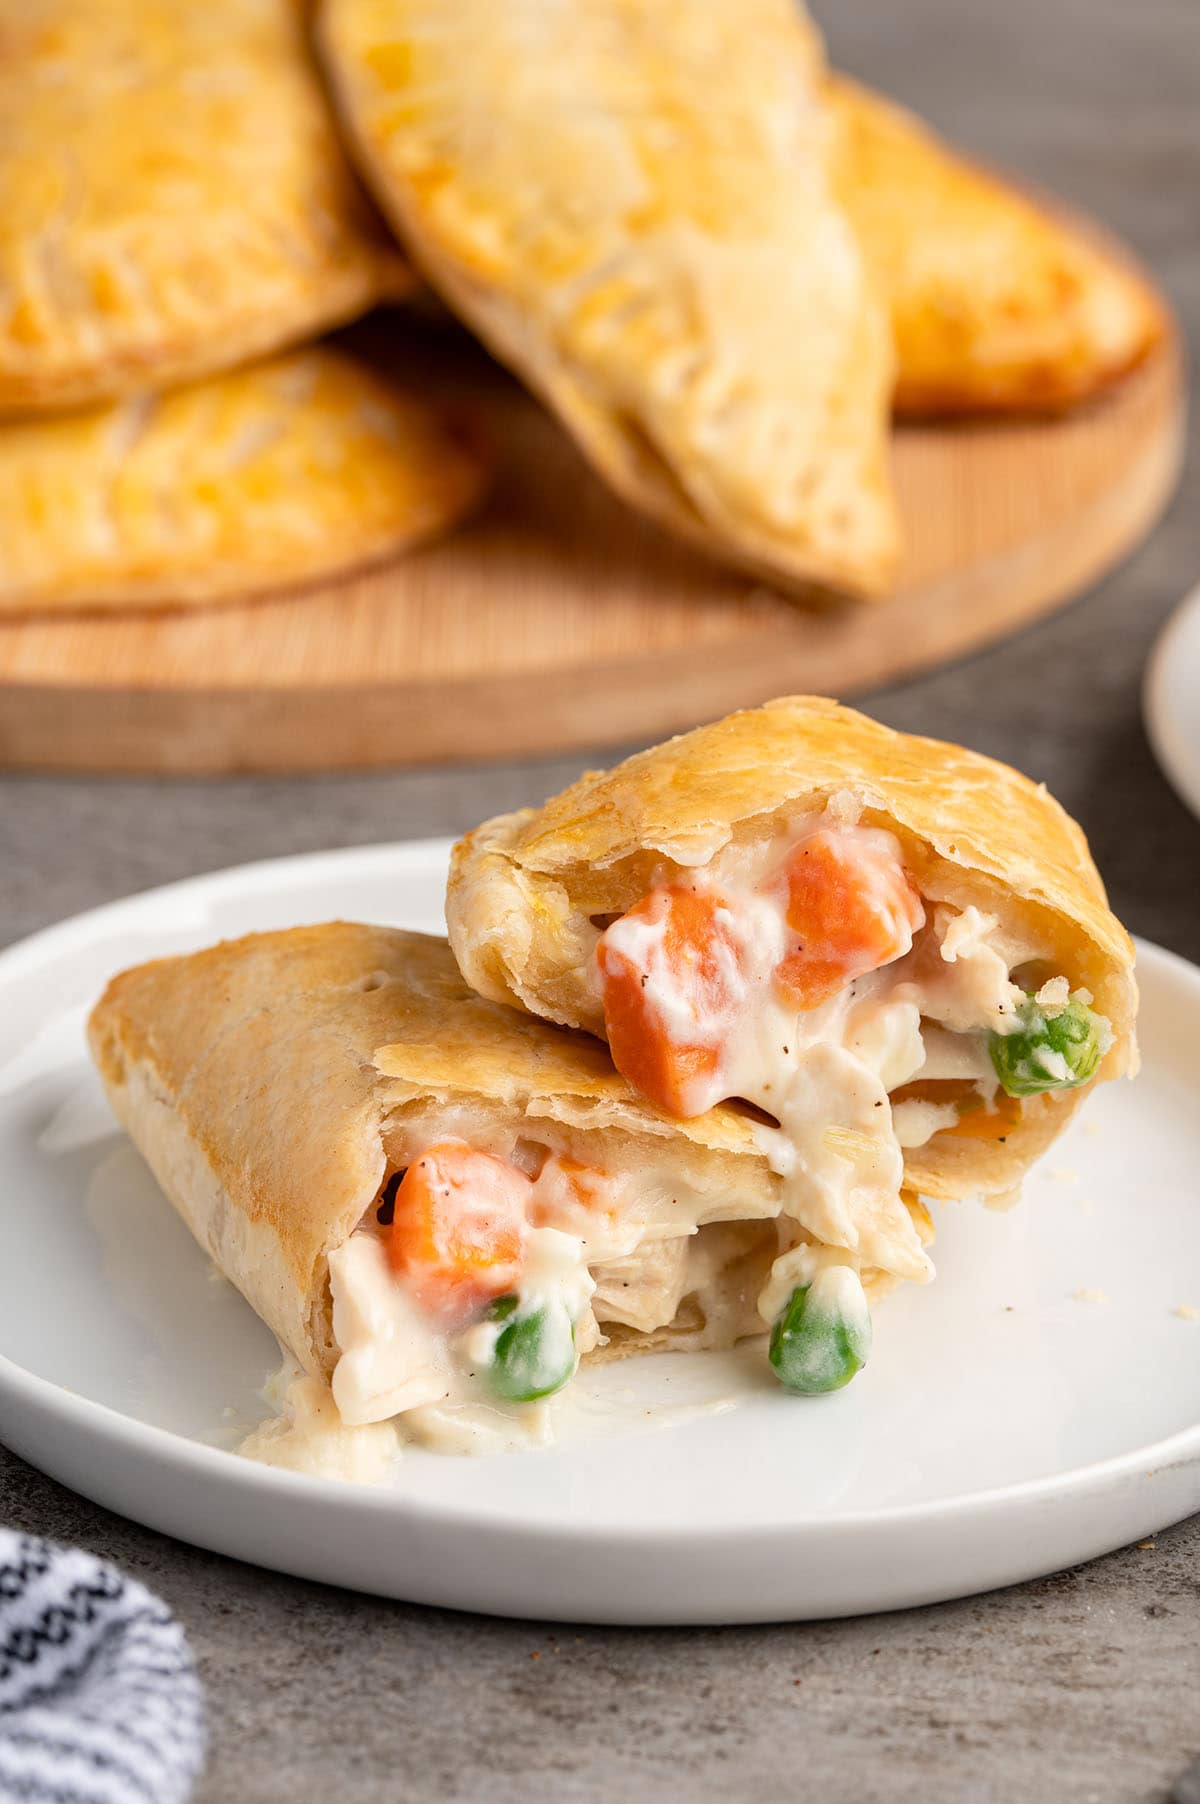
This chicken hand pies recipe is my go-to when I want all the cozy flavors of classic chicken pot pie without the extra work. Each bite is creamy, cheesy, and packed with tender chicken and vegetables, all tucked into a golden, flaky crust. I love that these chicken pot hand pies are handheld, easy to serve, and still feel homemade, making them perfect for busy weeknights or cozy family dinners.
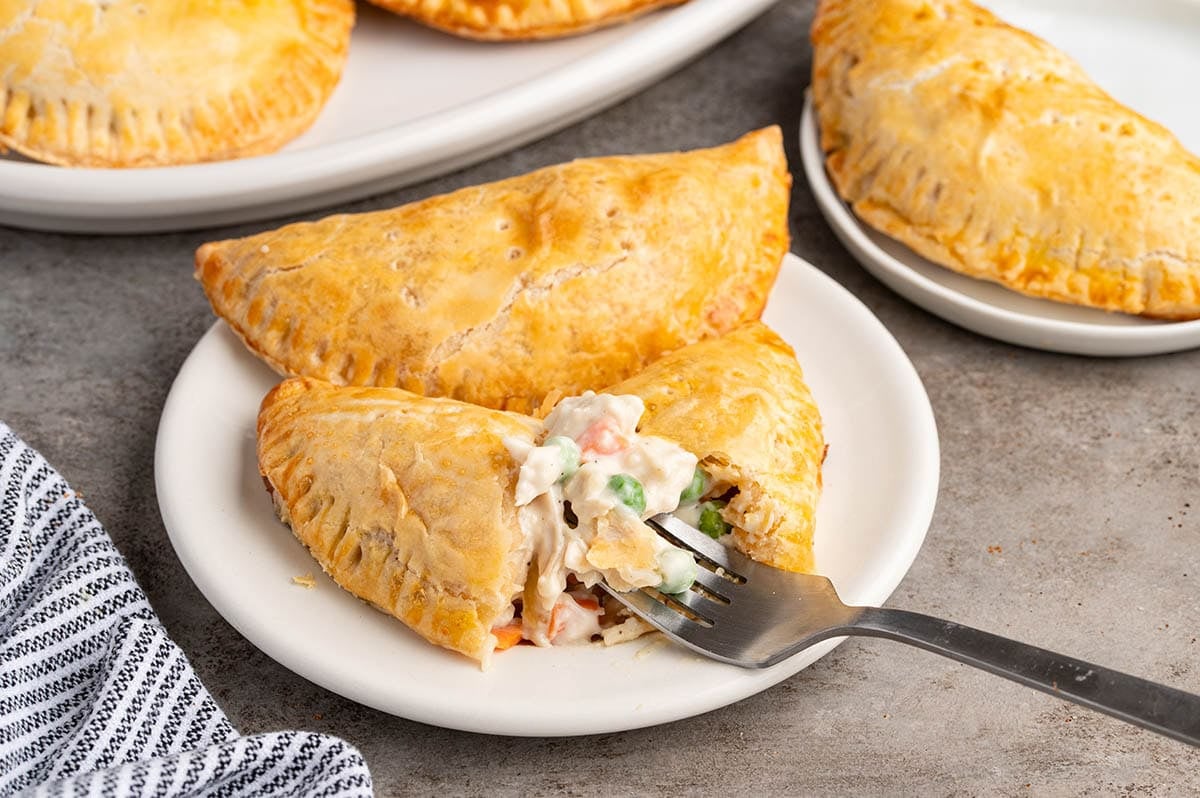

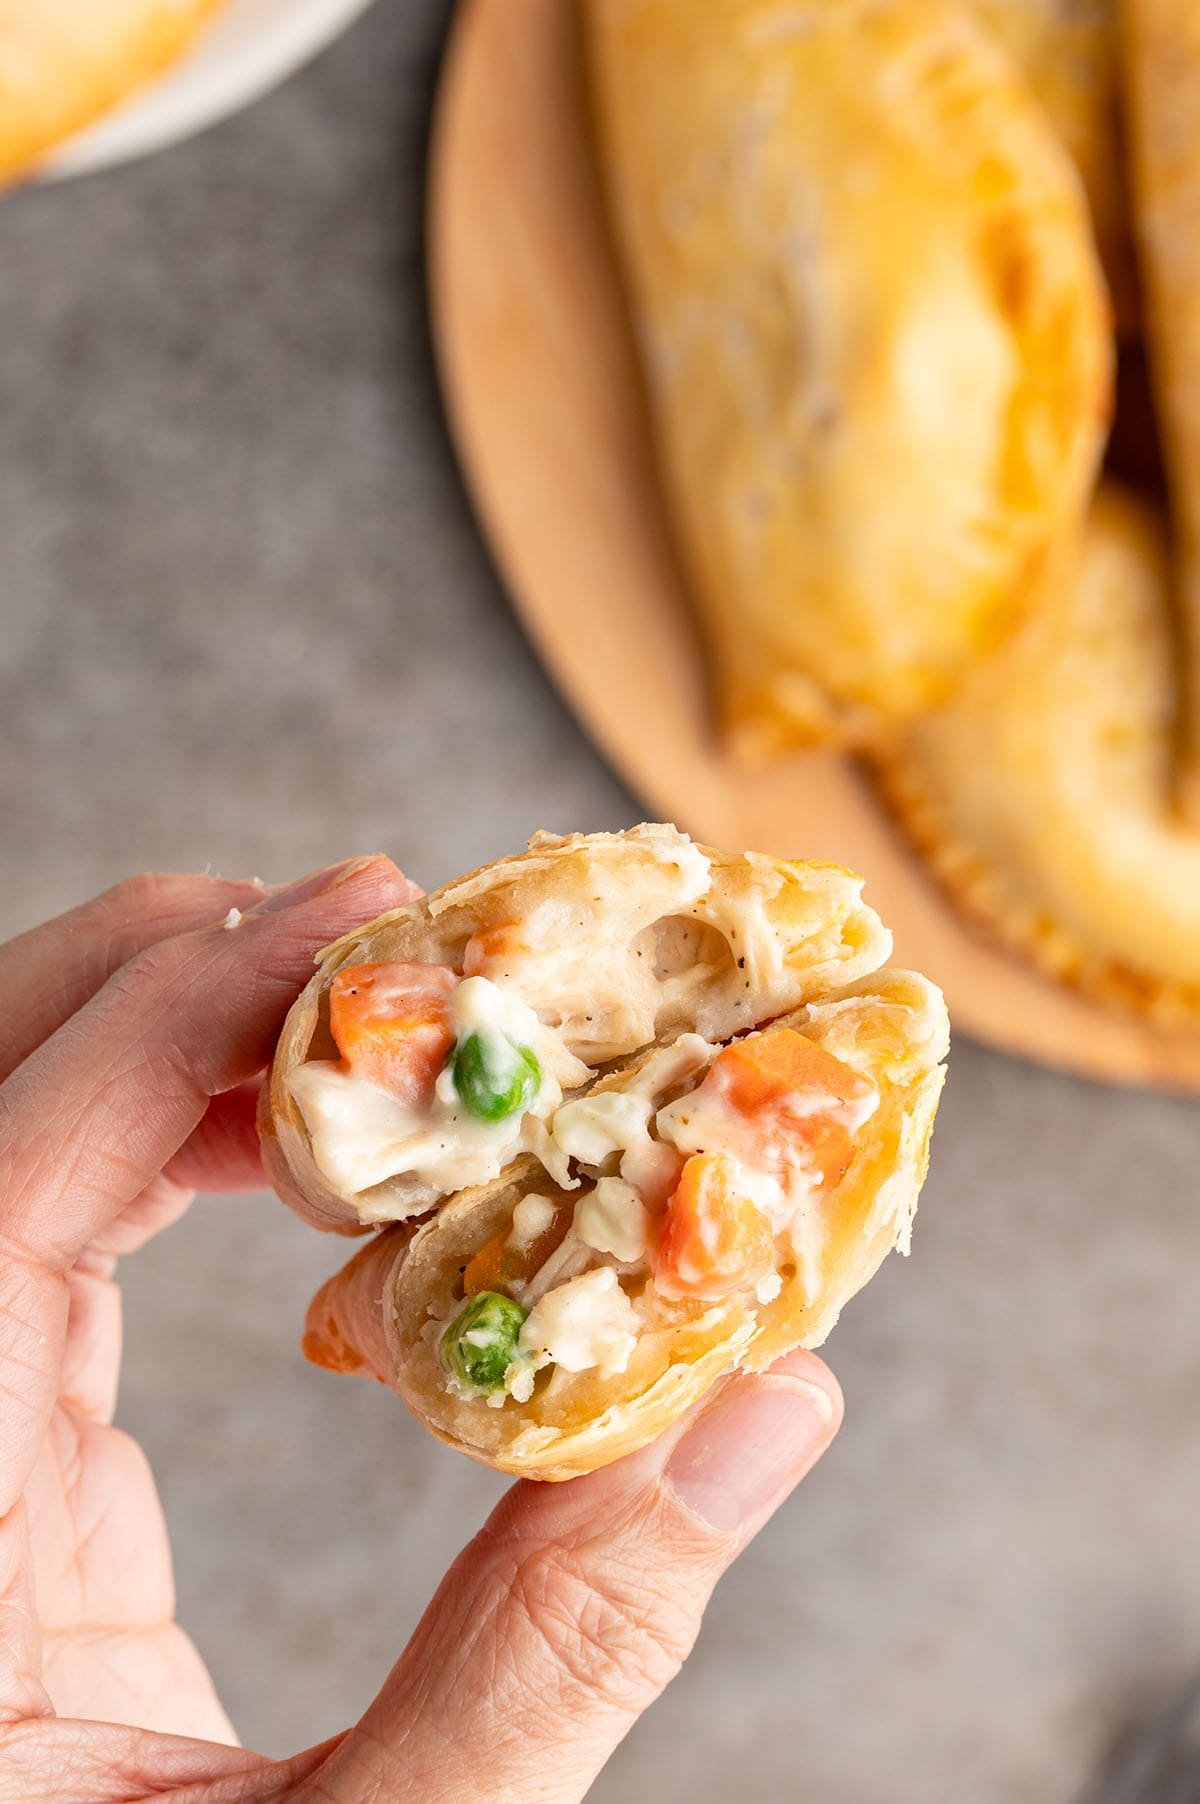
The first time I bit into one of these chicken pot pie hand pies, I couldn’t help but do a happy dance. The golden crust is perfectly flaky and gives way to a creamy, cheesy filling packed with tender chicken and veggies. I love that they are small enough to hold in your hand but still feel like a full meal. Sometimes I even catch myself sneaking a little extra filling before anyone else sees.
If you love the flavors of chicken pot pie, you might also enjoy cozying up with my creamy Chicken Pot Pie Soup or digging into my easy, family-friendly Chicken Pot Pie Bake for another comforting dinner.
Ingredients Notes
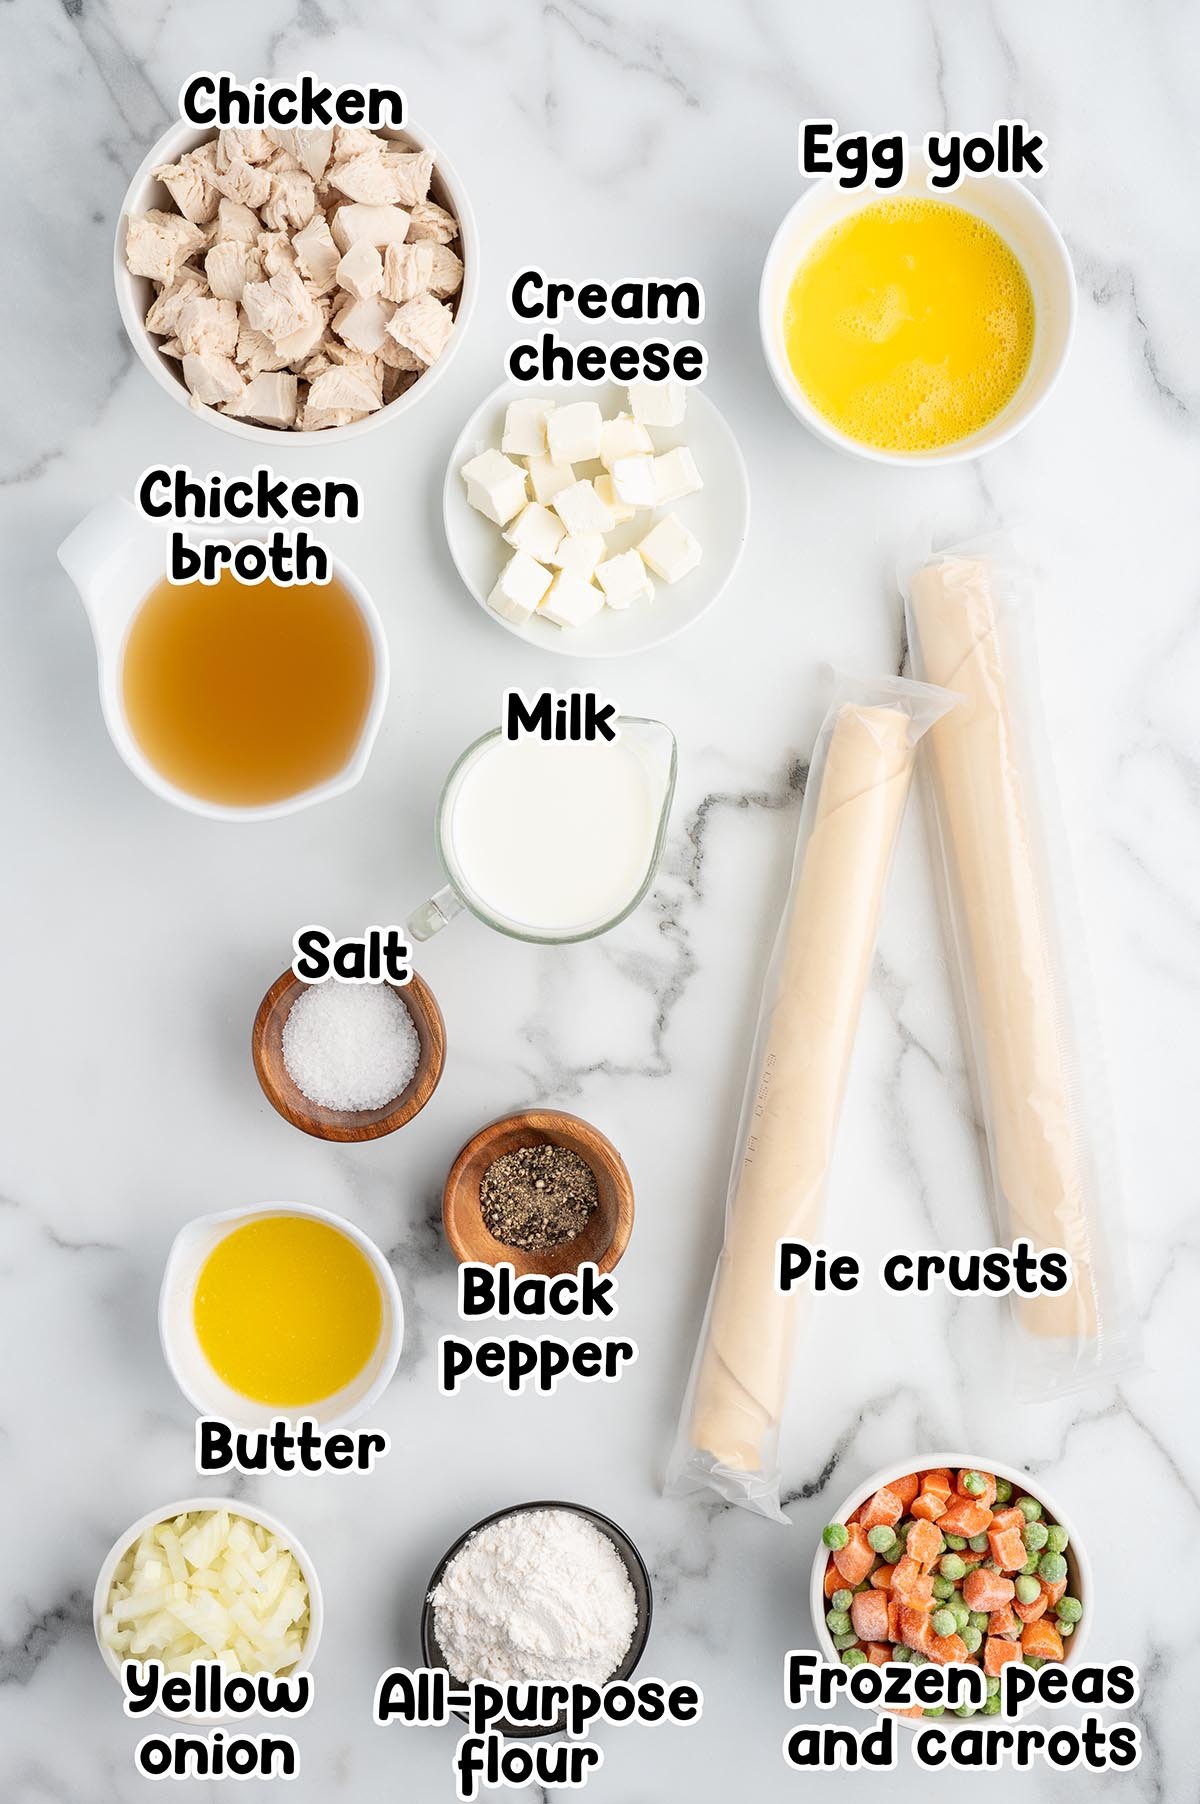
- Salted butter: Unsalted butter works if that’s what you have on hand.
- Yellow onion: Adds sweetness and depth to the filling.
- All-purpose flour: You can use a gluten-free one-to-one flour if needed.
- Salt & black pepper: For simple seasoning.
- Whole milk: 2 percent milk works in a pinch.
- Chicken broth: Or substitute with water and chicken bouillon.
- Cream cheese: Full fat gives the creamiest filling, but reduced fat is fine.
- Frozen peas and carrots: Any frozen mixed vegetables can be swapped in.
- Cooked chicken: Cooked chicken breast works beautifully here, diced or shredded for a hearty filling. Rotisserie chicken is also a great shortcut.
- Refrigerated rolled pie crusts: Keeps prep simple and flaky.
- Egg yolks mixed with water: For that beautiful golden finish and a strong seal.
See the recipe card for full information on ingredients and quantities.
How to Make Chicken Hand Pies
- Prep the oven: Preheat to 450°F and spray a large baking sheet with nonstick cooking spray.
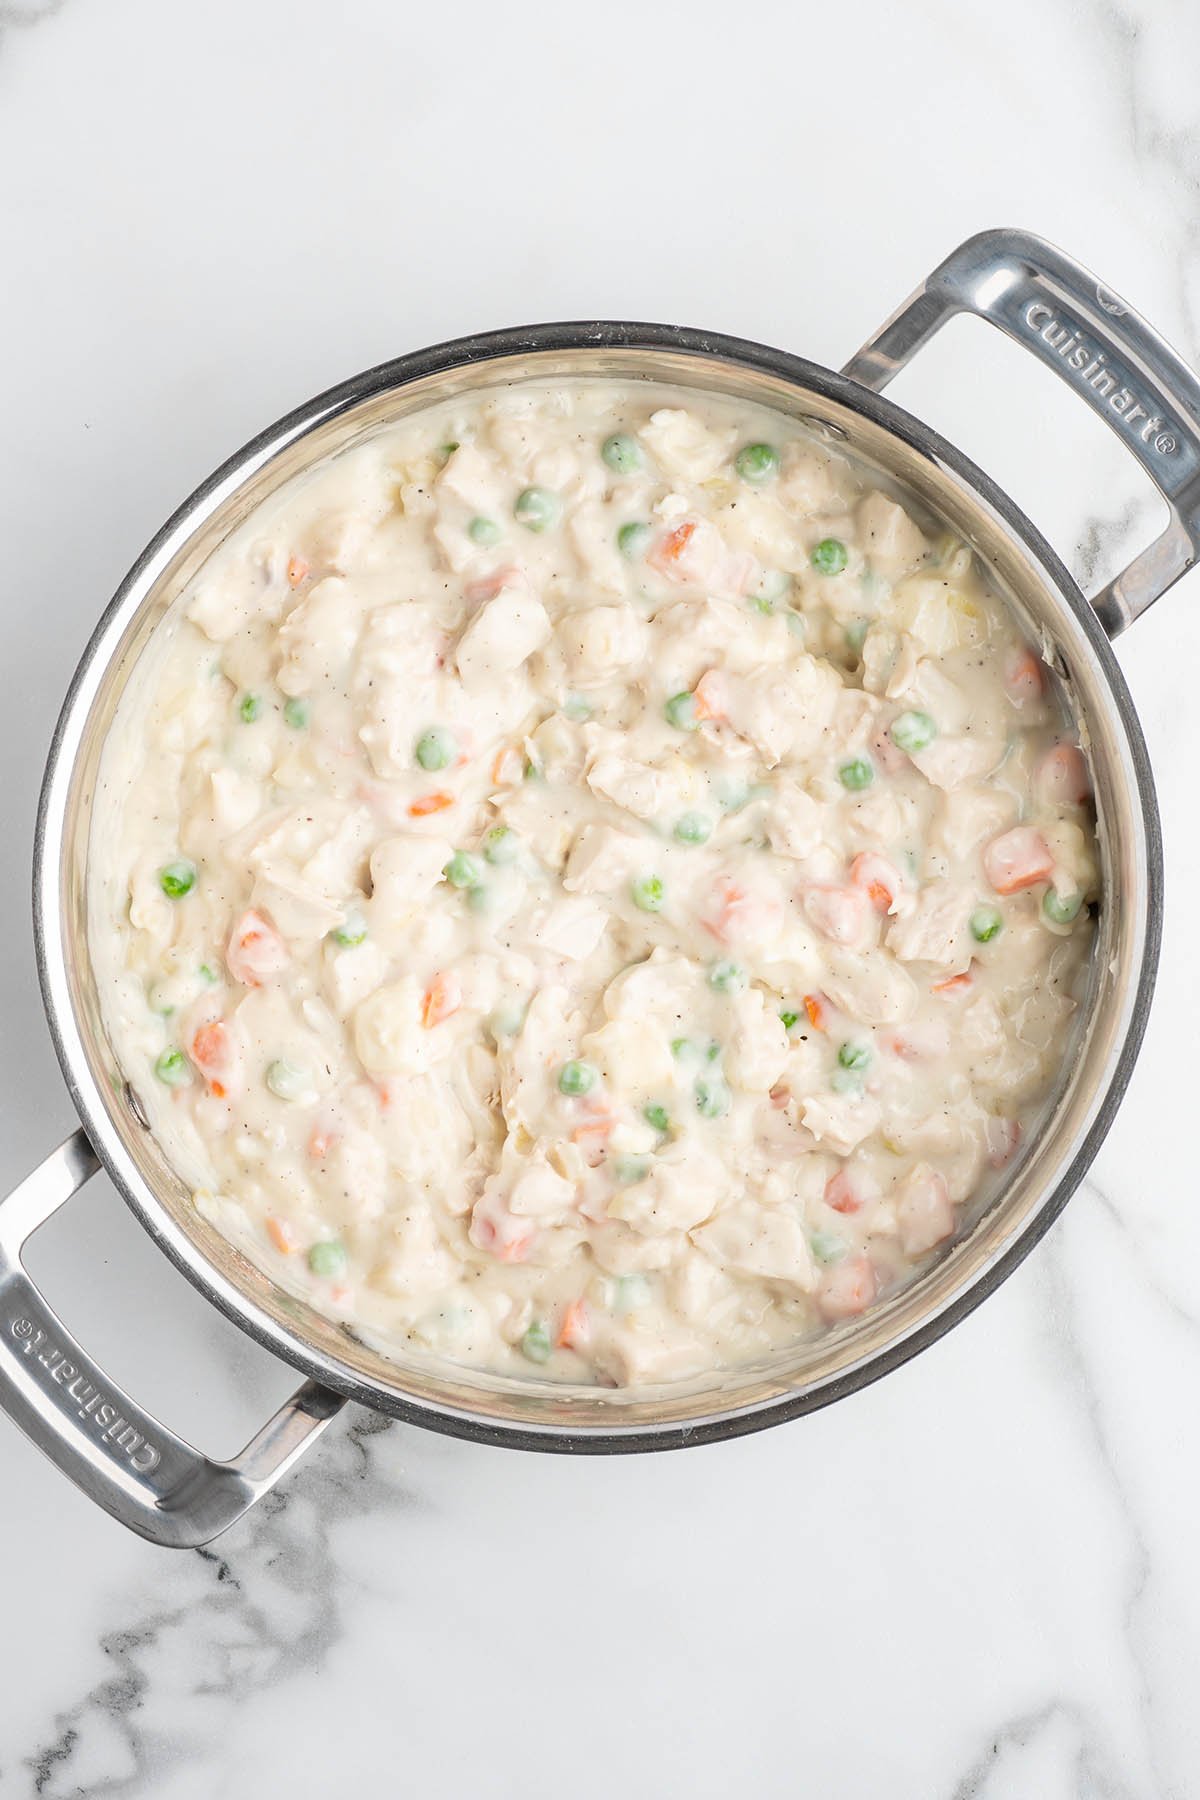
- Make the filling: Melt butter in a medium saucepan or skillet over medium heat. Add onion and sauté until softened. Stir in flour, salt, and pepper and cook until lightly golden brown. Whisk in chicken broth and milk until the mixture thickens. Remove from heat and stir in cream cheese, veggies, and chicken.

- Prepare the crust: Unroll the pie crusts on a lightly floured surface and use a bowl, placed upside down, to cut out circles; reroll scraps as needed. (I used a 5 1/2 inch bowl to cut my circles.)
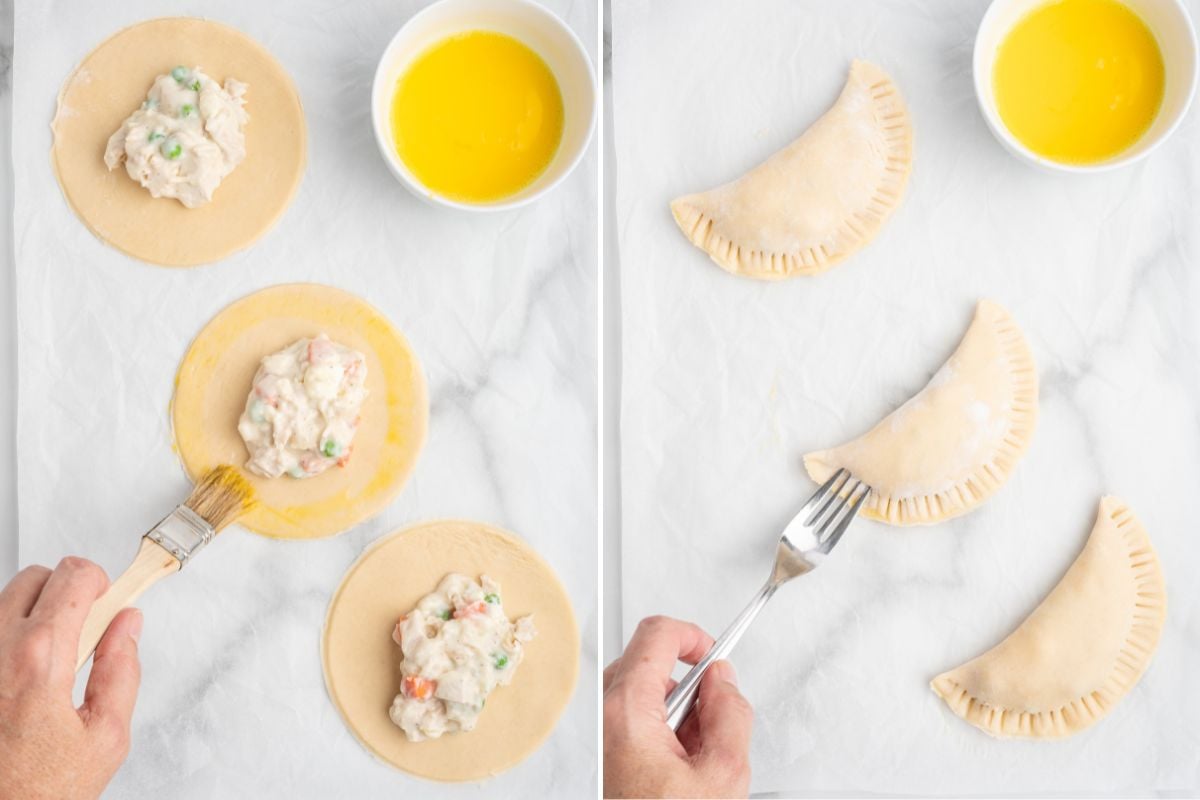
- Assemble the pies: Use a fork to whisk egg yolks with water. Add a spoonful of filling to each dough circle, brush the edges with the beaten egg wash, fold the dough over, and press to seal.

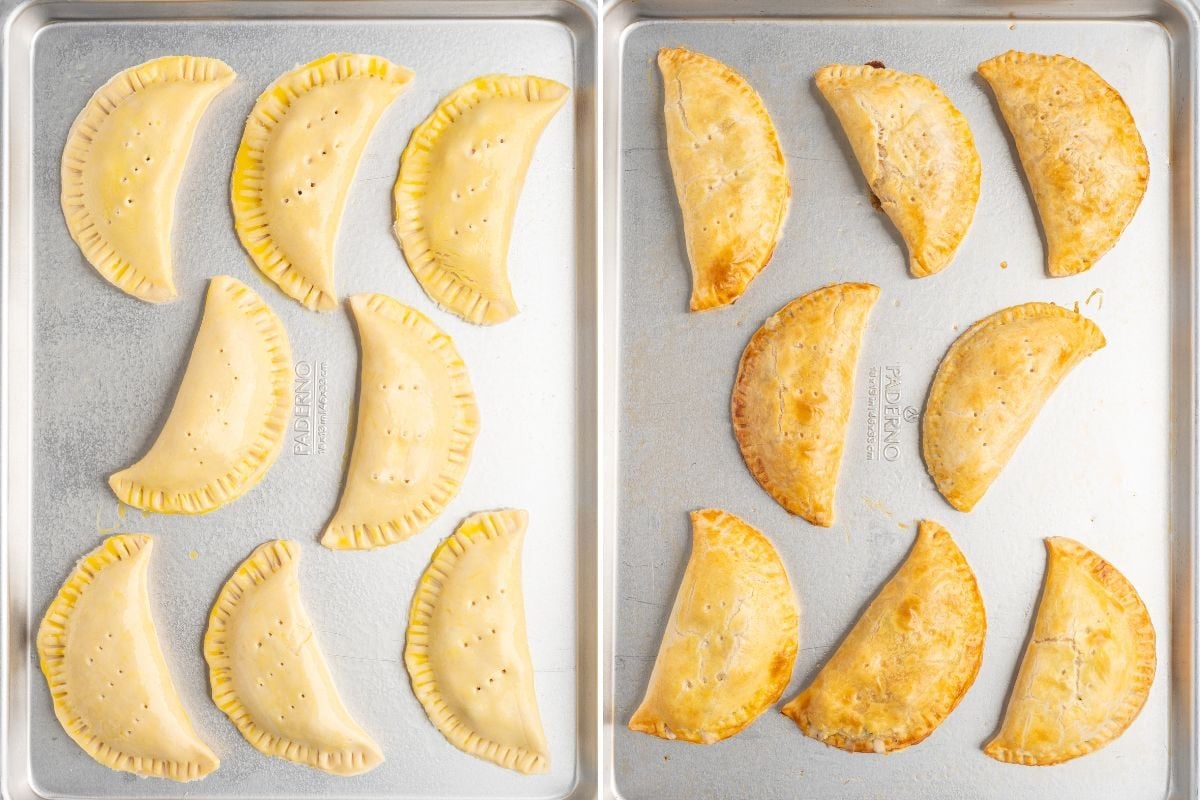
- Bake: Brush with egg wash, poke a few vent holes in the top of each hand pie, and bake on prepared baking sheet for 10 to 12 minutes until golden and crisp.
Make Ahead & Storage Instructions
- Prep ahead: You can make the filling up to a day in advance and keep it in the fridge. Assemble and bake the hand pies just before serving for the best flavor and texture.
- Storing leftovers: These are best enjoyed fresh, but any extras can be stored in an airtight container in the refrigerator for 2 to 3 days.
- Reheating: Warm them in the oven to keep the crust crisp instead of using the microwave.
- Freezing: Baked hand pies don’t store well in the freezer because the crust can lose its flakiness.
Other Easy Chicken Recipes
- Easy Mozzarella Chicken
- Bruschetta Chicken Pasta
- Slow Cooker Teriyaki Chicken
- Asian Chicken Lettuce Wraps
- Easy Sesame Chicken
If you’ve tried this Chicken Hand Pies Recipe or any other recipe on my website, please leave a star rating and let me know how it turned out in the comments below.

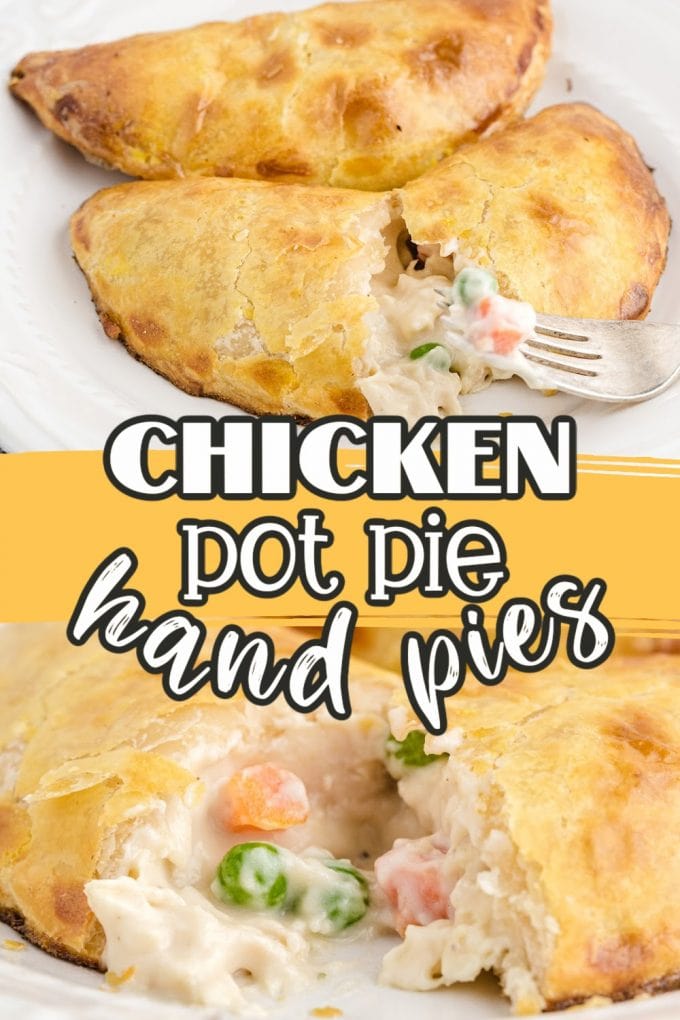
Chicken Pot Pie Hand Pies
Ingredients
- 4 tablespoons salted butter melted
- ½ cup diced yellow onion
- ¼ cup all-purpose flour
- ½ teaspoon salt
- ½ teaspoon black pepper
- 1¼ cups whole milk
- 1 cup chicken broth (or 1 cup water + 1 ½ teaspoons chicken bouillon)
- 2 ounces cream cheese cut into pieces
- 1 cup frozen peas and carrots
- 2 cups diced, cooked chicken
- 4 refrigerated rolled pie crusts (2 standard 14-ounce 2-pack)
- 2 egg yolk beaten
- 2 teaspoons water
Instructions
- Preheat the oven to 450°F. Sprayed a large baking sheet with non-stick cooking spray and set aside.
- In a medium saucepan, melt butter over medium heat. Add diced onions and saute until onion is translucent (3-4 minutes).4 tablespoons salted butter, ½ cup diced yellow onion
- Add flour, salt, and pepper. Cook, stirring constantly, until the flour mixture begins to brown (3-4 minutes).¼ cup all-purpose flour, ½ teaspoon salt, ½ teaspoon black pepper
- Slowly stir or whisk chicken broth and whole milk into the flour mixture. Stir constantly while pouring just a bit at a time to make a smooth mixture.1¼ cups whole milk, 1 cup chicken broth
- Continue cooking over medium heat, stirring constantly to ensure milk does not burn on the bottom of the pan. Cook until mixture begins to bubble and thicken slightly (about 5 minutes). Remove from heat.
- Stir in cream cheese, frozen vegetables, and diced chicken. Stir to mix evenly.2 ounces cream cheese, 1 cup frozen peas and carrots, 2 cups diced, cooked chicken
- Prepare pie crusts by removing pie crust from packaging. Unroll one crust on a lightly floured surface. It is important to keep the crusts thick enough to hold the pie filling, so I did not roll the crusts out any thinner than they came in the package. Use a bowl, placed upside down, to cut out two circles from the dough ((I used a 5 1/2 inch bowl to cut my circles.). Gently gather together the scraps, roll out just enough to cut two additional circles (you may even need to do one at a time).4 refrigerated rolled pie crusts
- Use a fork to beat the egg yolks with water.2 egg yolk, 2 teaspoons water
- Place three crust circles onto a plate or a piece of parchment paper.
- Place approximately 3 tablespoons of filling into the center of the circle.
- Brush a bit of the egg yolk wash around the edge of the circle to help the sides seal. Now, fold the pie crust in half to form a crescent shape. Press down (work from the outer edge in) and then crimp with your fingers or a fork to seal the edges. Place the hand pie on the prepared baking sheet.
- Brush the whole hand pie with the egg wash. Use a fork to poke a few holes in the top of the pies.
- Place the hand pies on the baking sheet and repeat steps 8 through 12 until all hand pies are made.
- Bake for 10-12 minutes or until the pies are golden brown and the crust is crispy. (The filling is already cooked so we’re really just cooking the crust here.)
Jenn’s Notes
- To Store: While these are best when eaten right away, you can also keep the leftovers. Store them in an airtight container in the fridge for 2-3 days.
- To Freeze: I don’t recommend freezing your hand pies. The crust tends to get quite soggy as it thaws out.
- To Reheat: Reheat your hand pies in the oven for the best results. It keeps the pastry from becoming soggy. If you’re in a hurry you could pop them in the microwave as well.
- Be sure you don’t roll the crust out too thin. If the crusts are too thin, the pie will split apart during baking.
- The egg yolk wash will give the hand pies a nice golden sheen. It is also really helpful to seal the edges together. For best seal, be sure that the filling and/or any excess flour is away from the edge of the dough.
- I found that pinching the crust edges provides a better seal than crimping with a fork; just make sure you squish the edges together well so that they seal.


how big should the circles be?
Hi MaryAnn – I used a 5 1/2 inch bowl to cut my circles.
This filling for this recipe is by far the best I have found. I did add 1/4 cup of diced celery because we like celery. I used puff pastry for half of the filling. This is actually a better vessel for pie. Cooking these pies at 450 degrees is far too hot. I lowered the temp to 400 and they cooked more evenly. All in all this is a very tasty recipe and I will use it often for a freezer staple. Thank you for posting it!!
Am new to your site but reading your recipes makes me smile snd my mouth water! It’s after midnight now… still browsing your recipes. Can’t wait to start cooking/baking. Chicken hand held pot pies are first. Making turkey dinner this weekend, so will substitute turkey this time! Thank you for your great recipes …. I will browse your desserts and appetizers more fully before the holidays. Spotted some yummy ones I want to share with other guests! Happy Holidays!!!!
Hi Lois! Thank you so much for your sweet comment! I hope you find some recipes that you love!
Enjoy new ideas simple and good
Should you let the filling cool before putting it in the crust?
Really good and easy to make.
These sound yummy! How big are your circles?
Thanks