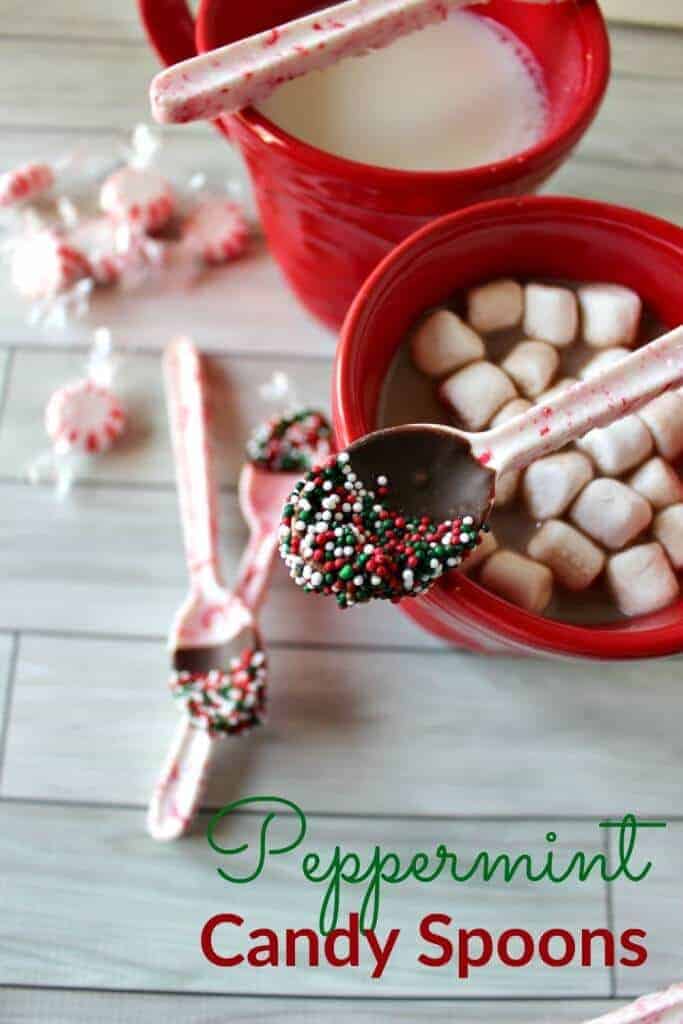
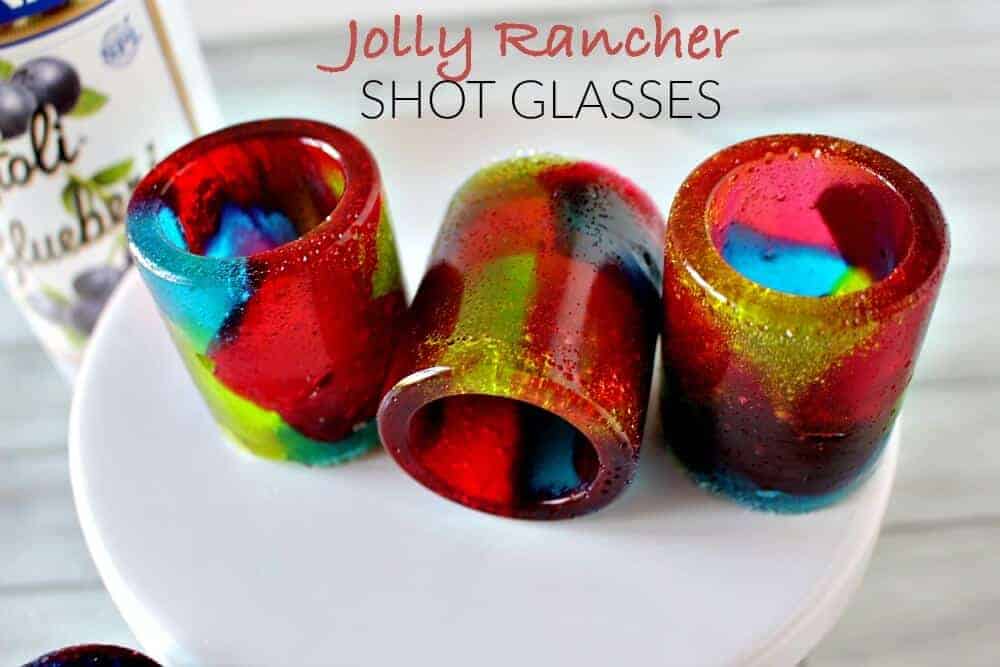
I am a food crafter. What exactly does that mean? It means I cannot really cook, but I can assemble some really, really cute edible creations! That is why I was SO excited to work with Wilton on this next project. I am constantly stalking Wilton’s website to see what their next awesome baking tool might be! You may remember two of my most popular recipes involve the use of Wilton products – Peppermint Candy Spoons and Jolly Rancher Shot Glasses. Both of these projects were super easy and made were a HUGE hit with my family and friends!
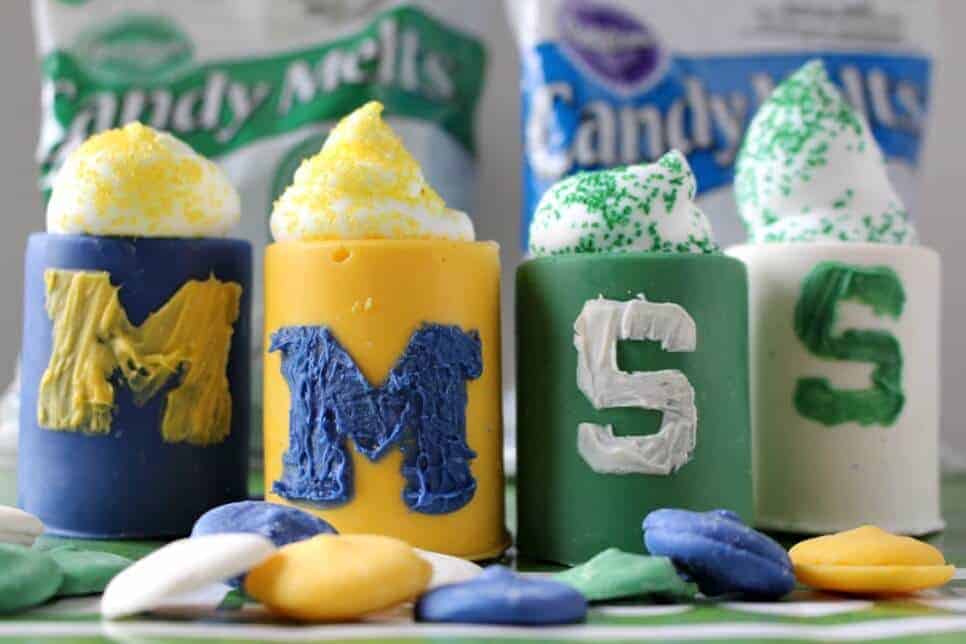
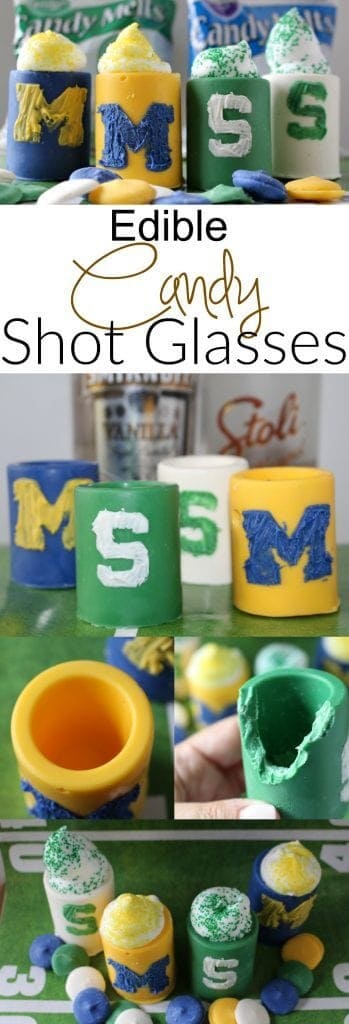
So, when Wilton challenged me to make something that shows your SCHOOL SPIRIT I was ALL OVER IT! Here in Michigan, we have a huge rivalry between my alma mater, Michigan State University (Go Green!) and University of Michigan. Every year we get together with friends and watch the football game to see who will have bragging rights for the next year. This year, I want to bring something extra special for my Spartans – and these Team Candy Shot Glasses are going to do just fine! Best news – they are really easy to make and even more delicious to eat!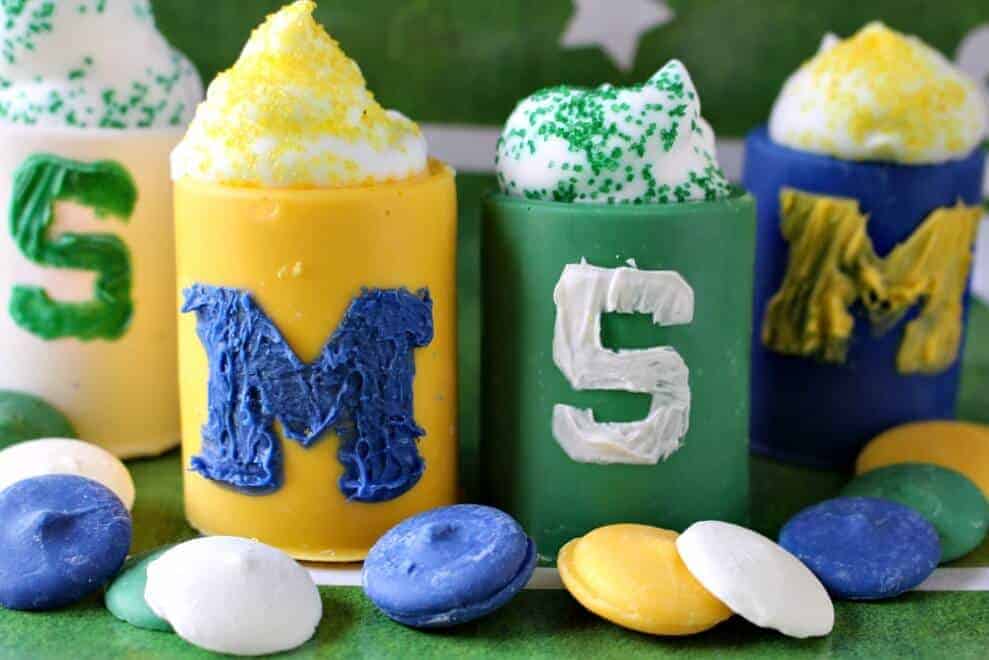
These Candy Shot Glasses can be made in any color – Wilton has a ton of different color options. They can also be filled with a variety of options – both kid and adult friendly. You can do a chocolate mousse or other type of yummy filling for the kids – but I am going to opt for a flavored vodka shot – maybe Caramel Apple or Marshmallow.
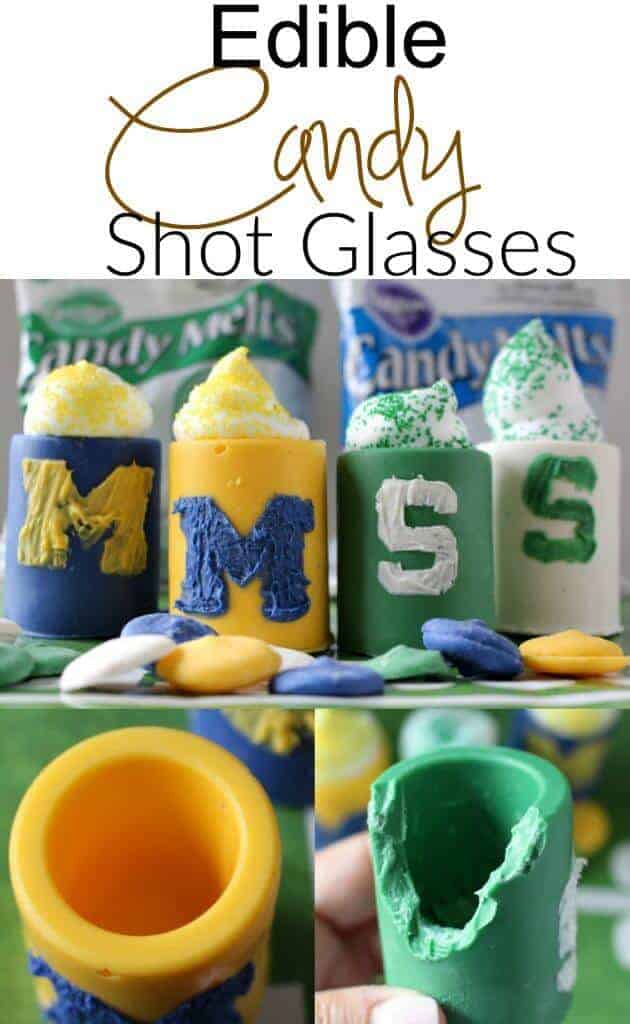
Team Candy Shot Glasses
Here is what you need:
- Stencil of team logo
- Small paint brush or decorating brush set
- Wilton Shot Glass Mold (I got mine here)
- Wilton Candy Melts
- Toothpicks
- Filling for glasses
Here is what you do:
- Create a stencil of the team logo – I used a heavier paper stock, so it would be sturdy. I printed mine on my Cricut, but you could easily print it out on a computer and cut it out or trace it. Make a few copies of it, they can get messed up from the candy melts and one won’t last for all of the glasses.
- Melt the candy according to the directions on the package.
- Pour the candy into the shot glass mold – tap the mold down on your counter or table as you are pouring in the candy so it settles to the bottom of the mold. Do this repeatedly to get rid of any air bubbles. Fill the mold to the top of each section. (peak around the mold for air bubbles, if you see any, give it some more taps and top off the candy)
- Set on an even service and make sure that each glass mold is straight up. Let the candy set completely. You can even put it in the refrigerator for a bit to get it nice and hardened.
- Pop the glasses out of the mold.
- Melt the logo candy and hold the stencil firmly over the glass. Using your decorating brush, “paint” the candy logo on to the glass. I had a few places where the stencil wouldn’t lay flat. I had my son gently press a toothpick tip along that area of the paper stencil while I was painting the candy – it worked perfect!
- Let the logo dry.
- Fill with your favorite treat or beverage.
- Enjoy!
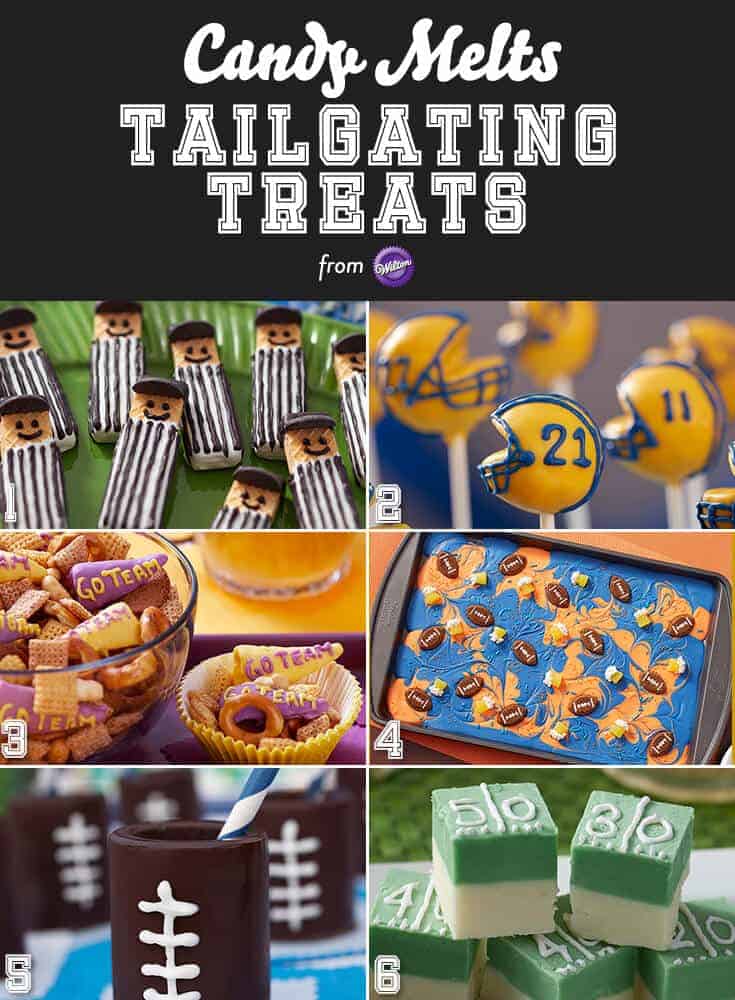
See some other GREAT GAME ON TREATS FROM WILTON!
Also, Check out some of my other favorite Wilton inspired treats:
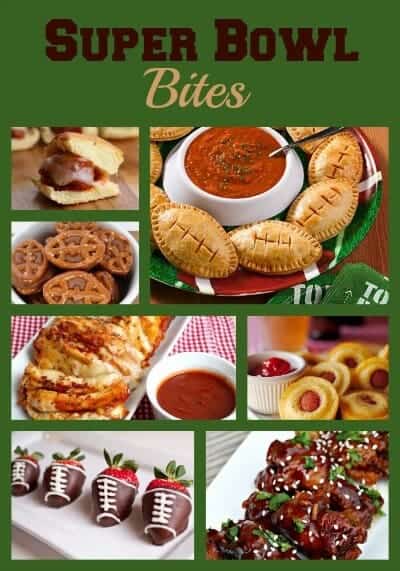
Looking for some more football treats – just click on the pictures below:
Disclosure – this is a sponsored post from Wilton, but all opinions are my own.

How far in advance can these be made? Should they be stored in the fridge, covered if made in advance?
I would not store them in the fridge. You can probably make them a few days in advance and store in a covered container
Well aren’t these fun!? Love that they can be eaten and look so cute too.
How fun!!! I need to try making these for sure!