


This post may contain affiliate links. Please read our disclosure policy.

I want candy cane cookies to actually taste like a candy cane, and these do. Sweet, soft in the middle, with a real peppermint hit that never goes too minty.
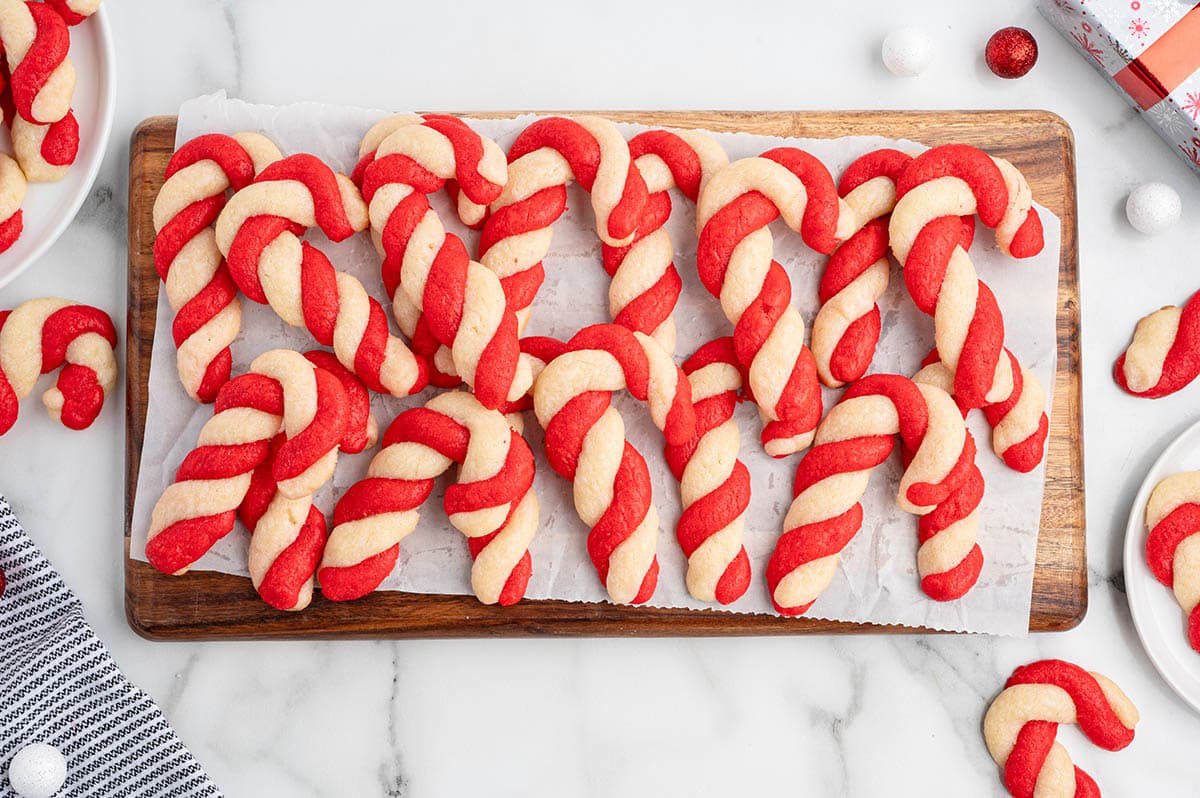



Most candy cane cookie recipes teach you the twist and stop there. Mine is built around the dough itself, so the shape you make on the counter is the shape that comes out of the oven.
I went through a lot of batches of this dough before I got it right. It came out too dry, then too wet, and the only thing that worked was changing one ingredient at a time instead of three at once. Now it rolls and shapes without fighting me.
If you like a two color cookie, my Christmas pinwheel cookies roll red and white dough into a spiral instead. And my candy cane kiss cookies get you the same peppermint with none of the shaping. You can find both on my full list of Christmas cookie recipes.

FAMILY FAVORITE
Why These Are a Lot Easier Than the Step Count Looks
When my kids were little, this was one of our holiday baking projects, because it is twisting and not braiding and I could hand them two ropes. Do not let the number of steps scare you off, since most of them are the same two moves over and over. They take a little time, and the payoff is big, because they are super cute and people love them.

The Ingredients That Do the Work
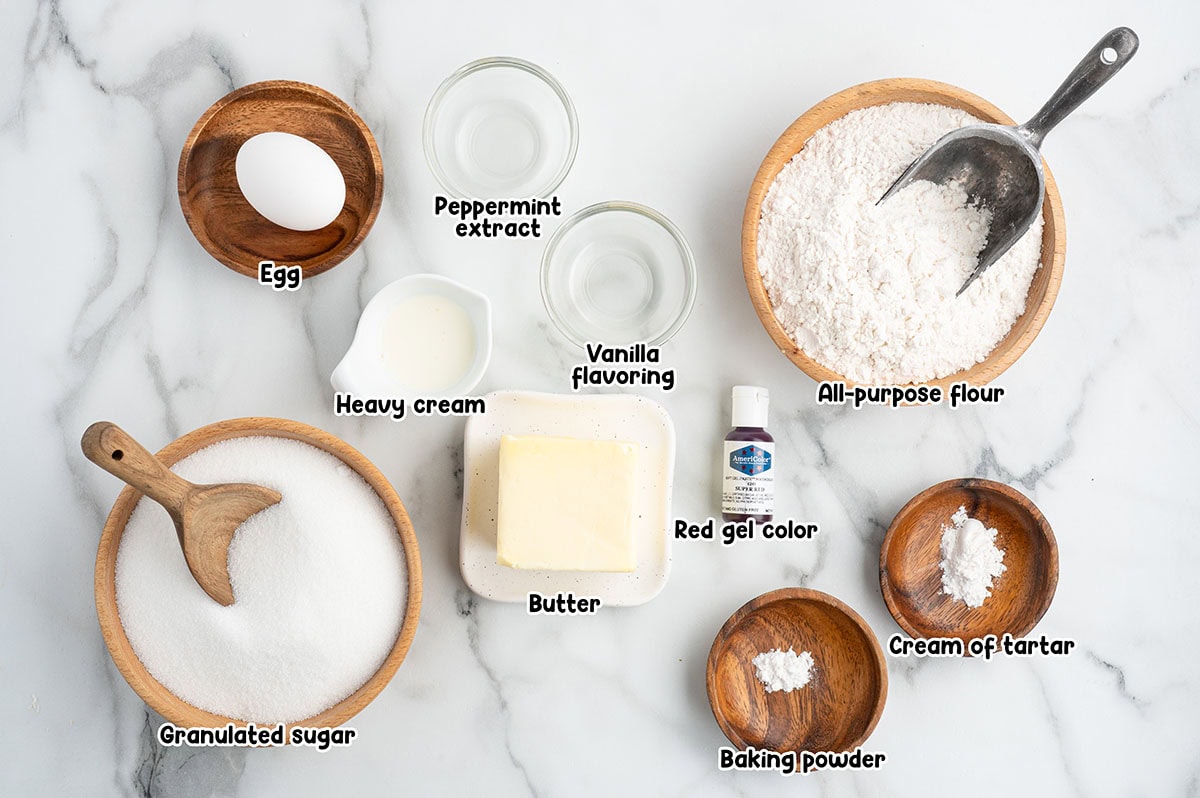
- Baking powder: There is an eighth of a teaspoon in this whole batch, and that is the real amount. A normal spoonful puffs these into round cookies and you lose the shape completely. This much keeps them soft and lets the twist stay a twist.
- Peppermint extract and clear vanilla: Use both. The peppermint is what makes these taste like a candy cane instead of a plain sugar cookie, and the vanilla is what keeps the peppermint from taking over.
- Heavy cream: If you are short on it, half and half works in the same amount. Milk is too thin to do the same job here, so do not swap that one in.
How to Make Candy Cane Cookies
Step 1: Make the Dough Whisk the flour and baking powder together and set it aside. Cream the butter, add the sugar, cream of tartar and heavy cream and beat until fluffy, then add the egg and both flavorings before working the flour in a half cup at a time. A handheld mixer and a large bowl do this fine if you do not have a stand mixer.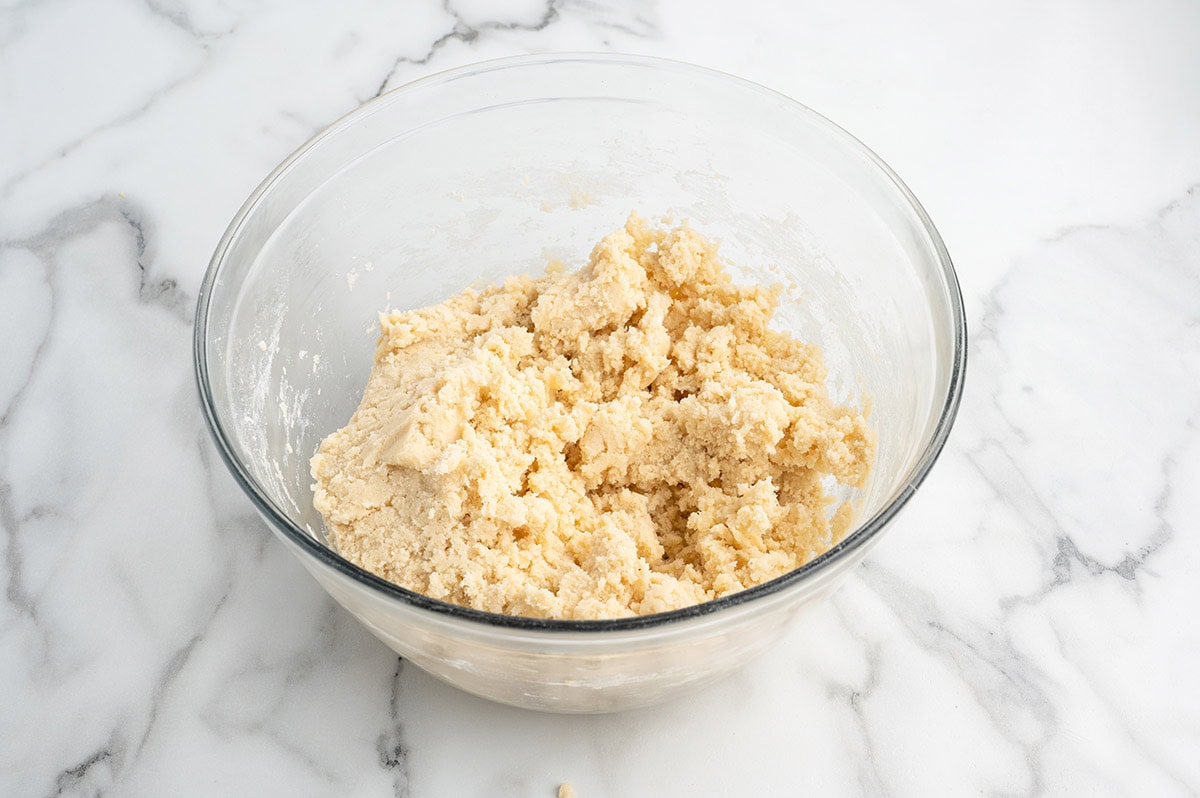
Step 2: Color Half of It and Chill Split the dough into two equal balls. Wrap one, mix the red gel color into the other on low until the color is even with no white streaks, then wrap that one too and refrigerate both for an hour.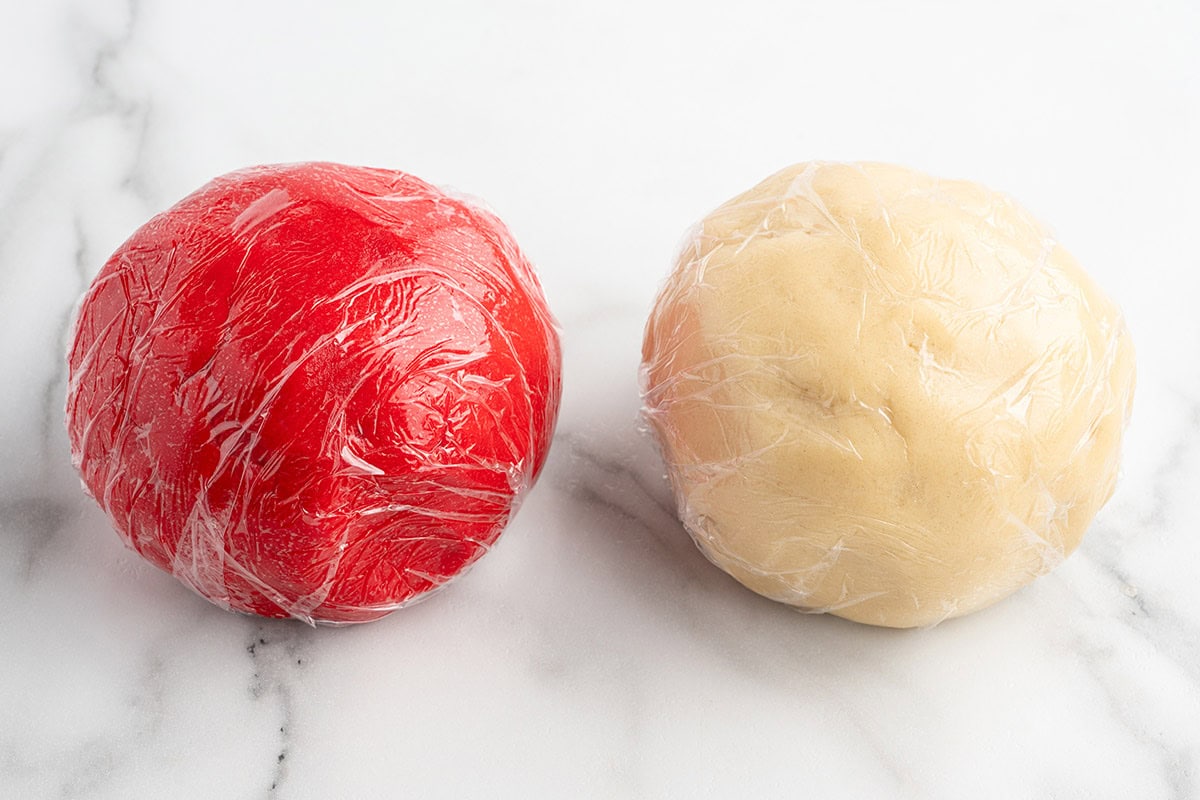
Step 3: Scoop and Chill Again Use a half tablespoon to scoop and roll each color into tight round balls, then put them back in the refrigerator for another 10 to 15 minutes. The tighter you roll them, the better the rope holds together later.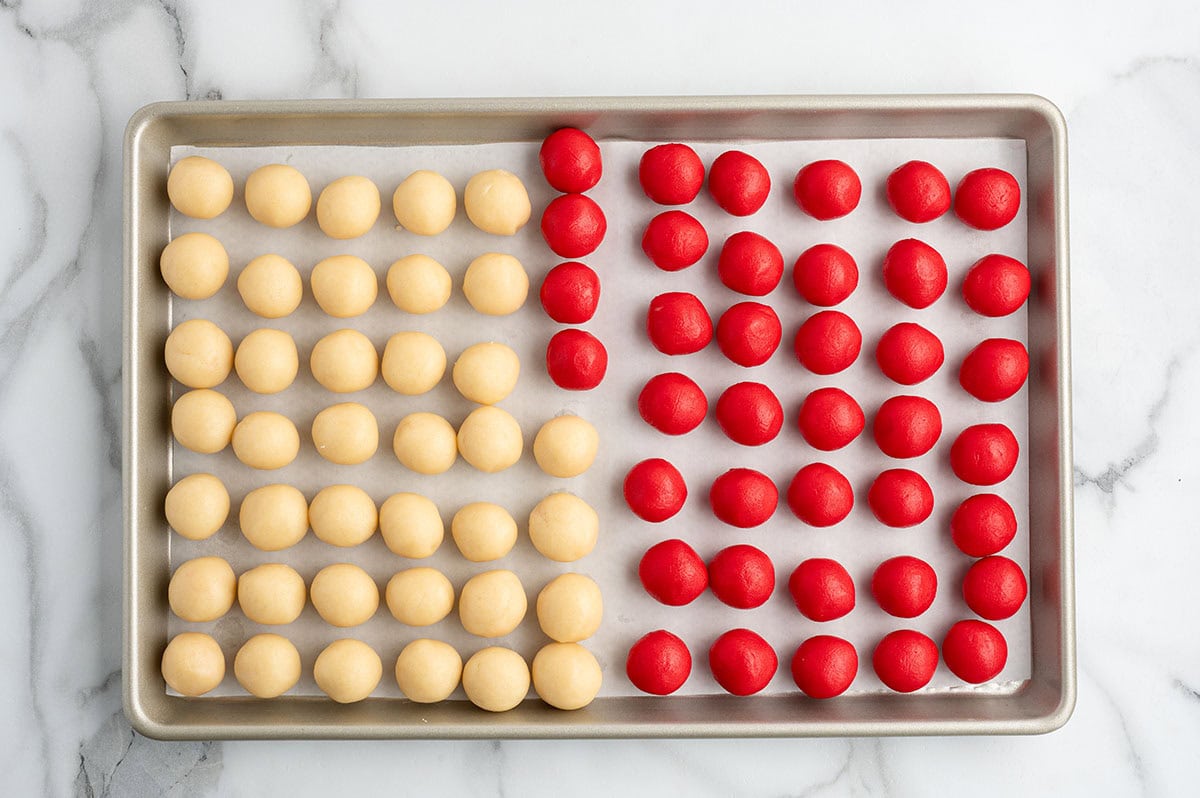
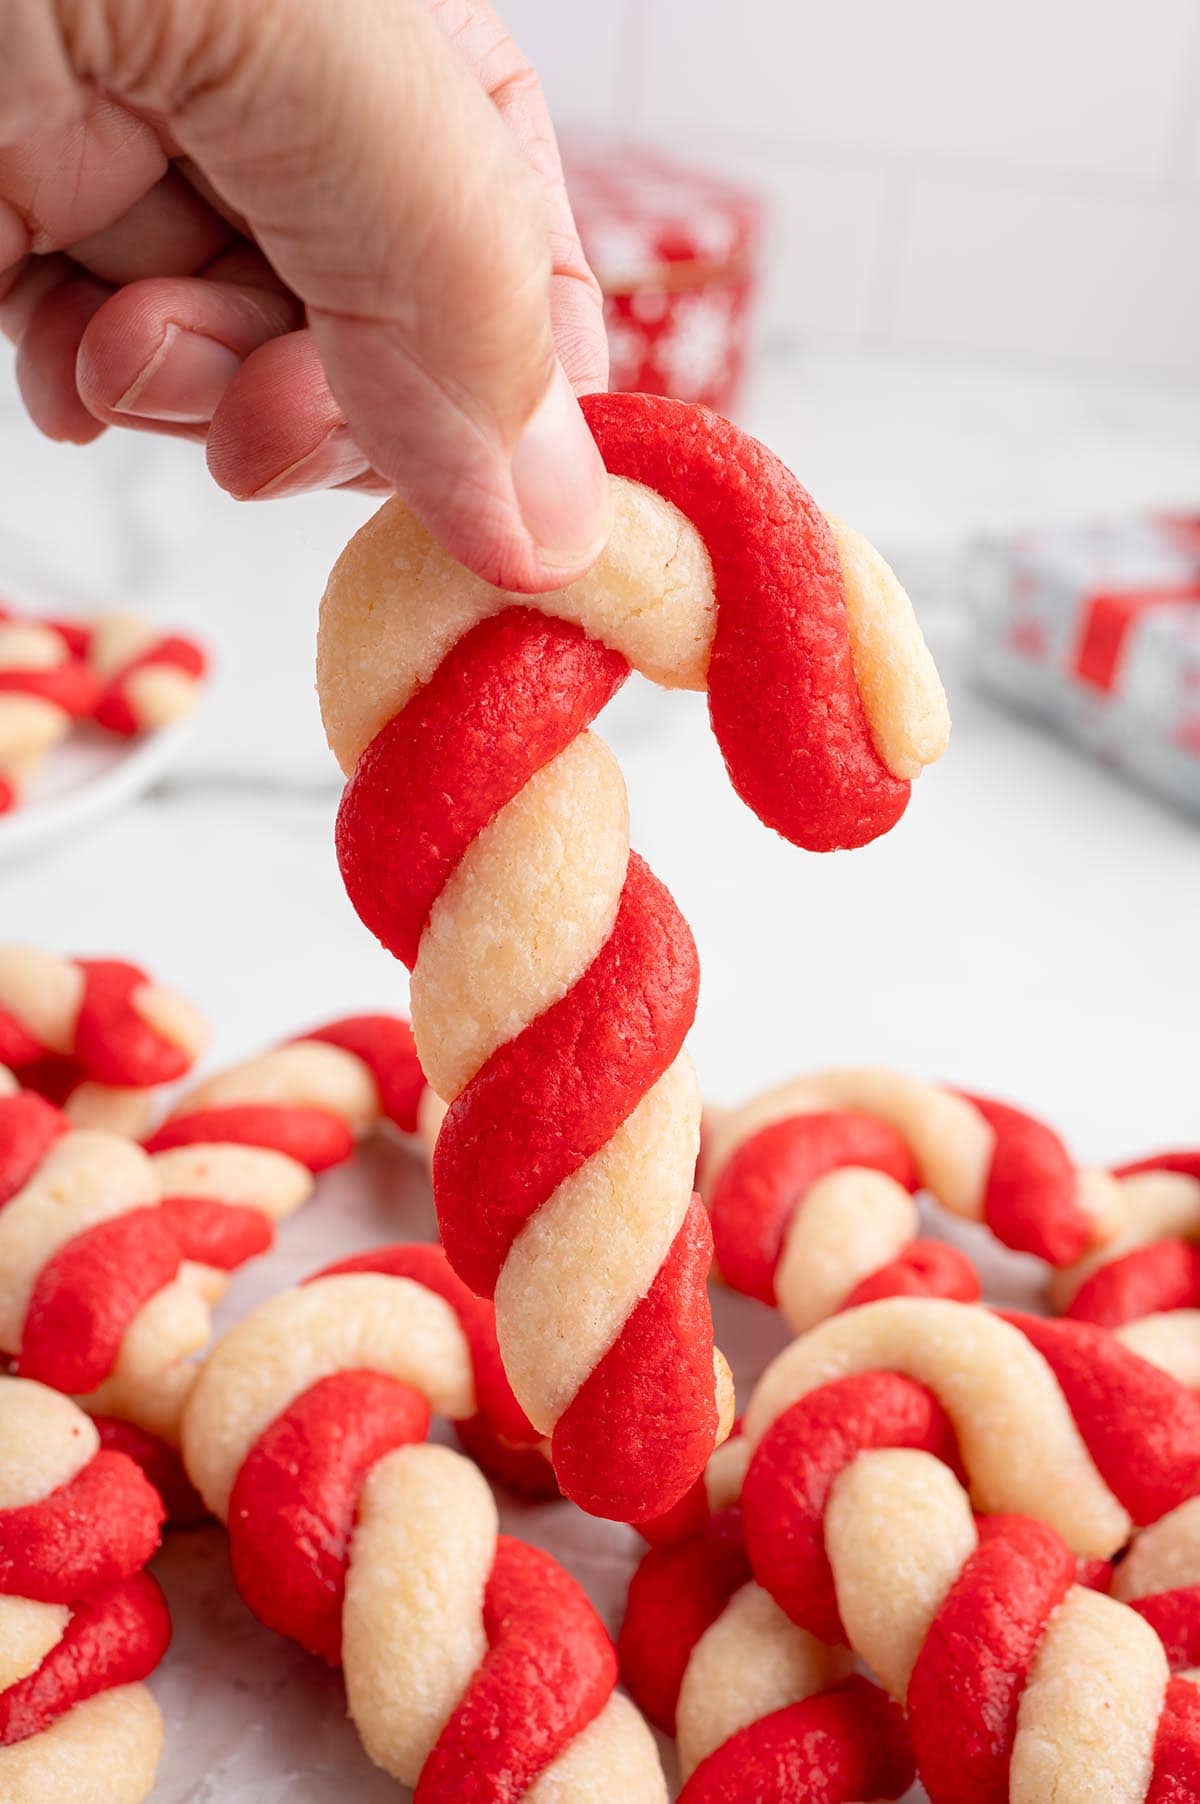
Step 4: Roll and Twist the Ropes Line your counter with parchment so the red does not stain it. Roll one white and one red ball into 5 inch ropes, press the ends together, and turn them around each other with light pressure. Keep your hands cool and keep the ropes rounded instead of flattening them.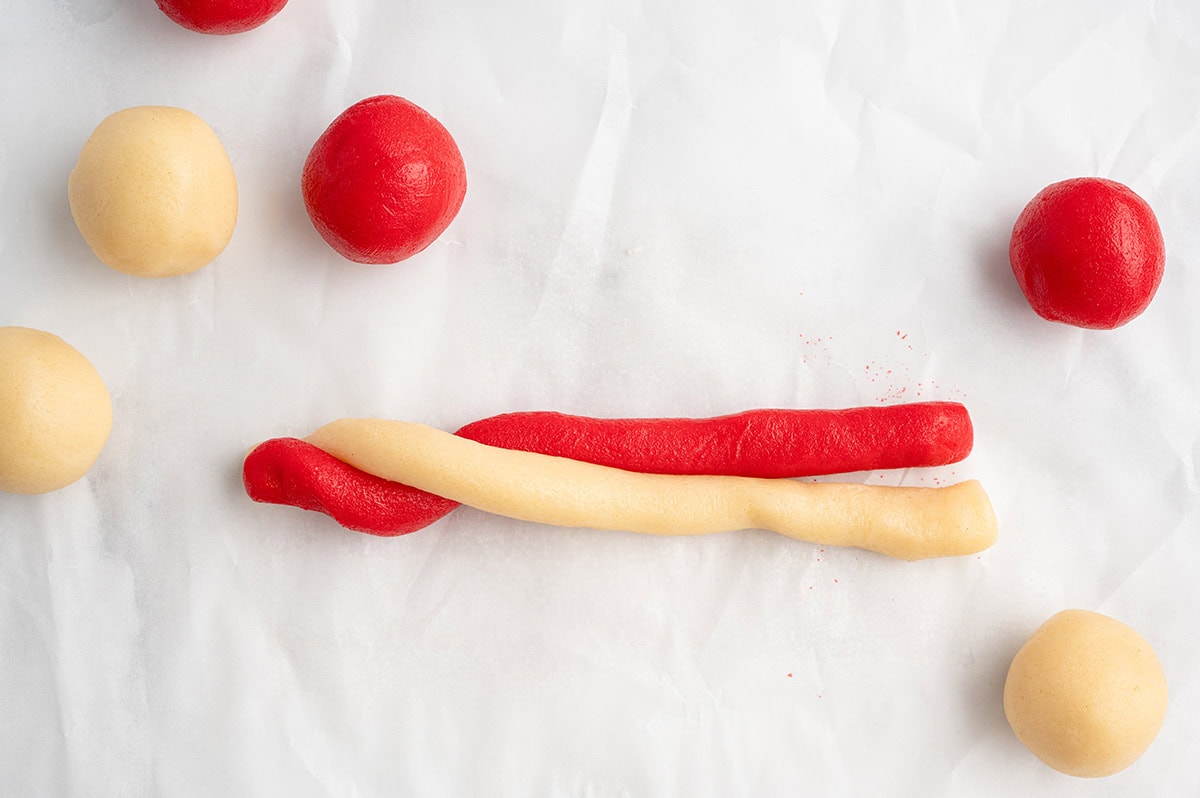
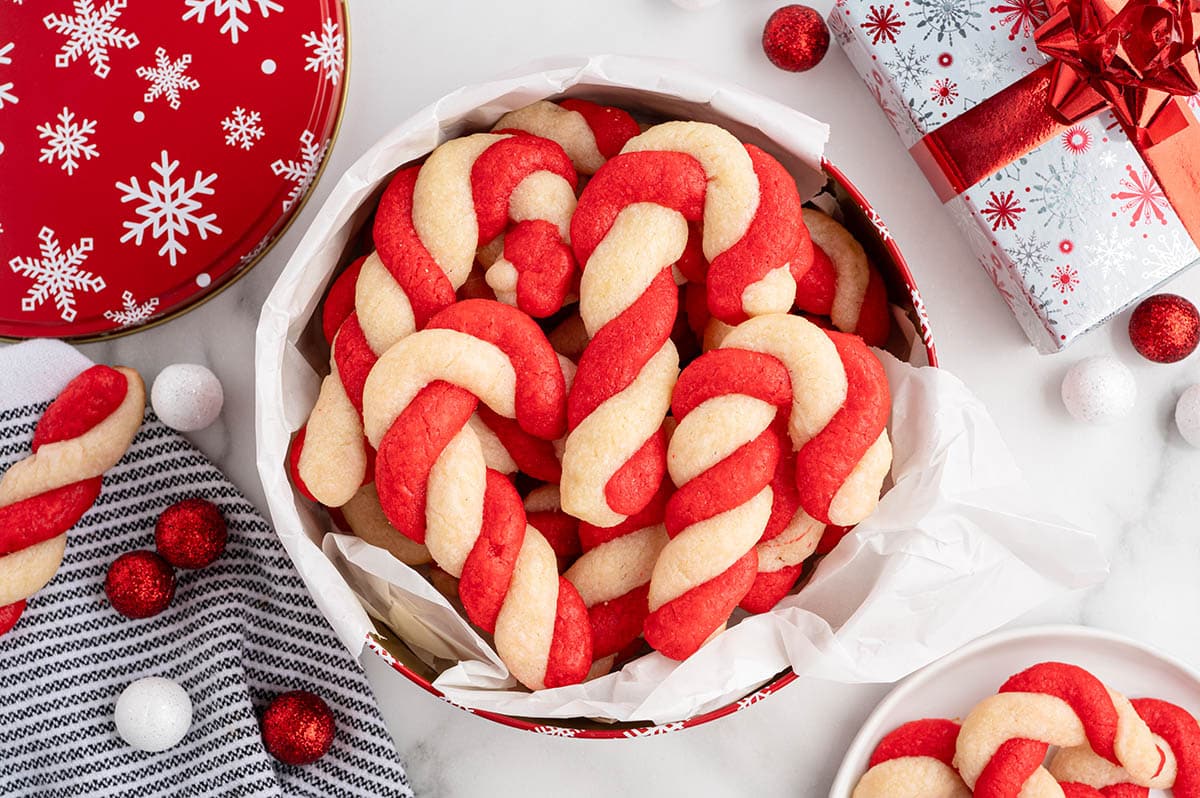
Step 5: Shape the Crook Place each twisted rope on a lined baking sheet 2 inches apart and curve the top into the candy cane hook.
Step 6: Bake the dough. Bake at 350°F for 7 to 9 minutes, pull them before you see any browning, and leave them on the pan 10 minutes before they go to a cooling rack.
How to Store Candy Cane Cookies
The baked cookies keep for about a week in an airtight container. Do not park them in the refrigerator for long, because they dry out on you. They freeze for about two months, but I think they are better fresh.
If you are holding the dough instead of the cookies, use it fairly quickly. It sits in the refrigerator for a couple of days, and after that it starts to dry out.

More Christmas Cookie Recipes

Candy Cane Cookies
Ingredients
- 3 cups all-purpose flour
- ⅛ teaspoon baking powder softened
- 2 sticks (1 cup) unsalted butter softened
- 1½ cups granulated sugar
- ½ teaspoon cream of tartar
- 1 tablespoon heavy cream
- 1 large egg room temperature
- 1½ teaspoons pure peppermint extract
- 1¼ teaspoon clear vanilla flavoring
- ½ teaspoon red squeeze gel color
Instructions
- In a medium bowl, whisk together the flour and baking powder. Set aside.3 cups all-purpose flour, ⅛ teaspoon baking powder
- Using a stand mixer, or a handheld mixer and a large mixing bowl, on medium-high speed, cream the unsalted butter for 1½ to 2 minutes.2 sticks (1 cup) unsalted butter
- Reduce the mixing speed to low and add the granulated sugar, cream of tartar and heavy cream. Increase the mixing speed to medium and continue to mix for 2 to 3 minutes or until the butter mixture is fluffy.1½ cups granulated sugar, ½ teaspoon cream of tartar, 1 tablespoon heavy cream
- Reduce the mixing speed on low and add the egg. Mix until well incorporated.1 large egg
- Add the peppermint extract and clear vanilla flavoring.1½ teaspoons pure peppermint extract, 1¼ teaspoon clear vanilla flavoring
- Keeping the mixer speed on low, slowly add the flour and baking powder, ½ cup at a time. Continue mixing until the flour is well incorporated and no visible streaks of flour are showing.
- Divide the cookie dough into 2 equal dough balls. Wrap one dough ball in plastic wrap and return the other dough ball to the mixing bowl to be colored red.
- Add ½ teaspoon of red gel color to the dough ball in the mixing bowl. On low speed, mix until you reach a uniform color and no white streaks are visible.½ teaspoon red squeeze gel color
- Wrap the red dough ball in plastic wrap. Refrigerate both dough balls for 1 hour.
- Remove the dough balls from the refrigerator and use a ½ tablespoon to scoop the dough and roll into a tight round ball, to make sure the dough rope holds its shape.
- Return the dough balls to the refrigerator for 10 to 15 minutes. The colder they are, the better they hold their shape.
- Preheat the oven to 350°F and line 2 baking sheets with parchment paper.
- Cover your counter or a cutting board with a sheet of parchment paper. (This is to keep from staining the counter or cutting board red.)
- Remove a few dough balls of each color at a time (I removed 6 balls of each color at a time.) Using your hand, gently roll a white and red dough ball into 5 inch long ropes. It is very important that your hands stay cool while you are rolling the ropes.
- Lightly press the bottoms of the 2 ropes together. Carefully and with light pressure, twist the ropes together. Be sure to keep the ropes rounded and do not flatten them out.
- Place the twisted rope onto the prepared baking sheet and curve the rope tops into the candy cane crook. Repeat the rolling and twisting process with the remaining dough. Place the cookies 2 inches apart. (I baked one cookie sheet of candy cane cookies while rolling and twisting the next batch of cookies.)
- Bake for 7 to 9 minutes.
- Allow the cookies to cool on the pan for 10 minutes before moving them to a cooling rack.
- Store cookies in an airtight container.
Jenn’s Notes
- Pull these before you see any browning. They are done between 7 and 9 minutes and should still look pale coming out, because once color starts they are overdone and you lose the soft middle.
- Keep the dough cold and work with about 6 balls of each color at a time. If a rope starts cracking, roll it back into a ball and start it again.
- A dark baking sheet browned the bottoms on me. An insulated sheet baked them evenly.






Can I make the dough 1 or 2 days ahead of time and keep in refrigerator till I’m ready to bake?
5
Am I crazy or do the instructions just end at chilling? Like others have said, the dough is incredibly dry and there are no cooking instructions on the recipe card. My dough is in the fridge now, so I guess I’ll figure it out. This site is so full of ads and pop-up videos that it’s really hard to scroll through the SEO blather to get to baking directions (if they’re even there).
I am so sorry for all of your troubles. For some reason the end of the recipe got cut off. I just added it back in. Again sorry for the inconvenience.
This was my all time favorite cookie to eat. I usually put almond flavoring in the regular dough and peppermint in the pink dough. It’s a good basic recipe for small balls of dough pressed and baked as they fit nicely in the mouth for a quick bite “on the run”.
This dough turned out very dry. I had to add more butter. I’d suggest Betty Crockers classic recipe and substitute the almond for peppermint. The lack of detail in the instructions is also a little amiss.
I added an egg but this dough is incredibly crumbly and dry. I’m so disappointed that I wasted my time and money on this lousy recipe.
Same here. Dry as can be. And right before Christmas too. Glad I’m not the only one with this outcome. I was beginning to take the crumbly, dryness personally😔 seems this recipe needs more than an egg to correct it.
Thank You FOR Sharing 👍🏼♥️SO 🥰 SWEET ❗️WOULD Be GREAT FOR decorating 👏🏼👏🏼👍🏼And Thank You FOR Recipe Revision 😊G-d♥️Bless
this recipe is so dry, i couldn’t form a single candy cane without it breaking 🙁
I am so sorry – there was an error in the recipe. The egg was left out. It is fixed now. I truly apologize!
The recipe is missing an egg. It’s too dry to form together.
I am so sorry – there was an error in the recipe. The egg was left out. It is fixed now. I truly apologize!