This post may contain affiliate links. Please read our disclosure policy.
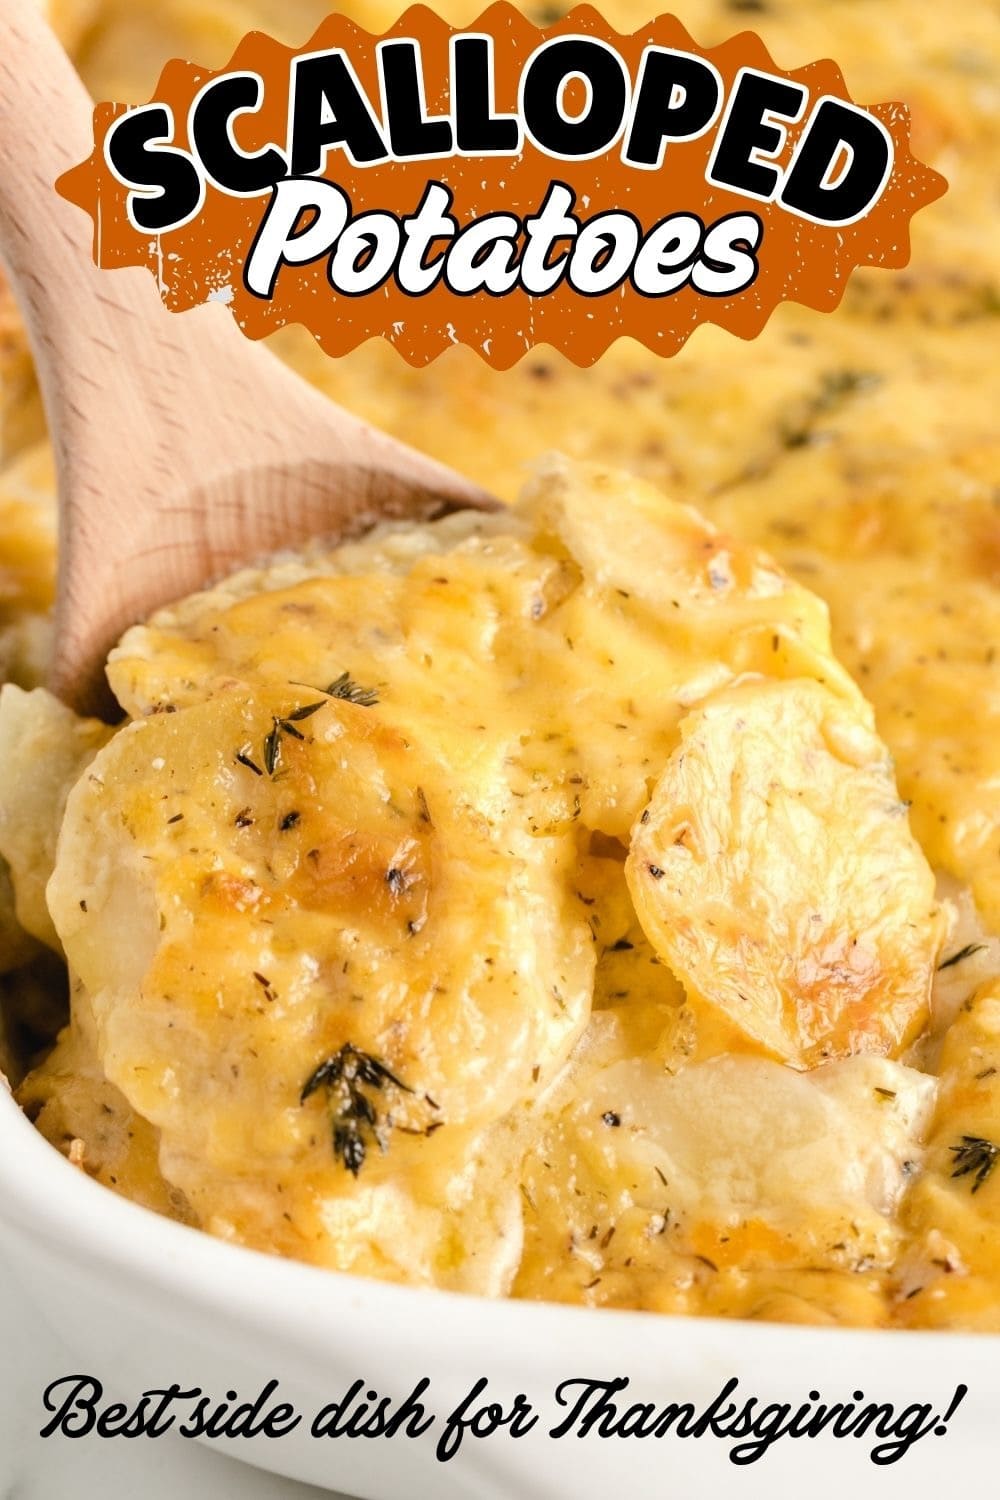
My scalloped potatoes taste like the cheesy potatoes you’d order on the side at a steakhouse. Thin, fork-tender slices bake in a creamy cheddar sauce until the top turns golden and the edges get a little crispy. Put the pan together the night before and bake it the day you need it.

I put scalloped potatoes on the holiday table, and I make them whenever I’m having people over for dinner. Once the prep is done and the pan is in the oven, it’s one of those crowd-pleasing sides I can count on.
I season every layer of these potatoes, not only the sauce. A lot of recipes say salt and pepper to taste and leave it there, but a pan this big needs the seasoning worked all the way through, so I split it between the sauce and both layers of potatoes.
If you’re planning Thanksgiving dinner, I keep all of my Thanksgiving side dishes in one place.

FAMILY FAVORITE
The Supporting Actor I Put on Every Holiday Buffet
When these scalloped potatoes are on the buffet, nobody skips a scoop.
Everybody takes at least a little bit, because it’s always so loved. It’s two layers of thin potatoes in a creamy cheddar sauce, and it bakes up golden on top while everything else gets finished.
It might not be the star of the show, but it’s a really good supporting actor.

Picking the Potatoes, Cheese and Sauce

- Potatoes: I use Yukon gold or russet potatoes, because both hold their shape in the cheese sauce instead of falling apart. When I tested this, the Yukons at my store weren’t all the same size, so I went with four extra-large russets, about 3½ pounds, which filled the 8 cups.
- Cheddar cheese: I shred my own, because bagged shredded cheese has a coating that keeps it from melting smoothly into the sauce. Mild cheddar gives you a cheese flavor you can taste without it taking over, and when I want it bolder, I use sharp cheddar.
- Chicken broth and milk: I use both, because the broth gives the sauce more flavor than milk alone would, and the milk keeps it creamy.
- Butter and flour: I cook these together with the onion and garlic before any liquid goes in, because that’s what thickens the sauce. Mine coated the back of a spoon when I poured it, and it stayed smooth through the whole bake instead of turning thin or grainy.

How to Make Scalloped Potatoes
Step 1: Slice the Potatoes Thin Peel the potatoes and slice them about ⅛ inch thick. I use a mandoline, which makes it faster and keeps every slice the same thickness so they cook evenly.
Step 2: Make the Cheese Sauce Soften the onion and garlic in butter, stir in the flour, then whisk in the broth and milk and keep stirring until it boils and thickens. Season it, take it off the heat, and stir in the thyme and cheddar until the cheese melts.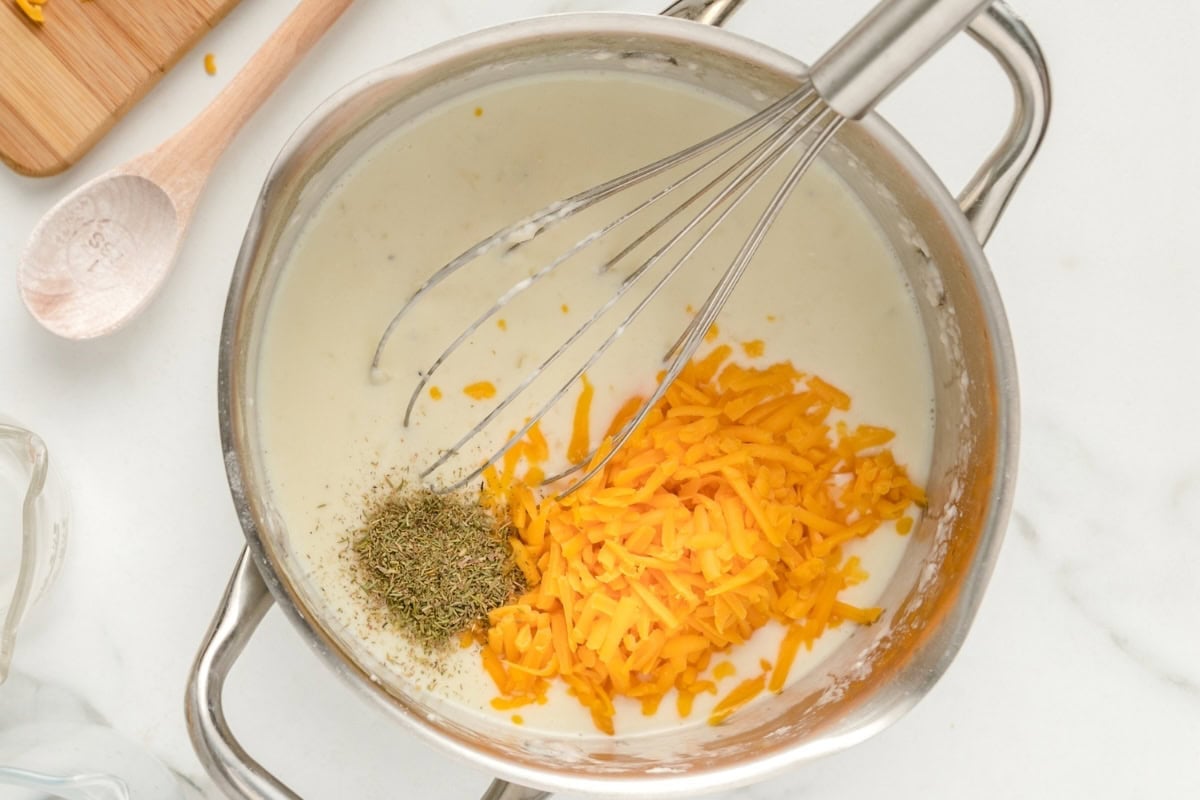
Step 3: Layer the First Half Spread half the potatoes in the pan, season them, and pour half the sauce over the top.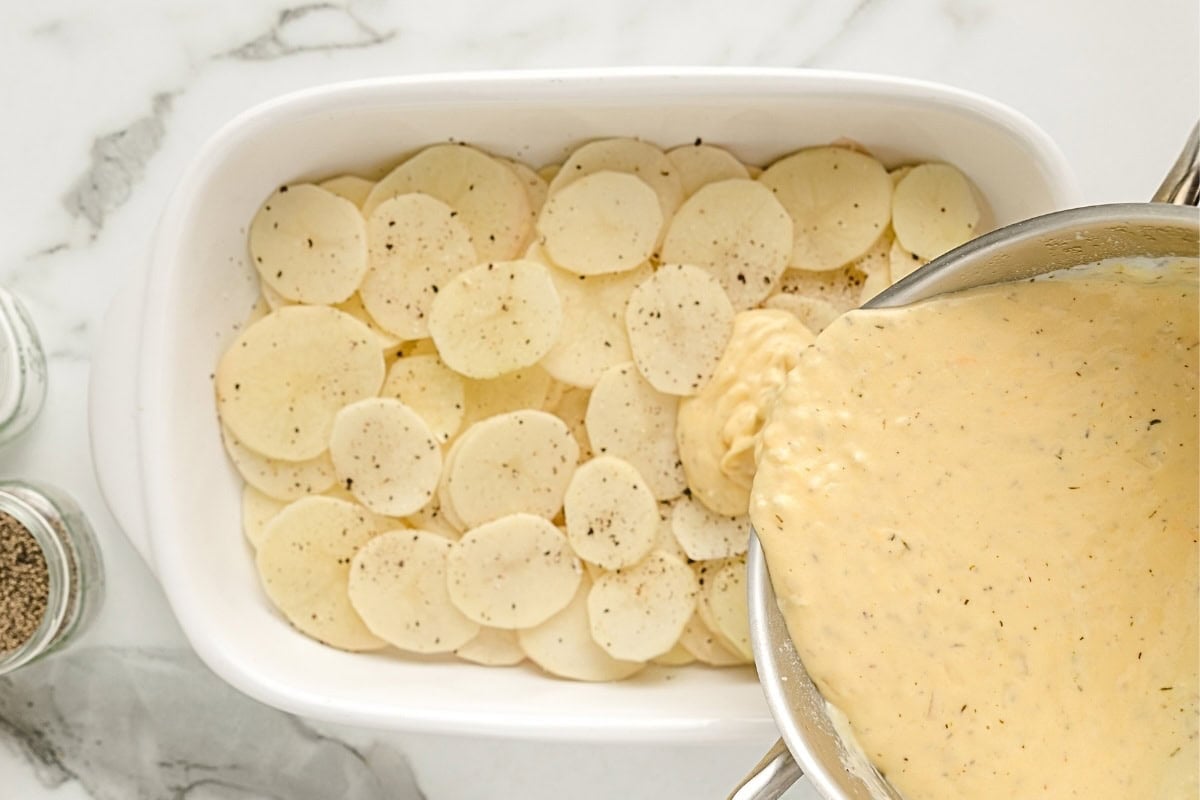
Step 4: Add the Second Layer Repeat with the rest of the potatoes, the seasoning and the remaining sauce, then sprinkle with fresh thyme.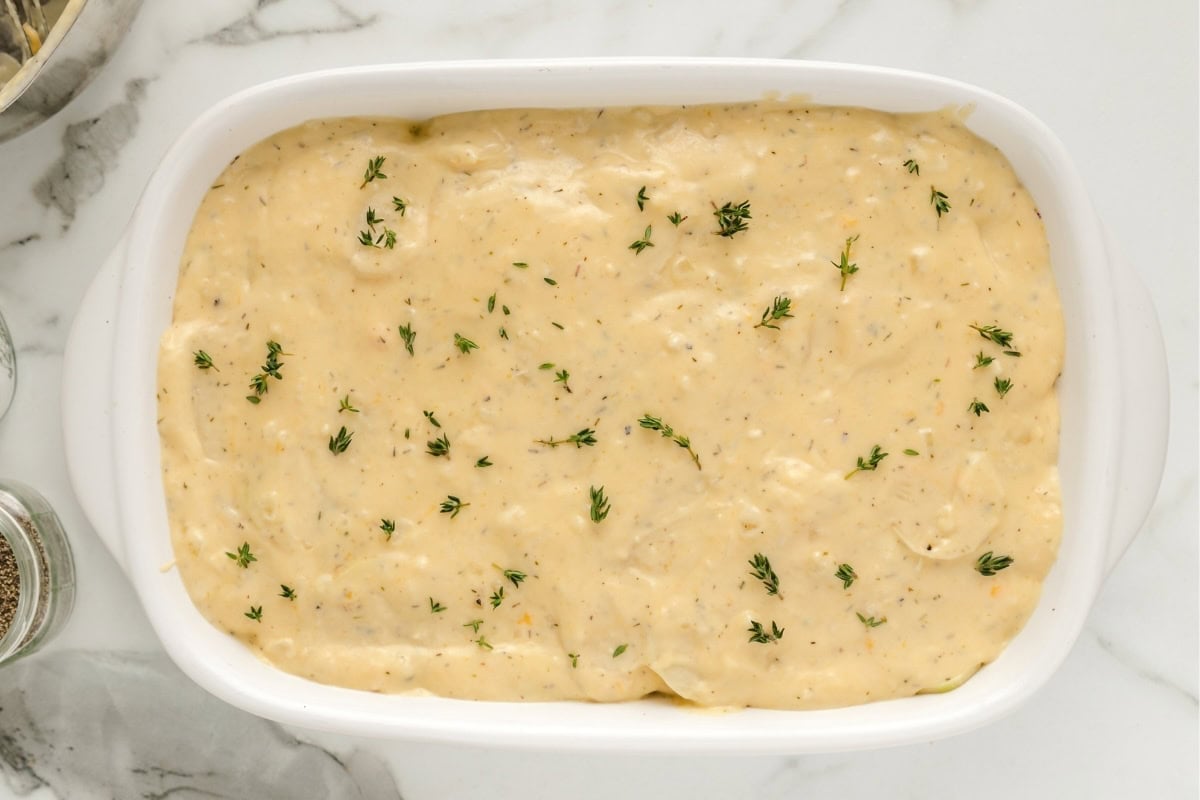
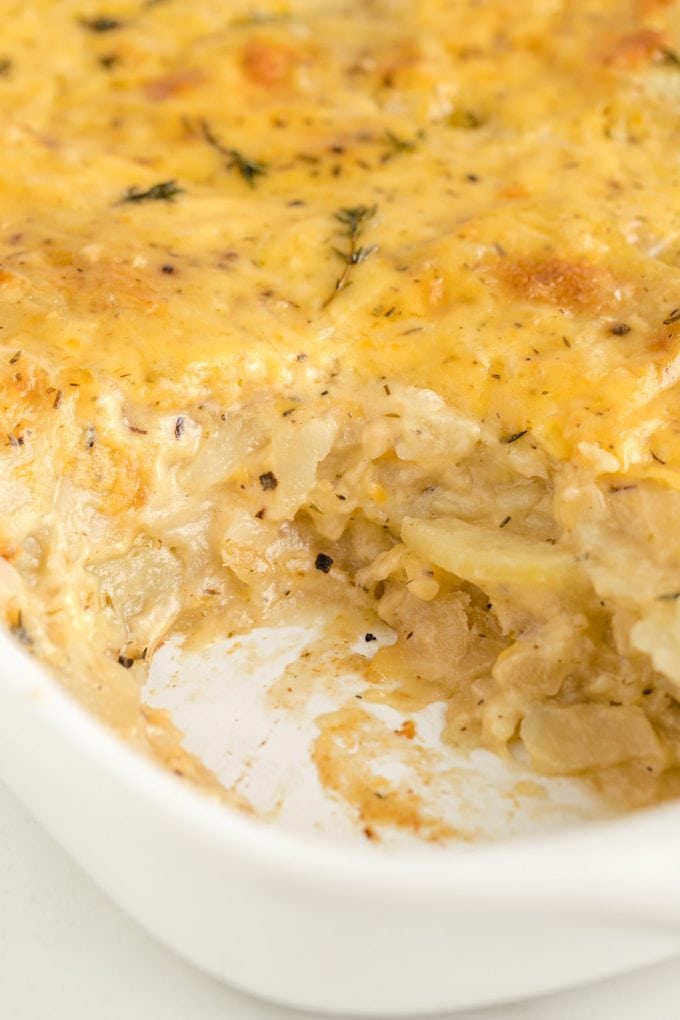
Step 5: Bake Covered, Then Uncovered Bake it under foil first so the potatoes steam tender, then take the foil off so the top turns golden. Check the center with a fork before it comes out, then let it rest so the squares hold together when you cut them.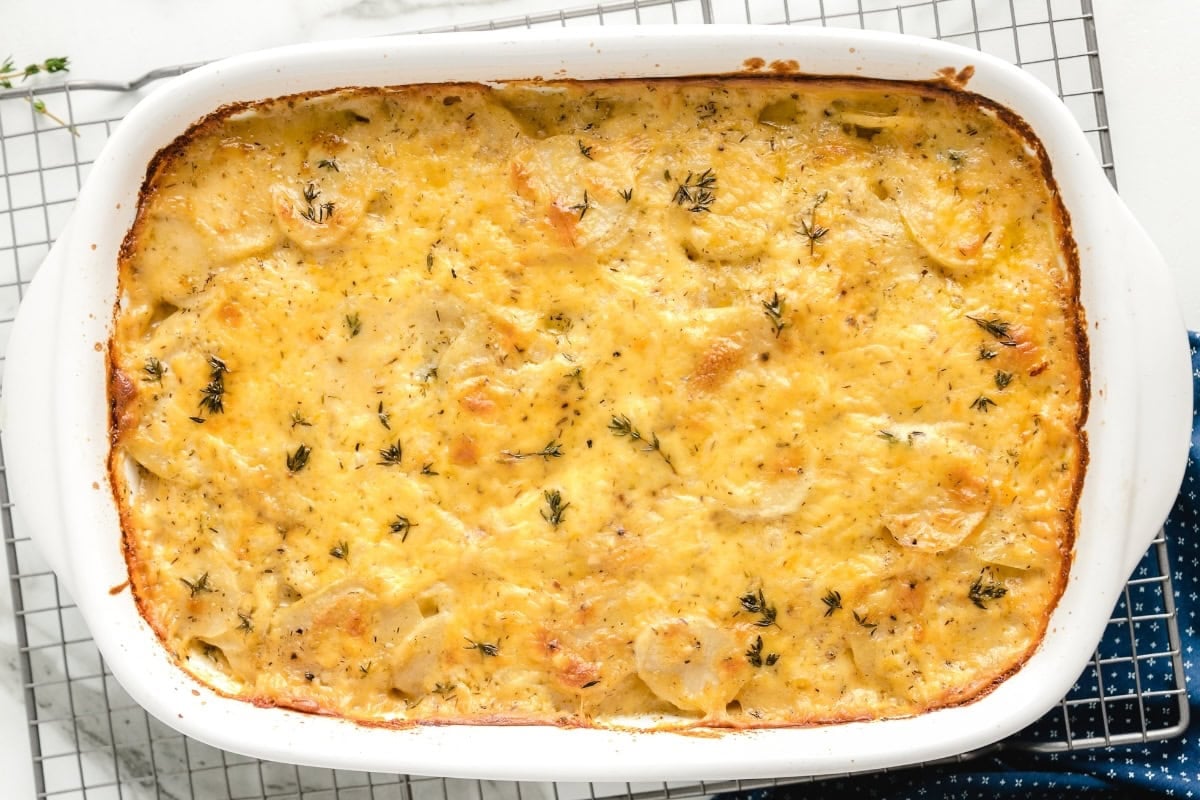
What to Serve With Scalloped Potatoes
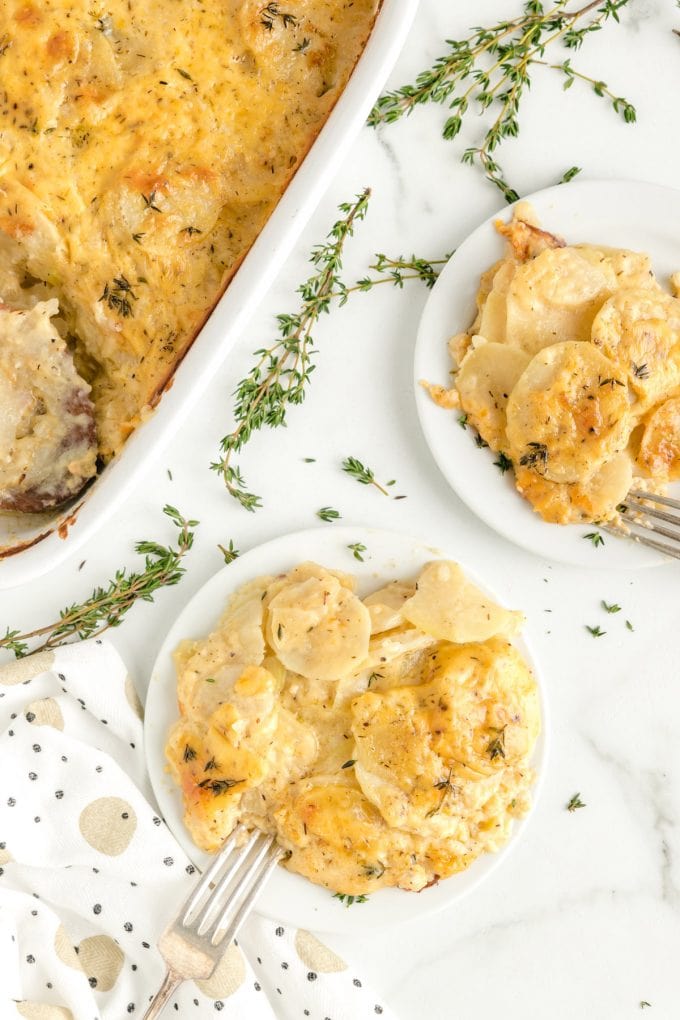
At the holidays, I serve these next to ham. On a regular night they go with roast chicken or my classic meatloaf, and a pan of my garlic green beans on the side rounds out the plate.
Storing and Reheating Leftovers
Cover leftover scalloped potatoes and keep them in the fridge for 3 to 4 days. Reheat them in the oven or microwave until they’re hot all the way through (165°F), and add a splash of milk if they look dry.
You can freeze them for 2 to 3 months, but the cheese sauce can separate a little as it thaws, so the texture won’t be quite the same. Thaw them overnight in the fridge before reheating.
More Potato Side Dishes
- Crack Potatoes
- Mashed Potato Casserole
- Twice Baked Potatoes
- Cheesy Potato Casserole
- Smashed Tater Tots

Scalloped Potatoes
Ingredients
- 8 cups potatoes (about 3 to 4 pounds) peeled and sliced really thin
- 4 tablespoons butter
- ½ cup onion diced
- 1 teaspoon garlic minced
- 6 tablespoons flour
- 1 cup chicken broth
- 2 cups milk
- 3 teaspoons salt divided
- 1½ teaspoons black pepper divided
- ½ teaspoon thyme
- 1 cup cheddar cheese grated
- ½ tablespoon fresh thyme divided, for the top and for garnish
Instructions
- Spray a 9×13-inch casserole dish with non-stick spray. Preheat the oven to 350°F.
- Wash, dry and peel the potatoes. Using a mandoline or sharp knife, slice the potatoes very thin (about ⅛ inch).8 cups potatoes (about 3 to 4 pounds)
- In a large saucepan over medium-low heat, melt the butter. Add the onion and garlic and cook until the onion and garlic are soft.4 tablespoons butter, ½ cup onion, 1 teaspoon garlic
- Add the flour and cook 2 minutes longer.6 tablespoons flour
- Reduce the heat to low and slowly pour in the chicken broth, whisking as you add it. Next, add the milk and continue whisking. Increase the heat to medium and stir constantly until the cream mixture comes to a boil and thickens. Season with 1 teaspoon of the salt and ½ teaspoon of the black pepper.1 cup chicken broth, 2 cups milk, 1 teaspoons salt, 0.5 teaspoons black pepper
- Remove the saucepan from the heat and stir in the ½ teaspoon of thyme and the cheddar cheese until it melts.½ teaspoon thyme, 1 cup cheddar cheese
- Place half of the potatoes in a layer in the bottom of the prepared pan. Season with 1 teaspoon of the salt and ½ teaspoon of the black pepper. Pour half of the cheese sauce over the top of the potatoes.1 teaspoons salt, 0.5 teaspoons black pepper
- Add the second layer of sliced potatoes. Season with the remaining 1 teaspoon of salt and ½ teaspoon of black pepper. Pour the remaining cheese sauce over the top. Sprinkle with some of the fresh thyme.1 teaspoons salt, 0.5 teaspoons black pepper, ½ tablespoon fresh thyme
- Cover the baking dish with aluminum foil and bake for 45 minutes.
- Remove the foil and bake for another 30 minutes. Check the center of the pan with a fork. If the potatoes in the middle are not fork tender, bake 10 minutes longer and check again.
- Remove from the oven and garnish with the rest of the fresh thyme. Let the dish sit for about 10 to 15 minutes before serving.
Jenn’s Notes
- The middle cooks last, so check it with a fork at the end of the uncovered bake. Depending on your oven and how thin your slices are, it may need 10 or more minutes longer to get the middle fork tender.
- Slice the potatoes very thin and even. A mandoline makes this faster, and thicker slices take longer to soften.
- I shred my own cheddar, because pre-shredded cheese has a coating that keeps it from melting smoothly into the sauce.
- Yukon gold or russet potatoes both hold their shape in the cheese sauce.
- To strip fresh thyme leaves, hold the stem by the top and run your fingers down toward the base.