This post may contain affiliate links. Please read our disclosure policy.
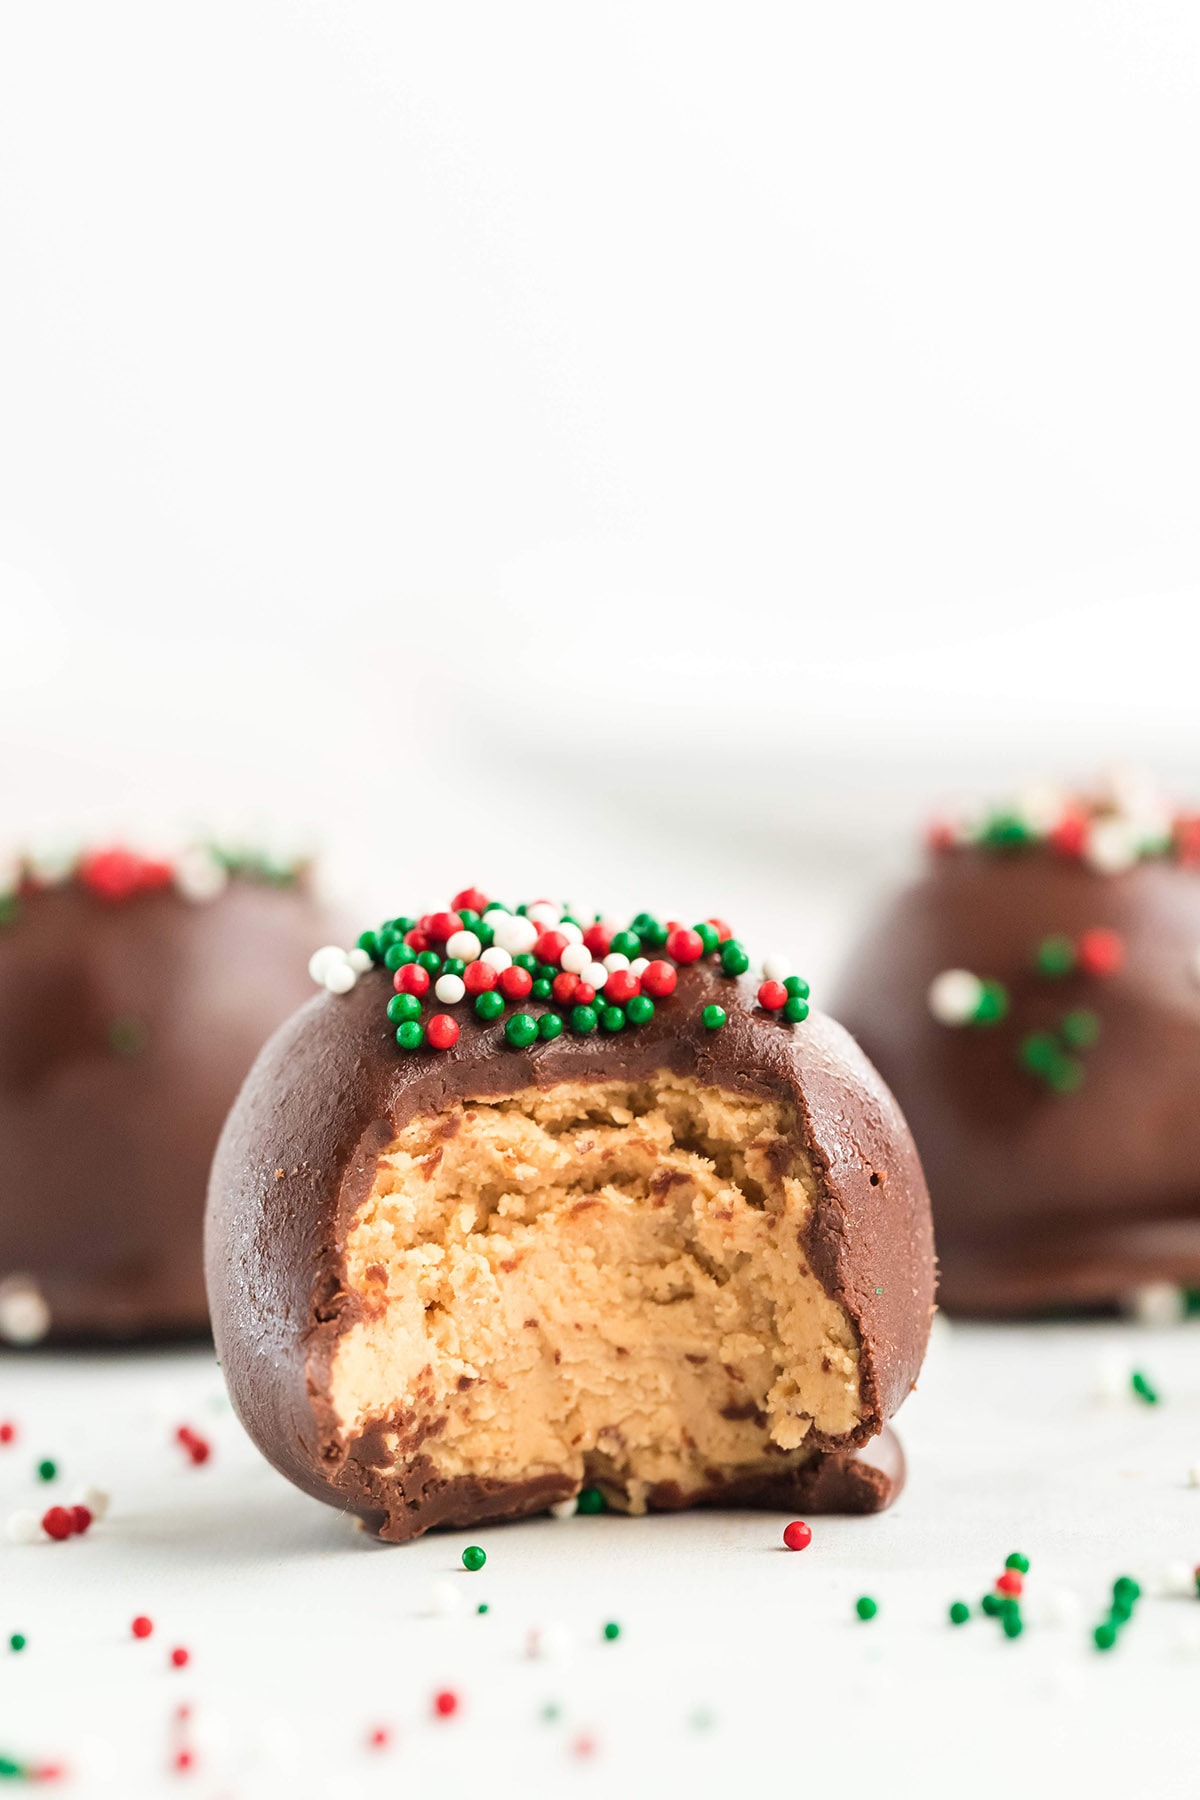
This Chocolate peanut butter balls recipe is my favorite holiday candy and is so easy to make! They’re like little Reese’s peanut butter cups but in bite-sized ball form. Make a batch or two; they are perfect for gifting, parties, or just treating yourself during the holidays.
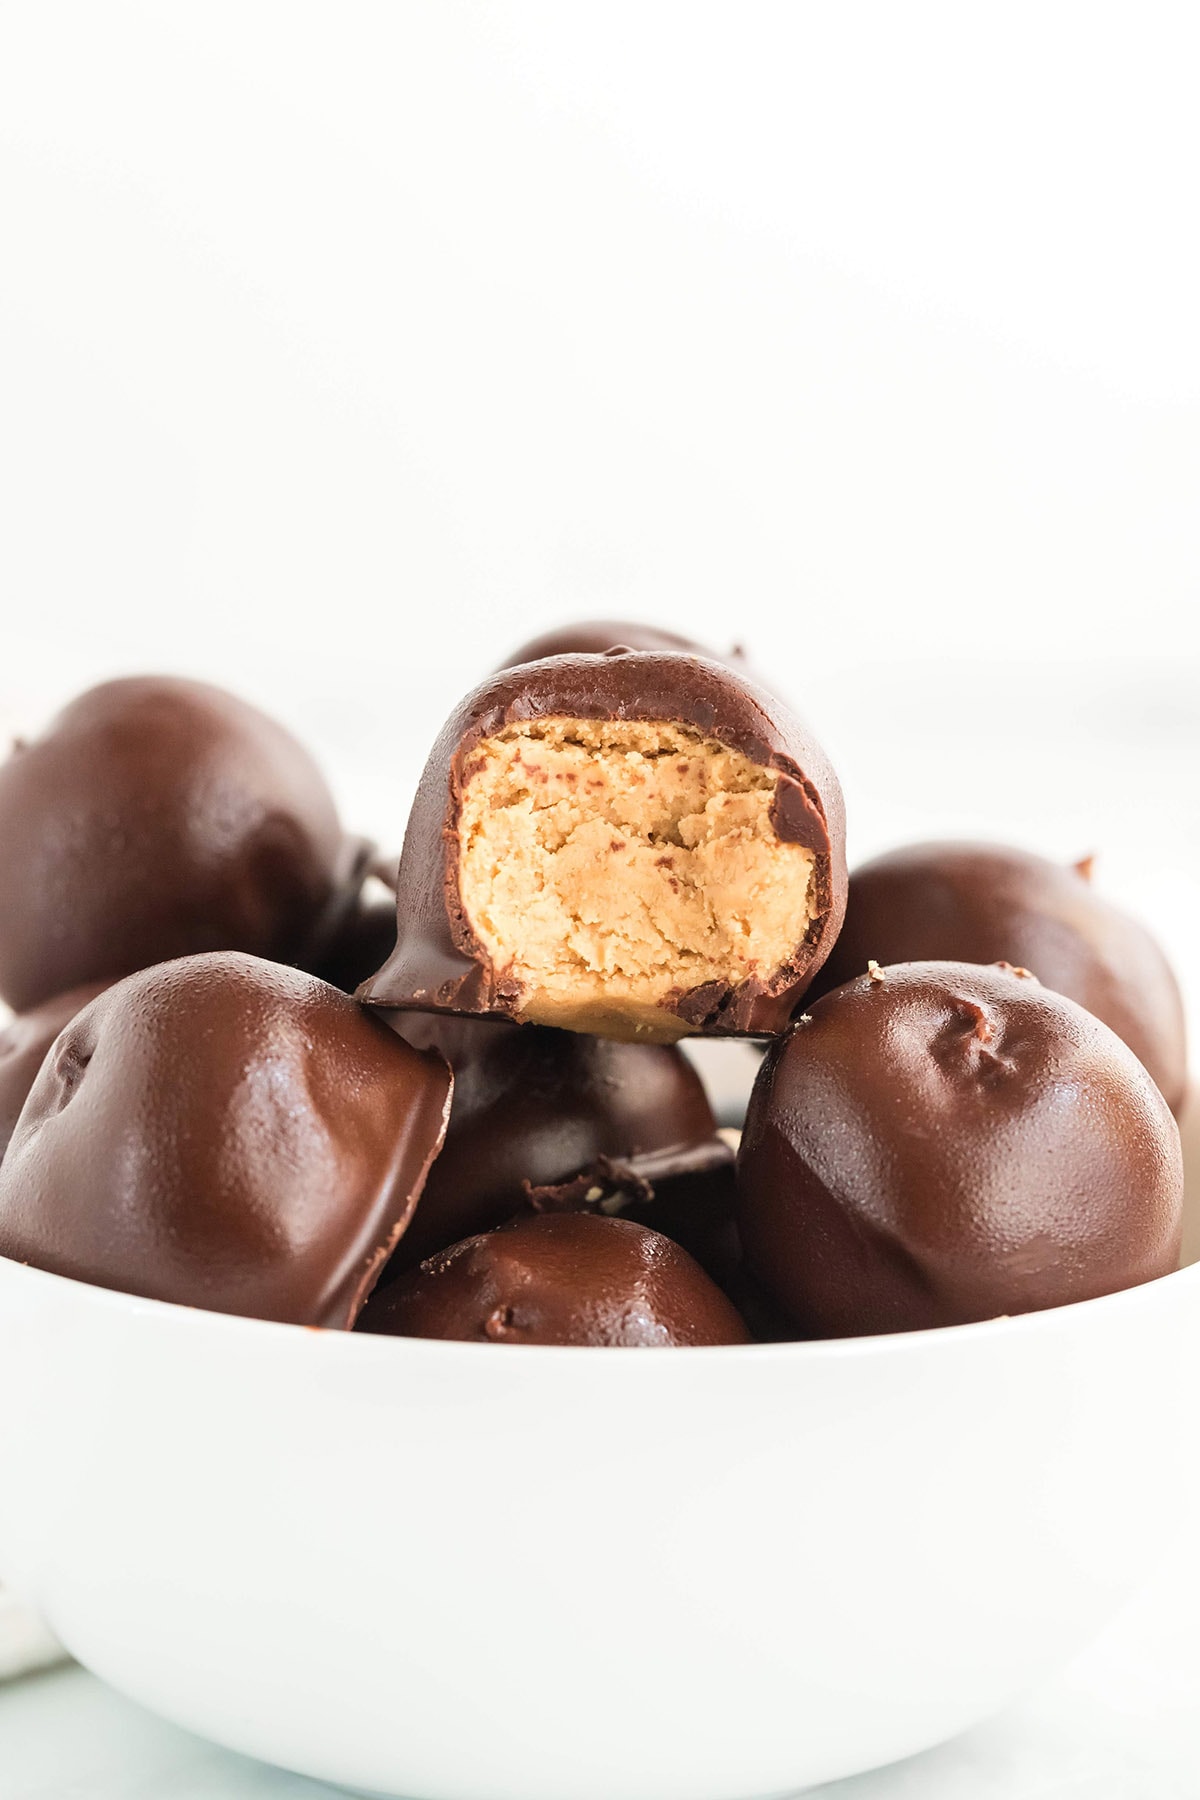
The Best Peanut Butter Balls
I love anything with peanut butter. Add in some chocolate, and I am officially obsessed. Peanut Butter Balls take my favorite flavor combination of chocolate and peanut butter, found in my Peanut Butter Bars and Reese’s Peanut Butter Cup Pie, and turn it into a chocolate-covered truffle.
This is Why We Love Chocolate Peanut Butter Balls
- Quick and easy to make treats.
- Uses a handful of simple ingredients.
- Make-ahead recipe and perfect for freezing
- No-bake dessert recipes that require no cooking are great during the hectic holiday season.
- Perfect for a potluck or party, dessert platter, cookie exchange, gift giving, or serving as a snack.
Peanut Butter Balls Ingredients
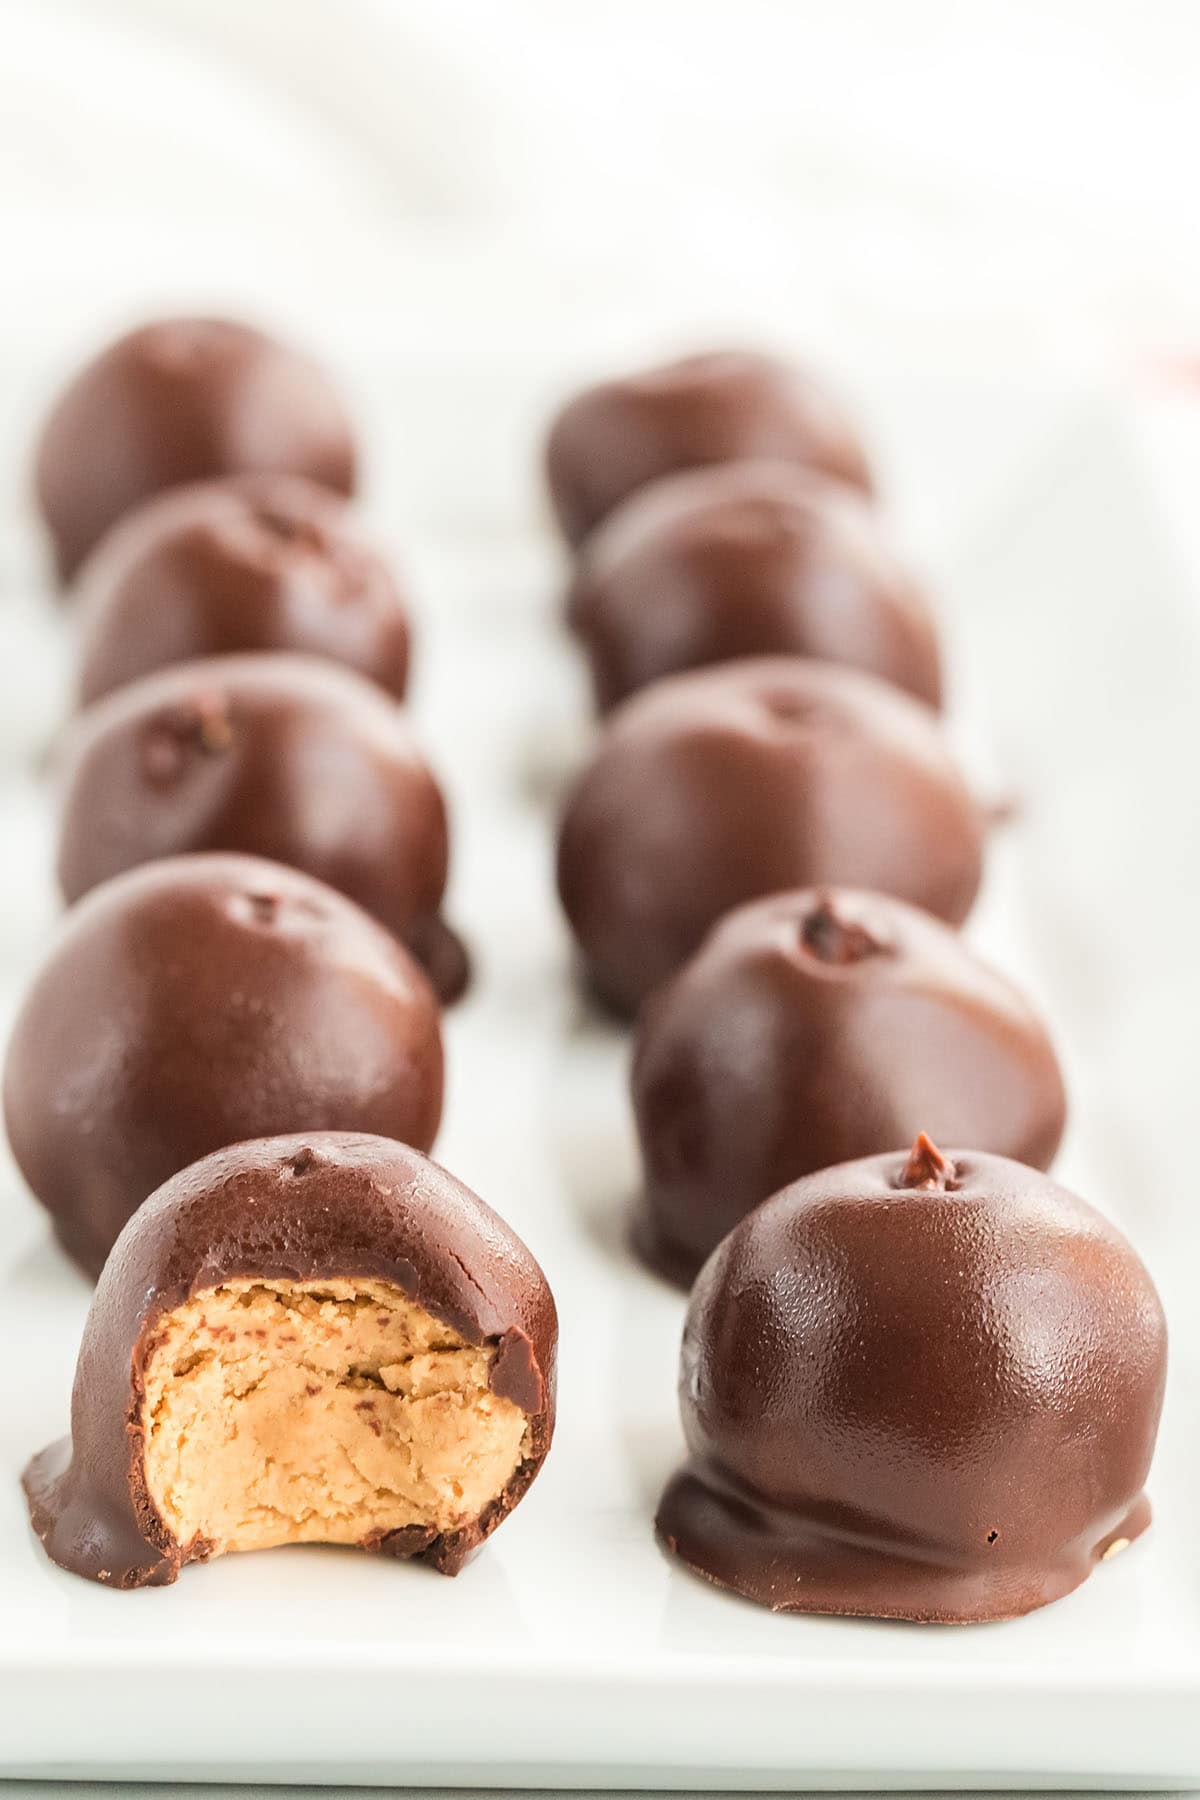
- Smooth Peanut butter: I used creamy peanut butter (like Jif or Skippy) because I love a smooth texture, but you can use crunchy peanut butter. I do not recommend using natural peanut butter in this recipe–it is too oily, and the balls will not set properly.
- Butter: Soften to room temperature. Let it sit out for about 1 hour (not more). You don’t want it too soft or melted.
- Powdered sugar: Also known as Confectioners sugar. This will hold everything together.
- Vanilla extract
- Chocolate chips: Use your favorite white, milk, dark, or semi-sweet chocolate chips. You can substitute this with candy melts or almond bark and leave out the paraffin wax.
- Paraffin wax: (you only need the wax if you use chocolate chips.)
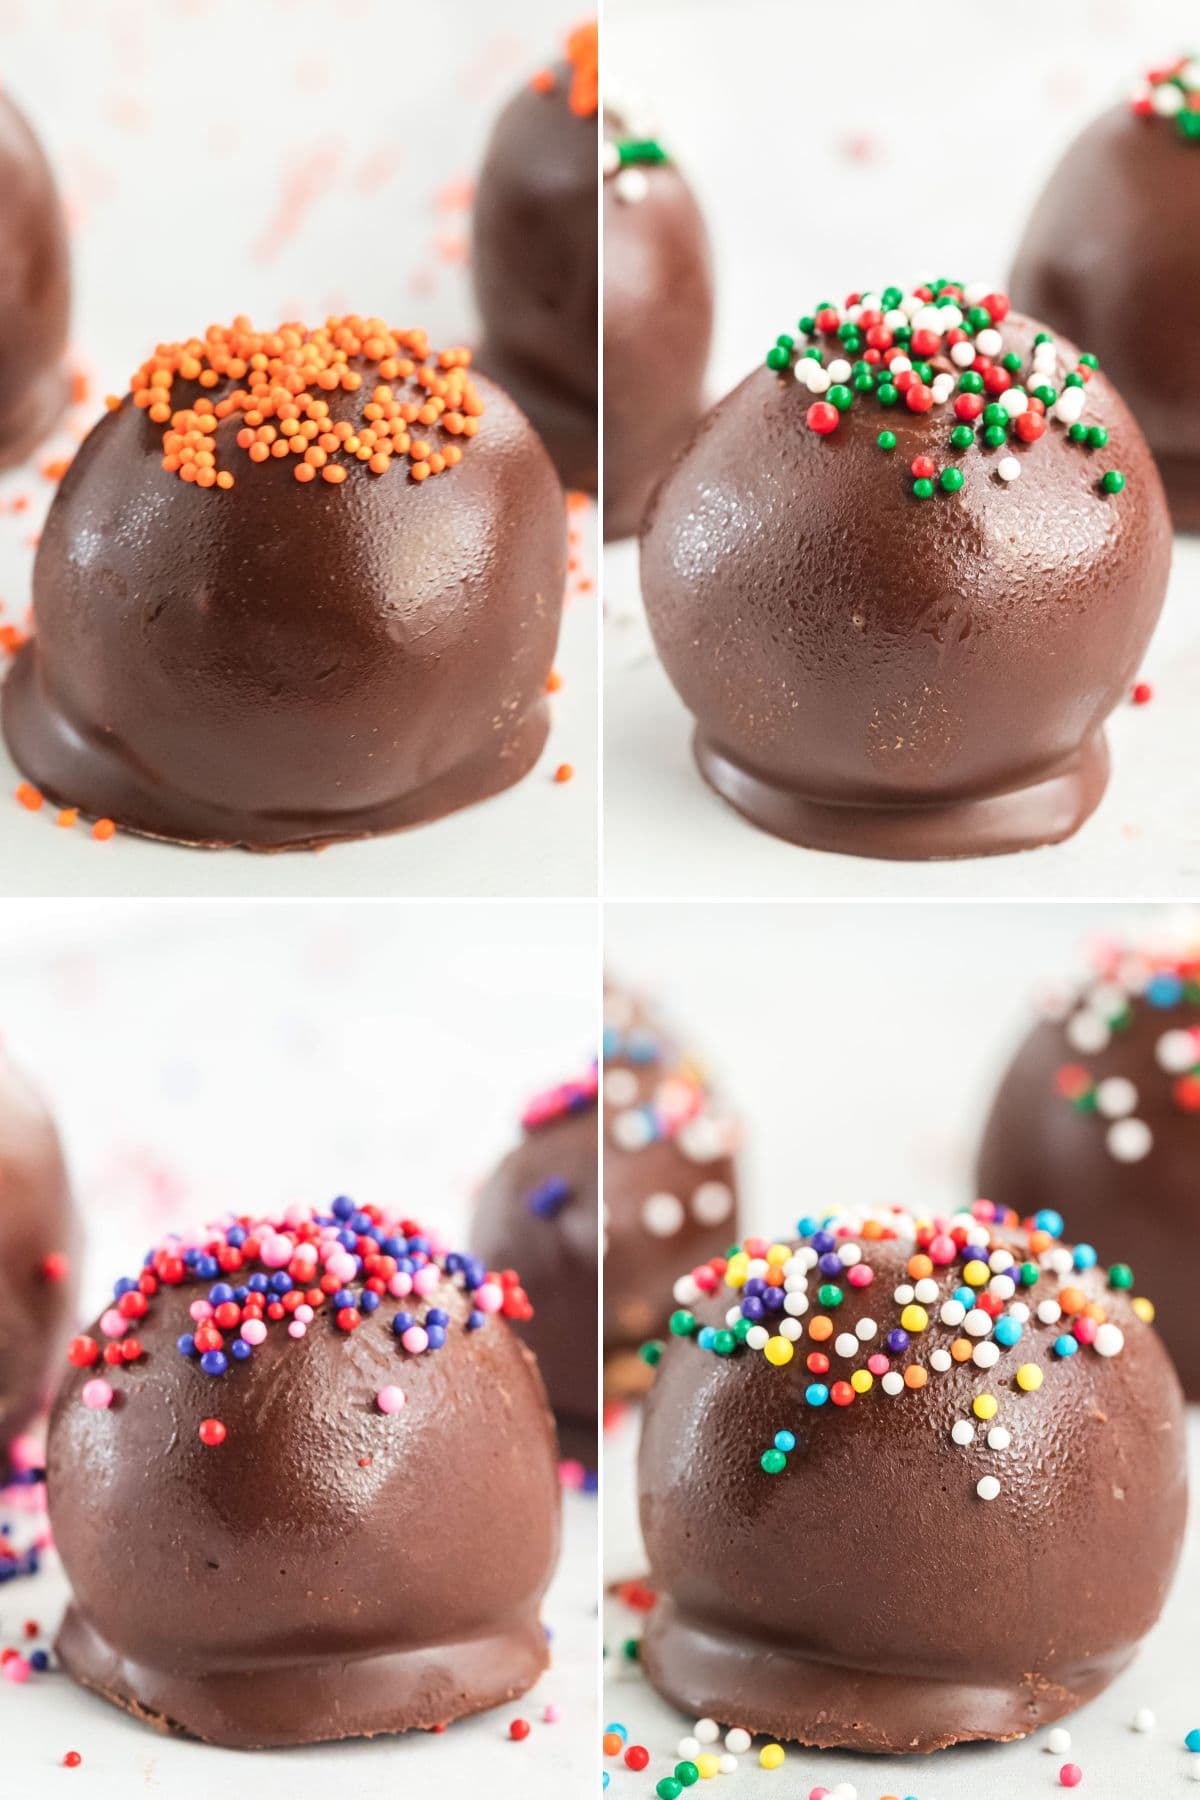
- Sprinkles
See the recipe card for full information on ingredients and quantities.
How to Make Peanut Butter Balls
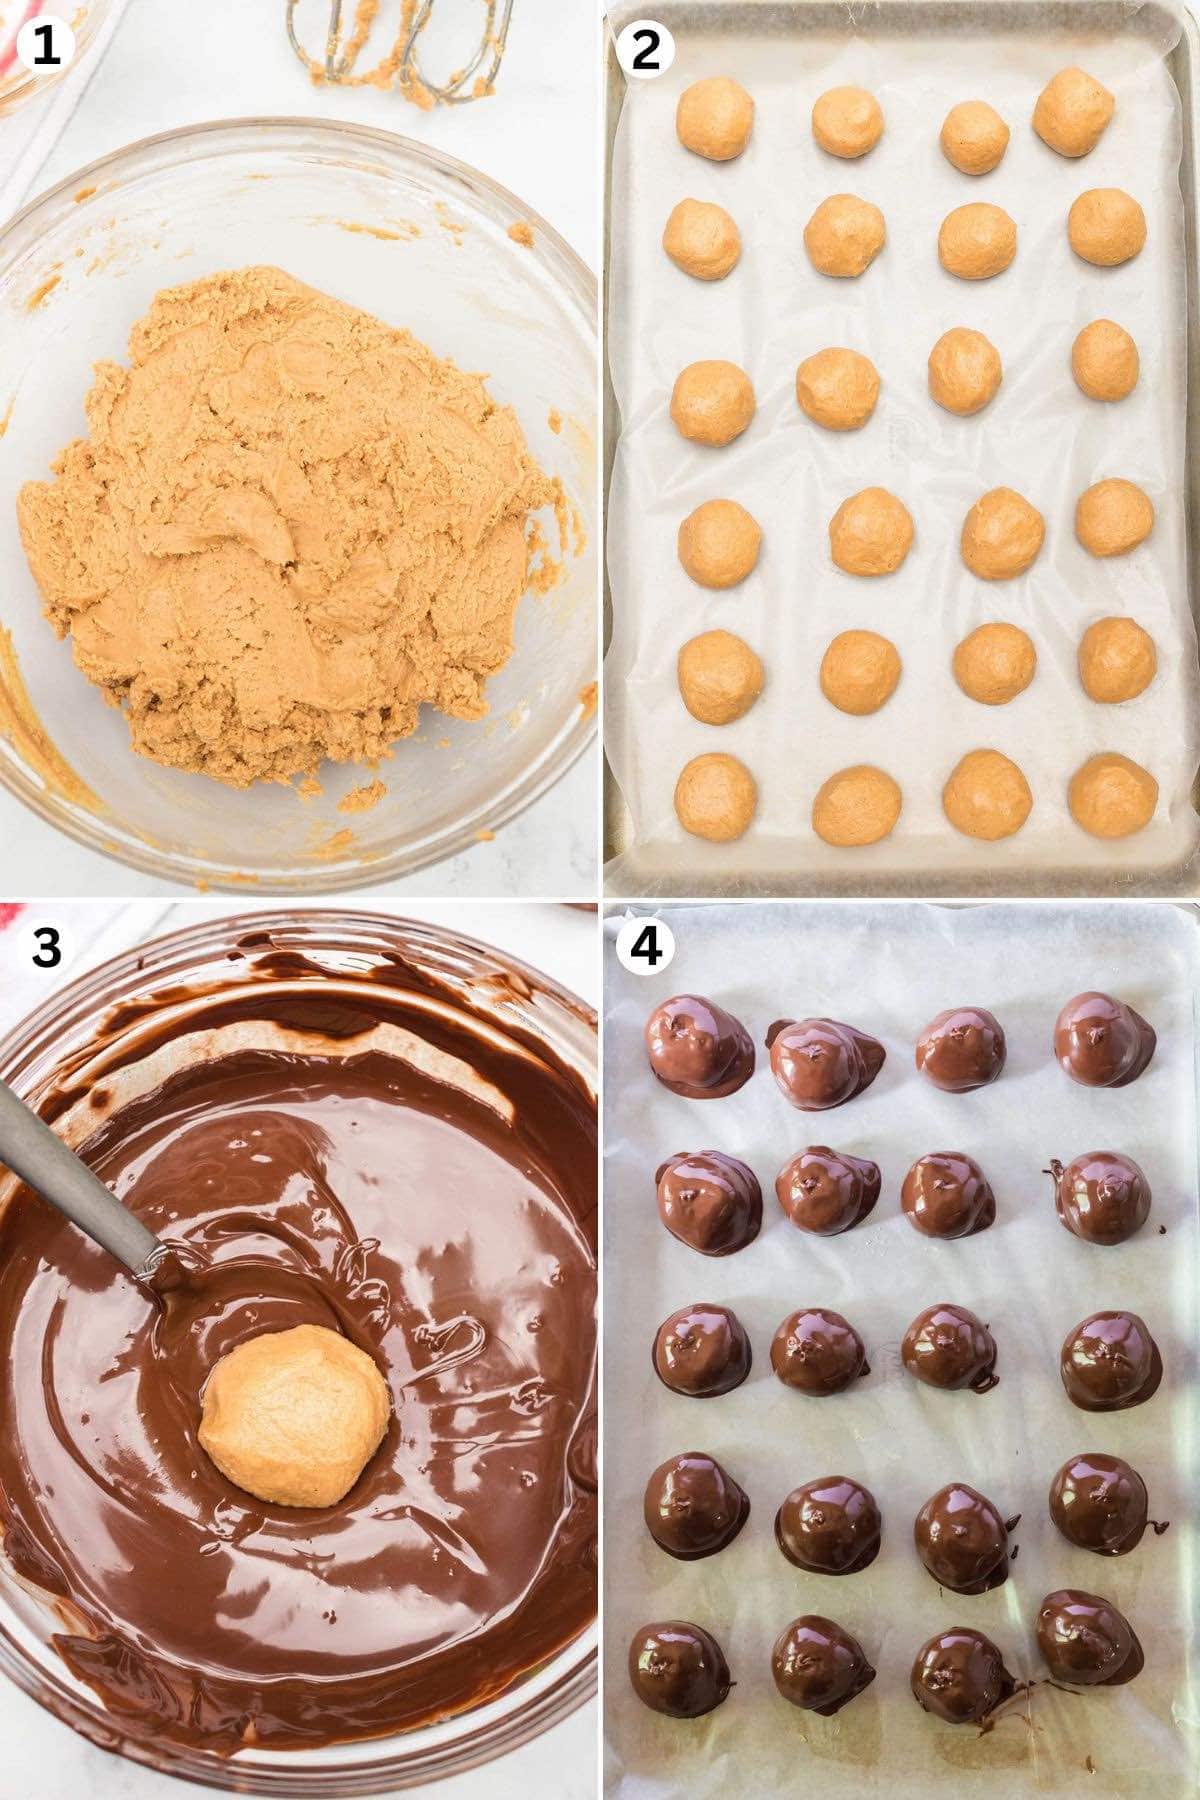
- Make The Middle Mixture: Mix together the peanut butter, butter, powdered sugar and vanilla extract (Image 1). Roll the peanut butter mixture into balls. (Image 2)
- Melt The Chocolate: Bring the water to a rolling boil, then add the chocolate chips and wax. Stir until smooth.
Pro Tip: If you use candy melts, leave out the wax and follow the directions on the package (I usually will melt the chocolate in the microwave when using candy melts or almond bark) - Dip and Decorate: Dip each peanut butter ball into melted chocolate to cover (Image 3) and decorate with sprinkles or a drizzle of white chocolate.
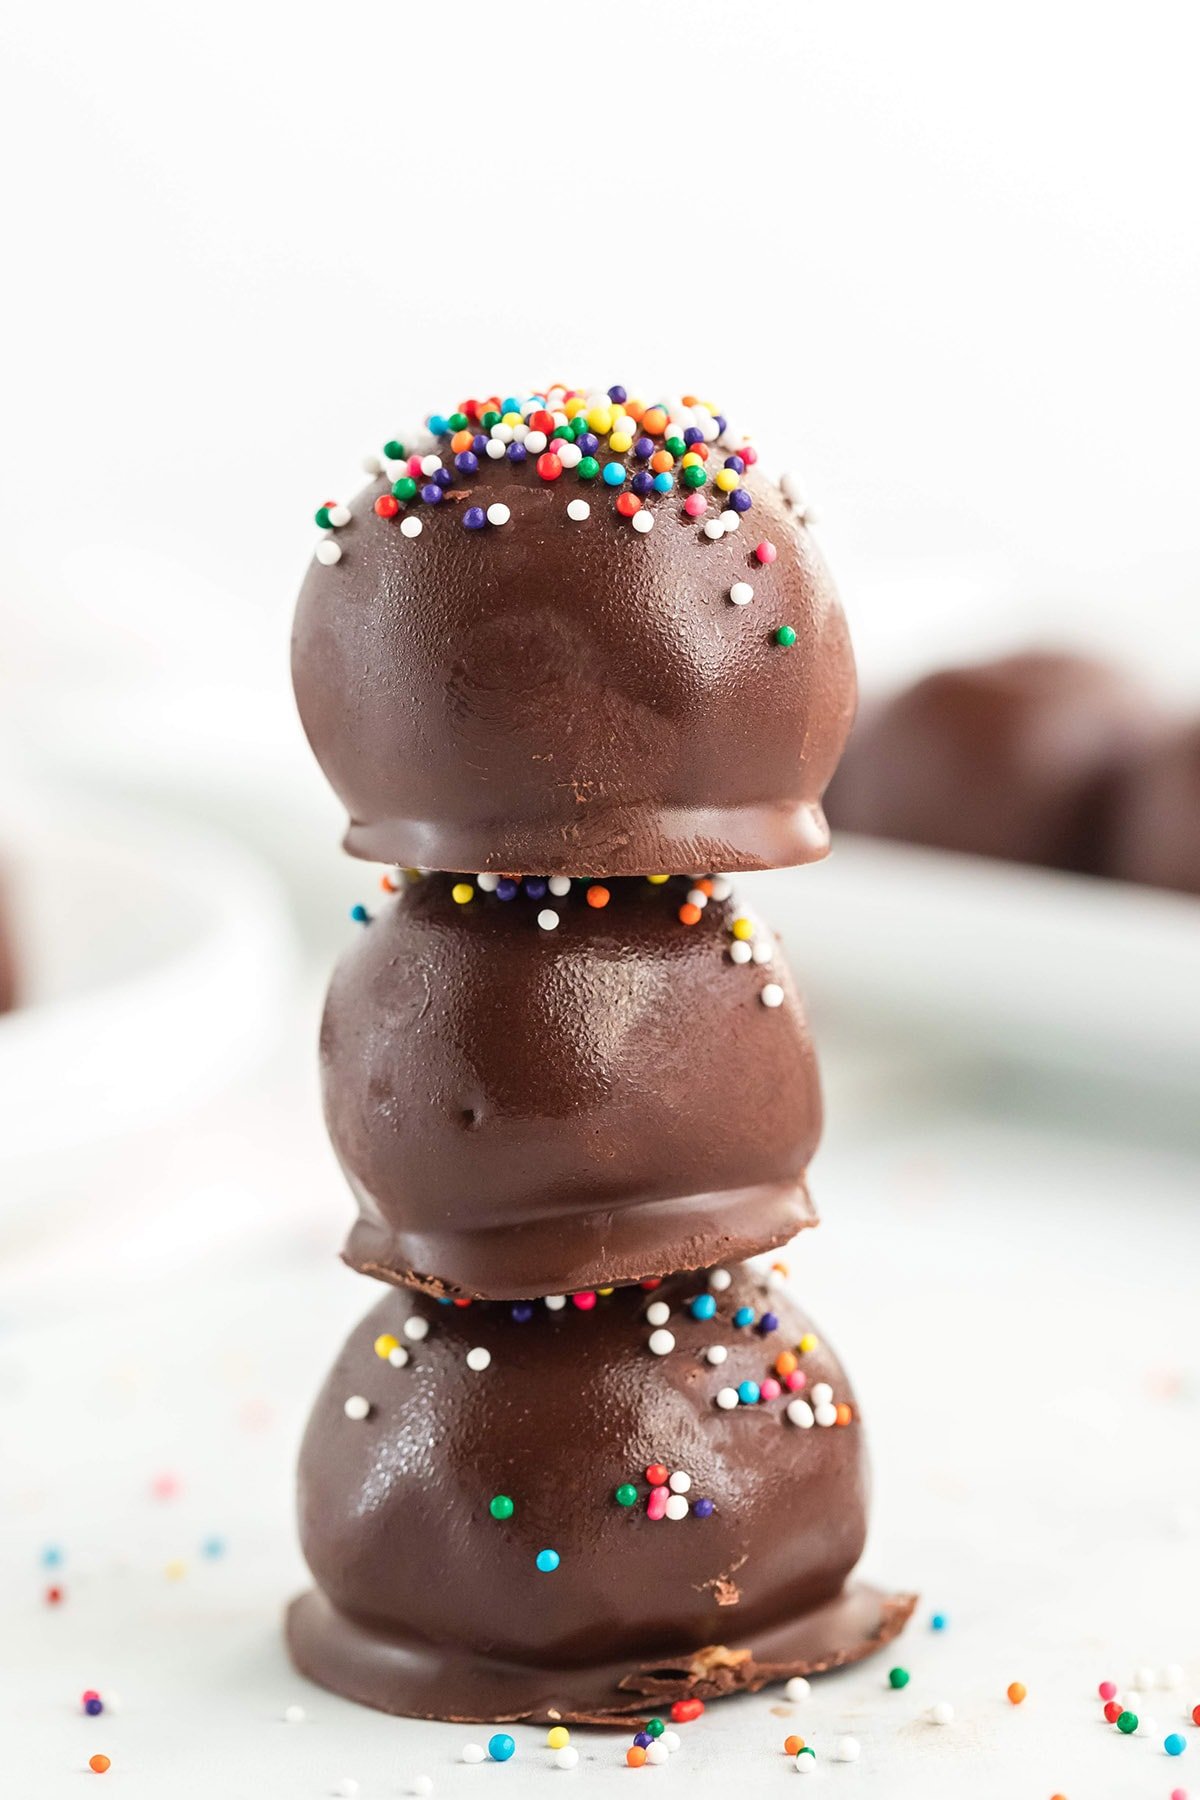
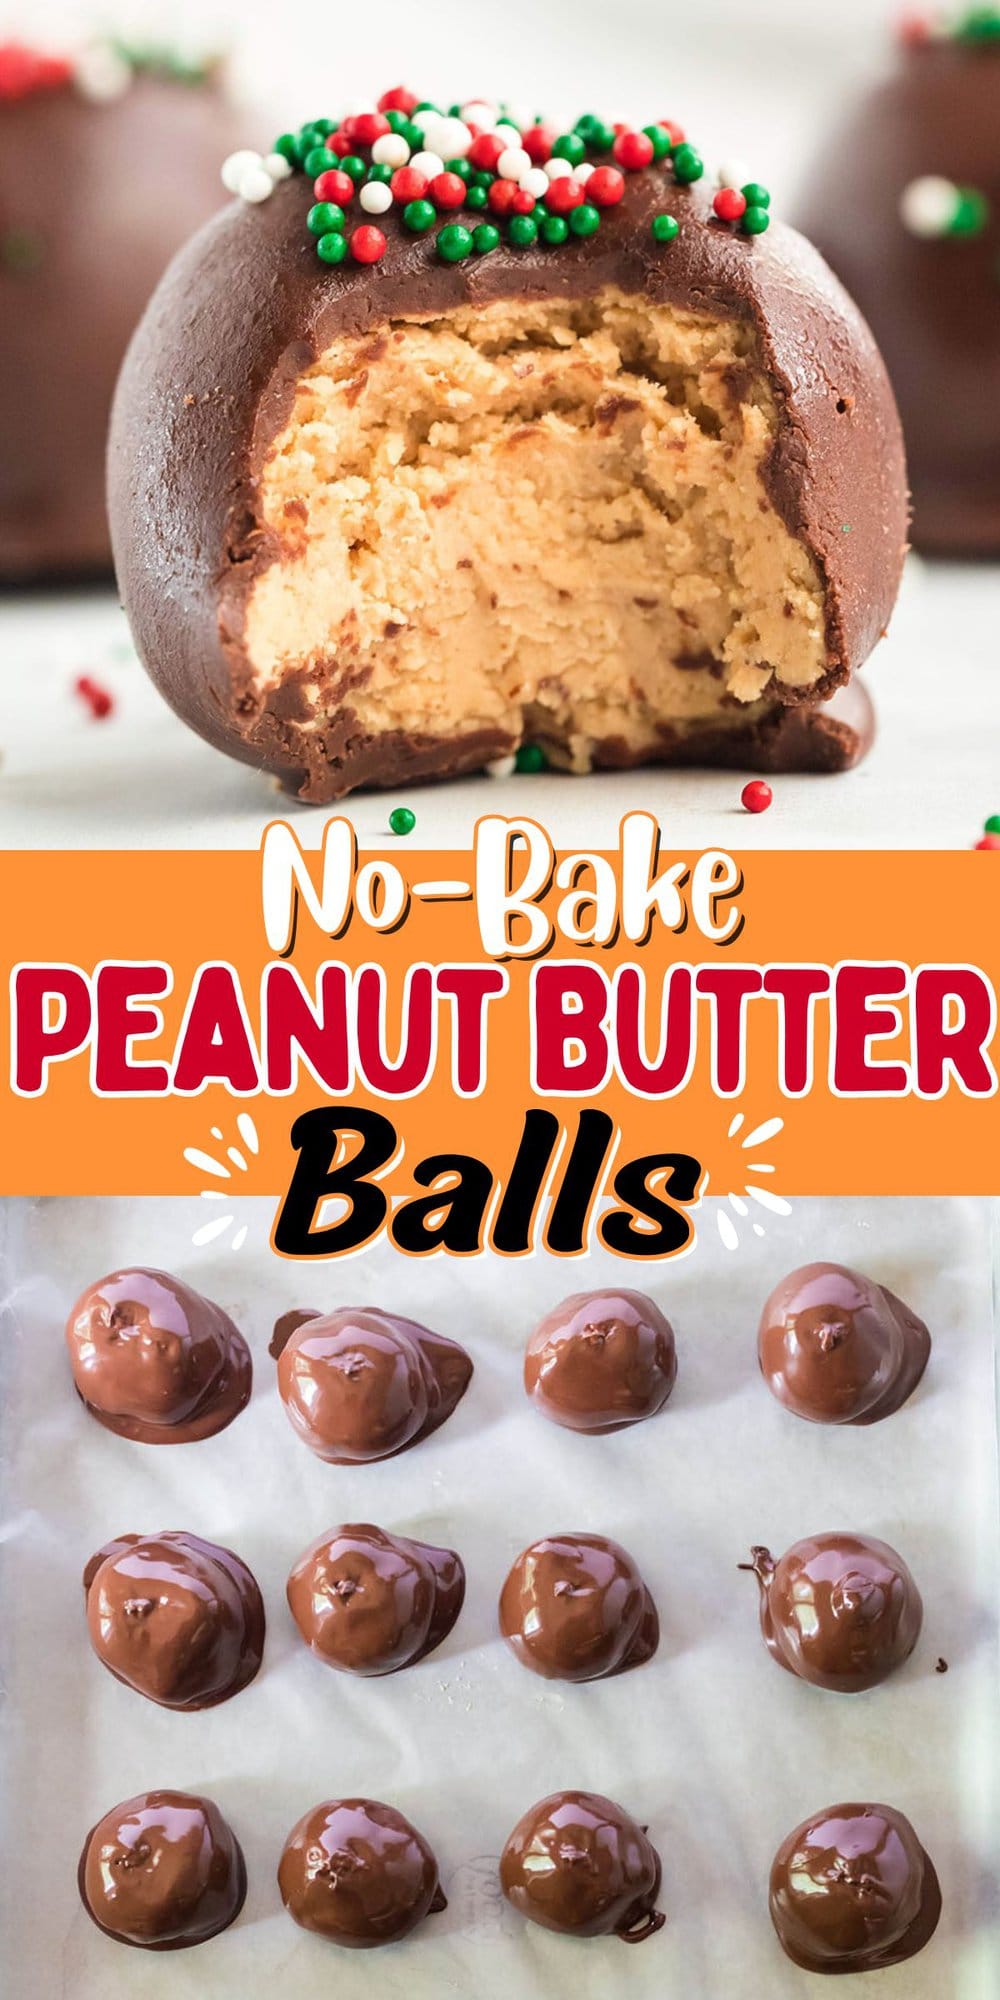
- Set And Serve: Place in the freezer to harden the chocolate coating for about 30 minutes (Image 4). Serve and enjoy!
Tips & Variations
- If the balls are not holding together well, add a bit more confectioner sugar (powdered sugar). Add one tablespoon at a time until the desired consistency is reached.
- If your dough becomes too sticky to roll, just put it in the refrigerator for a few minutes. It is much easier to work with the dough when it is cool. (You may even want to consider putting the dough in the refrigerator for a few minutes before forming balls).
- When dipping the balls into the melted chocolate,use a fork and gently tap any excess chocolate on the side of the bowl. I like to use a toothpick to remove the excess melted chocolate from the bottom of the fork and then gently push the ball onto the prepared baking sheet.
- I like to use this cookie scoop to keep the balls uniform in size.
- Make With Mix-Ins: You can make no-bake peanut butter balls with oats, Rice Krispies, graham crackers, or mix mini chocolate chips into the peanut butter batter.
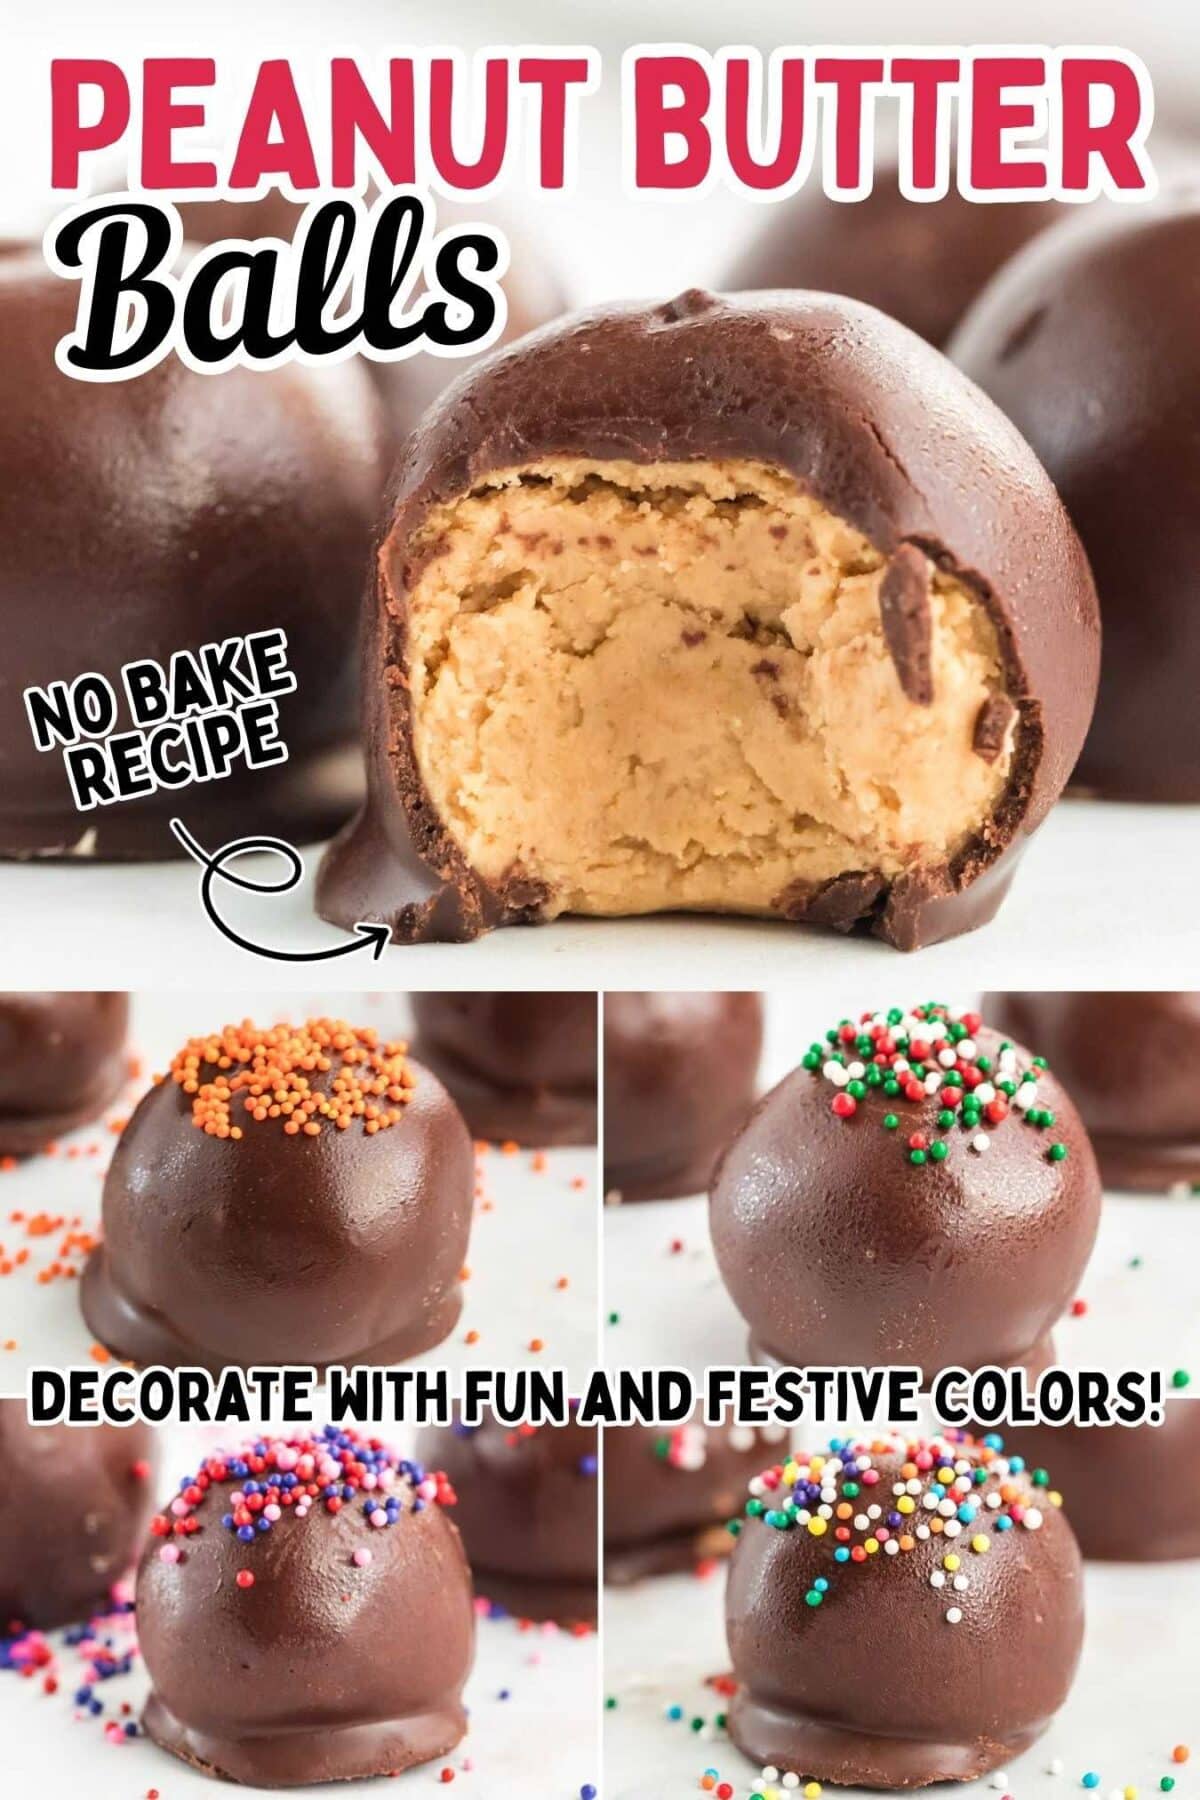
- Decorate Your Desserts: You can decorate these bites with fun and festive colors after you dip them in chocolate. Try using colorful sprinkles, sanding sugar, crushed pretzel pieces, contrasting colored chocolate drizzle, or a sprinkle of sea salt.
How to Store Peanut Butter Balls
- To Store: The best way to store peanut butter balls is in an airtight container in the refrigerator for up to 2 weeks. I recommend you place a layer of wax or parchment paper between them.
- To Freeze: You can freeze peanut butter balls by chilling them until firm, then layer them in an airtight container with wax or parchment paper in between. Thaw in the fridge or at room temp for 10-15 minutes and enjoy within 3 months.
More Peanut Butter and Chocolate Recipes
- Buckeye Bars
- Chocolate Peanut Butter Dessert Cups
- Peanut Butter Cornflake Cookies
- Homemade Peanut Butter Cups
- Monster Cookie Energy Balls
- Reese’s Peanut Butter Cup Pie
If you tried this No Bake Peanut Butter Balls Recipe or any other recipe on my website, please leave a 🌟 star rating and let me know how it went in the 📝 comments below. Thanks for visiting!!!
Chocolate Peanut Butter Balls Recipe
Ingredients
- 1½ cups chunky or creamy peanut butter
- ½ cup butter softened
- 2 cups powdered sugar
- 1 teaspoon vanilla extract
- 12 oz bag of chocolate chips
- 2 tablespoons paraffin wax grated (You can substitute this with Candy Melts – then you would leave out the paraffin wax)
- sprinkles optional
Instructions
- In a large bowl add peanut butter, butter, powdered sugar and vanilla extract. Mix to combine.1½ cups chunky or creamy peanut butter, ½ cup butter, 2 cups powdered sugar, 1 teaspoon vanilla extract
- Form into 25 balls. Using a double boiler bring water to a rolling boil and add chocolate chips and wax. Stir until smooth.note: if you use the candy melts, leave out the wax and follow the directions on the package)12 oz bag of chocolate chips, 2 tablespoons paraffin wax
- Using a spoon dip each peanut butter ball into chocolate to cover. Place dipped balls on a rimmed sheet pan lined with wax or parchment paper.
- Sprinkle with holiday themed sprinkles or drizzle with white chocolate (optional)sprinkles
- Place in freezer to harden about 30 minutes.
Jenn’s Notes
- To Store: Peanut butter balls can stored in an airtight container in the refrigerator for up to 2 weeks.
- To Freeze: You can freeze them in a freezer-safe container for up to 3 months.
- Do not use natural peanut butter in this recipe–it is too oily and the balls will not set properly. I think Jif or Skippy works great!
- If the balls are not holding together well, add a little more confectioner sugar (powdered sugar). Add one tablespoon at a time until the desired consistency is reached.
- If your dough becomes too sticky to roll, just put it in the refrigerator for a few minutes. It is much easier to work with the dough when it is cool. (You may even want to consider putting the dough in the refrigerator for a few minutes before you begin forming balls).
- When dipping the balls into the melted chocolate, let the excess chocolate drip off for just a moment before placing on wax paper or parchment paper.
- I like to use this cookie scoop to keep the balls uniform in size.





Very good recipes
They was easy to make an taste great!
Hi❗️I’m new at making candy and I want to try these Peanut Butter Balls around the up coming Holiday season❣️
Thank you for this recipe and I hope you have a wonderful day❣️
Grammy Allen ❤️
I clicked the link for the cookie scoop. Which size do you use for the peanut butter balls? I look forward to making these with my granddaughter.
love love love this, I am 48 yrs. old I love peanut butter balls my friends always gave as holiday gifts but I never had the chance to make them myself although I love to cook & bake. I never even looked at the actual recipe but always planned on making them one day, my favorite recipe just always seemed to escape my menu when planning holiday or special occasions to make myself so my husband and I are really excited to get the chance to try this oh so popular recipe this holiday season! thank you princesspinkygirl recipes! Merry Christmas & a Blessed 2023 New Year to all!
I do this but dip my in Almond bark, gives it a nice taste.
I have made this same recipe for years & make them to look like buckeyes since I live in Ohio! They are always a hit with everyone! I started making them with my granddaughter every Christmas along with other candies to give as gifts! It’s a great memories maker with your grandchildren.
This chit chat is endless mindnumbing, nonfunctional baby talk. Con waste money and ruin your chocolate chips with nasty parts n, folks! Instead, use a tablespoon of Crisco added to your melting chips, and they will set very nicely. See how easily I just said that?!
What did anyone say that was mind numbing or baby talk. I have made candy like this for 50 years and it always called for paraffin and it wasn’t nasty. Why the rude comments before you added your 2 cents worth?
I tried it and it turned out amazing great recipie
A very nutritious recipe. Thank you.