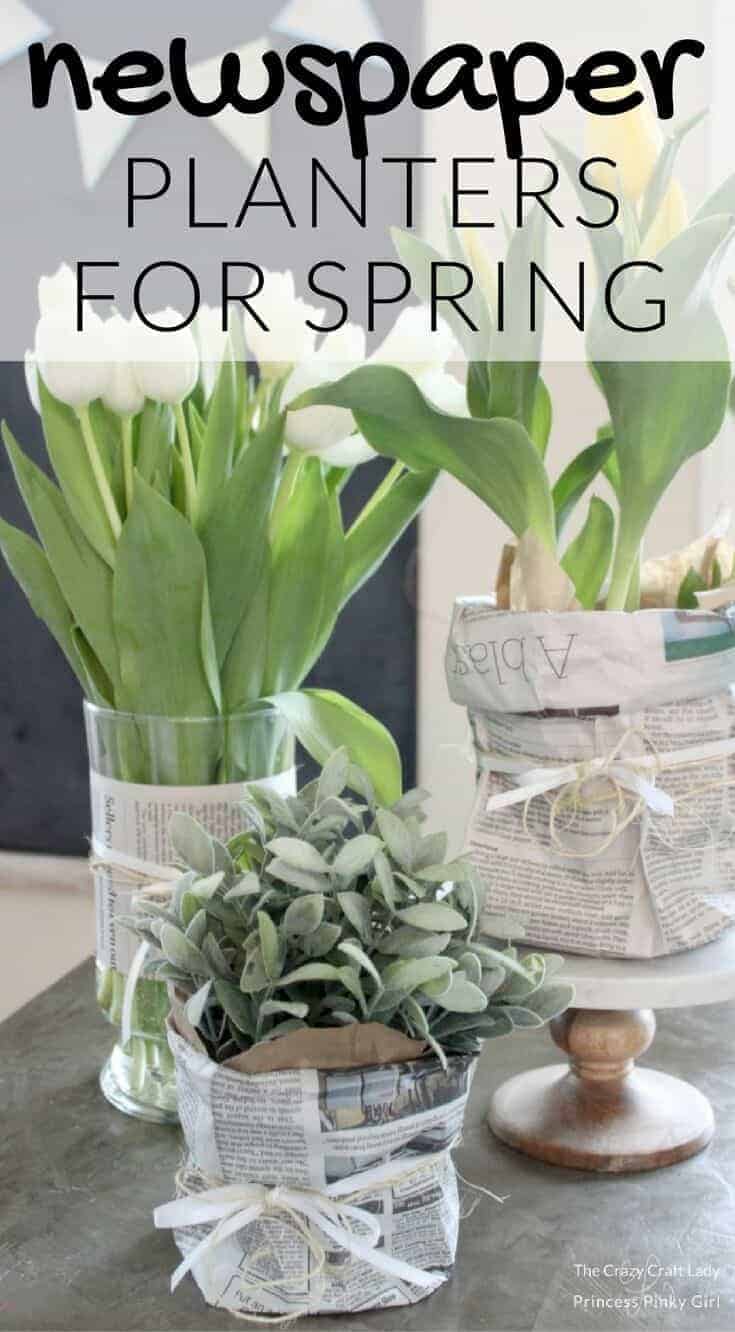
Make these simple yet elegant newspaper spring planter bags for your bulbs and greenery. This is a GENIUS way to decorate for spring with fresh flowers!
Hi guys! I’m Aimee, and I blog over at The Crazy Craft Lady where I strive to make everyday creative with simple crafts, easy family-friendly recipes, organizing and DIY decor projects. Thanks so much to Jenn for letting me stop in today and share my guest post – my Newspaper Spring Planter Bags for Flowers and Plants. I hope you all enjoy it!
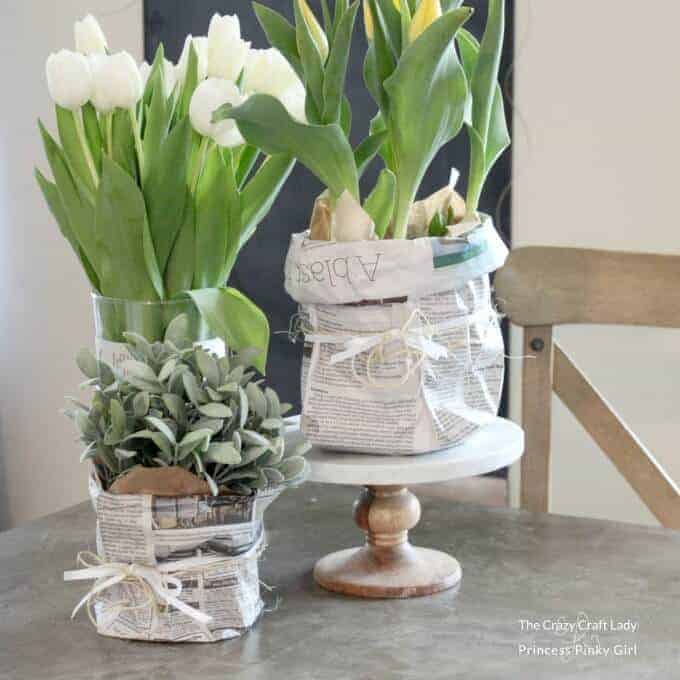
Everything looks better with fresh flowers. That’s what makes spring crafts and decor so fun. You barely have to try, and your projects look amazing with fresh flowers. Like this simple spring craft that I’m sharing with you today. By taking a basic material like newspaper, you can let your fresh cut flowers or bulbs shine!

I’m going to be completely honest with you. I don’t plant spring bulbs or start seeds. I can barely keep my two houseplants alive, so I opt for the Trader Joe’s type of spring greenery. It is my personal goal to develop a green thumb at some point in my life. I really do feel guilty about all of the plants that senselessly lost their lives at my hand. BUT if you do plant bulbs, this would be a perfect way to jazz up their planters!
Here’s your Supply List for these Spring Planter Bags:
- Newspaper sheets
- Scissors
- Tape
- Ribbon and twine
- Potted bulbs, small house plant, or other greenery that needs a decorative home
- (optional) brown craft paper or paper bags
Directions for Spring Planter Bags:
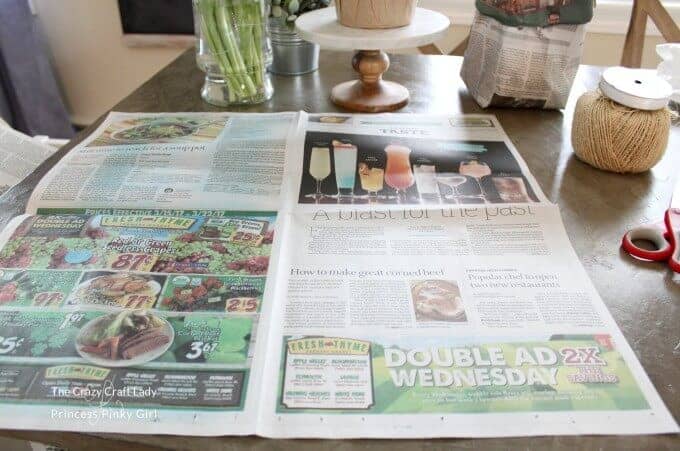
First, lay a sheet of newspaper on a flat surface. Then smooth out the paper with your hands.
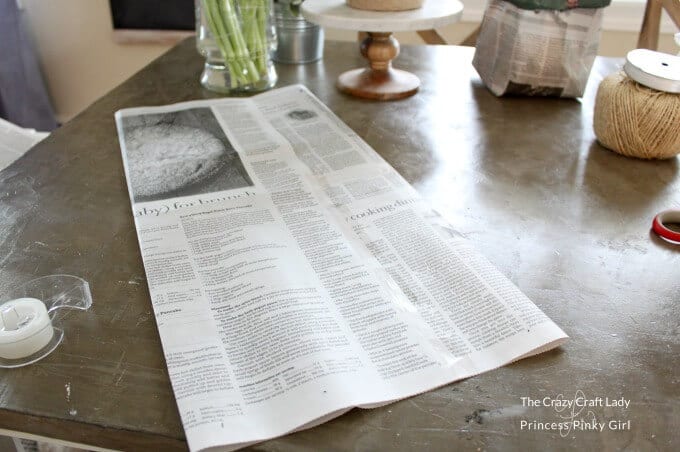
Next, fold in the left and right edge of the newspaper sheet to create a vertical seam. Then secure this seam with tape. You will now have a large “tube” of newspaper.
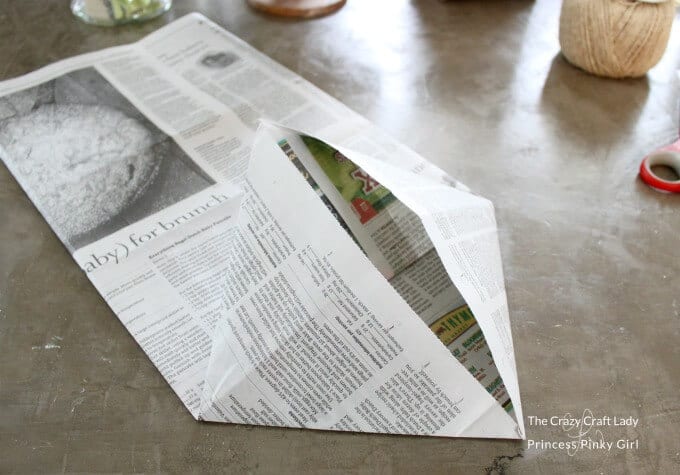
At the bottom of the newspaper “tube,” pinch the left and right seams. Fold in the left and right seams, and then fold the edges to make a diamond at the bottom of the newspaper “tube.” Smooth the edges.
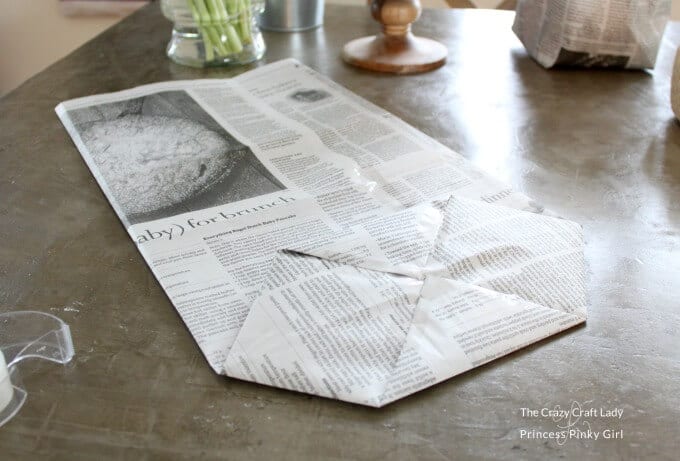
Fold in the top and bottom of the diamond. Smooth the edges, and secure the flaps with tape. Don’t be shy with the tape, since this is the base of your planter bag. You want the seams to hold.
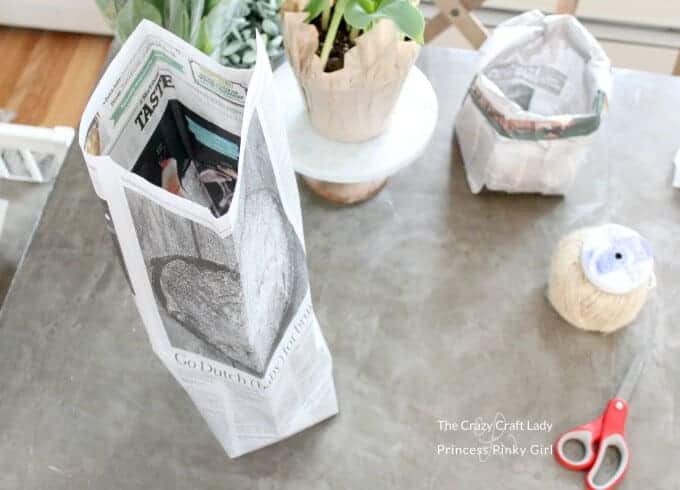
Stand up the newspaper bag, and puff out the sides. Starting at the top, carefully roll down the edges of the newspaper bag. Roll down the sides of the newspaper until the bag is the height of your planter.
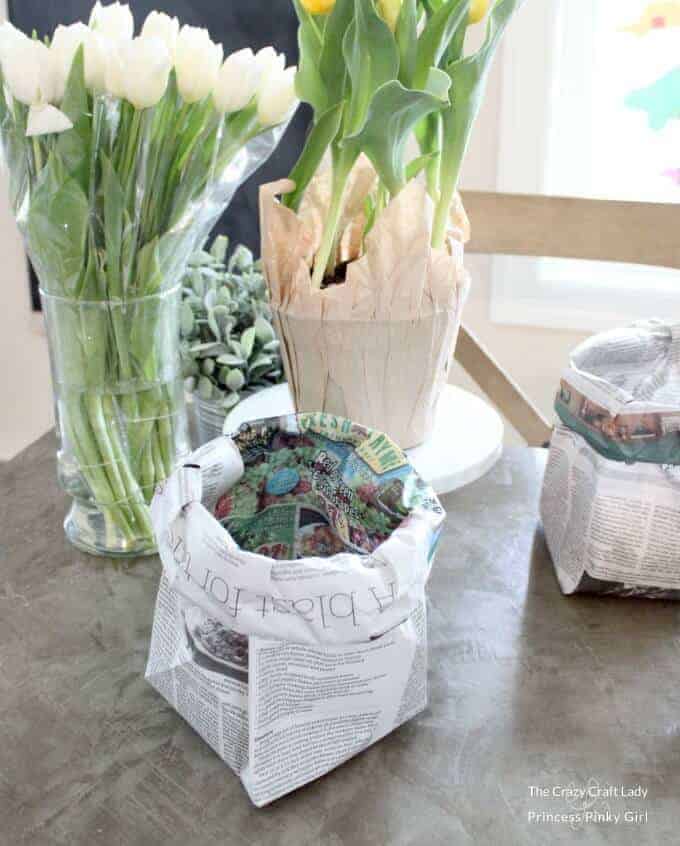
Finally, add your potted bulbs or plant. Then wrap the bag with twine and ribbon. Secure with a bow.
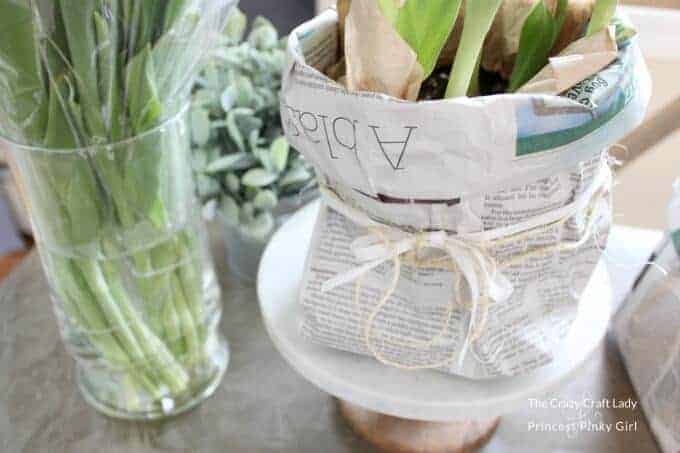
A full sheet of newspaper made a planter bag that was the perfect size for my potted tulip bulbs. For the smaller plant, I cut down the newspaper sheet before making the planter bag.
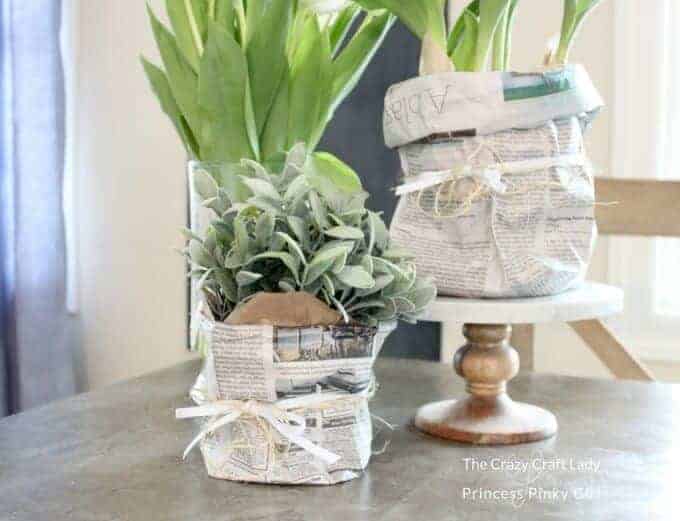
I also decided to simply wrap a glass vase filled with tulips using a strip of newspaper secured with ribbon and twine. If you want you can also layer the newspaper with brown paper craft or paper bags.
And here’s the finished product:
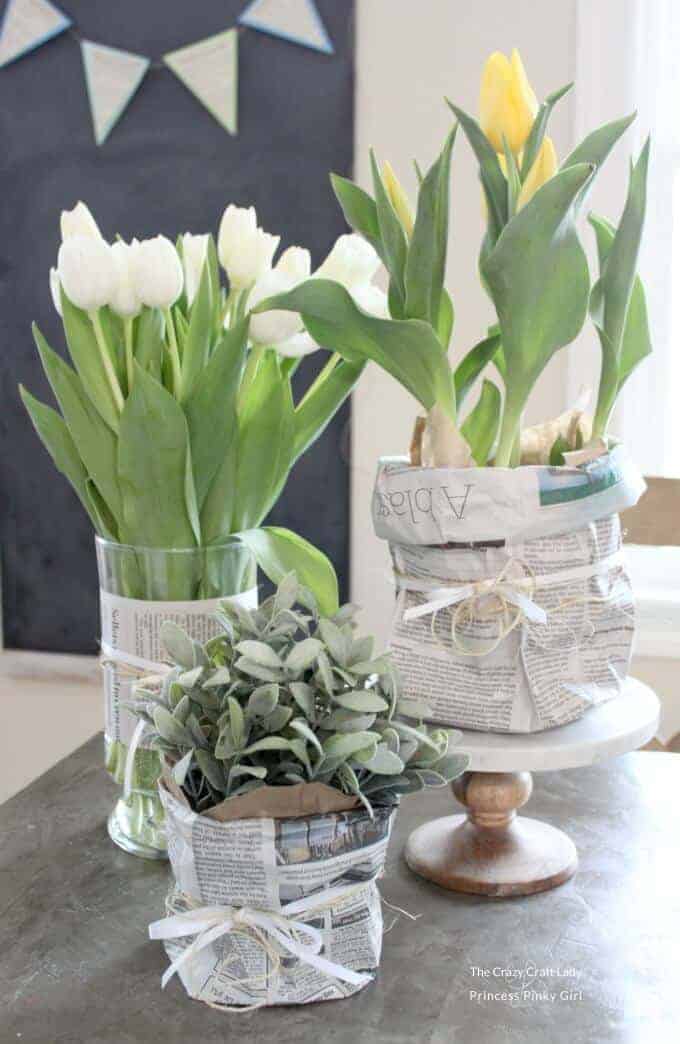
I just love the simplicity of the newspaper and brown paper with beautiful spring blooms and greenery. They compliment each other perfectly, don’t you think?
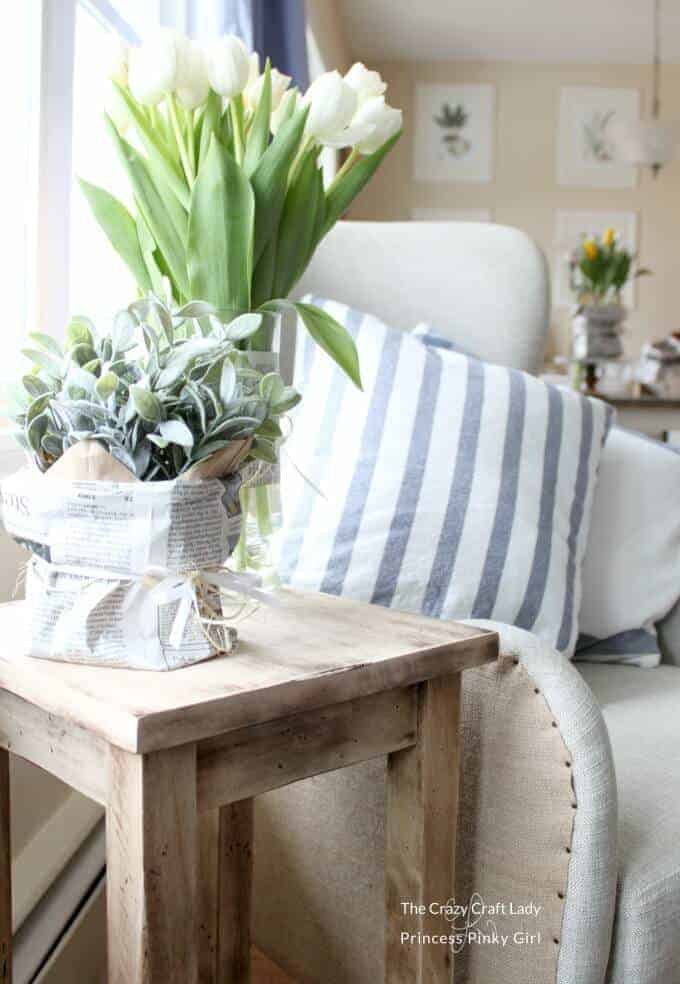
And for the record: I kept those little potted tulips from Trader Joe’s alive long enough to bloom and bring much joy to my favorite chair and reading corner. Small victory!
More Simple Spring Crafts I Think You’ll LOVE
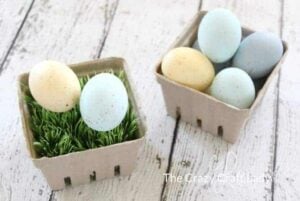
Come see how to make speckled eggs with craft paint. It’s too easy!
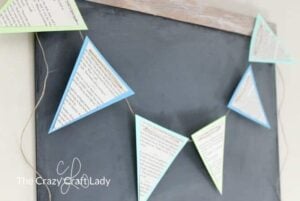
Make a simple spring pennant banner from book pages:




Nice post and lovely newspaper spring planter bags. Thanks for sharing.
Man, those are wonderful pictures!