This post may contain affiliate links. Please read our disclosure policy.
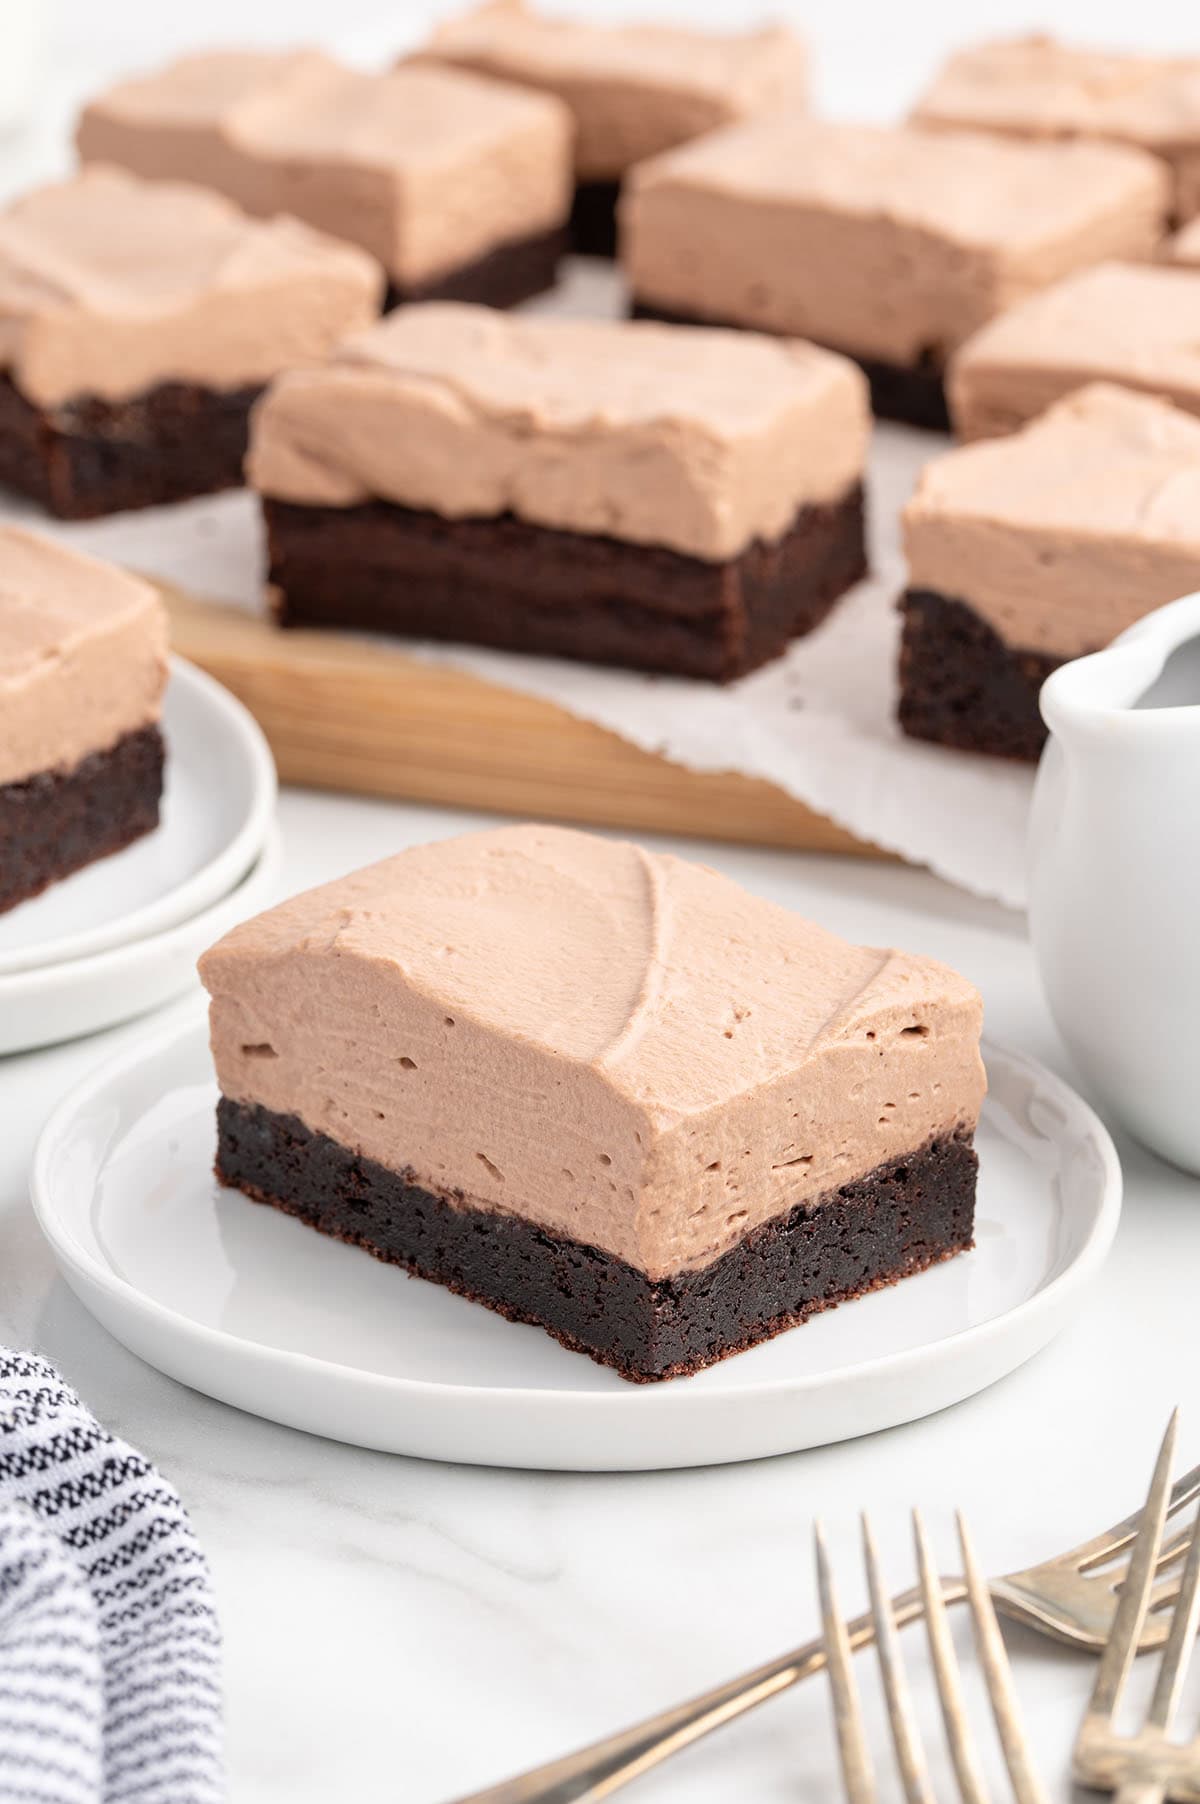
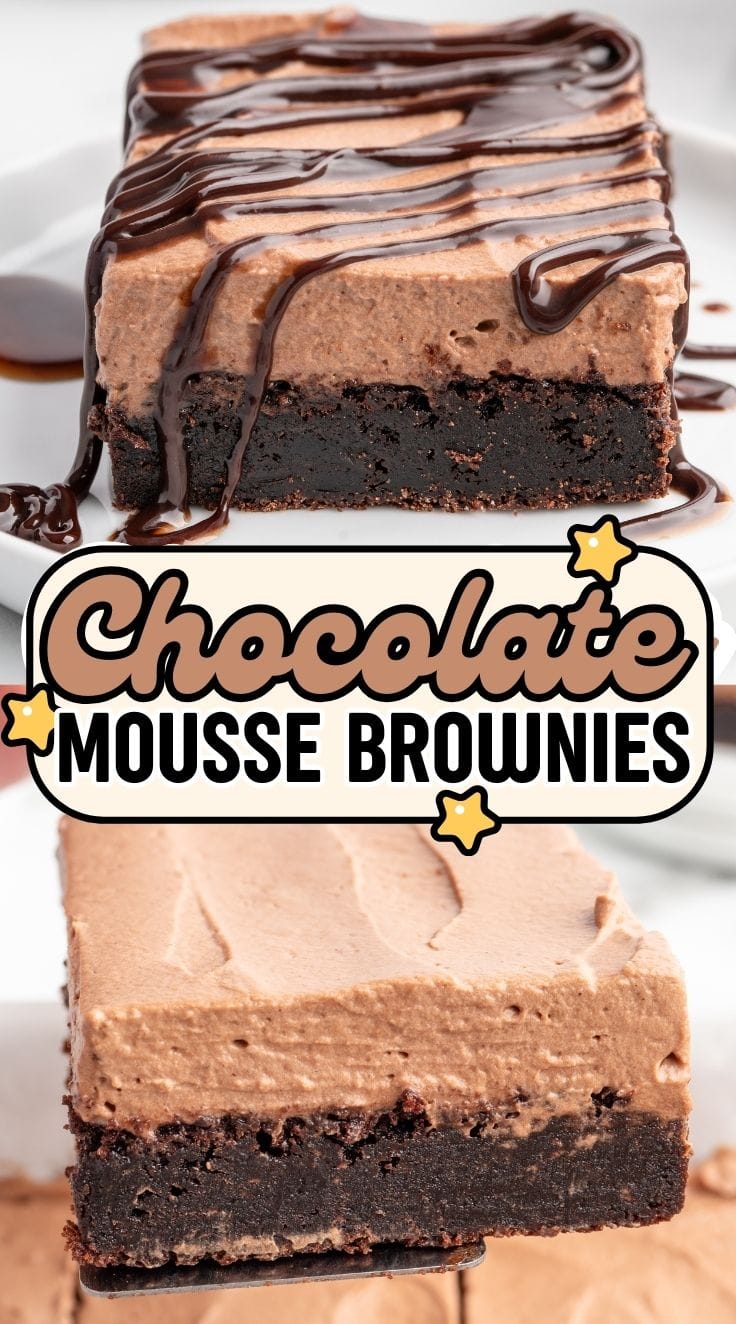
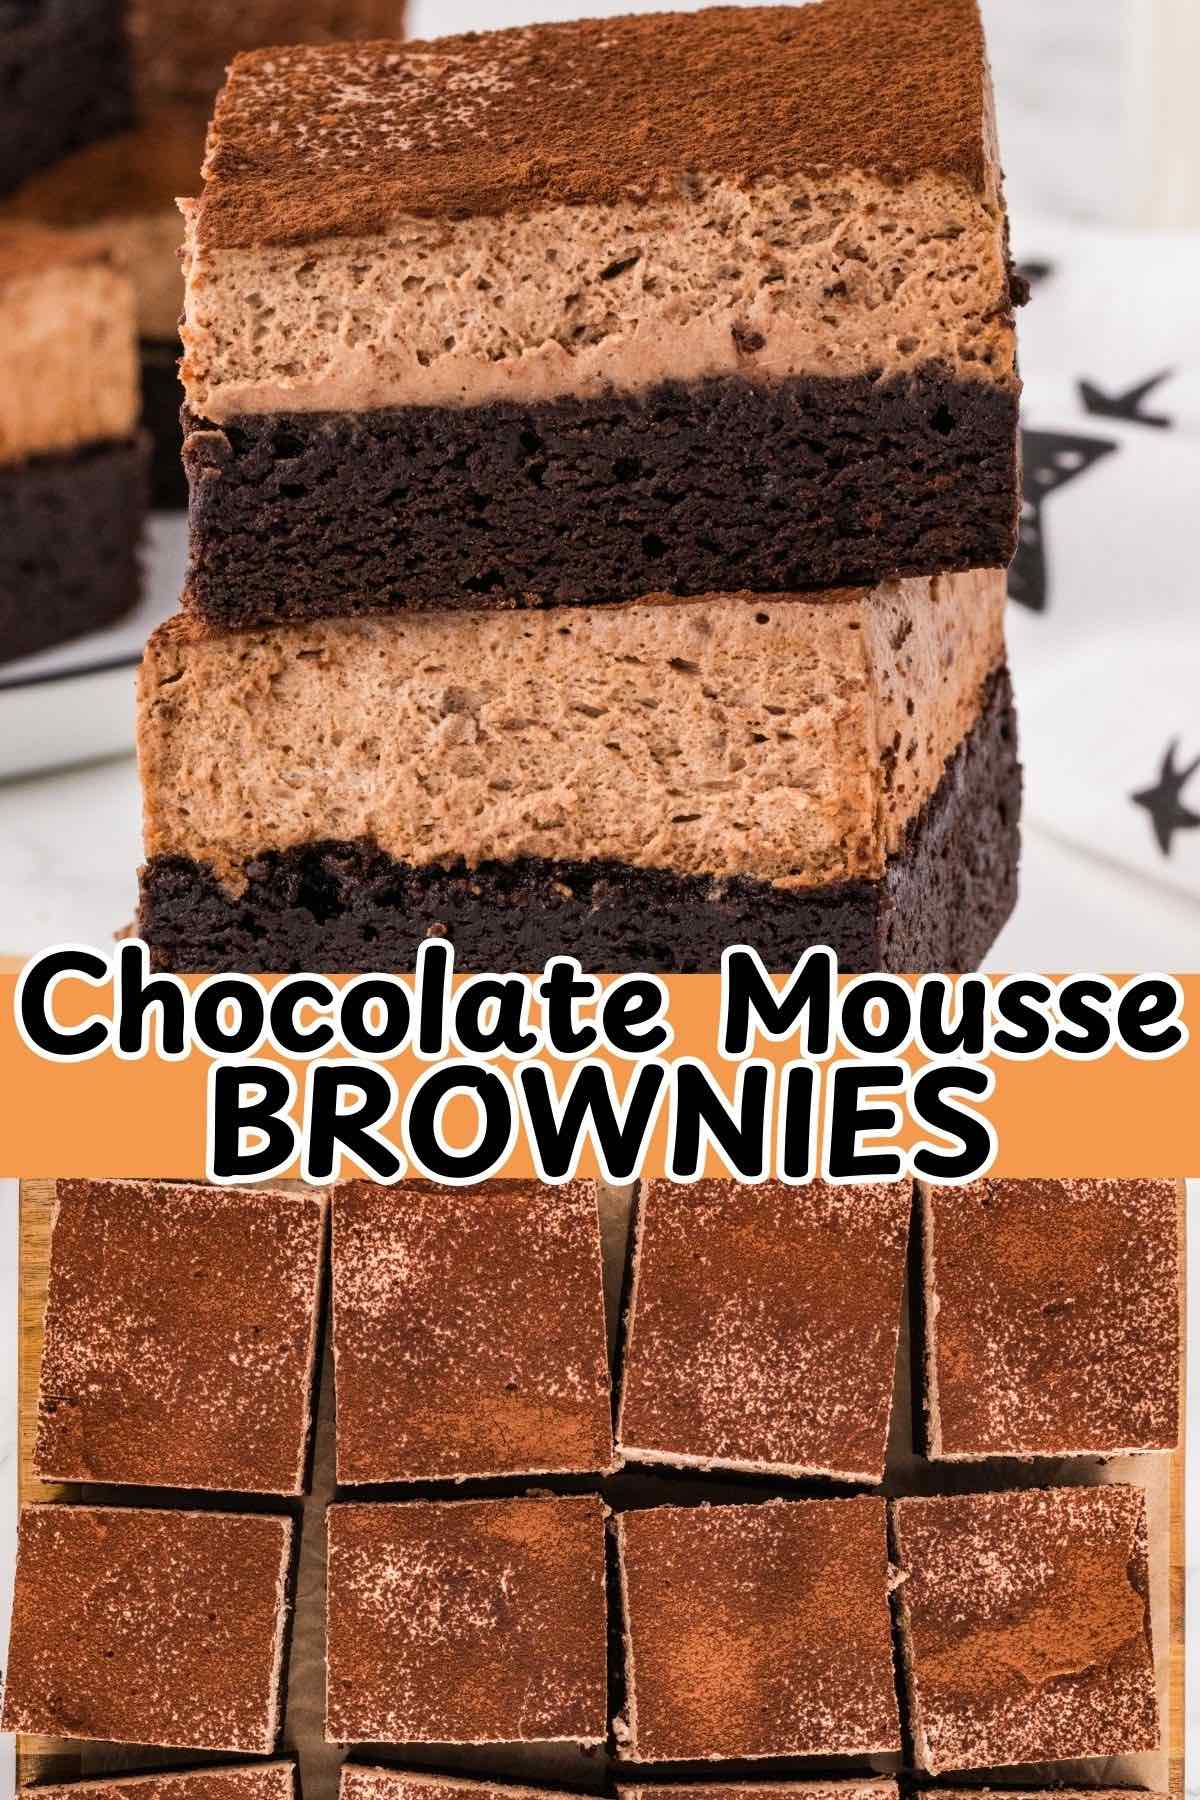
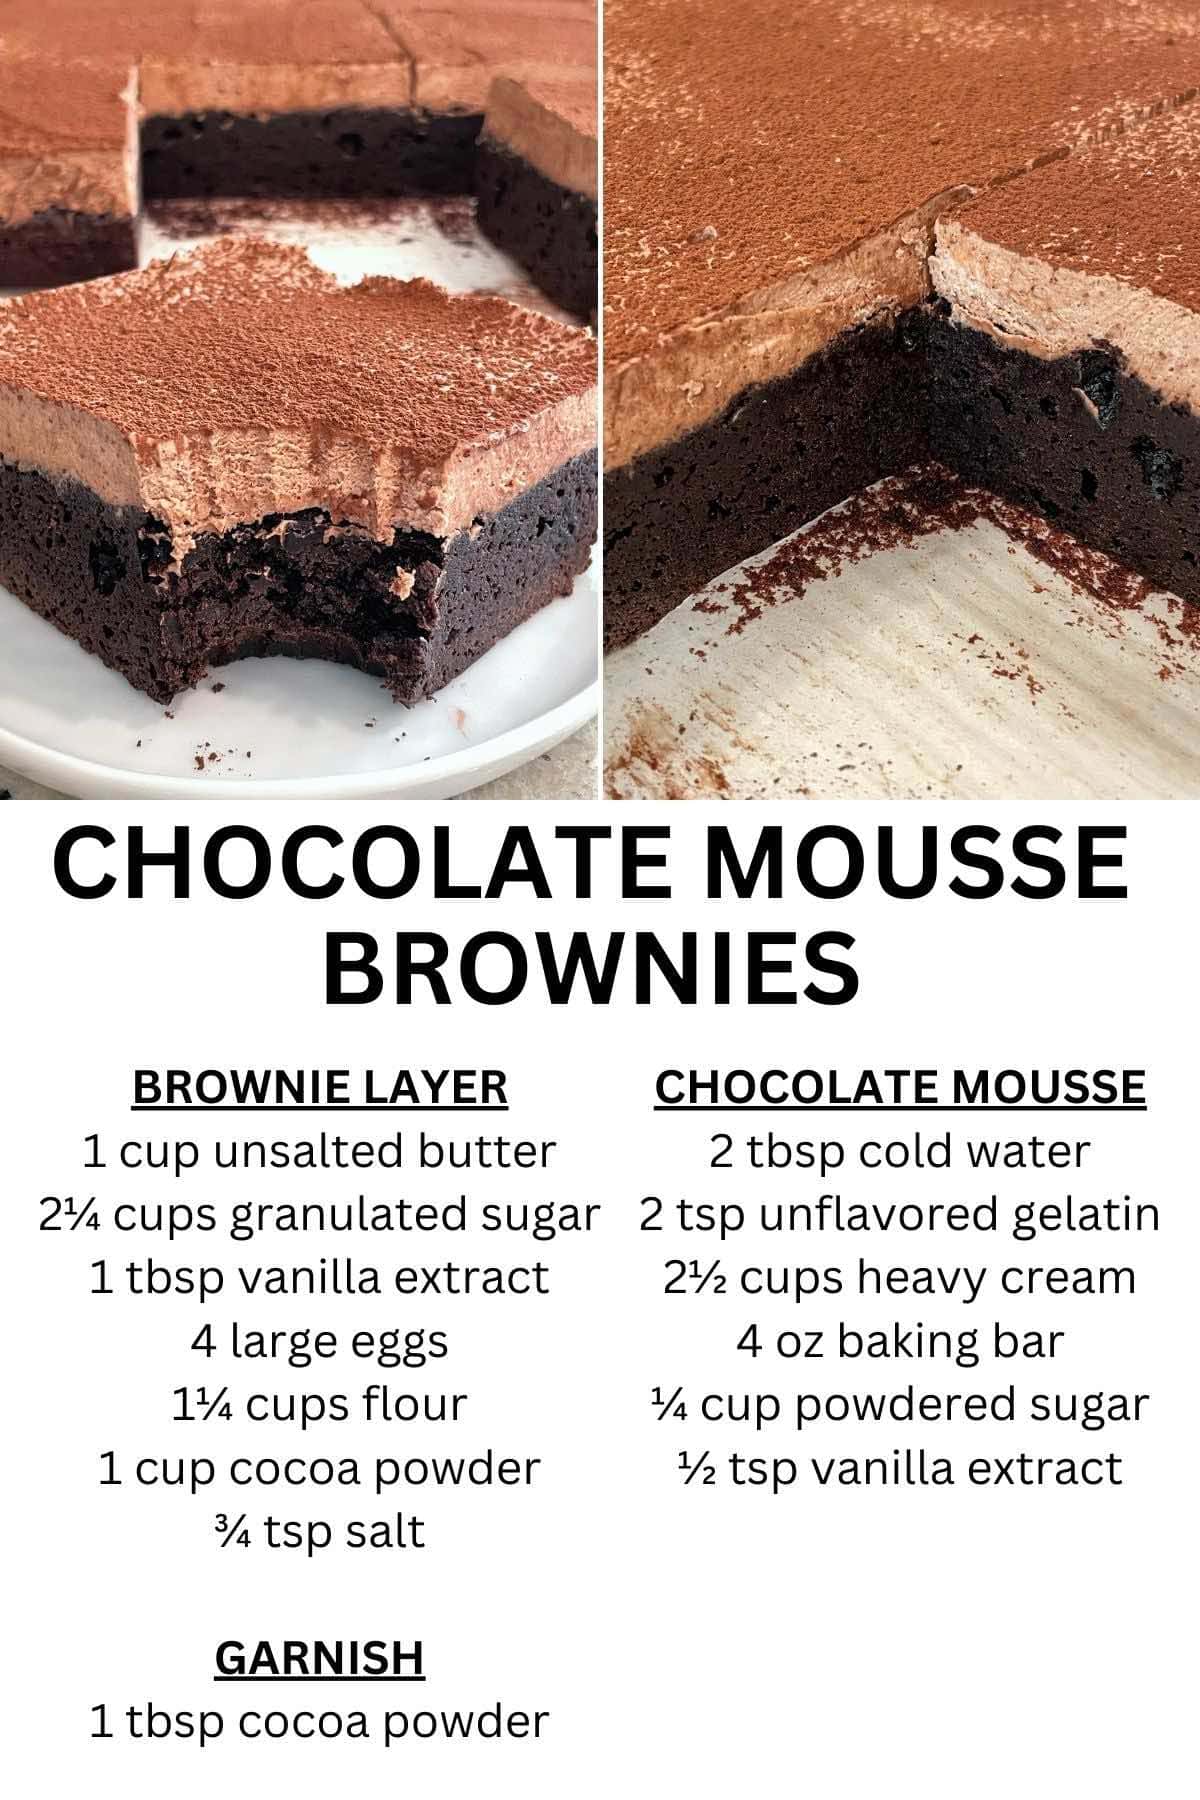
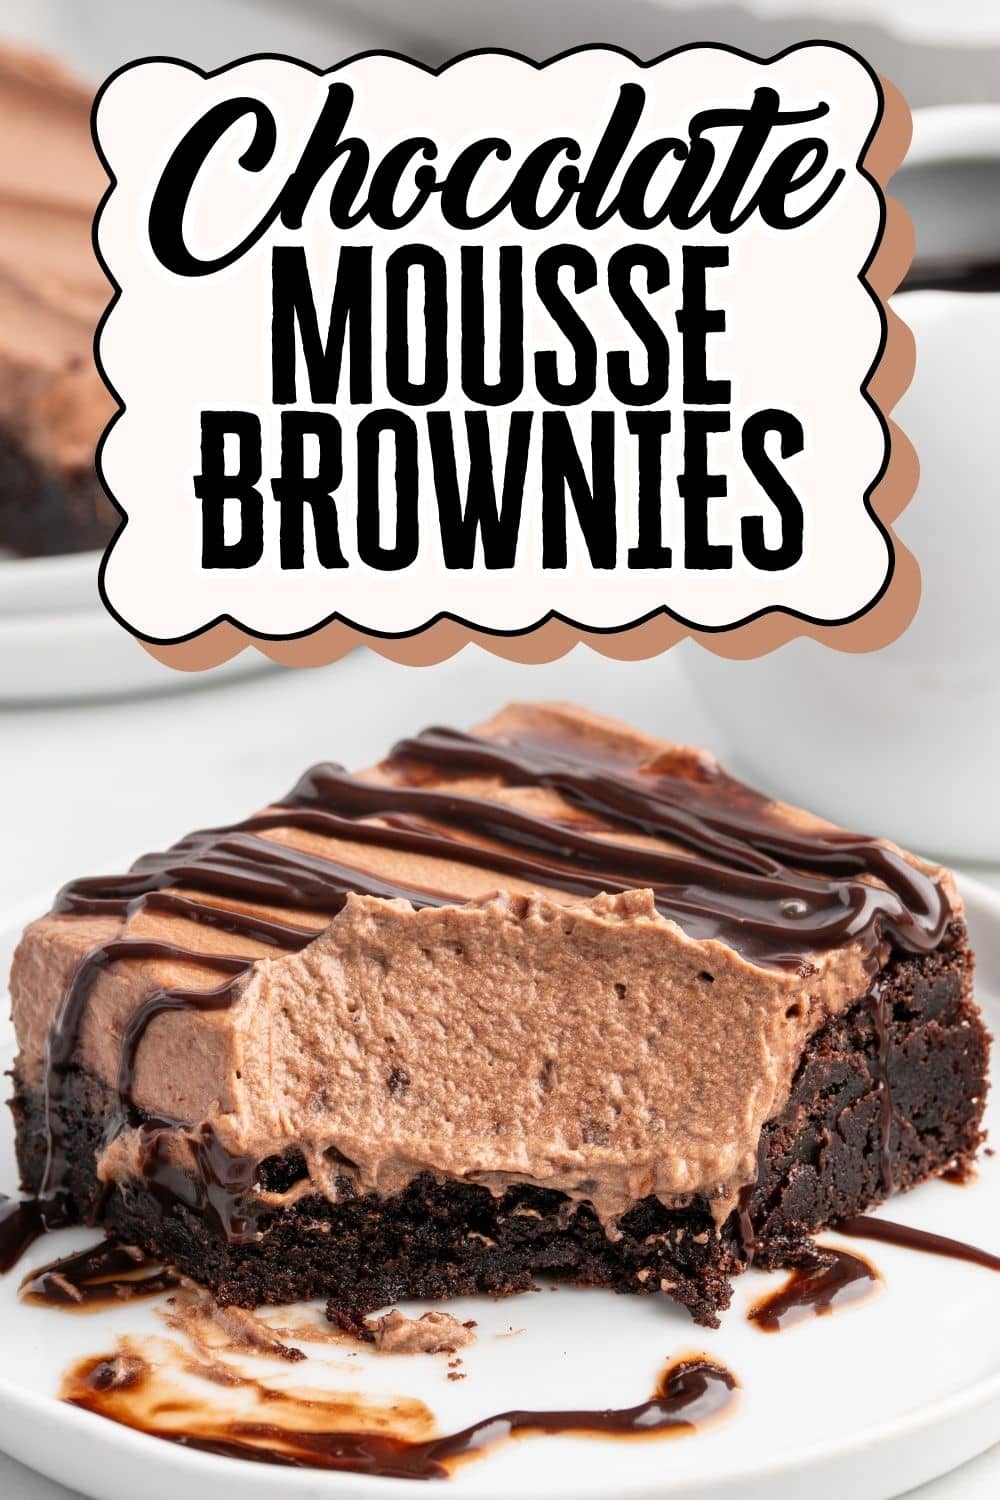
Chocolate Mousse Brownies are a chocolate lover’s dream, with a fudgy brownie base and a light, creamy mousse topping. This decadent chocolate dessert is perfect for parties, holidays, or anytime you crave an indulgent treat.
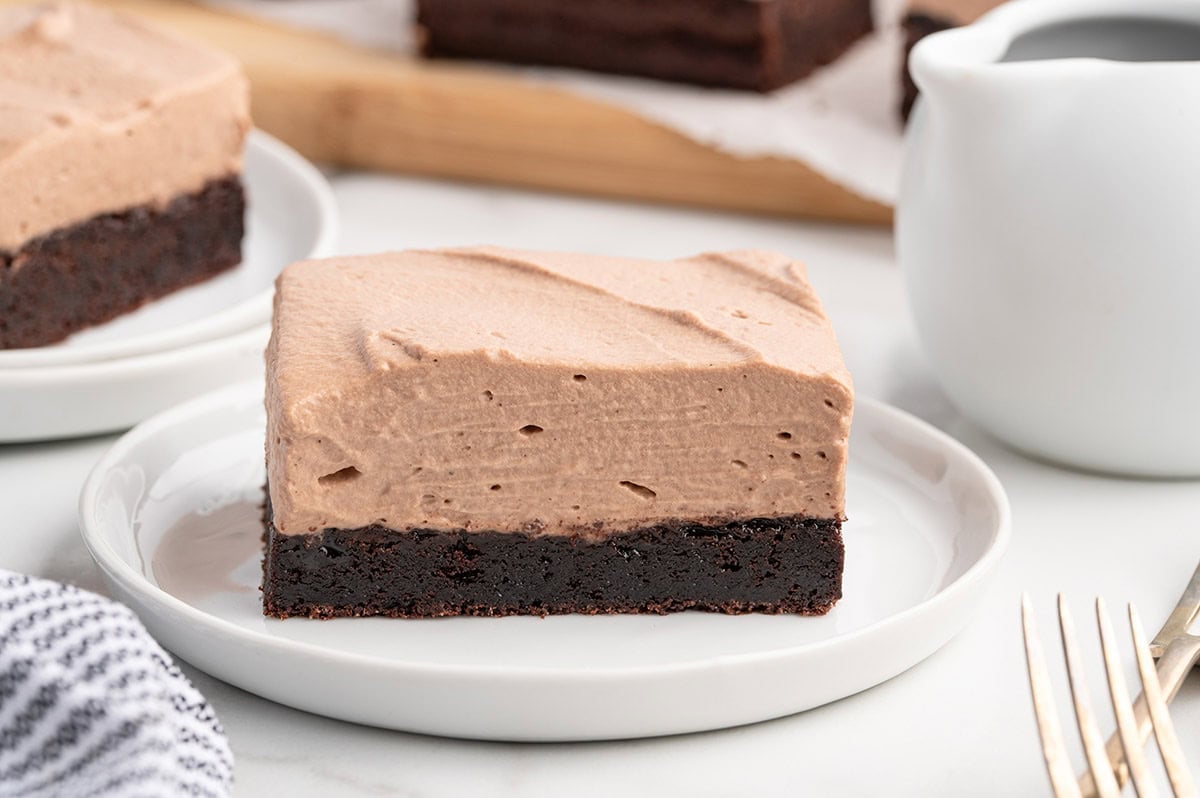
Why You’ll Love These Chocolate Mousse Brownies
- Triple chocolate treat: fudgy brownie base, creamy chocolate mousse, and optional chocolate drizzle
- Easy make-ahead brownies for holidays, parties, or to cure a chocolate craving
- Simple ingredients with straightforward steps
- Customizable flavors: add peanut butter, white chocolate, or mint
- Taste like a mini chocolate brownie mousse cake, but with an easier, no-fuss method.
Ingredients You’ll Need
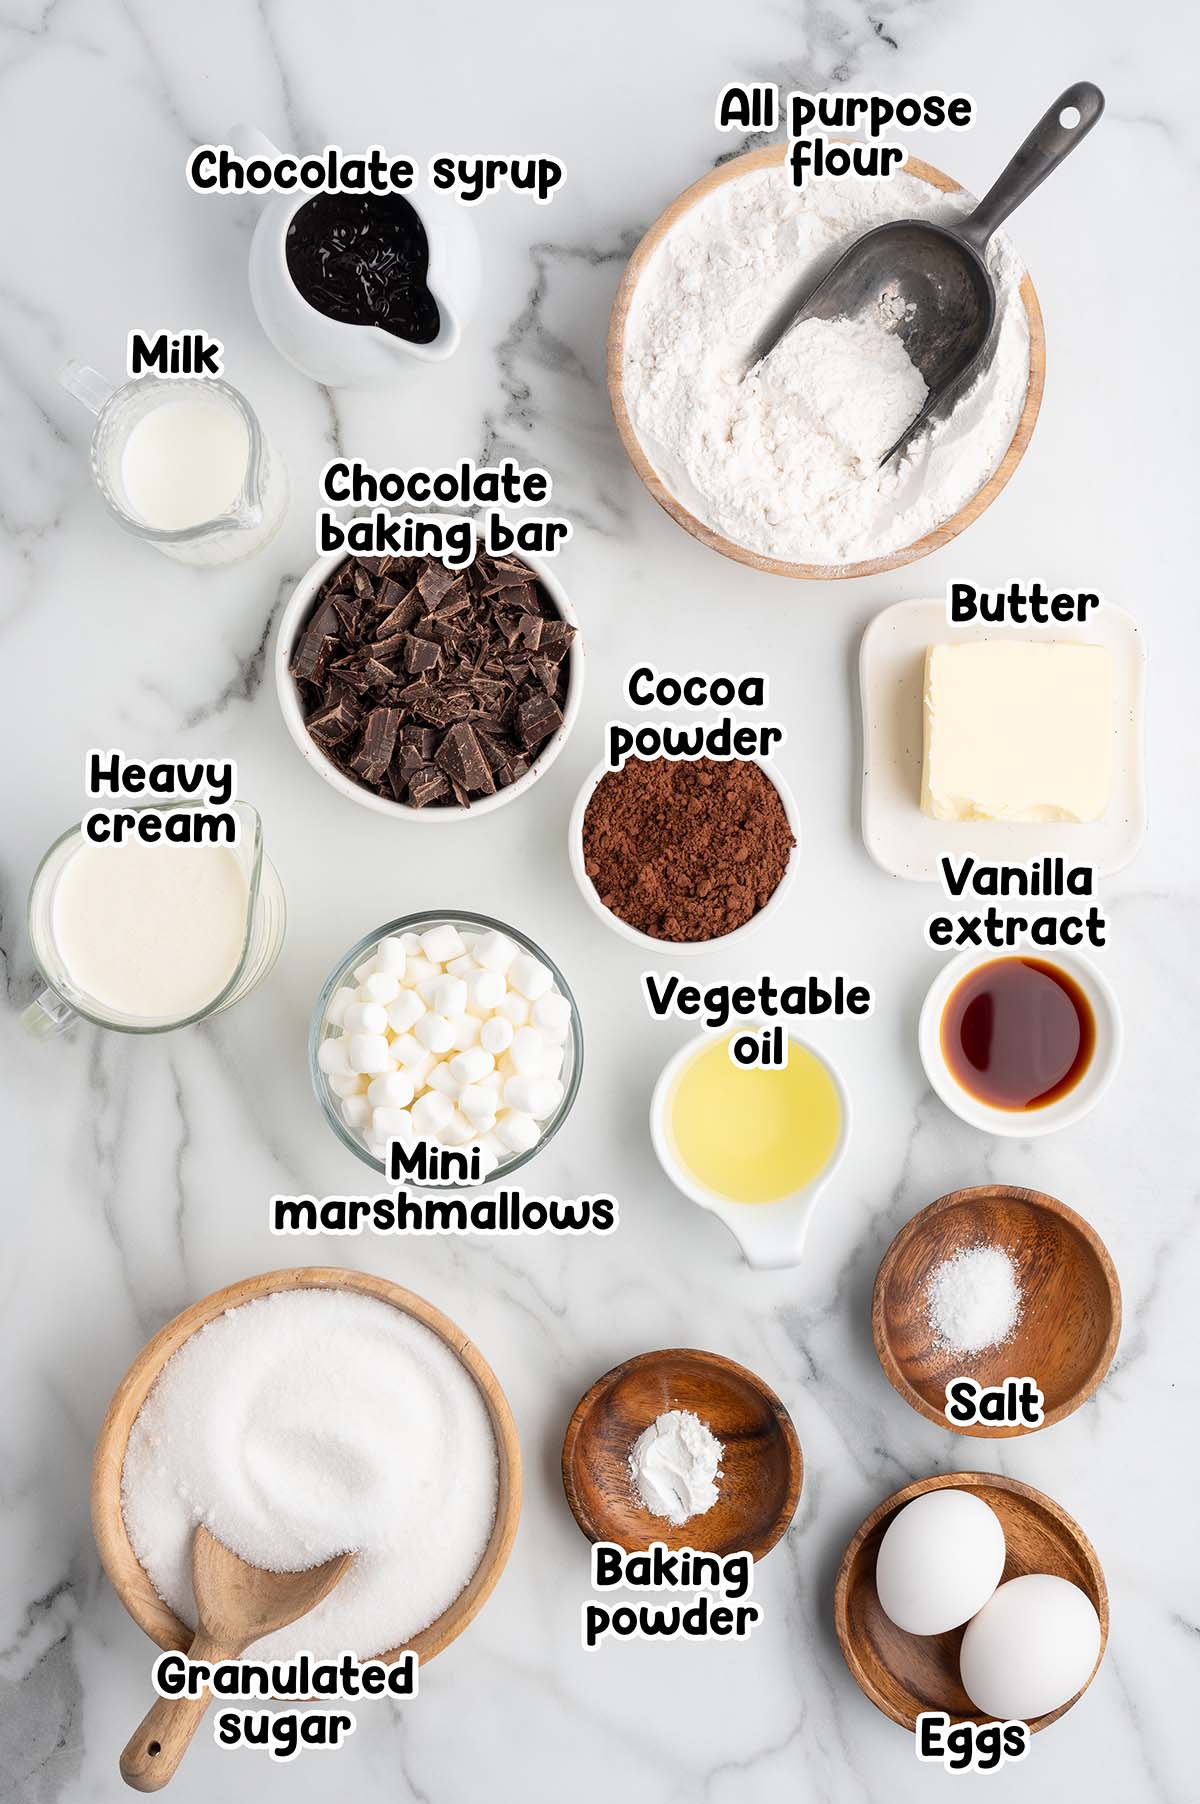
Brownie Base
- Semisweet chocolate baking bar (or dark chocolate)
- Salted butter (unsalted works; add a pinch of salt)
- Vegetable oil (canola oil is fine)
- Granulated sugar (light brown sugar for chewier brownies)
- Eggs, room temperature
- Pure vanilla extract
- All-purpose flour
- Dutch-processed cocoa powder (regular unsweetened cocoa is fine; brownies will be lighter)
- Baking powder
- Table salt
Chocolate Mousse
- Semisweet chocolate baking bar (dark or milk chocolate for variations)
- Mini marshmallows (or 1 tsp gelatin bloomed in water)
- Whole milk
- Cold heavy cream
- Chocolate syrup (optional garnish, or chocolate curls)
See the recipe card for full information on ingredients and quantities.
Recipe Variations
- Peanut Butter Mousse Brownies: swap chocolate mousse for creamy peanut butter mousse
- White Chocolate Mousse Brownies: use white chocolate instead of semisweet
- Mint Chocolate Mousse Brownies : add ½ tsp peppermint extract to the mousse
- Mocha Mousse Brownies: stir in 1 tsp espresso powder for a coffee flavor
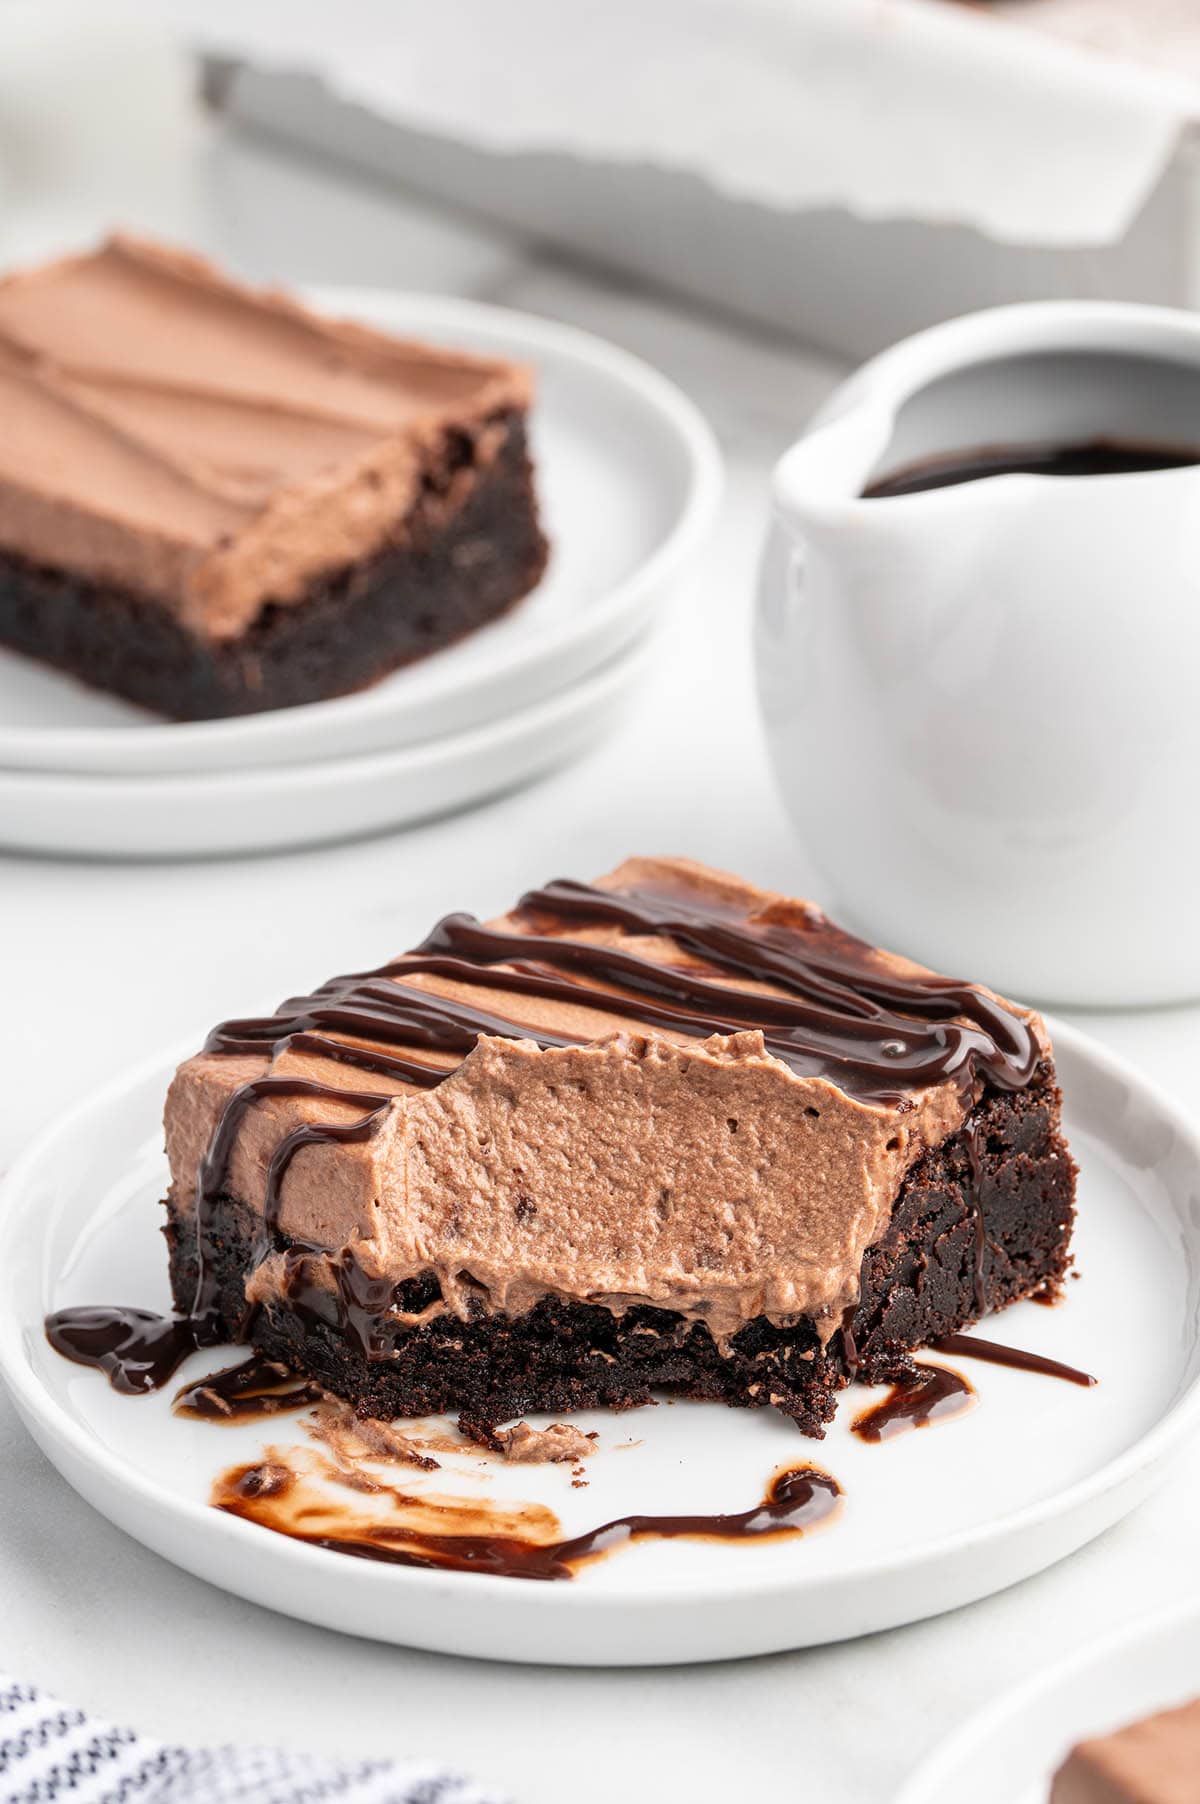
How to Make Chocolate Mousse Brownies
- Prep: Preheat oven to 350°F. Line a 9×9 pan with parchment paper and set aside.
- Make Brownie Batter: Melt chocolate and butter in a microwave-safe bowl; stir in oil. Whisk in sugar, eggs (one at a time), and vanilla. Fold in flour, cocoa, baking powder, and salt until smooth.

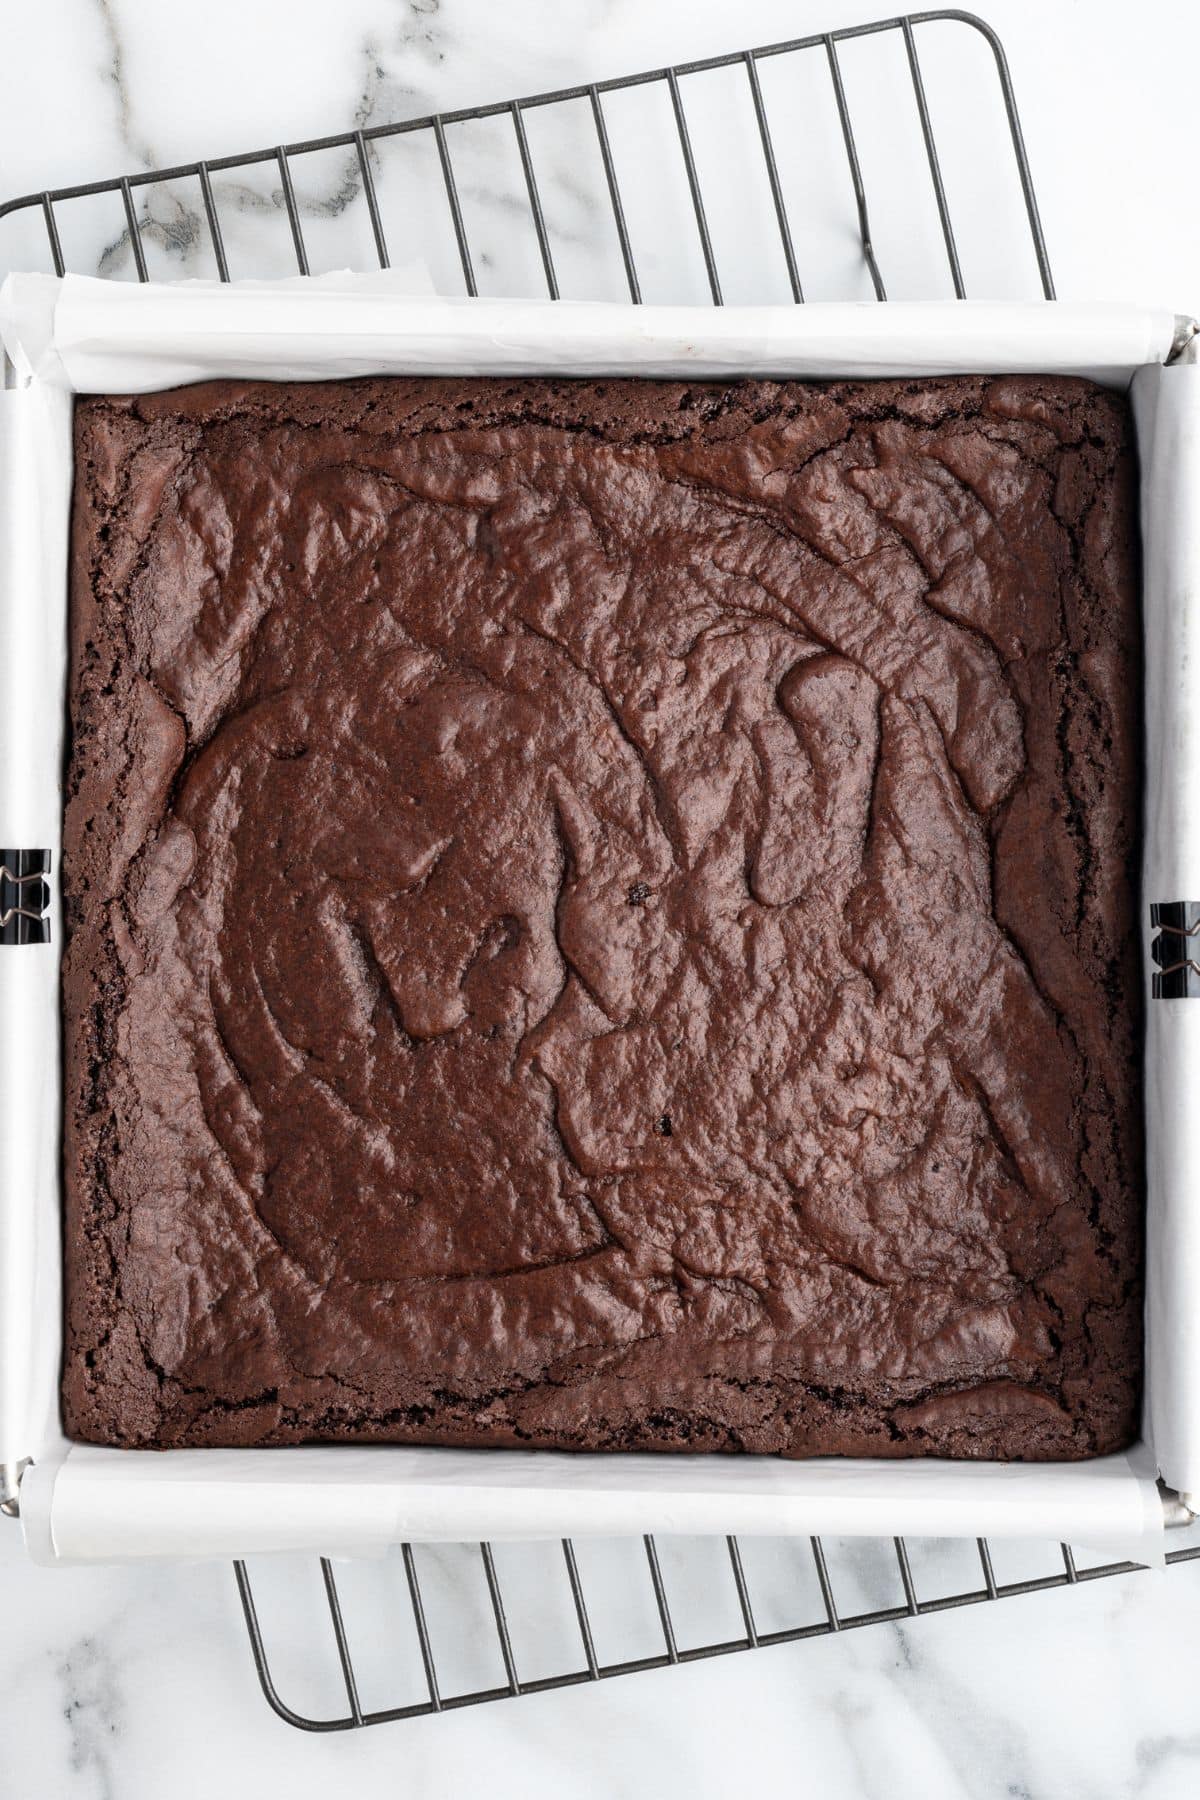
- Bake: Spread batter in the prepared pan and bake 22–25 minutes, until the edges set but center slightly is underbaked. Cool completely.

- Melt Chocolate for Mousse: In a saucepan over low heat, melt chocolate, marshmallows, and milk until smooth. Cool to room temperature.
- Whip Cream: Beat heavy cream in the bowl of a stand mixer and wire whip attachment to soft peaks. Gradually add cooled chocolate mixture and whip until stiff peaks form.
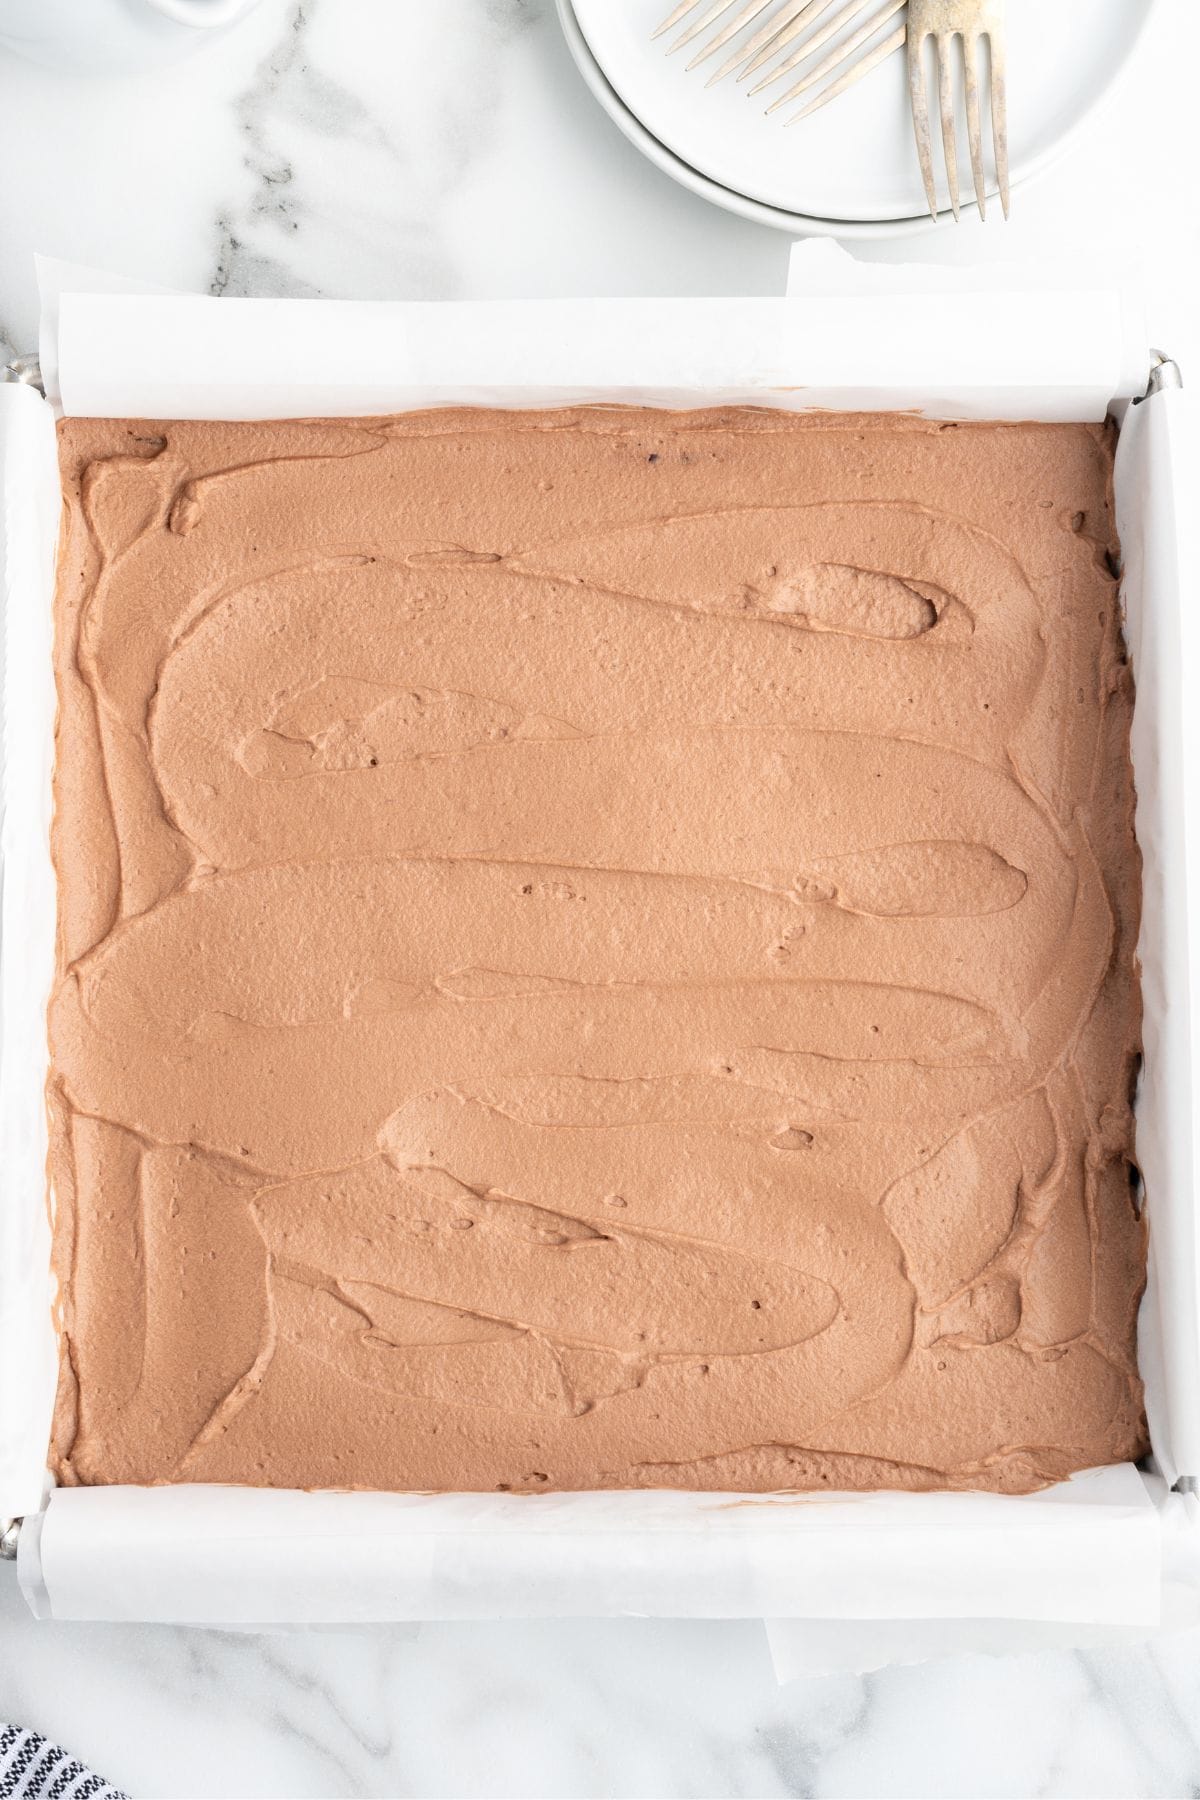
- Assemble: Spread a layer of mousse over cooled brownies with a spatula. Cover and chill 2 hours or overnight.

- Serve: Slice into squares and drizzle with chocolate syrup if desired. Keep refrigerated.
Recipe Tips
- Line the baking pan – Use parchment with an overhang and lightly spray with cooking spray for easy removal.
- Check doneness – Don’t overbake; edges should be set, center slightly soft. Test with a toothpick; it should come out with a few moist crumbs for fudgy brownies.
- Cool brownies completely – Warm brownies can melt the mousse layer.
- Cool chocolate mixture fully – Ensures whipped cream stays fluffy and the mousse sets properly.
- Shortcut option – Use a boxed brownie mix baked according to package directions to skip a step.
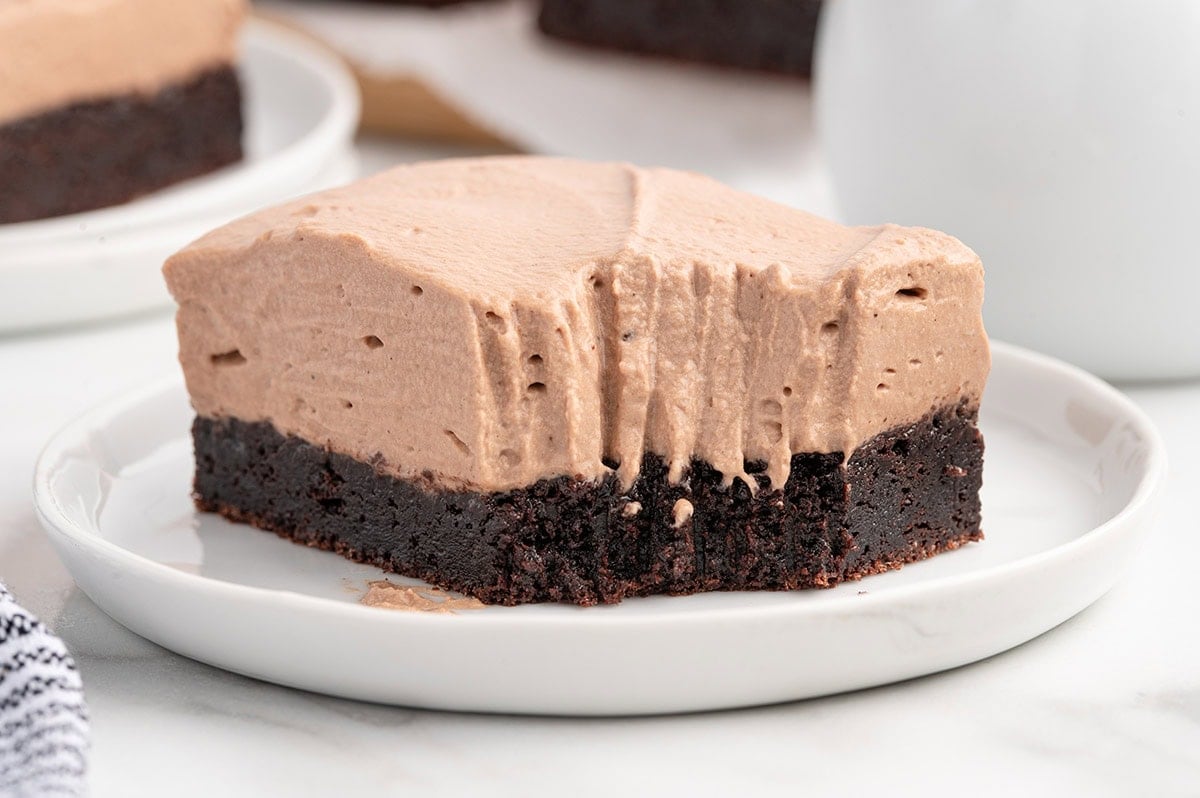
Serving Suggestions
- Pair with vanilla ice cream for an extra indulgent chocolate dessert.
- Top with whipped cream, a drizzle of chocolate ganache, and chocolate curls for a bakery-style presentation.
- Sprinkle mini chocolate chips on top of the mousse for garnish, flavor, and texture.
- Slice into smaller squares to serve on party trays or at gatherings.
How to Store Chocolate Mousse Brownies
- Refrigerate: Keep leftovers in a single layer in an airtight container in the fridge for up to 4 days.
- Freeze: Store brownies for up to 2 months; thaw overnight in the refrigerator. Note: mousse texture may soften slightly.
- Make Ahead: Bake brownies a day in advance and top with mousse before serving, or prepare fully and chill overnight for easier slicing.
Frequently Asked Questions
No, you don’t have to. Dutch-processed cocoa gives this chocolate mousse brownie dessert a richer chocolate flavor and darker color, but regular unsweetened cocoa works fine with slightly lighter brownies.
The mousse may be runny if the chocolate mixture was still warm when folded into the whipped cream. Always let the chocolate base cool completely to room temperature before combining.
Use a sharp knife and wipe it clean between cuts. For perfectly neat slices, chill the brownies in the refrigerator overnight before slicing.
More Brownie Desserts You’ll Love
- Cheesecake Brownies – rich brownies layered with creamy cheesecake.
- Snickers Brownies – chocolate brownies topped with caramel, peanuts, and chocolate.
- Slutty Brownies – a decadent combo of cookie, brownie, and blondie layers.
- Buckeye Brownies – chocolate brownies swirled with peanut butter for a classic treat.
- Brownie Bottom Cheesecake – creamy cheesecake baked over a fudgy brownie base.
If you’ve tried this Chocolate Mousse Brownies Recipe or any other recipe on my website, please leave a star rating and let me know how it turned out in the comments below.
Chocolate Mousse Brownies
Ingredients
Brownie Base
- 4 ounce semisweet chocolate baking bar chopped
- ¼ cup salted butter
- ⅓ cup vegetable oil
- 1½ cups granulated sugar
- 2 eggs room temperature
- 2 teaspoons pure vanilla extract
- ¾ cup all purpose flour spooned and leveled
- ½ cup unsweetened dutch processed cocoa powder
- ½ teaspoon baking powder
- ½ teaspoon table salt
Chocolate Mousse
- 4 ounces semisweet chocolate baking bar chopped
- 1 cup mini marshmallows
- ¼ cup + 1 tablespoon whole milk
- 1¼ cup cold heavy cream
- Chocolate syrup for drizzling (optional garnish)
Instructions
- Brownie Base
- Preheat the oven to 350°F. Line a 9×9 baking pan with parchment, leaving an overhang for easy removal.
- In a medium size microwave safe bowl, melt the chopped semisweet chocolate and butter (microwave in 20 second intervals or over a double boiler). Stir in the vegetable oil until smooth.4 ounce semisweet chocolate baking bar, ¼ cup salted butter, ⅓ cup vegetable oil
- In a large mixing bowl, add the granulated sugar.1½ cups granulated sugar
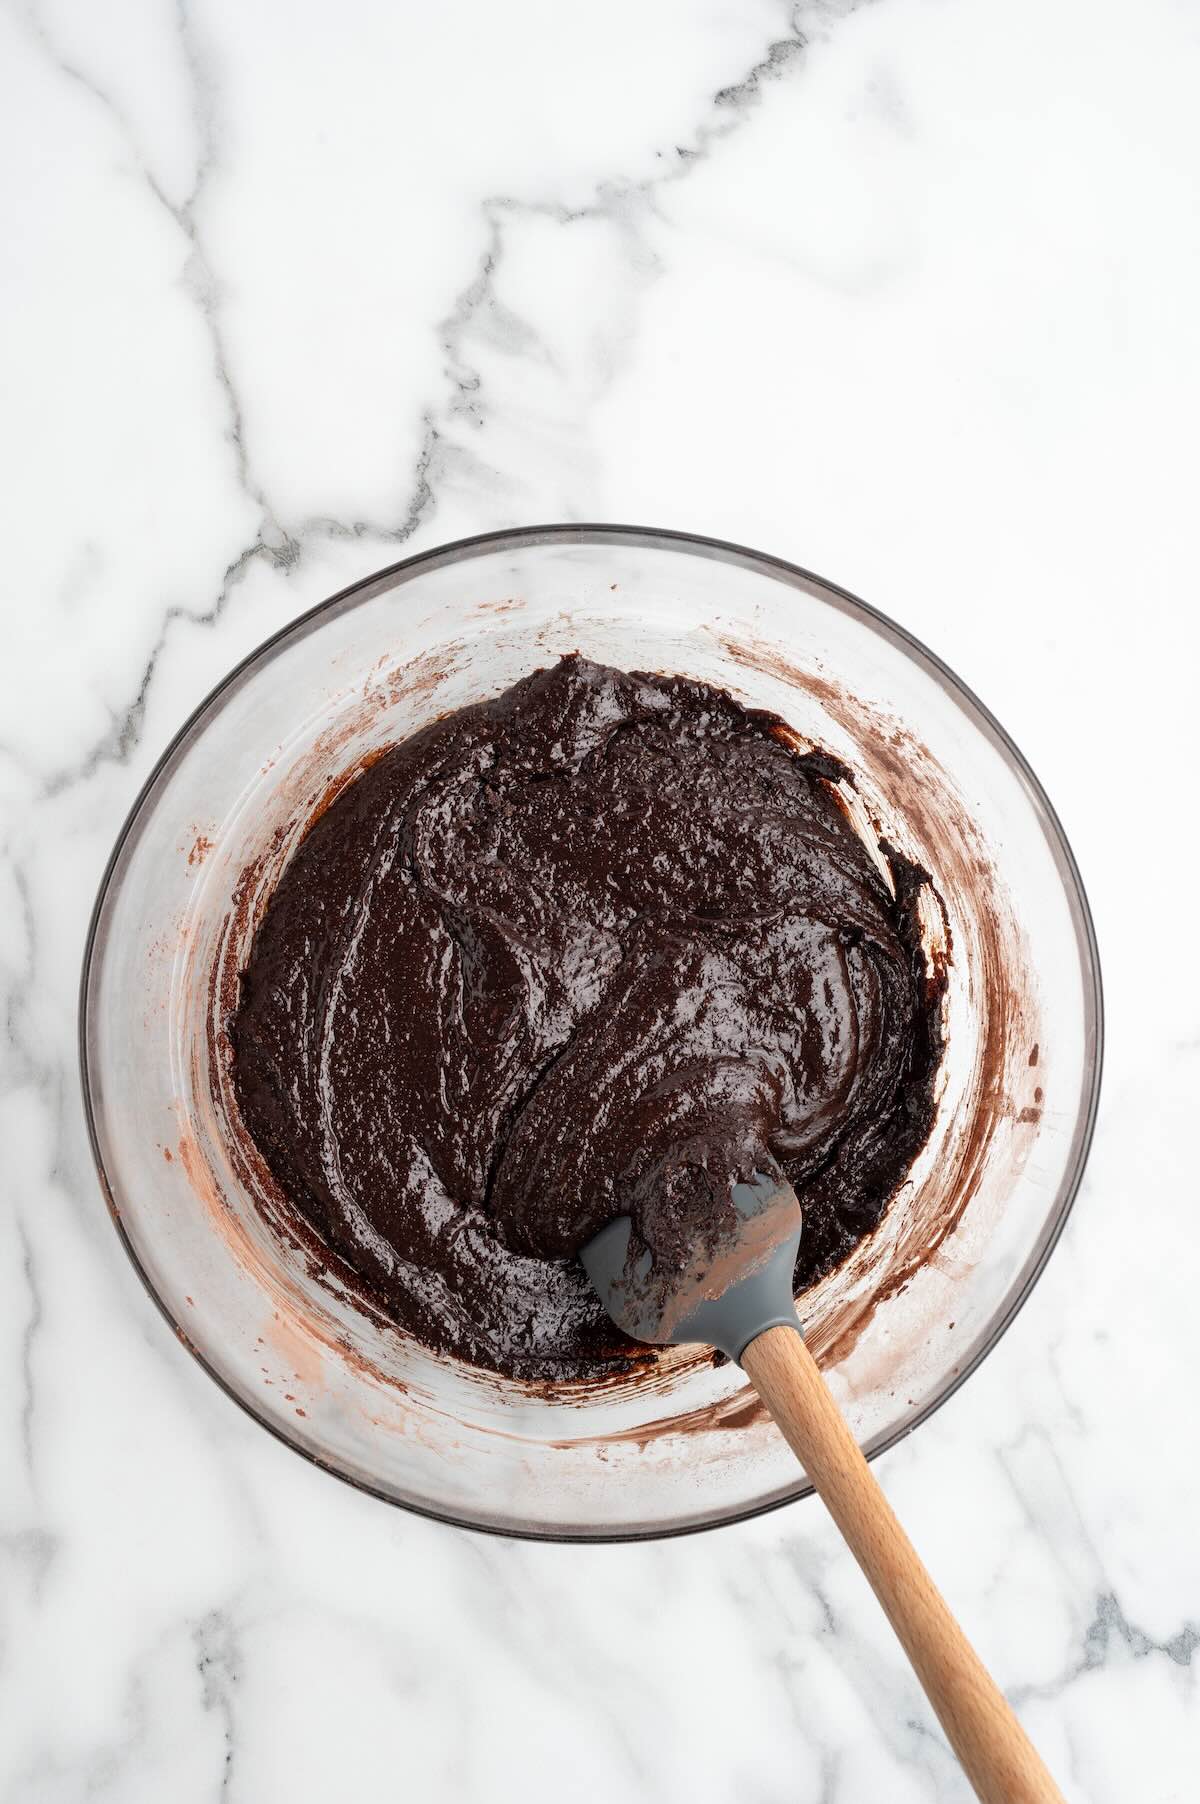
- Whisk in the chocolate mixture until fully combined. (The mixture will be thick.)
- Whisk in eggs one at a time until just incorporated. Do not overbeat, you don’t want to add extra air. Add the vanilla extract.2 eggs, 2 teaspoons pure vanilla extract
- Sift flour, cocoa powder, baking powder and salt over the wet mixture. Gently fold until no dry streaks remain.¾ cup all purpose flour, ½ cup unsweetened dutch processed cocoa powder, ½ teaspoon baking powder, ½ teaspoon table salt
- Spread batter evenly in pan. Bake for 22 to 25 minutes, or until the edges are set but the center still looks slightly underbaked.
- Let brownies cool completely in the pan while you make the chocolate mousse.
Chocolate Mousse
- Place the bowl of a stand mixer and wire whip attachment, or a medium size mixing bowl and the tines of a handheld mixer in the freezer.
- In a medium saucepan over low heat, combine the chopped chocolate, mini marshmallows, and milk.4 ounces semisweet chocolate baking bar, 1 cup mini marshmallows, ¼ cup + 1 tablespoon whole milk
- Stir constantly until the marshmallows and chocolate are fully melted and smooth.
- Let cool to room temperature. This step is important so the heat doesn’t deflate the whipped cream.
- In a large mixing bowl, beat the heavy cream with an electric mixer until soft peaks form.1¼ cup cold heavy cream
- Lower the mixer speed to low, and add the cooled chocolate mixture. Increase the mixer speed to high and mix until fully combined and stiff peaks form — do not overwhip.
- Using either a silicone spatula, or an offset spatula, spread the chocolate mousse over the brownies. Cover and chill in the refrigerator for 2 hours.
- Remove the brownies from the refrigerator and slice into 12 equal squares. Garnish with chocolate syrup drizzle if desired. Keep refrigerated until ready to serve.Chocolate syrup for drizzling
Jenn’s Notes
- Store: Refrigerate leftovers in a single layer in an airtight container up to 4 days.
- Freeze: Freeze up to 2 months (texture may soften). Thaw overnight in fridge.
- Make Ahead: Bake brownies a day ahead and top with mousse before serving, or prepare fully and chill overnight for easier slicing.
- Line the pan: Parchment with overhang makes removal easy.
- Don’t overbake: Edges should be set, center slightly soft.
- Cool completely before mousse: Warm brownies will melt the mousse.
- Cool chocolate mixture fully: Prevents whipped cream from deflating.


What does 1 cup 1cup
Mini marshmallows mean for the mousse
Thank you! This typo has been fixed. Sorry about that!
What does 1 cup 1 cup mini marshmallows mean? Is it two or did you accidentally type it twice or …and this is quite possible, am I being dense lol
So sorry – there was a typo!! All fixed!