This post may contain affiliate links. Please read our disclosure policy.
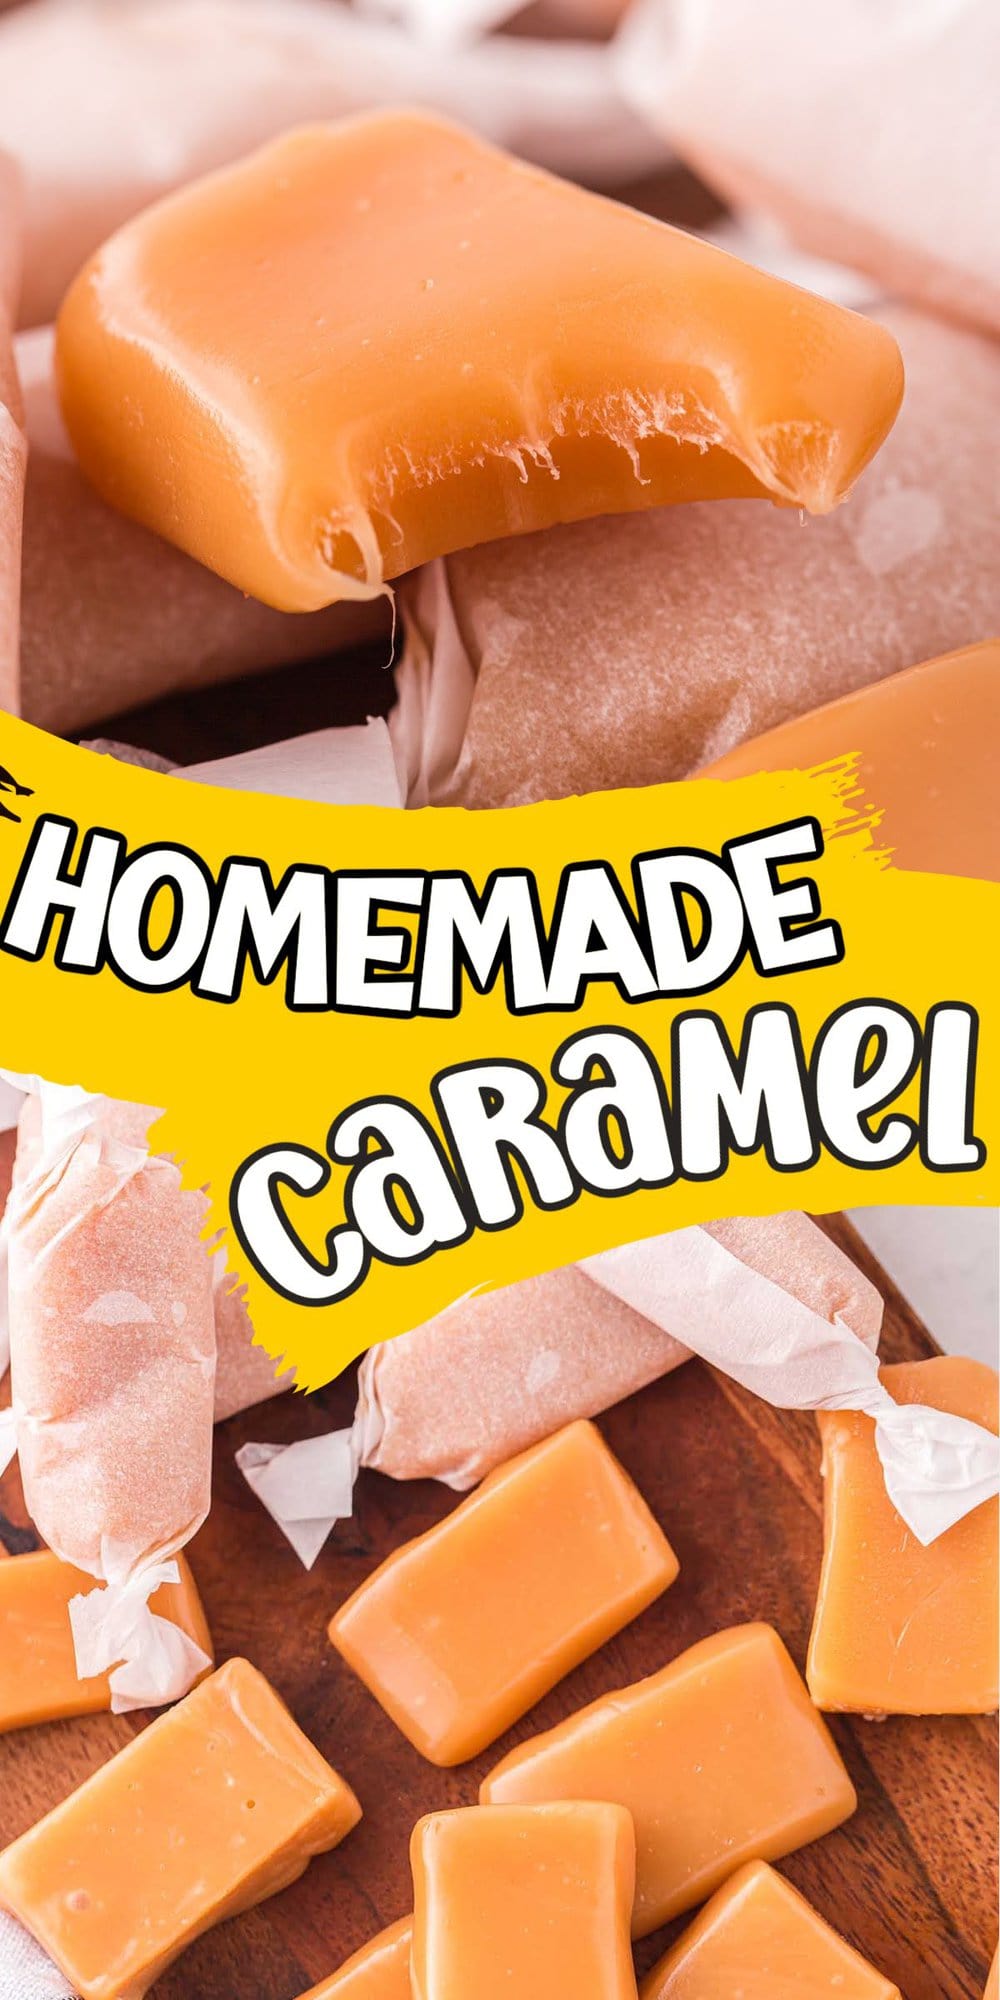
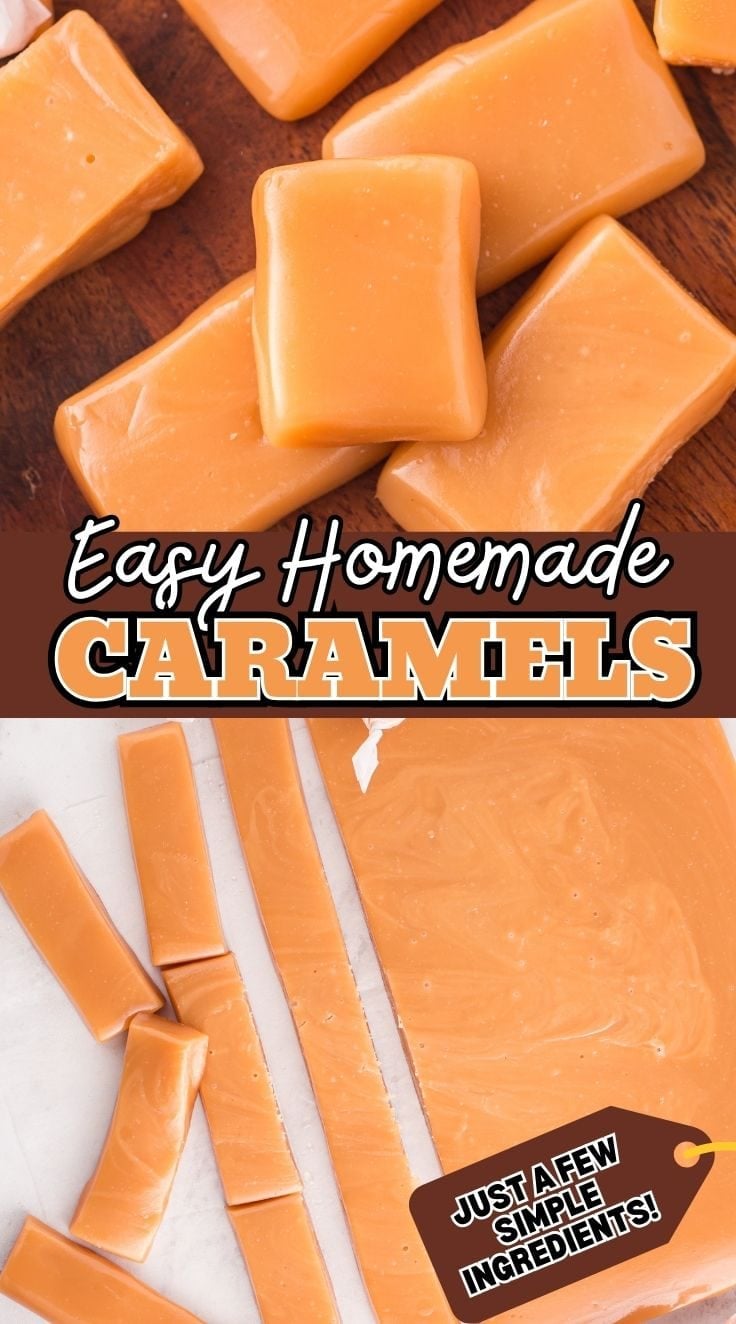
Our homemade Caramels recipe has only 5 ingredients and is super easy, even if it’s your first time making candy from scratch.
Soft, chewy, rich, and buttery tasting, these melt-in-your-mouth morsels are so much better than anything store-bought.
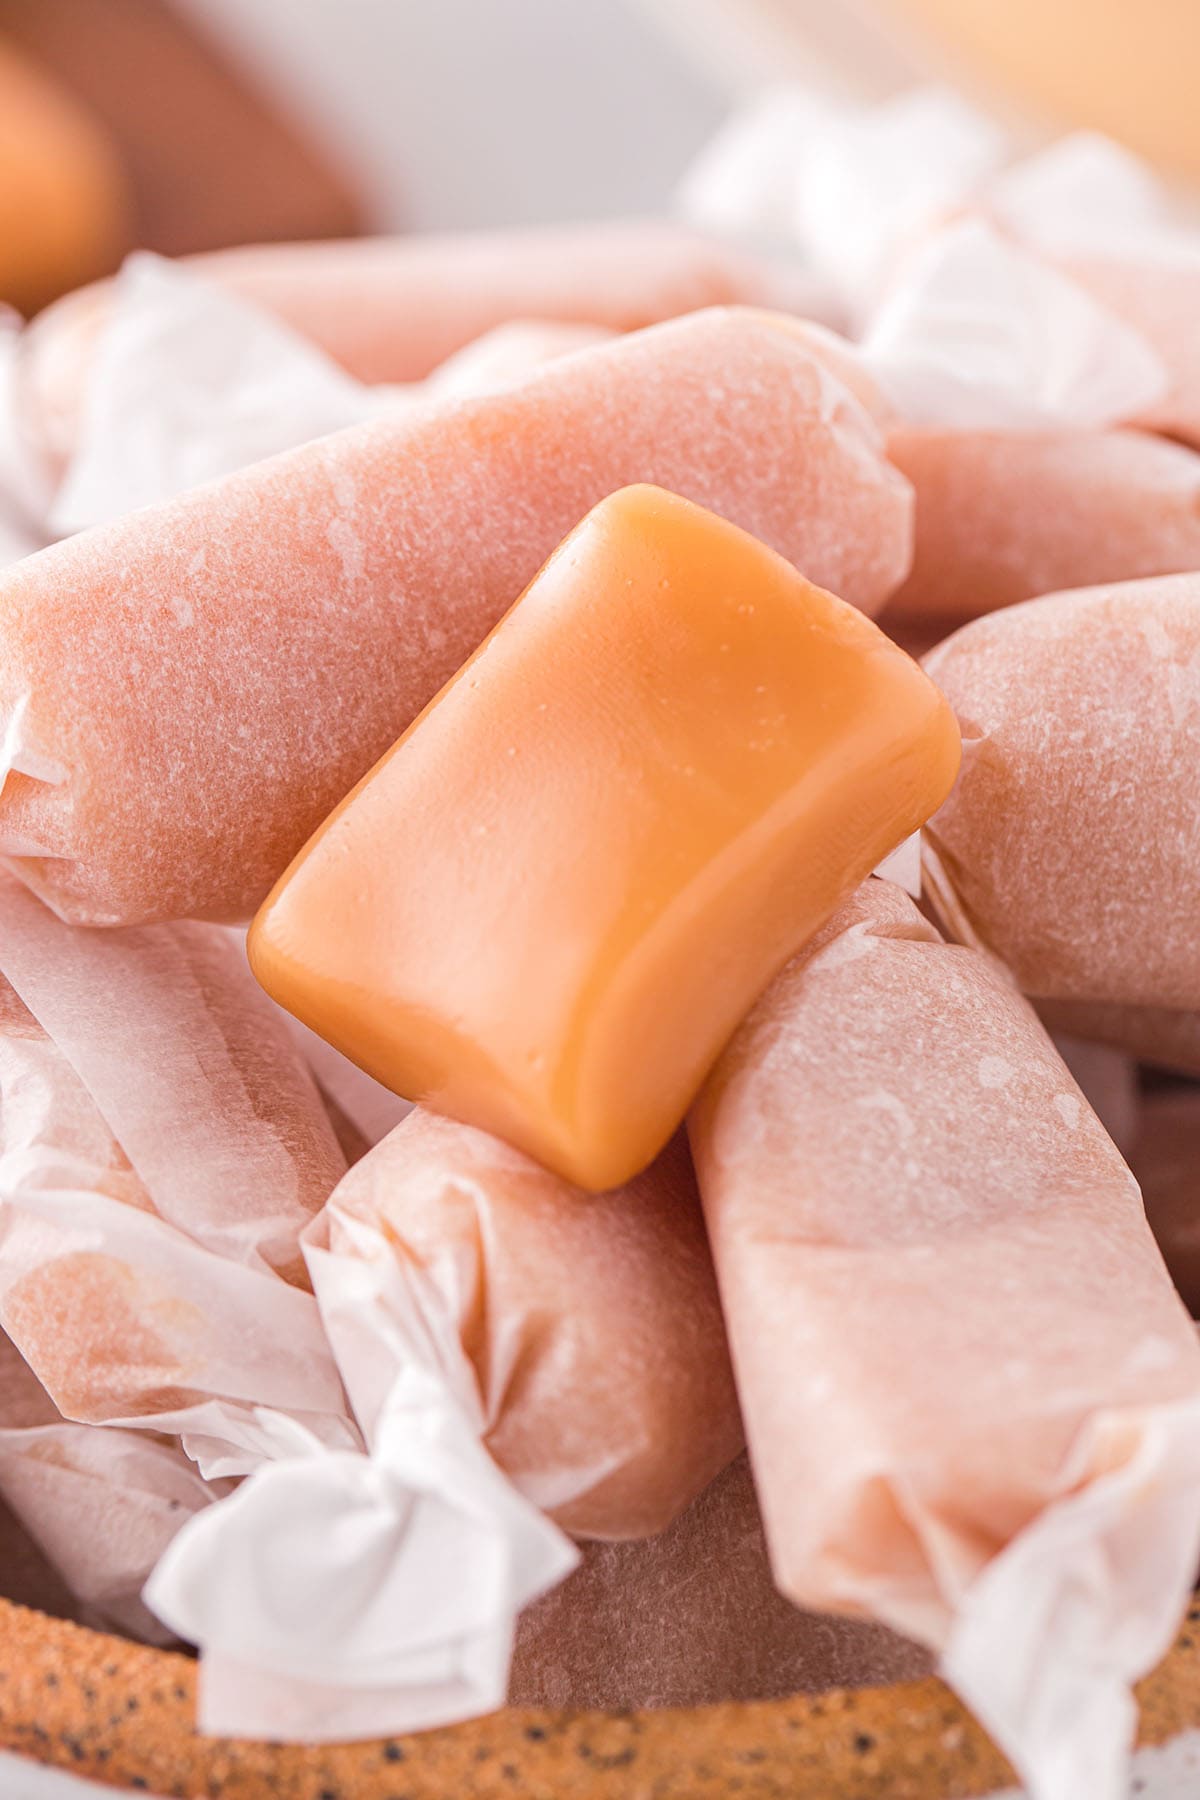
Easy Homemade Caramels (No Corn Syrup Needed)
Our Homemade Caramel Candy recipe is easy to follow; just stick to my simple candy-making steps, and you’ll have the best batch of caramel candies with the perfect taste and texture every time!
A homemade candy caramel recipe can’t be rushed; the key to creating a candy with a soft and chewy consistency is all in the cooking time and temperature.
But don’t worry if you don’t have a candy thermometer because I’ve also included instructions for the old-fashioned ice water test.
Why We Love This Homemade Caramel Recipe Recipe
- Easy to make at home with this simple caramel candies recipe.
- Only uses 5 ingredients.
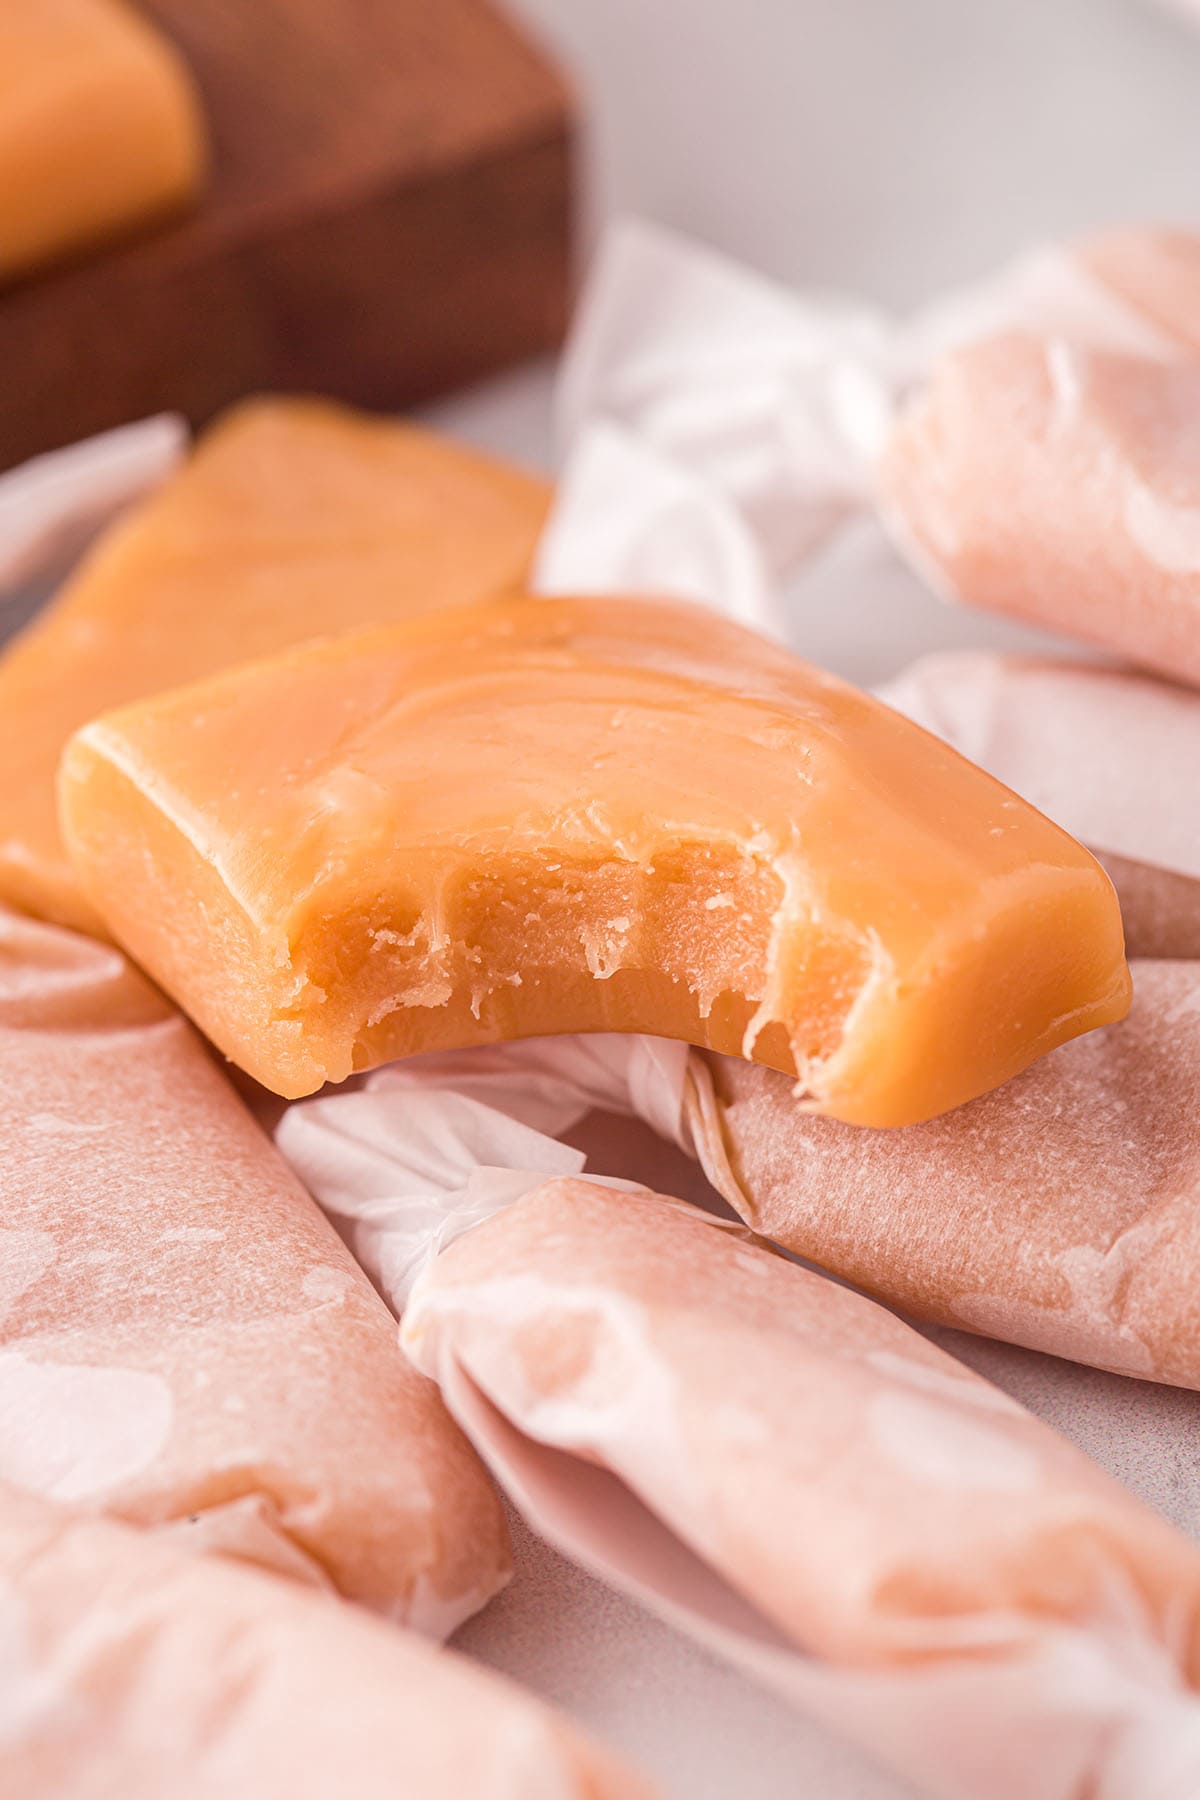
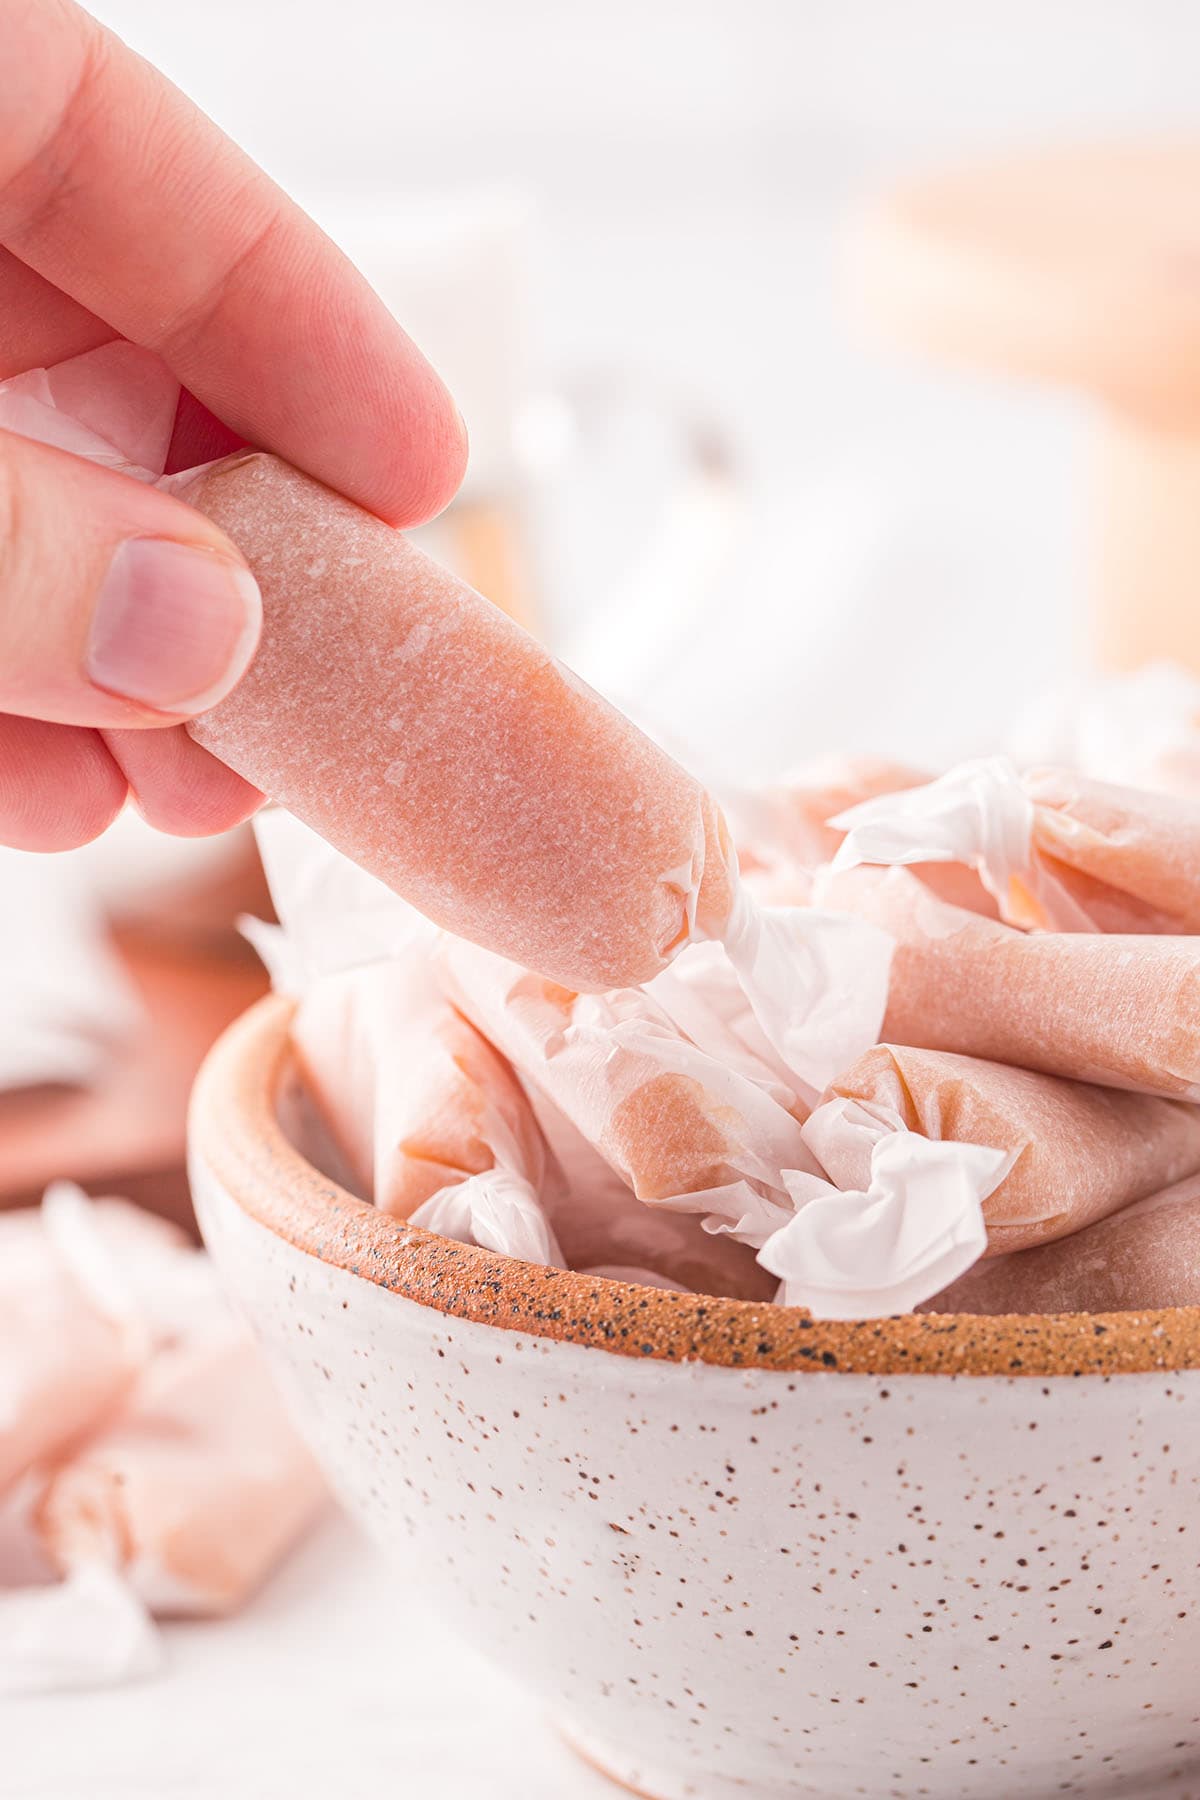
- Wrap each piece in wax paper, rolling up the ends, and package them in boxes or bags for gifting to neighbors, friends, teachers.
- Sweet candy treat that won’t break your teeth.
- Perfect for holidays, dessert platters, stashing in your purse, or a snack to cure a sugar craving.
More Homemade Candy Recipes
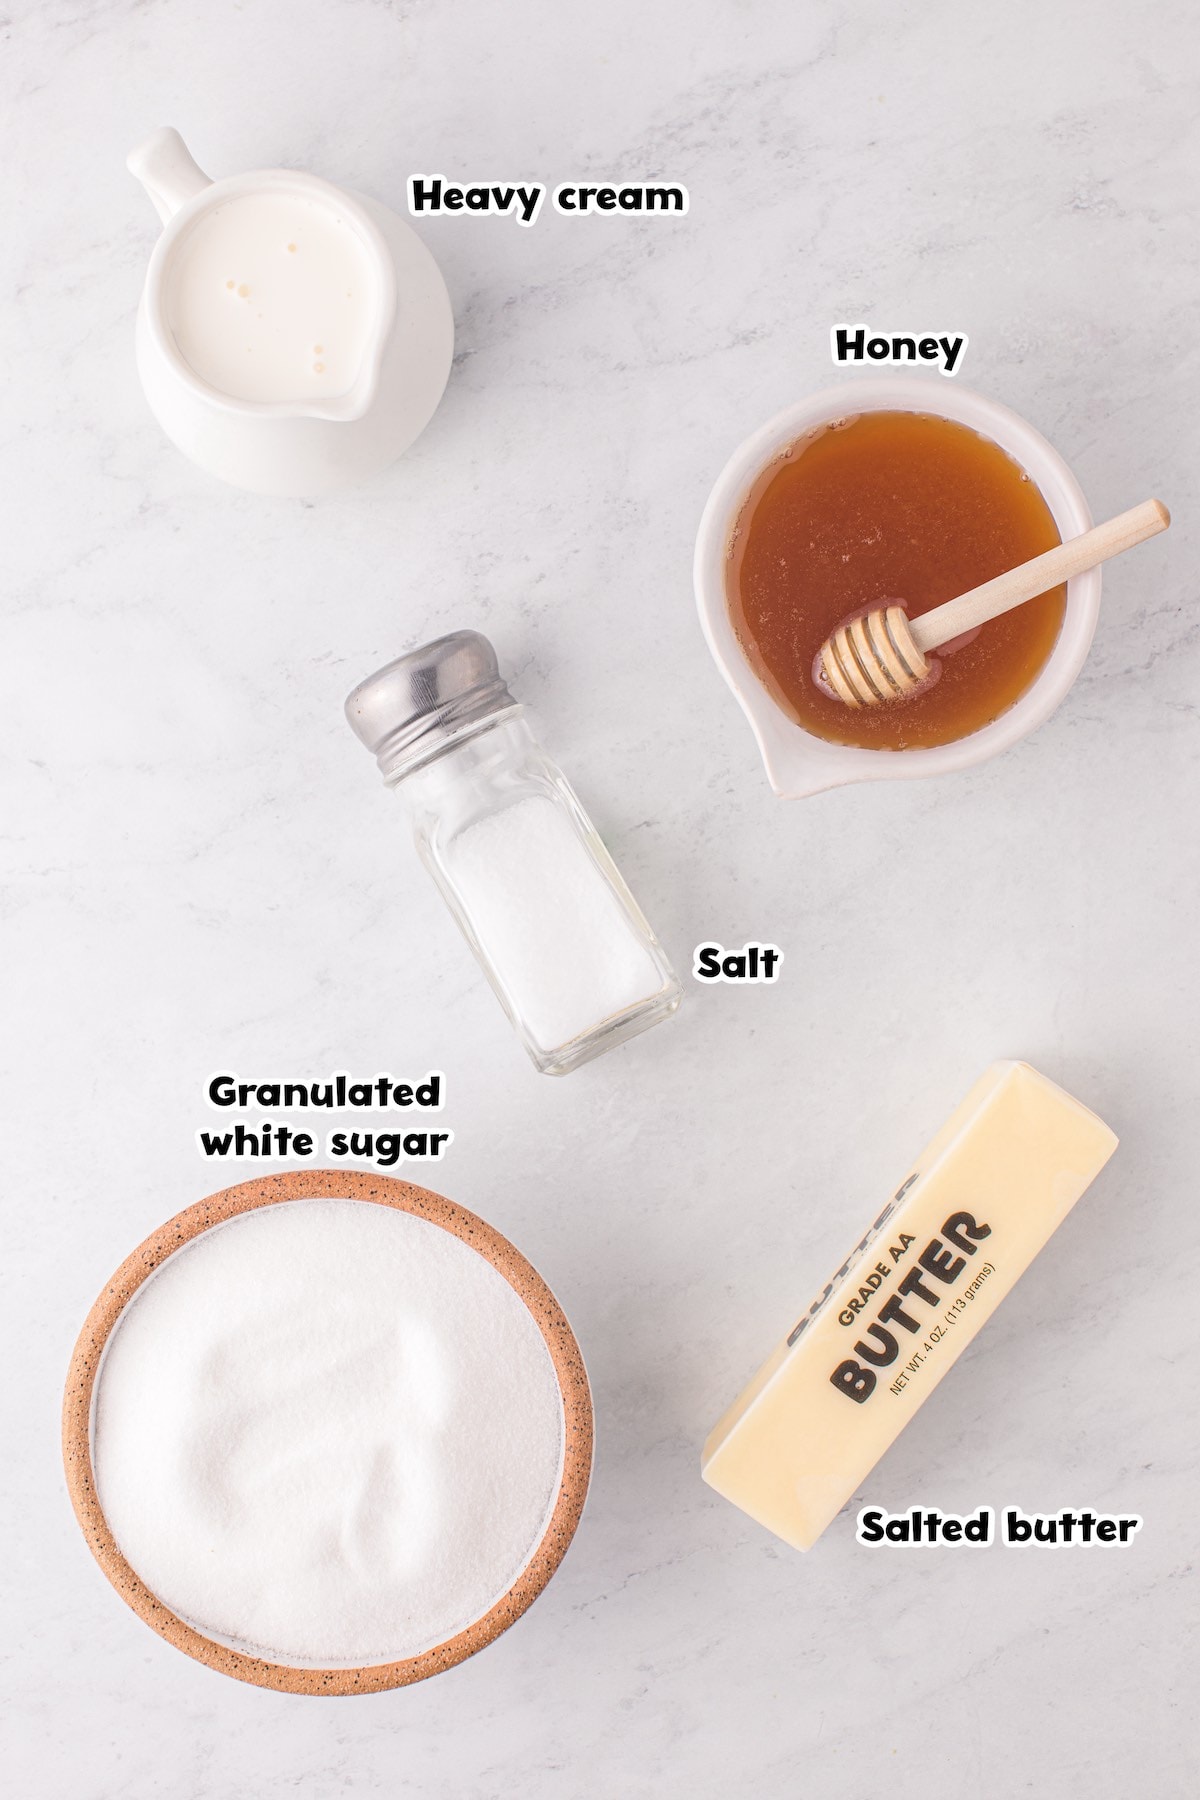
Ingredients
- Granulated white sugar
- Honey: You can use light corn syrup instead, though the flavor will change slightly.
- Salted butter: You can use unsalted butter but be sure to add an extra pinch or two of salt so your caramels don’t end up too sweet.
- Salt
- Heavy cream: Heavy cream is ideal for caramel due to its high-fat content. It can’t be substituted with any other type of milk. You can also use heavy whipping cream but do not use whipping cream since it does not contain enough fat.
Substitutions and Additions
- Swap The Sugar: You can substitute light or brown sugar for a slightly different flavor. If you want to alter the caramel just slightly you can do half white sugar and half brown sugar.
- Add Some Salt or Chocolate: Feel free to sprinkle the caramels with a little sea salt or refrigerate them and then dip them in melted chocolate to make a caramel truffle.
Recommended Tools
- 8-inch square pan
- Parchment paper
- Saucepans
- Candy thermometer (see note on what to do if you don’t have a candy thermometer)
- Pizza cutter or sharp knife
How to Make Homemade Caramels
- Make The Caramel Mixture: Heat the sugar, honey, butter and salt until melted and the mixture begins to simmer, about 5-10 minutes, stirring frequently.
- Heat The Heavy Cream: Heat the cream, stirring frequently. Do not boil the cream!
Pro Tip: If it begins to steam, lower the heat. When you see small bubbles forming along the outer edges of the pan, it is done. - Combine: Slowly pour the cream into the caramel mixture, stirring constantly.
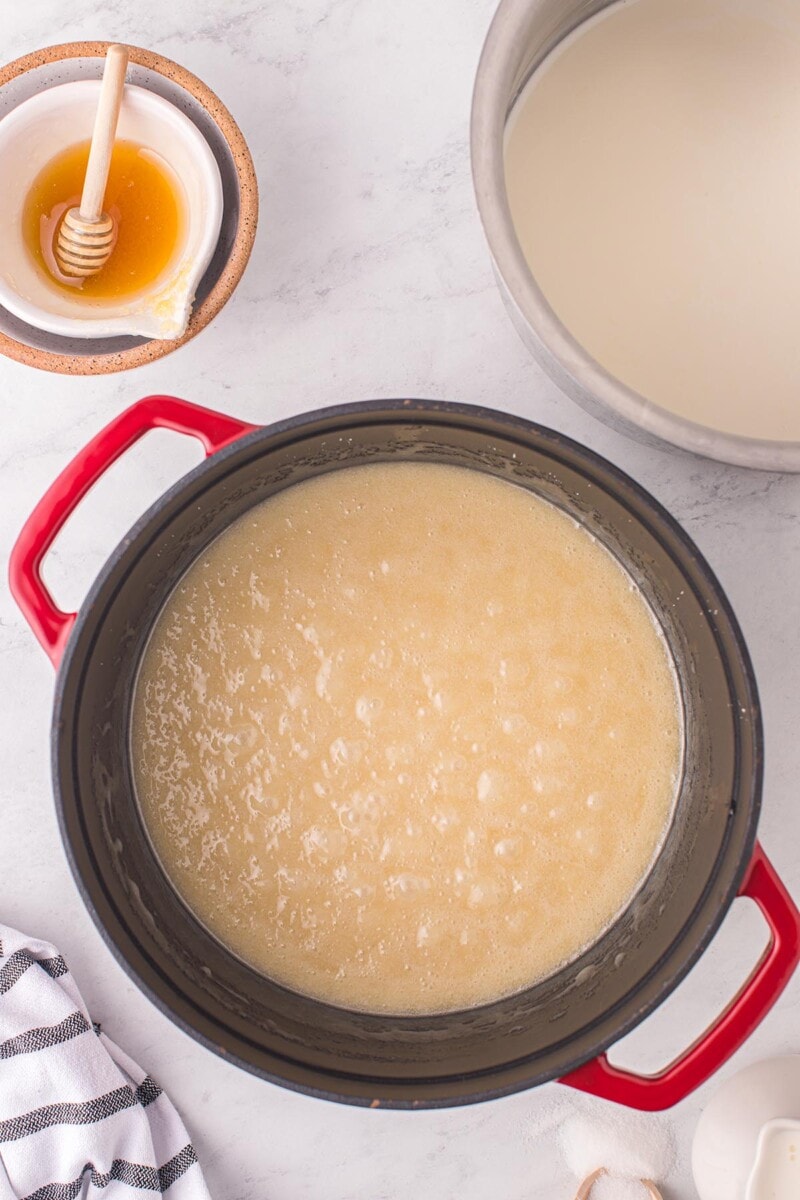
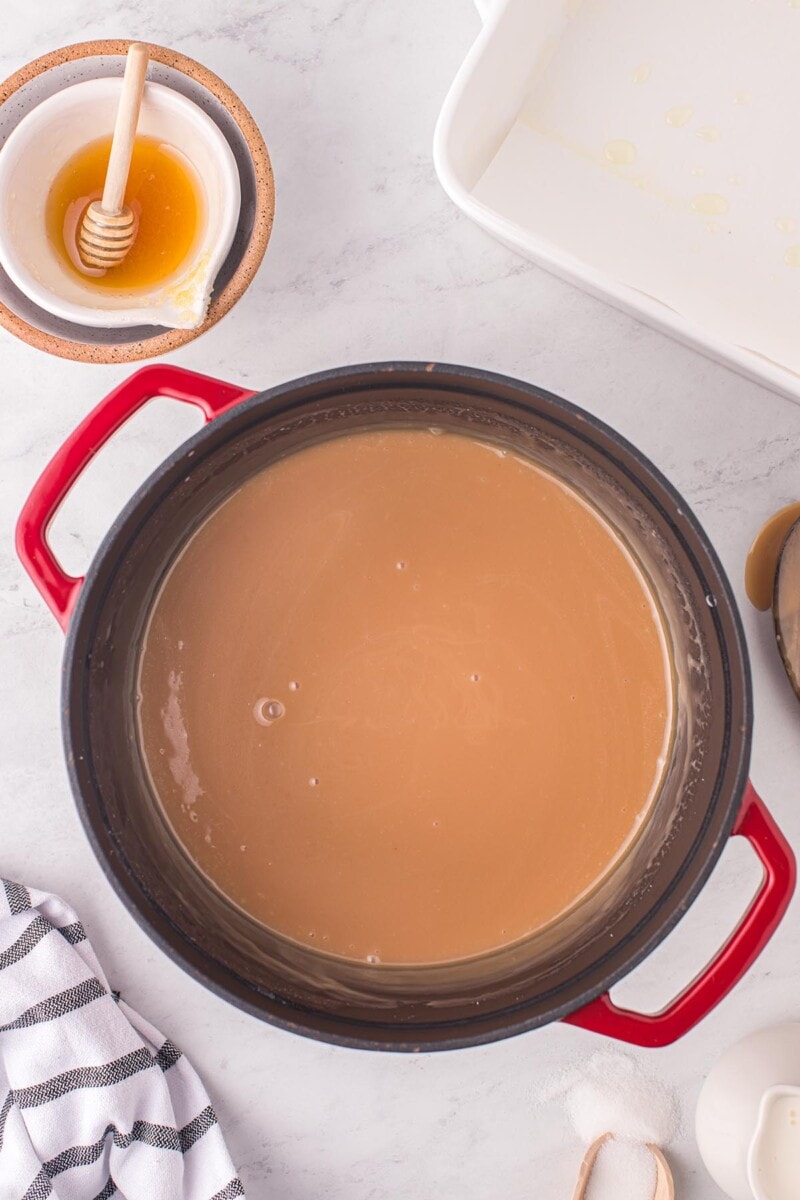
Pro Tip: Be sure that your mixture continues to boil the whole time and do not add the cream too quickly. - Take The Temperature: Bring the mixture to a boil, stirring occasionally, until a candy thermometer reads 240 degrees Fahrenheit.
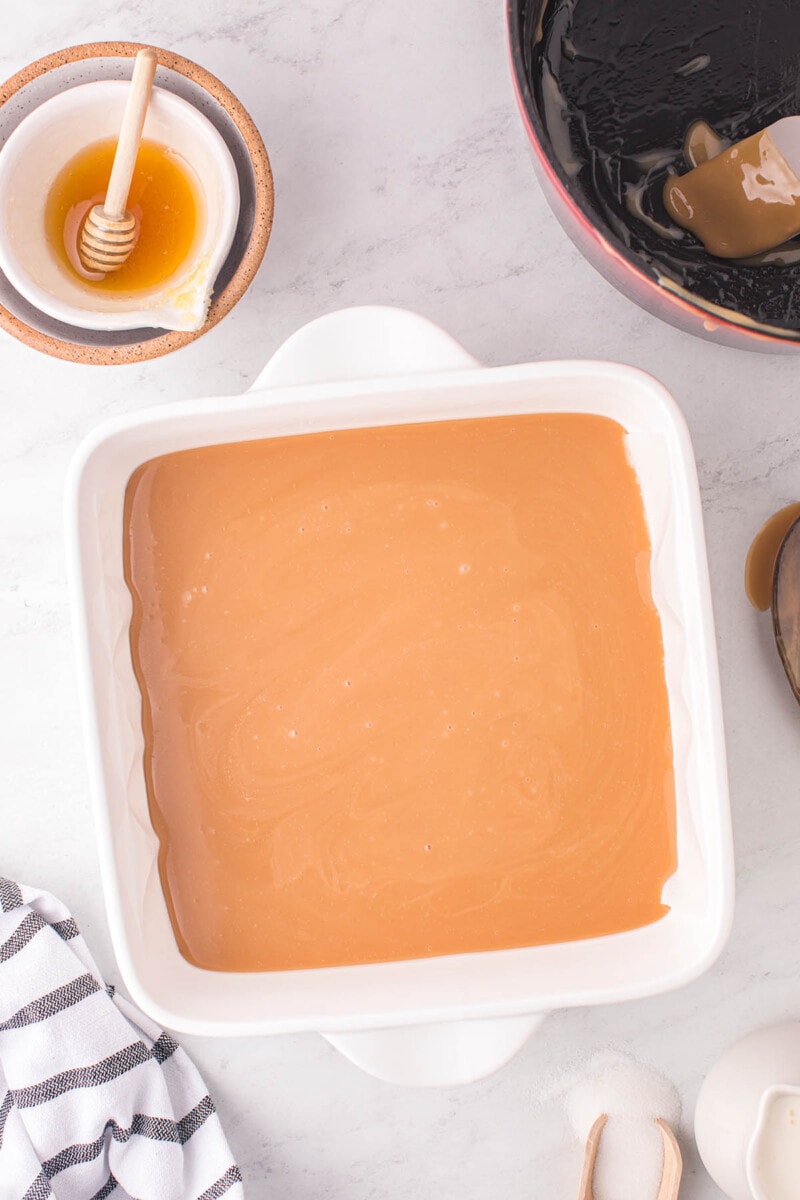
Pro Tip: The caramel will go through a very frothy stage and then get darker and be more condensed. This process can take 10-30 minutes. - Pour Into The Pan: Pour the hot caramel mixture into the pan, and let it set at room temperature over several hours to overnight.
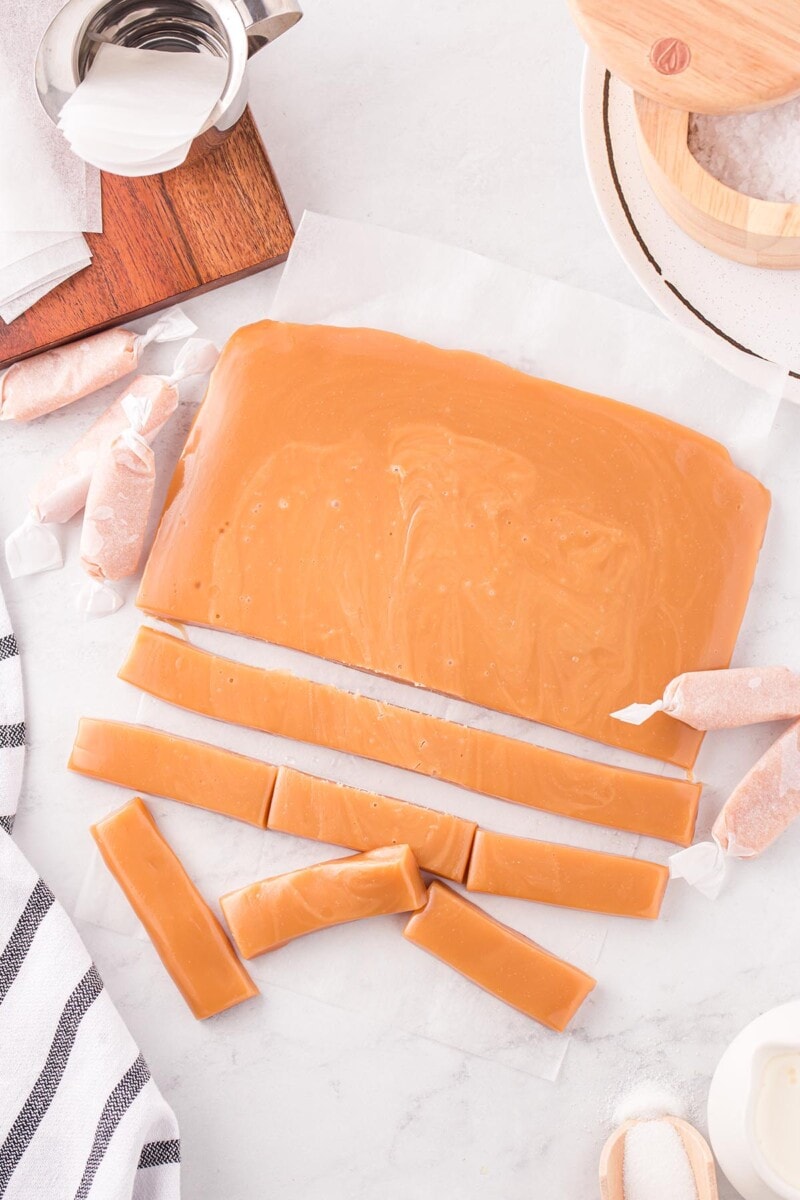
- Slice and Serve: Cut the caramel into small squares or rectangles and serve immediately or wrap tightly with parchment paper and store for later. Enjoy!
Pro Tip: Spray your cutting utensil with cooking spray if it is sticking.
Tip From Our Recipe Developer
- Be sure to have all your ingredients out and equipment ready so that you don’t have to try to rush to grab something while the caramels are boiling. You want to be able to give your attention to the delicious candy.
- Make sure to slowly stir in the heavy cream. If you add the cream too quickly, the sudden change in temperature will cause the caramels to curdle.
- If you don’t have a candy thermometer, you can use the cold water test. Drop a small amount of caramel into a cup of ice water. If it forms a soft ball, it’s done. If not, keep heating it for about a minute and then try again.
- You want the mixture to reach 240°F before removing it from heat. Don’t let it get hotter than 250°F or it will burn.
- After the caramel has cooled slightly I recommend covering the pan well with plastic wrap so that it doesn’t take on any strange odors while it finishes cooling, especially if you decide to cool it in the refrigerator. You can refrigerate the caramel for a faster set but it will harden and will need to come back to room temperature before serving.
What to Do If You Don’t Have a Candy Thermometer?
A candy thermometer is a handy tool to have and is usually pretty affordable. However, not everyone has one or likes using one.
If you do not have a candy thermometer, you can scoop a small amount of the caramel into a prepared cup of ice water and then mold it into a shape.
It should be firm, malleable, and slightly sticky. This is called the firm ball stage and indicates that the caramel is ready. If you choose to use this method, be sure to have your ice water ready before you start and use lots of ice.
If you overcook your caramel while trying to prepare the ice water it may get too hard!
Storage
- To Store: If wrapped well, you can store your candy in a container or bag at room temperature for up to 6 months. You can also store them in the refrigerator for up to 1 year.
- To Freeze: Wrap your caramels and store them in a freezer-safe bag or container for up to 1 year.
Other Easy Recipes Using Caramel
- Caramel Apple Slices
- Caramel Apple Bars
- Caramel Apple Dump Cake
- Caramel Apple Dip
- Salted Caramel Sauce
- Caramel Fudge
Homemade Caramels
Ingredients
- 1½ cup granulated white sugar
- ½ cup honey
- 6 Tablespoons salted butter (¾ stick)
- ¼ teaspoon salt
- ¾ cup heavy cream
Instructions
- Line an 8 inch square pan with parchment paper or grease it well with butter or oil.
- Heat the sugar, honey, butter and salt in a large saucepan over medium heat until melted and combined and the mixture begins to simmer, about 5-10 minutes. Stir frequently.
- While that is heating, heat the cream over medium-low heat in a small saucepan, stirring frequently. Do not boil the cream, if it begins to steam lower the heat. You will know the cream has finished heating when you see small bubbles begin to form along the outer edges of the pan.
- Once the caramel mixture is bubbling, slowly pour in the warmed cream, over several minutes while stirring constantly. Be sure that your mixture continues to boil the whole time and do not add the cream too quickly.
- Turn heat to medium low. Allow the mixture to boil and continue stirring occasionally, until a candy thermometer reads 240 degrees Fahrenheit. The caramel will go through a very frothy stage and then get darker and be more condensed. This process can take 10-30 minutes.
- Carefully pour the hot caramel mixture into the prepared pan and allow it to cool and set at room temperature. . I recommend giving it several hours, preferably overnight.
- Remove the caramel from the pan using the parchment paper to lift it out and then cut it into small squares or rectangles using a pizza cutter or sharp knife. Spray your cutting utensil with cooking spray if it is sticking.
- Serve immediately or wrap tightly with parchment paper and store for later.
Jenn’s Notes
- To Store: If wrapped well, you can store your candy in a container or bag at room temperature for up to 6 months. You can also store them in the refrigerator for up to 1 year.
- To Freeze: Wrap your caramels and store them in a freezer safe bag or container for up to 1 year.
- Be sure to have all your ingredients out and equipment ready so that you don’t have to try to rush to grab something while the caramels are boiling. You want to be able to give your attention to the delicious candy.
- Make sure to slowly stir in the heavy cream. If you add the cream too quickly, the sudden change in temperature will cause the caramels to curdle.
- If you don’t have a candy thermometer, you can use the cold water test. Drop a small amount of caramel into a cup of ice water. If it forms a soft ball, it’s done. If not, keep heating it for about a minute and then try again.
- You want the mixture to reach 240°F before removing it from heat. Don’t let it get hotter than 250°F or it will burn.
- After the caramel has cooled slightly I recommend covering the pan well with plastic wrap so that it doesn’t take on any strange odors while it finishes cooling, especially if you decide to cool it in the refrigerator. You can refrigerate the caramel for a faster set but it will harden and will need to come back to room temperature before serving.


taste good though
hokey pete! they all look so good. I’m going to gain a lot of weight!
For some reason this recipe isn’t working for me so I am hoping you can offer suggestions. I lined the pan but it was wax paper vs parchment and the caramels are sticking to the paper. What am I doing wrong?
Don’t know if this is going to the girl that asked about the black paper in the pan for her fudge, but yeah wax paper is definitely not. oh what you could use for that or for caramel. actually not for anything. I use parchment paper for almost everything now. But if it’s not dirty when you finish whatever you’re doing I just fold it and put it away and use it upside down the next time
I would stick to the parchment paper!
why does it say 60 thousand calories but only nine grams of sugar i checked how many grams of sugar there is in this recipe and there is 300 grams of sugar this recipe actully has only 2903 calories
It is actually correct, but it is 60 calories. Calories and kcal are used interchangeably and refer to the same amount of energy in relation to food. This is how almost all recipe cards are set up on most site you will visit. Sorry for the confusion. I promise they are not 60,000 calories!