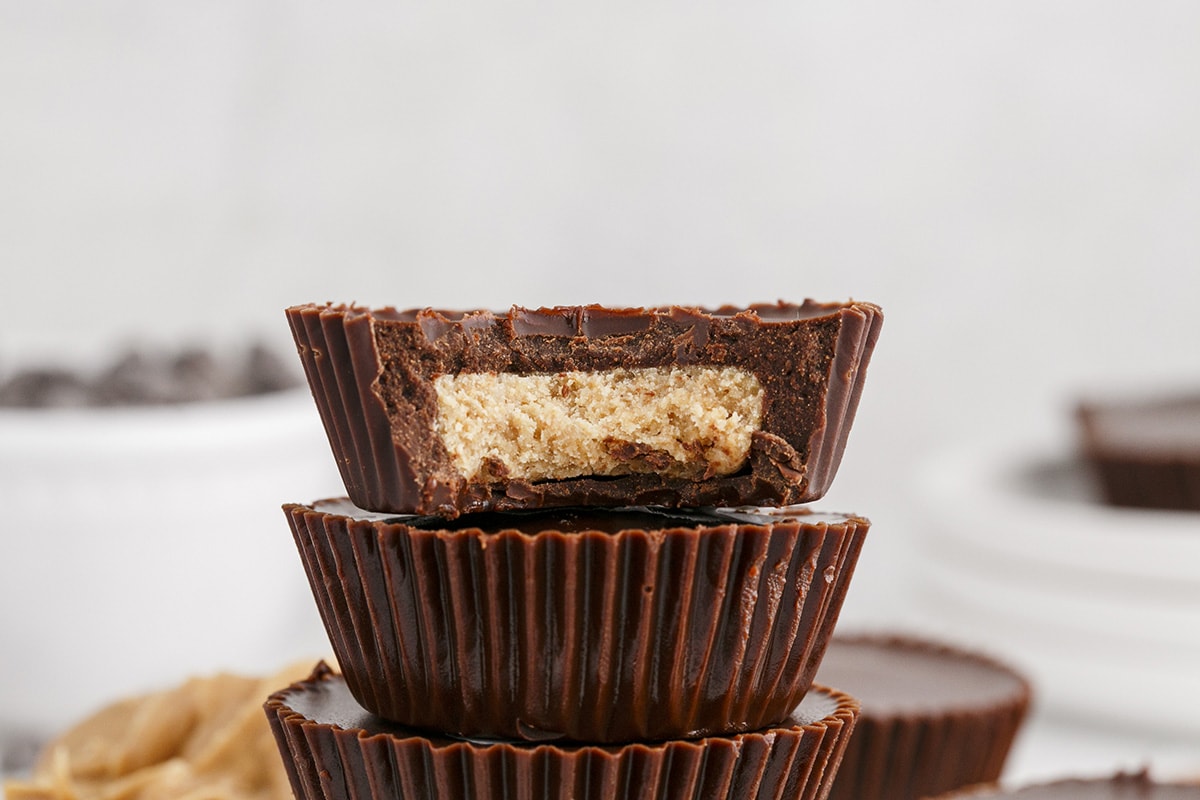
This Homemade Peanut Butter Cups recipe is a quick and easy way to recreate the classic Reese’s peanut butter cup candy from scratch.
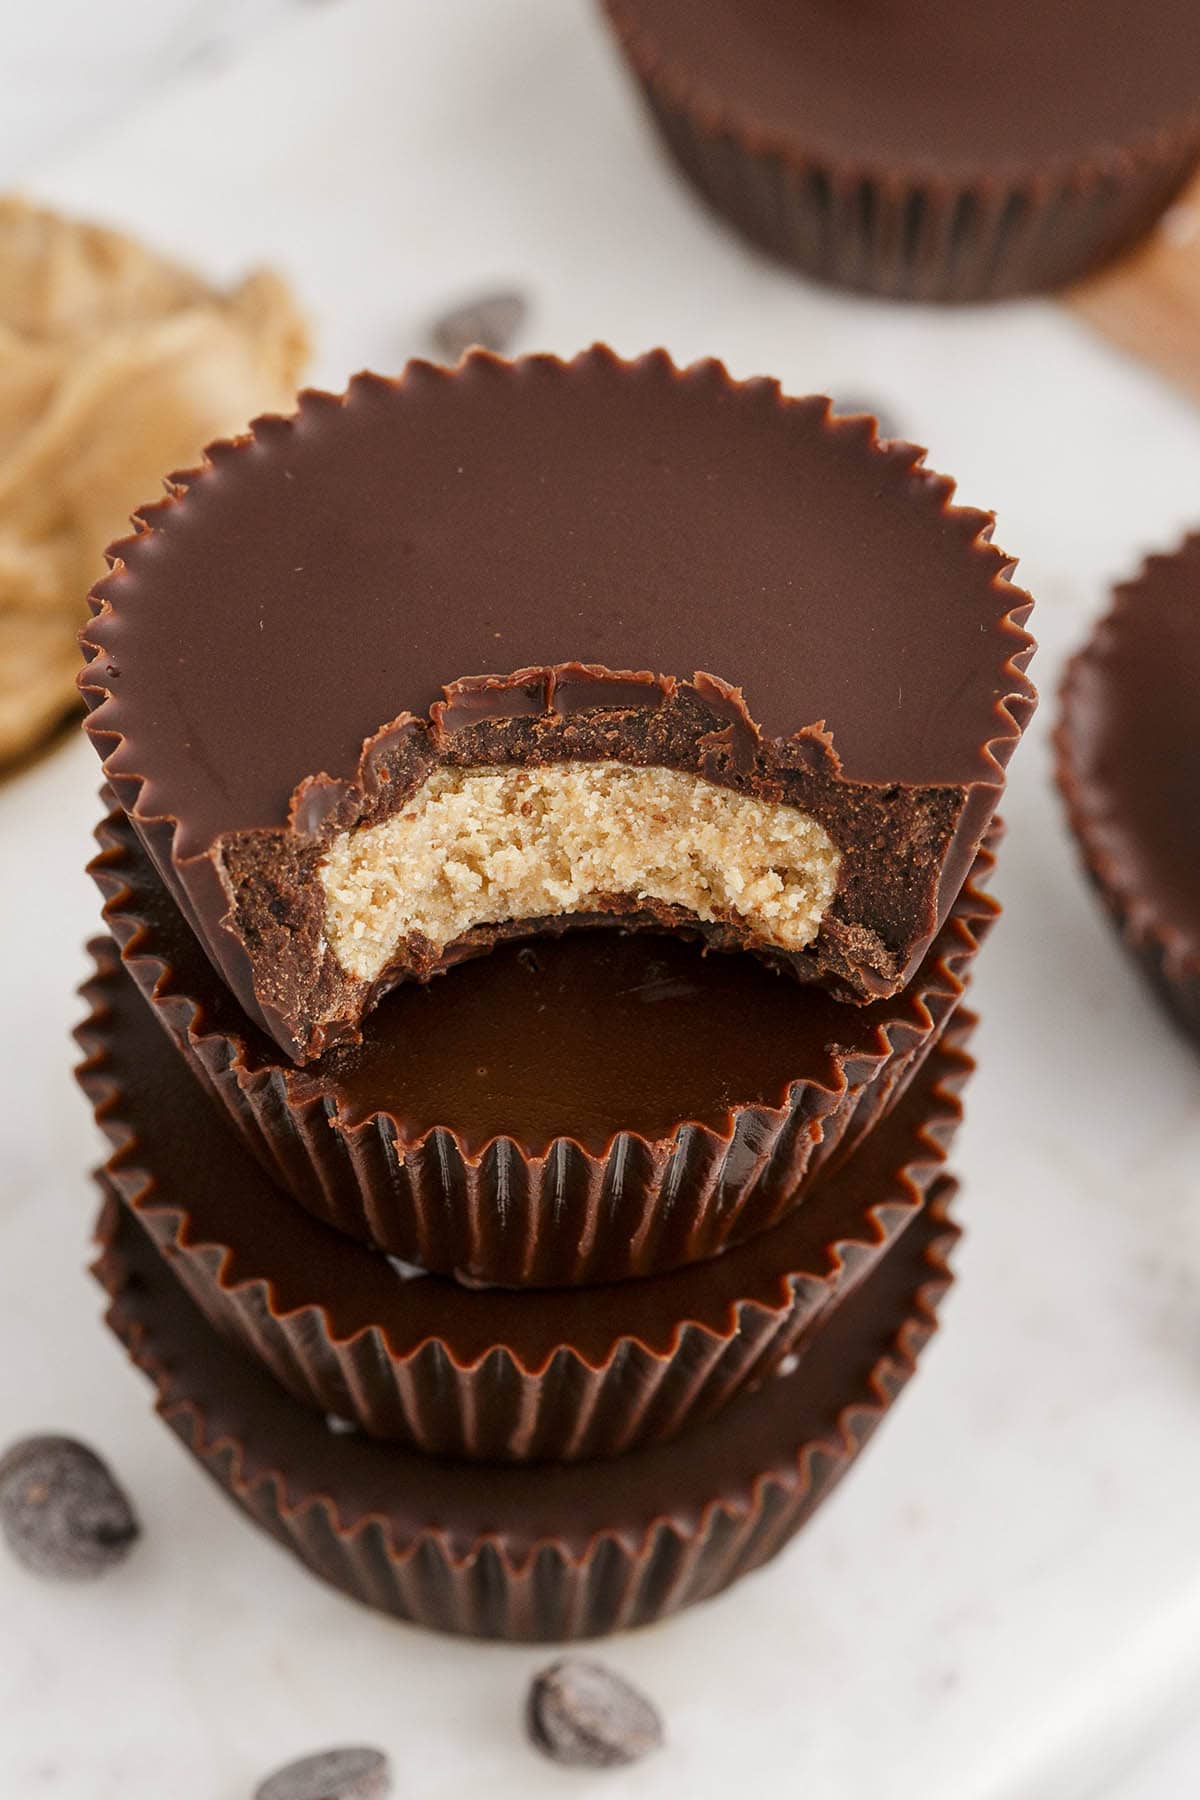
With its peanut butter, crushed graham crackers, powdered sugar, and butter filling sandwiched between two layers of chocolate, each cup perfectly matches the consistency and taste of the traditional sweet treat.
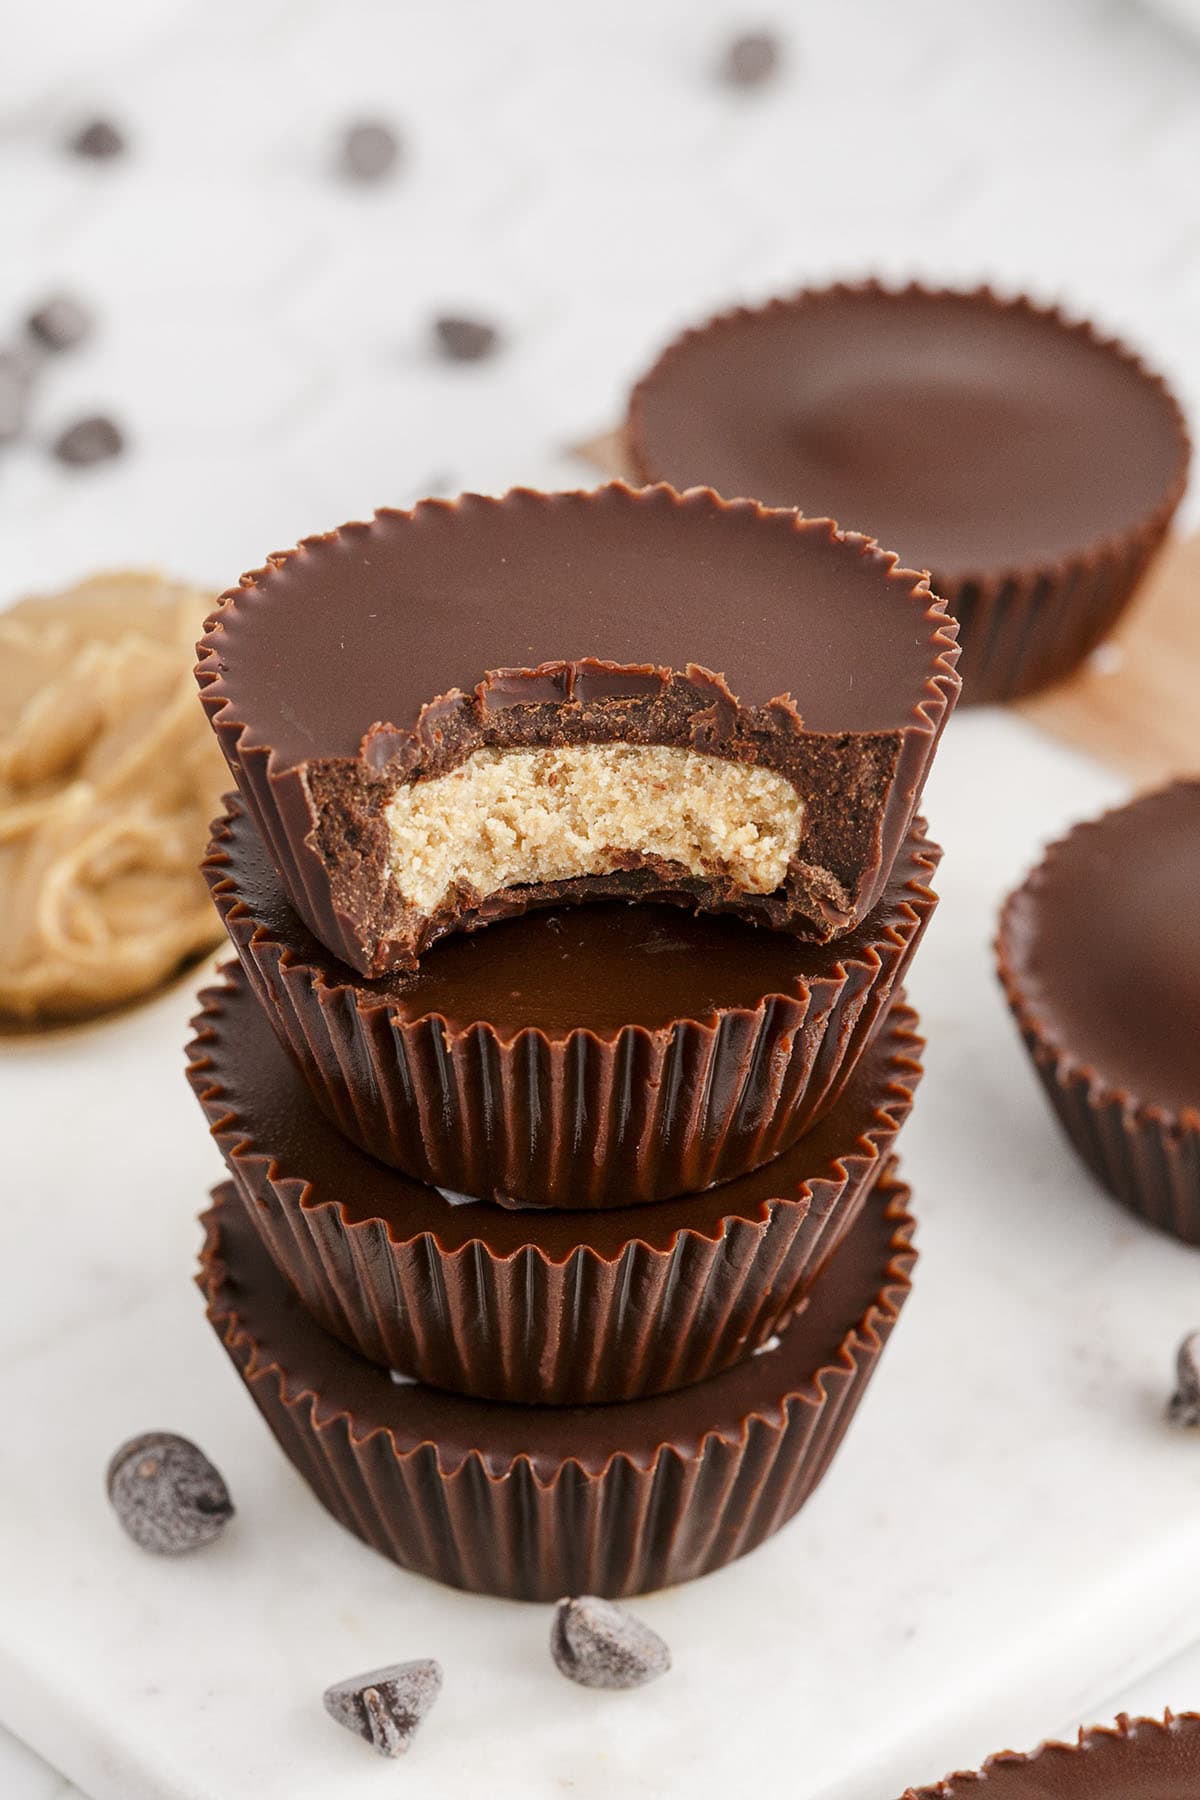
Better Than Reese’s Peanut Butter Cups
Our easy Homemade Peanut Butter Cups are deliciously rich, sweet, single-serving desserts; they taste like a copycat of the popular Reese’s peanut butter mass-produced candy, but are even better because they’re prepared without preservatives.
With the same simple ingredients as my Peanut Butter Eggs, I’ve made it even faster to create this candy as circular cups by preparing a peanut butter filling, forming the dough into individual patties, then spooning melted chocolate into muffin tins with the peanut butter mixture sitting between the top and bottom layers.
While there are many renditions of the classic candy cup, I think this recipe more closely resembles the grainy texture and taste of the real Reese’s peanut butter cups because I mix graham cracker crumbs into my filling mixture.
Why We Love Homemade Reese’s Peanut Butter Cups
- Quick and easy to make a copycat candy at home.
- Uses only 5 simple ingredients.
- Classic peanut butter chocolate flavor combination comes together in a candy cup.
- Great for gift giving or storing a stash in your freezer for when the candy craving hits.
- Perfectly portable and individually portioned sweet treats for holiday parties, potlucks, and cookie trays.
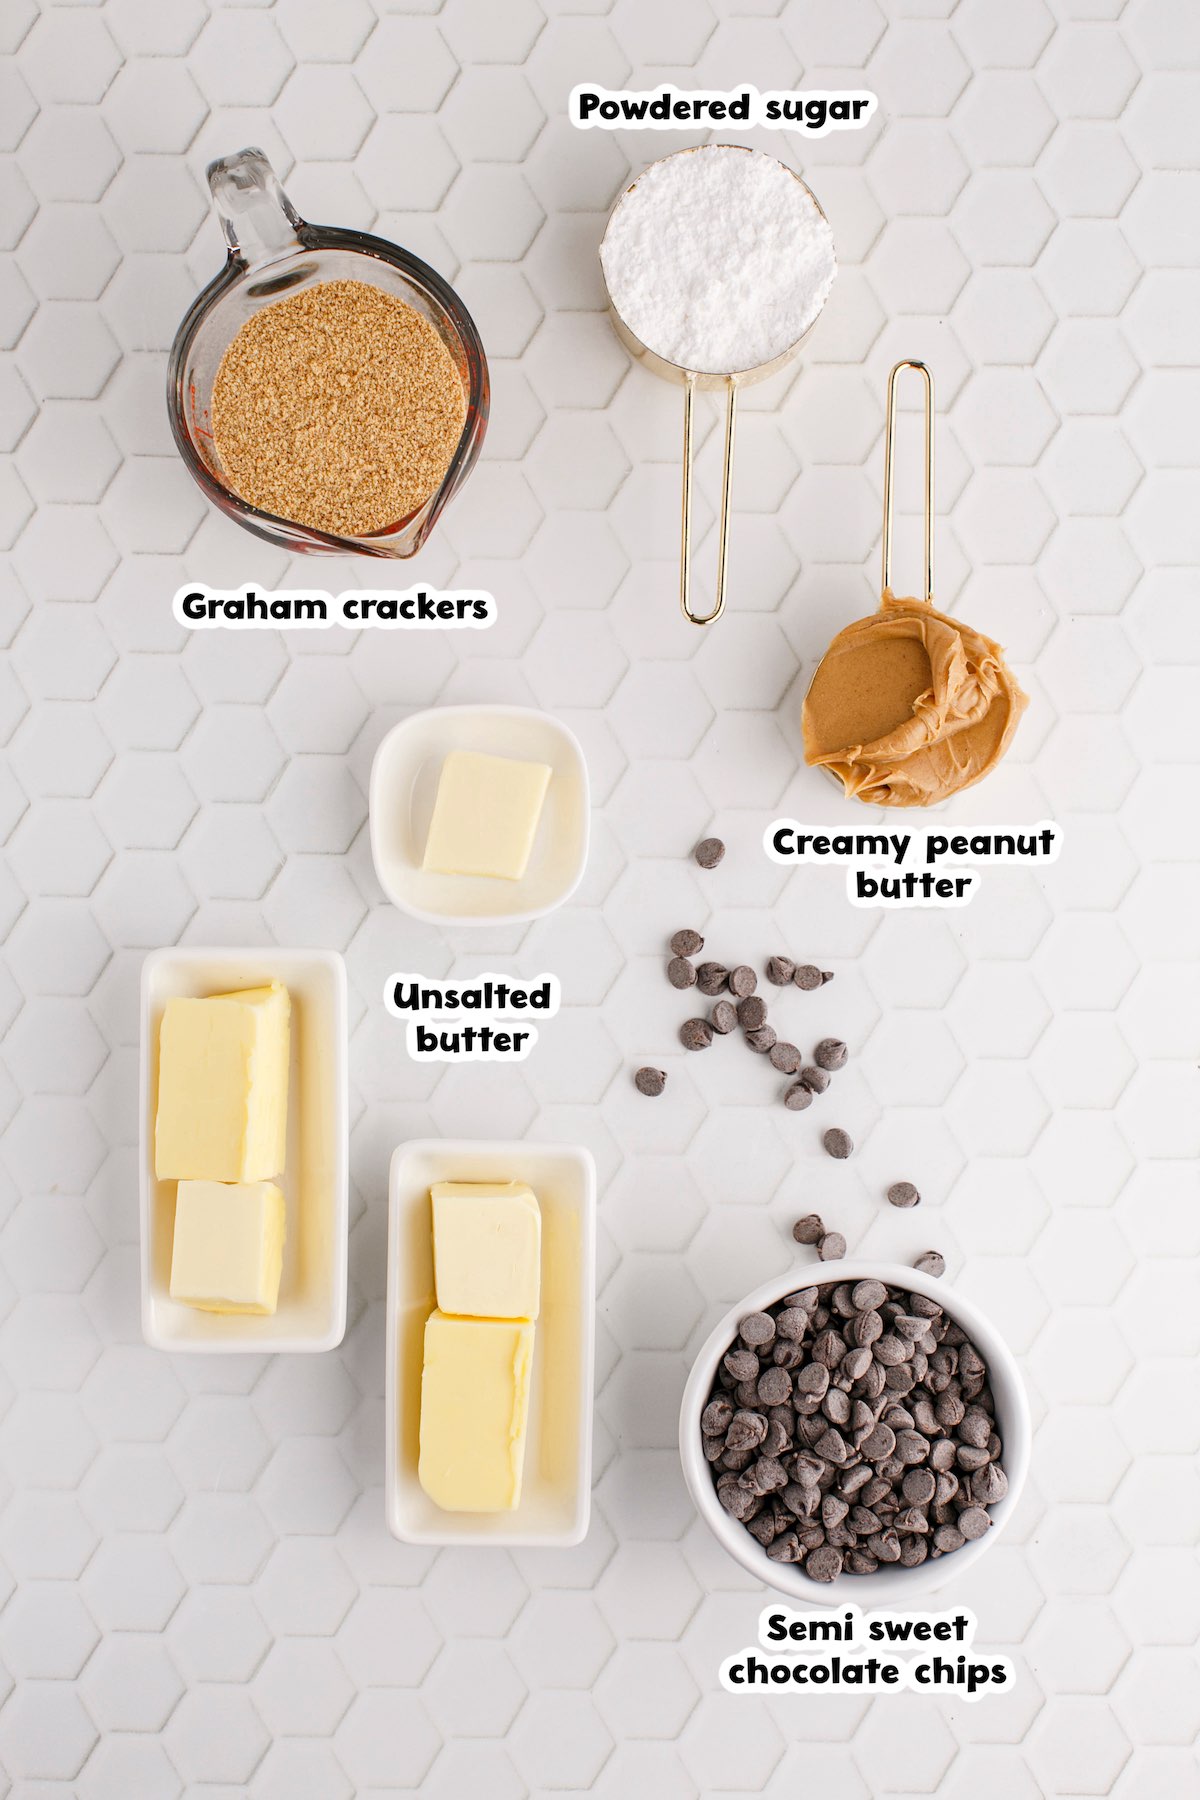
Homemade Peanut Butter Cups Ingredients
- Graham crackers: You can use gluten free graham crackers to make this a GF recipe.
- Powdered sugar
- Creamy peanut butter: I love a smooth texture, but you can use crunchy peanut butter if you prefer. Do not recommend using natural peanut butter in this recipe–it is too oily and the eggs will not set properly.
- Unsalted butter
- Semi sweet chocolate chips
Substitutions and Additions
- Pick Your Peanut/Nut Butter: You can substitute crunchy peanut butter if you want more texture in your cups. If you want the filling to be smooth, you should keep to creamy peanut butter. You can also substitute another nut or nut alternative butter, such as almond butter, cashew butter, and SunButter, but please be aware that they all have different consistencies so you may need to add more or less crumbs and powdered sugar to get firm dough.
- Choose Your Chocolate: You can use baking chocolate cut into chunks instead of chocolate chips if you prefer. Alternatively, you can substitute dark chocolate, milk chocolate, or white chocolate for a different flavor.
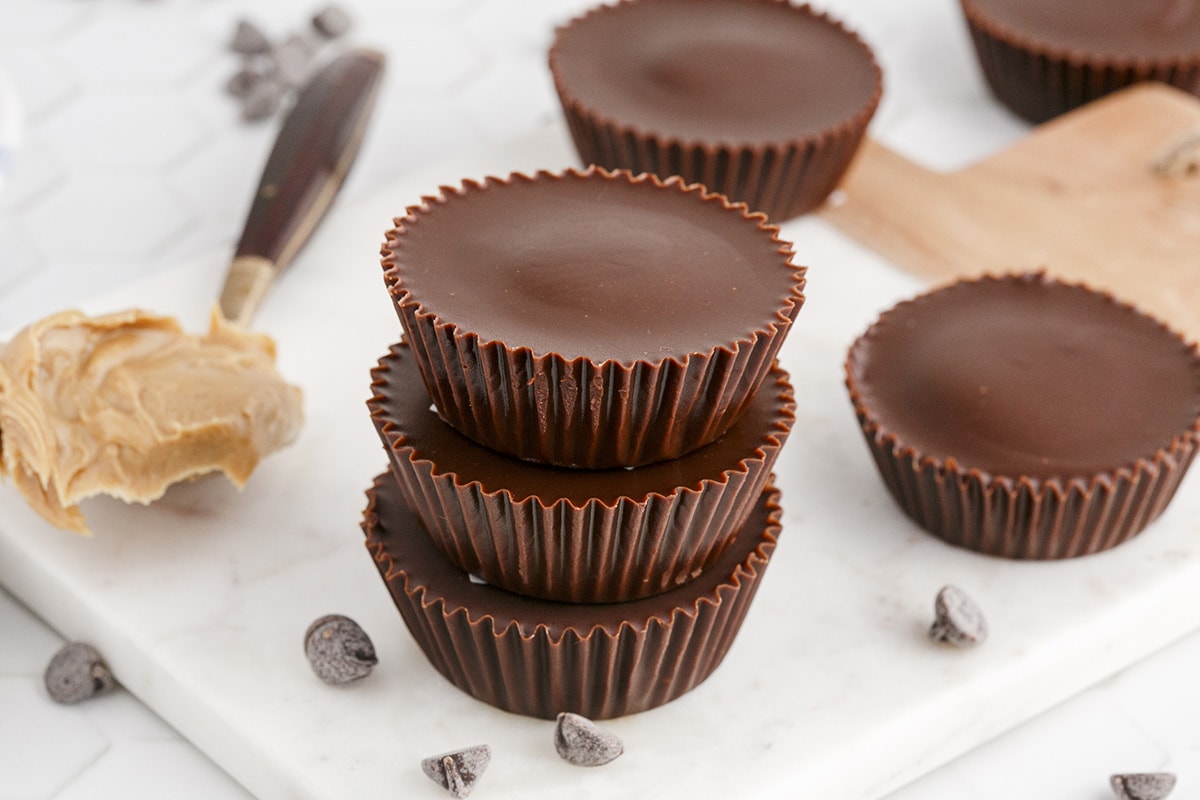
Recommended Tools
- 12-tin muffin tray
- Cupcake liners
- Cooking spray
- 1 tablespoon cookie scoop
How to Make Homemade Peanut Butter Cups
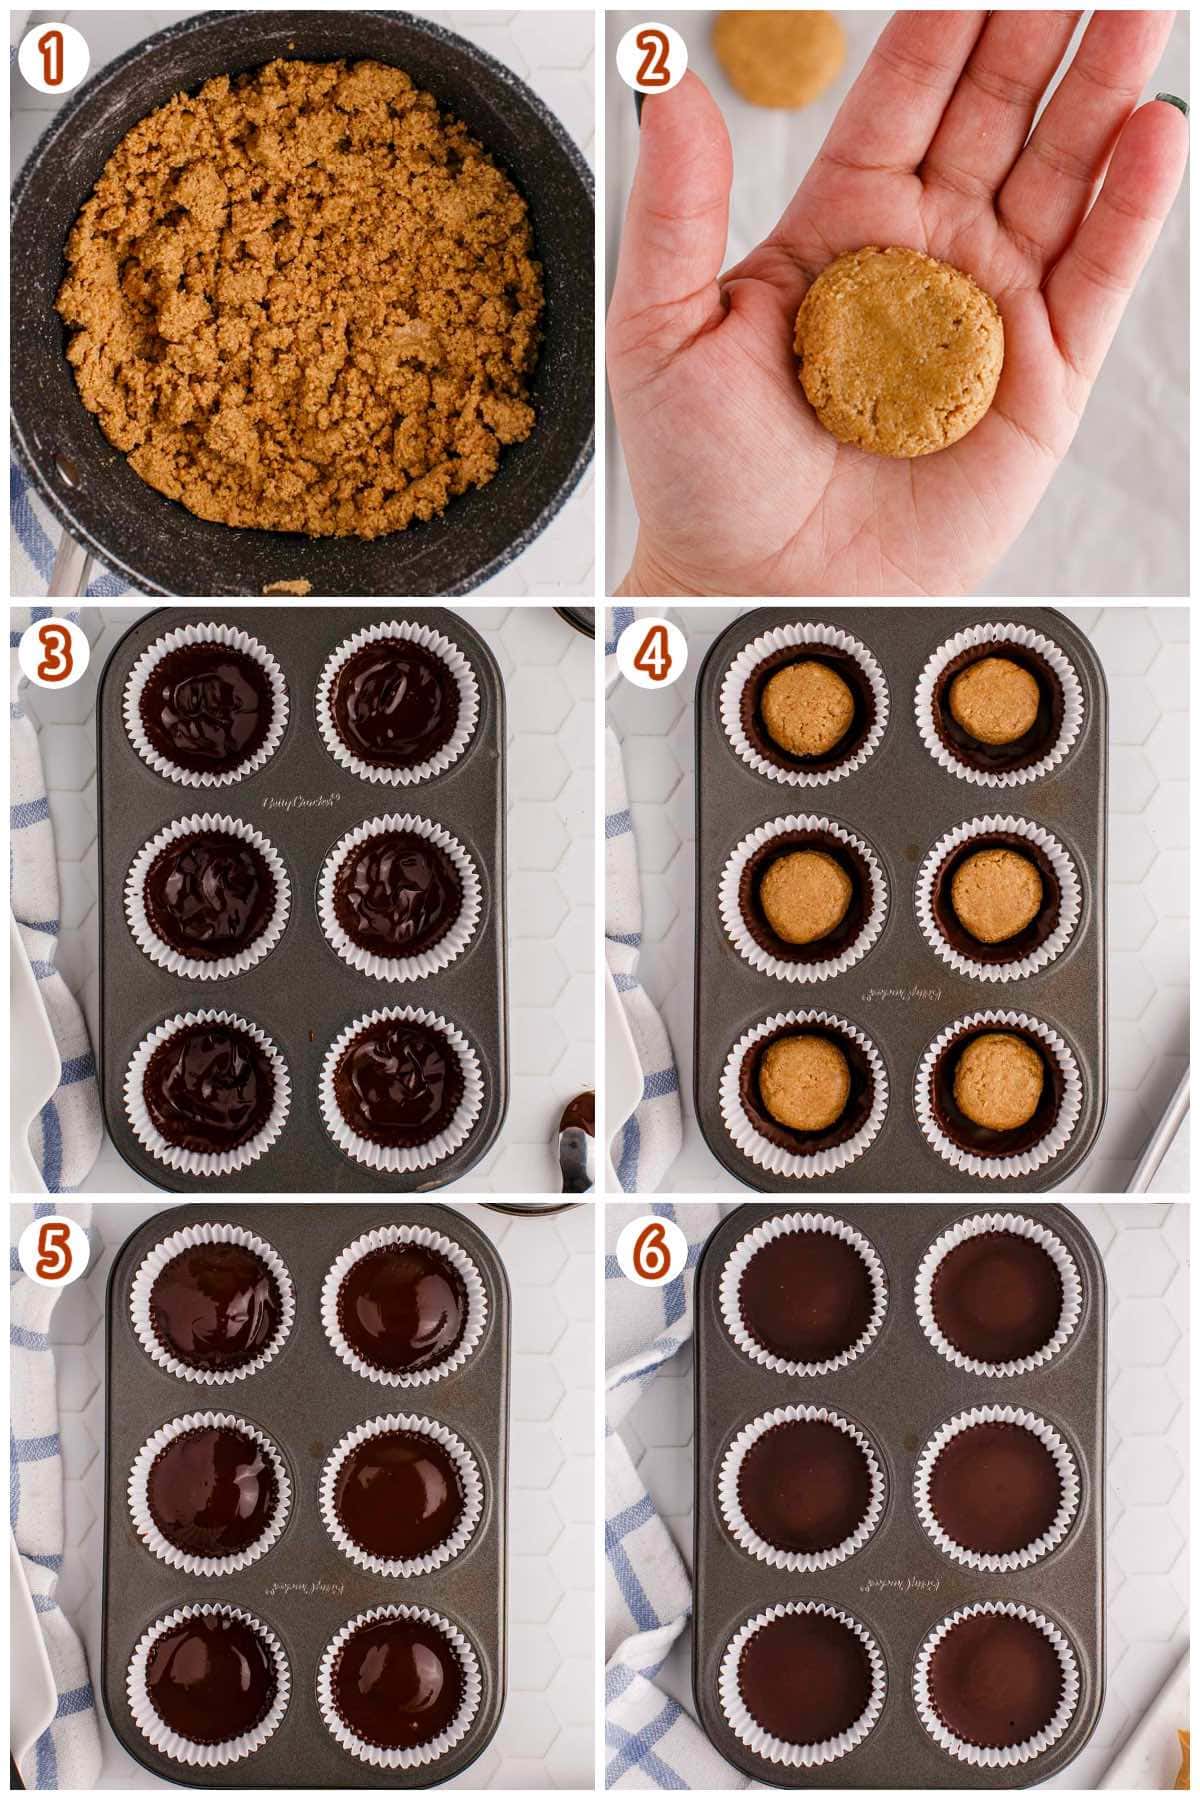
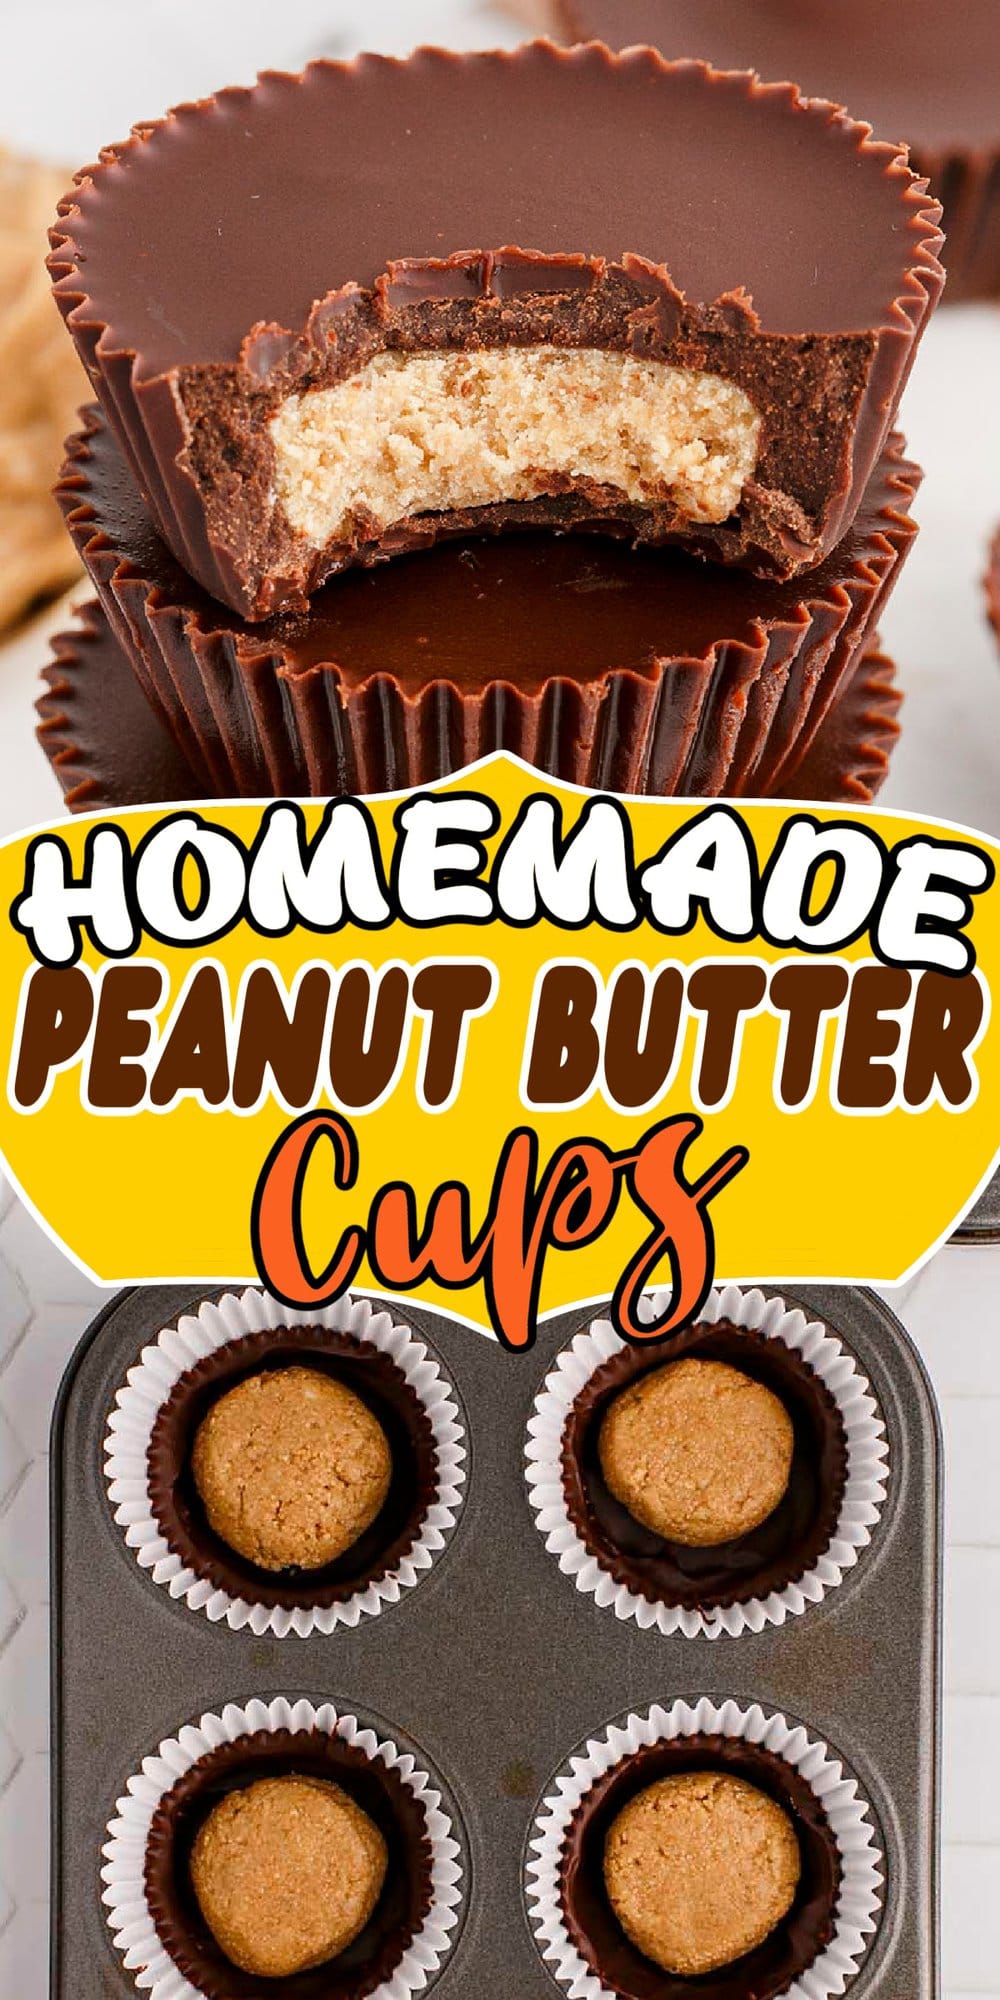
- Form The Filling: Melt the peanut butter and butter together until smooth over a double boiler or in the microwave. Stir in the graham cracker crumb/powdered sugar mixture. Evenly divide the filling into 12 balls, then flatten into “patties.”
Pro Tip: You will have a dry crumbly texture. - Make The Bottom Layer: Melt together the chocolate chips and butter until smooth. Scoop melted chocolate into each muffin cup, pulling the chocolate up halfway with a spoon, and smooth it out. Place in the fridge for about 10 minutes to cool.
Pro Tip: Leave the leftover chocolate over the water bath to stay warm. - Create The Cups: Drop a peanut butter patty into each cup. Spoon more melted chocolate on top of the peanut butter for a nice smooth layer. Chill in the fridge to set for 2-4 hours.
Pro Tip: Shaking the muffin tray will help with an even layer. - Serve: Serve and enjoy!
Tip for the Best Homemade Peanut Butter Cups
- If your peanut butter patties are rounded, they might require more chocolate to get a nice even top layer. You can melt more chocolate to add if needed, 1 ounce chocolate to 1 tablespoon butter will work well.
- Do not use natural peanut butter in this recipe–it is too oily and the eggs will not set properly. I think Jif or Skippy works great!
- If there are any high spots on the bottom of the chocolate cup, you can push it down with your finger to ensure your peanut butter can lay flat on top of the base.
More Easy Reese's Recipes
How to Store Homemade Peanut Butter Cup
- To Store: These Peanut Butter Cups can be stored at room temperature for up to 2 weeks or in an airtight container or bag in the refrigerator for slightly longer.
- To Freeze: Store these Peanut Butter Cups in a freezer-safe container or bag for up to 3 months.
More Delicious Recipes
- Buckeyes
- Heaven On Earth Cake
- Easy Chocolate Fudge
- Butter Mints
- Homemade Caramels
- Peanut Butter Icebox Cake
- Peanut Butter Marshmallow Cup
Homemade Peanut Butter Cups
Ingredients
Peanut Butter Inside:
- ¾ cup graham cracker crumbs
- ½ cup powdered sugar
- 3 ounces smooth peanut butter about 1/3 cup
- 1 tablespoon unsalted butter
Chocolate Layers (Bottom):
- 7 ounces semi-sweet chocolate chips
- ¼ cup plus 1 tablespoon unsalted butter (5 tablespoons)
Chocolate Layer (Top):
- 5 ounces semi-sweet chocolate chips
- ¼ cup plus 1 tablespoon unsalted butter (5 tablespoons)
Instructions
- Prep a 12-tin muffin tray with liners, then start making your peanut butter inside layer.
- Combine graham cracker crumbs and powdered sugar in a bowl and set aside. Any small clumps will melt down later.
- In a heat safe bowl melt peanut butter and unsalted butter together until smooth on low heat, over a pot with water. Alternatively, you can do this in the microwave.
- Add graham cracker crumb mixture to the pot and stir until combined. It will be a dry crumbly texture.
- Evenly divide into 12 balls, then flatten into “patties”, using a 1 tablespoon scoop. Set aside while you prep your chocolate.
- Using another heat safe bowl on low, melt together 7 ounces of chocolate chips with ¼ cup plus 1 tablespoon butter until smooth.
- Scoop 1 tablespoon of chocolate into each muffin cup and with the backside of a small spoon pull the chocolate up about halfway. Try to smooth out the bottom as best as you can. (Reserve the rest of the chocolate chips and butter for the top layer. Note: there will be left over chocolate, leave this over the water bath to stay warm, until you start the bottom.) Place in the fridge for about 10 minutes to cool.
- Once the bottom is cool, drop a peanut butter patty into each cup. Note: if there are any high spots on the bottom of the chocolate cup, you can push it down with your finger to ensure your peanut butter can lay flat.
- Add the remaining 5 ounces of chocolate chips and butter to the heat safe bowl and melt again until smooth.
- Spoon 1 ½ tablespoons on top of the peanut butter for a nice smooth layer. Shaking the muffin tray will help with an even layer.
- Place in the fridge to set for 2-4 hours.
Jenn’s Notes
- To Store: These Peanut Butter Cups can be stored at room temperature for up to 2 weeks or in an airtight container or bag in the refrigerator for slightly longer.
- To Freeze: Store these Peanut Butter Cups in a freezer-safe container or bag for up to 3 months.
- If your peanut butter patties are rounded, they might require more chocolate to get a nice even top layer. You can melt more chocolate to add if needed, 1 ounce chocolate to 1 tablespoon butter will work well.
- Do not use natural peanut butter in this recipe–it is too oily and the eggs will not set properly. I think Jif or Skippy works great!
- If there are any high spots on the bottom of the chocolate cup, you can push it down with your finger to ensure your peanut butter can lay flat on top of the base.



Can this be made with white chocolate chips?