This simple sugar cookie icing recipe is made in minutes with just 5 ingredients plus a little food coloring. All you need is a few basic tools and your pantry staples to make cookie icing that is sweet, delicious, and easy to use.
Easy Royal Icing for Sugar Cookies
Decorating sugar cookies shouldn’t be complicated or intimidating! That’s why this icing is so simple to make and easy to apply to your cookies so you can create the most elaborate designs without the fancy equipment. The icing hardens smooth, firm, and glossy but is still soft enough to bite into.
This is the perfect sugar cookie icing because it tastes deliciously sweet, but it doesn’t overpower the flavor of your favorite cookie recipe. For the conventional baker in you, we make decorating sugar cookies a fun way to elevate your treat from simply ordinary to extraordinary!
Why You’ll Love Using Sugar Cookie Icing that Hardens
- Simple to make and easy to use
- No fancy ingredients or equipment required
- Tastes delicious and hardens quickly
- Works for all types of cookies and perfect for any holiday cookie exchange
- Creates a firm shell so you can stack your cookies or bag them
- Add sprinkles or sparkles to make additional fun and pretty designs
Sugar Cookie Icing Recipe ingredients
- Powdered sugar: Also known as confectioners’ sugar and icing sugar. Do not use granulated white sugar.
- Light corn syrup: This helps the icing harden and what gives it that brilliant shine!
- Clear vanilla flavoring: Needed for pure, bright white icing.
- Almond extract
- Milk: Milk is used to thin the icing. I recommend whole milk or 2%.
- Gel food color (optional)
Sugar Cookie Icing substitutions and additions
- Food Coloring: It is very important to only use gel food color. Liquid food color will dilute the icing and will not set properly.
- Piping Bags: If you do not have piping bags or ziplock bags, you can use squeeze bottles instead of the bags to decorate your cookies.
- Vanilla Flavoring: I recommend using a clear vanilla extract to create a pure white icing. If you’re not concerned about it or are coloring the icing feel free to use pure vanilla extract instead.
- Light Corn Syrup: The corn syrup helps the icing set up a little faster and makes it shinier too. If you don’t have any you can leave it out and just use a little bit more milk.
- Extra decorations: Feel free to add sprinkles, sanding sugar, or candy pieces for extra colorful cookies!
Best Sugar Cookie Icing Tools
- Mixing bowl
- Spoon or whisk
- Quart size ziploc bags or piping bags
SEE FULL PRINTABLE RECIPE CARD BELOW
How to make Sugar Cookie Icing that Hardens
This simple icing recipe will come together in 3 easy steps and can be colored to your favorite shades!
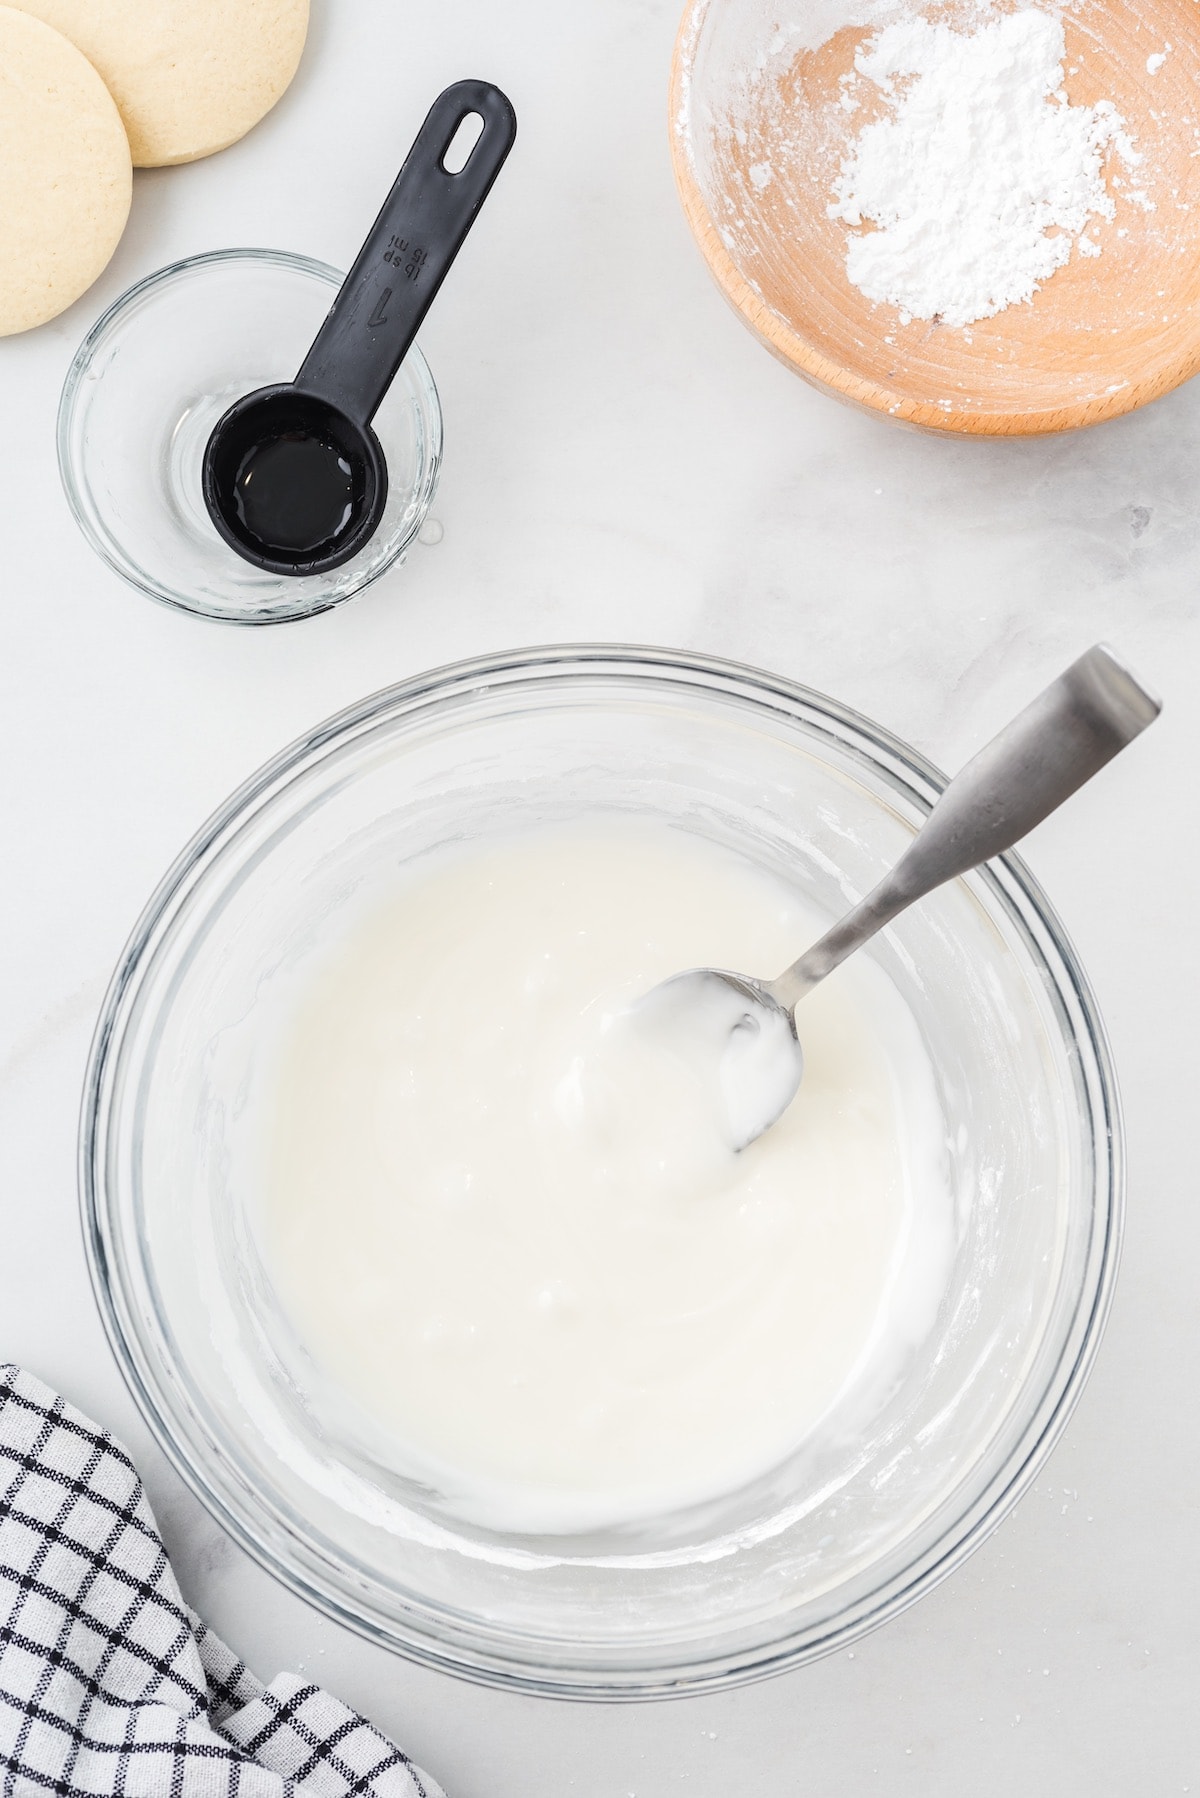
- Mix together all ingredients (except for food color) until no lumps remain.

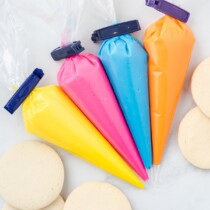
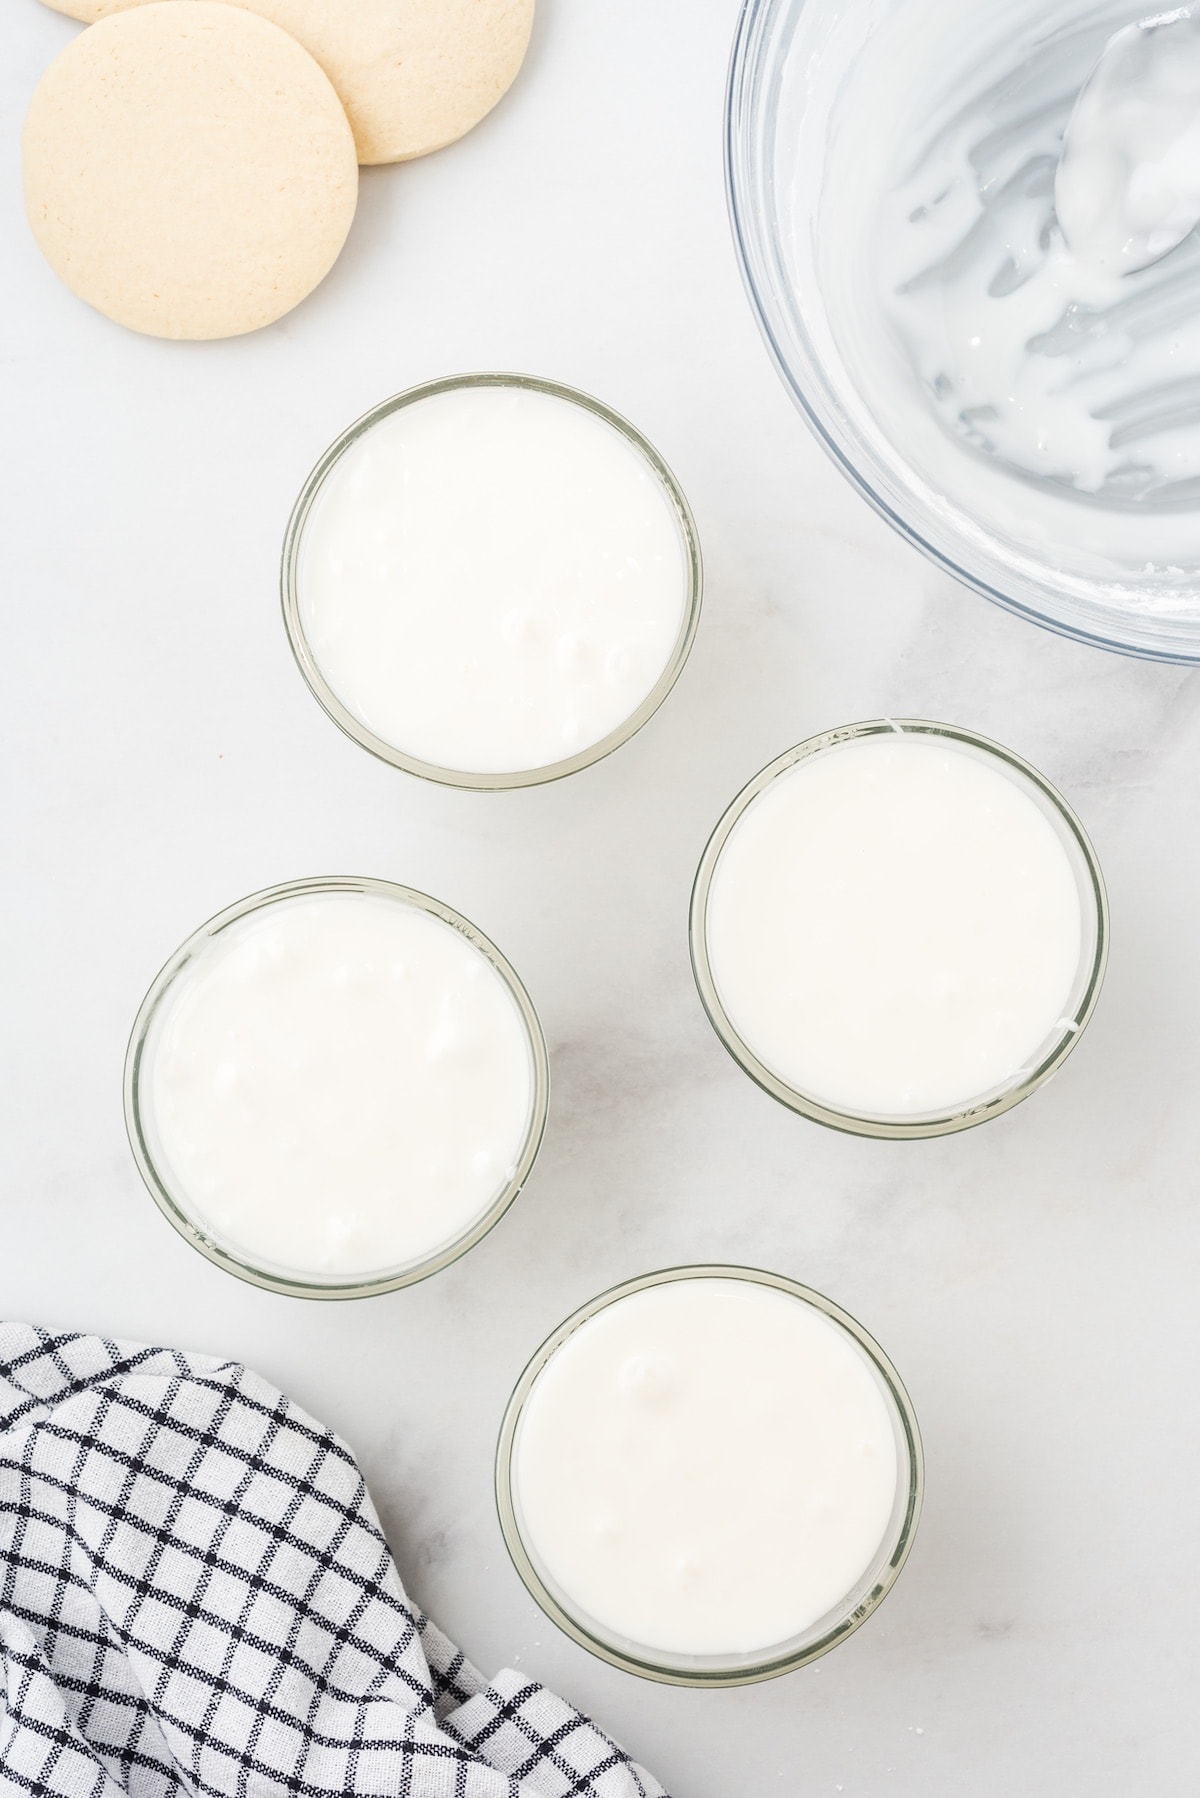
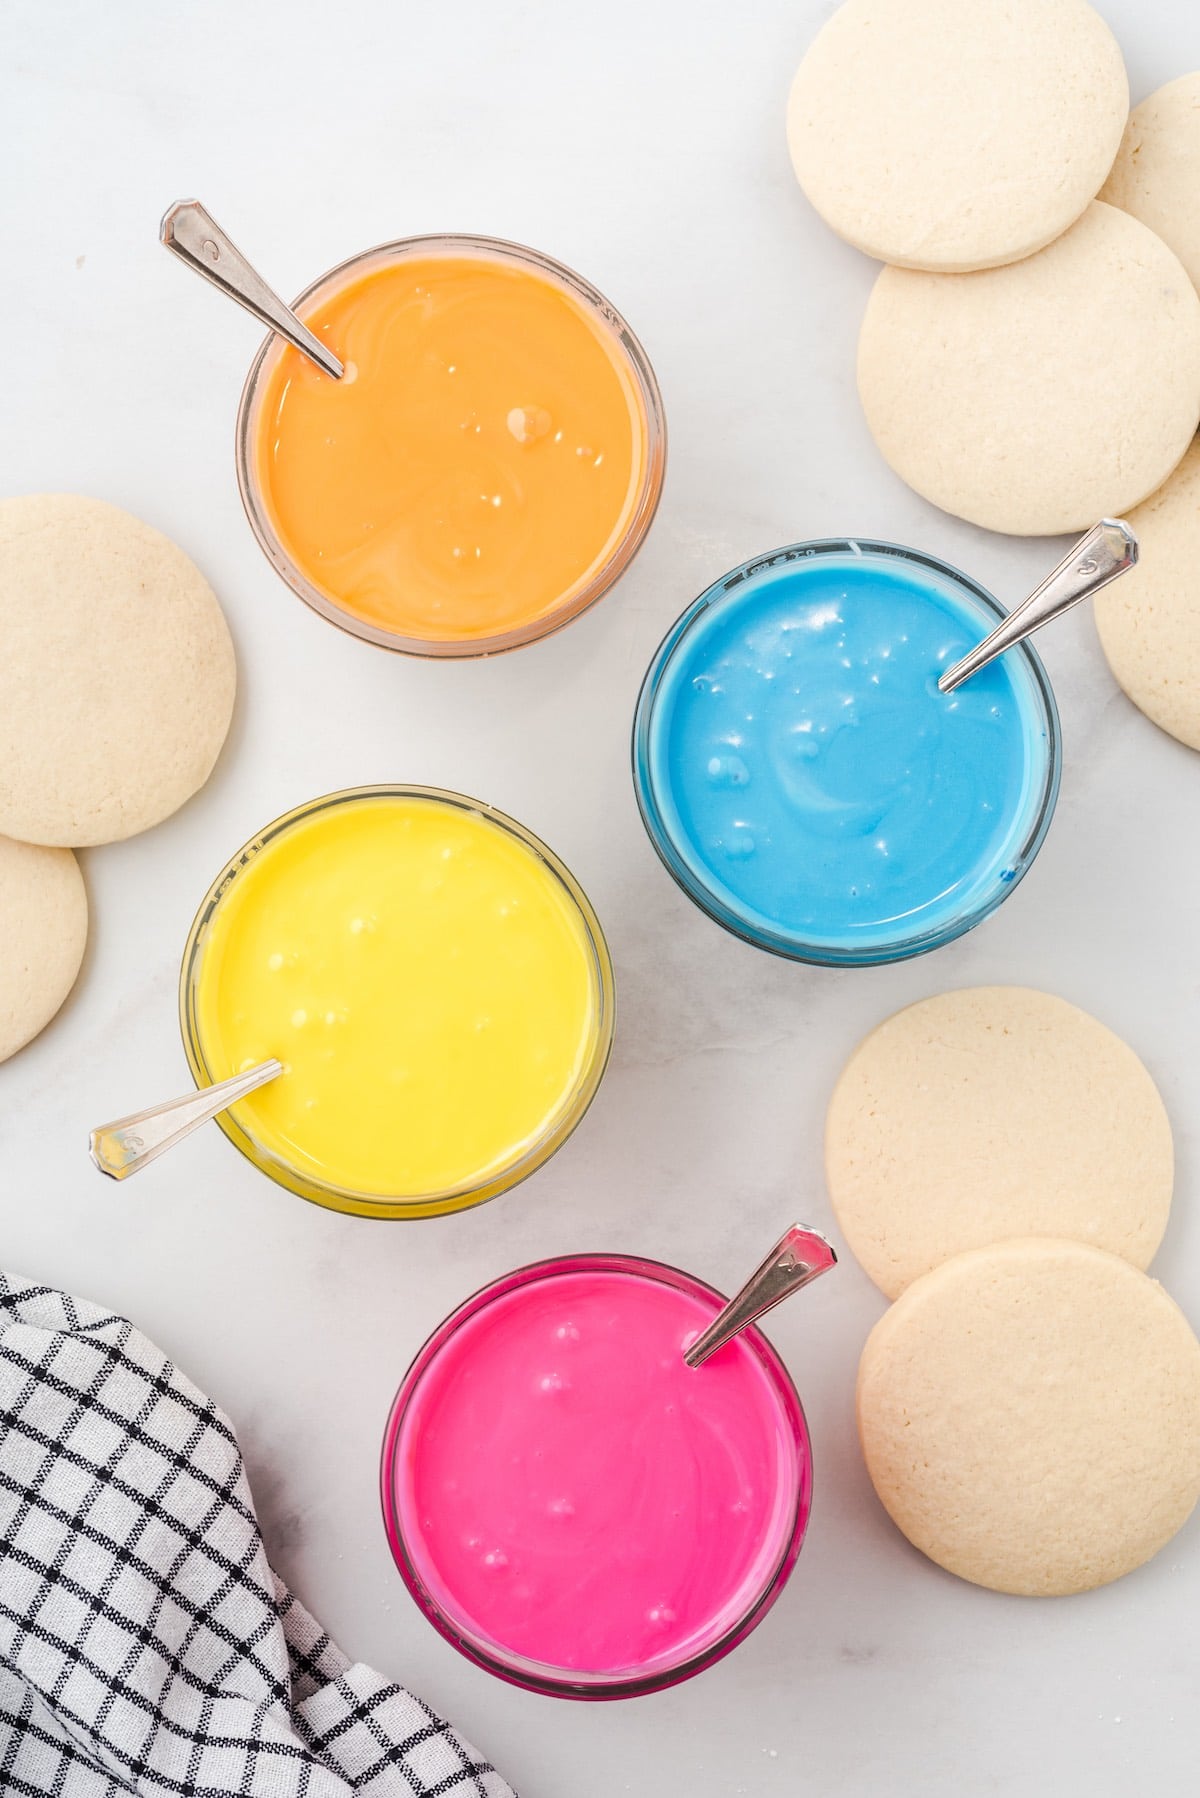
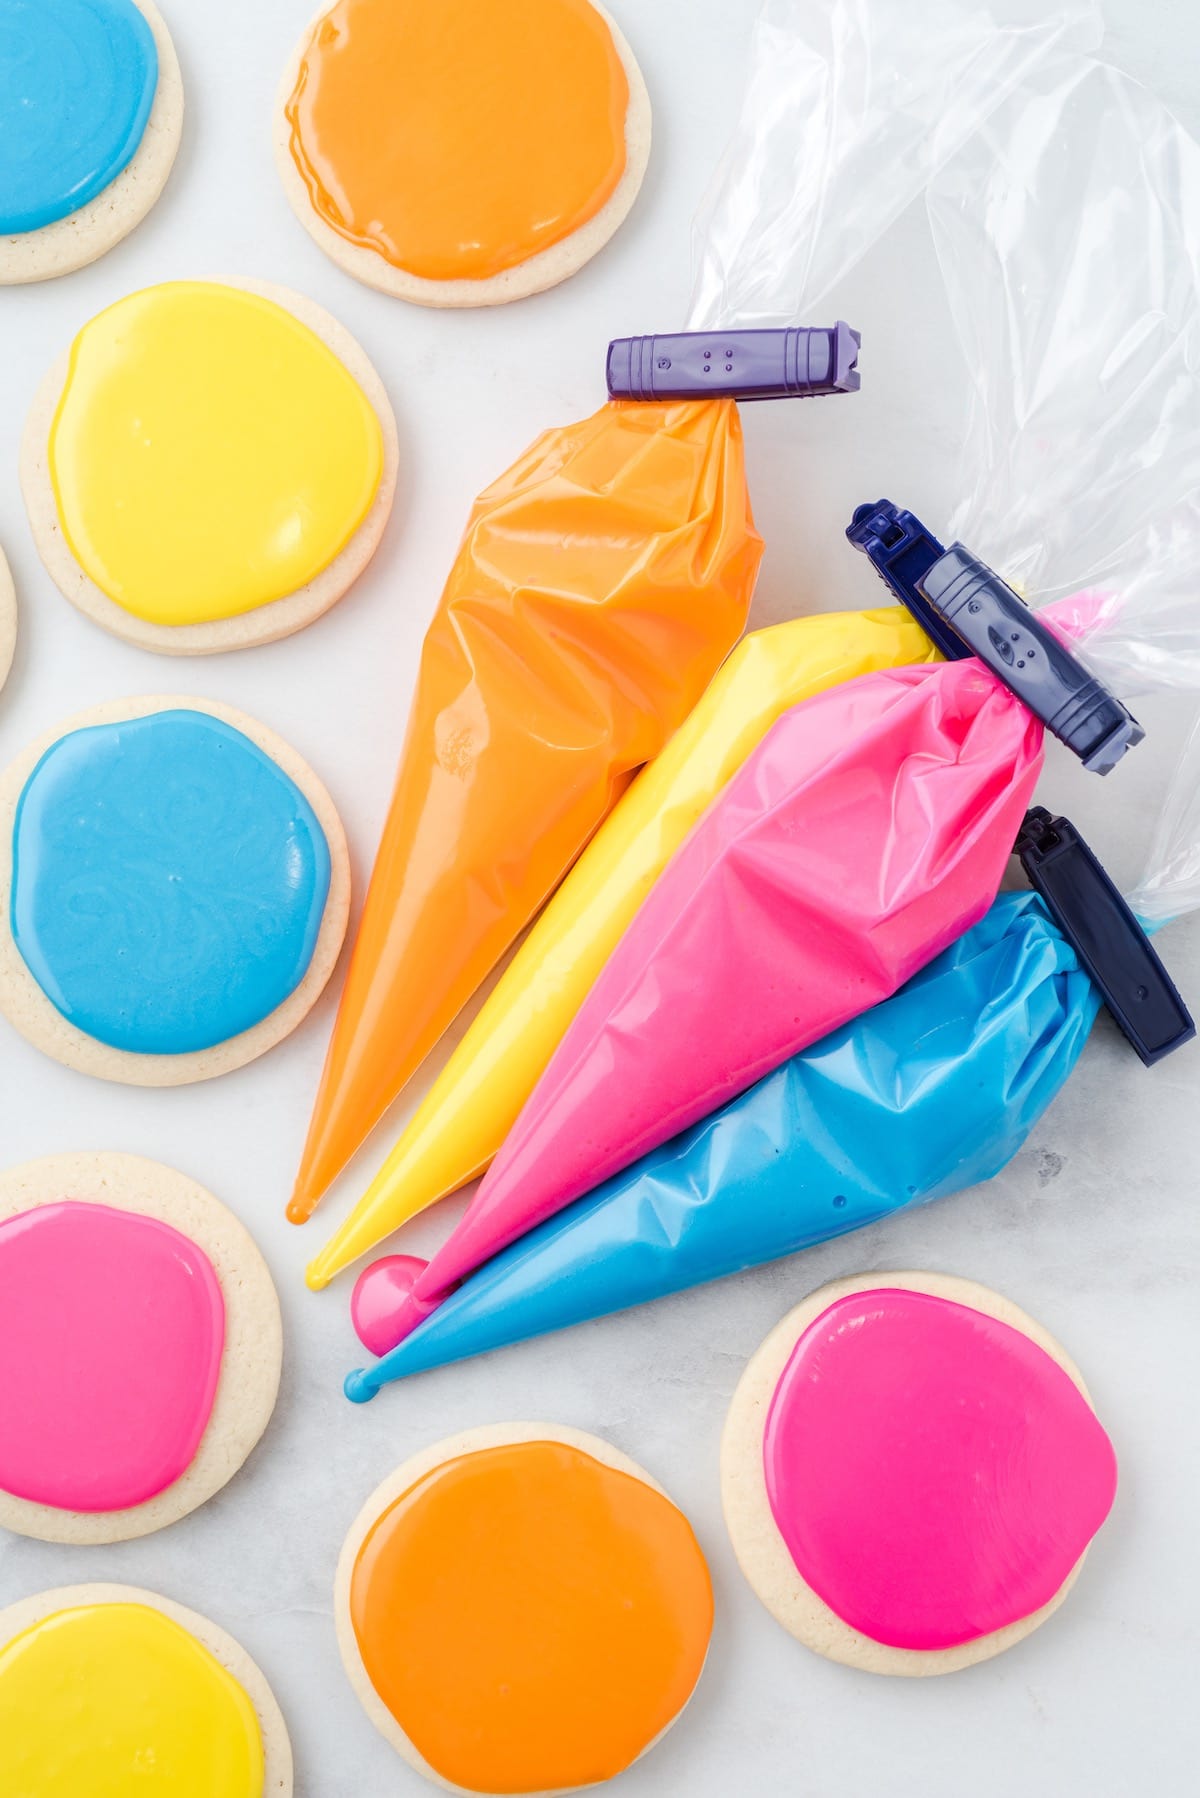
- Portion the icing in 4 small bowls and add desired food color to each.
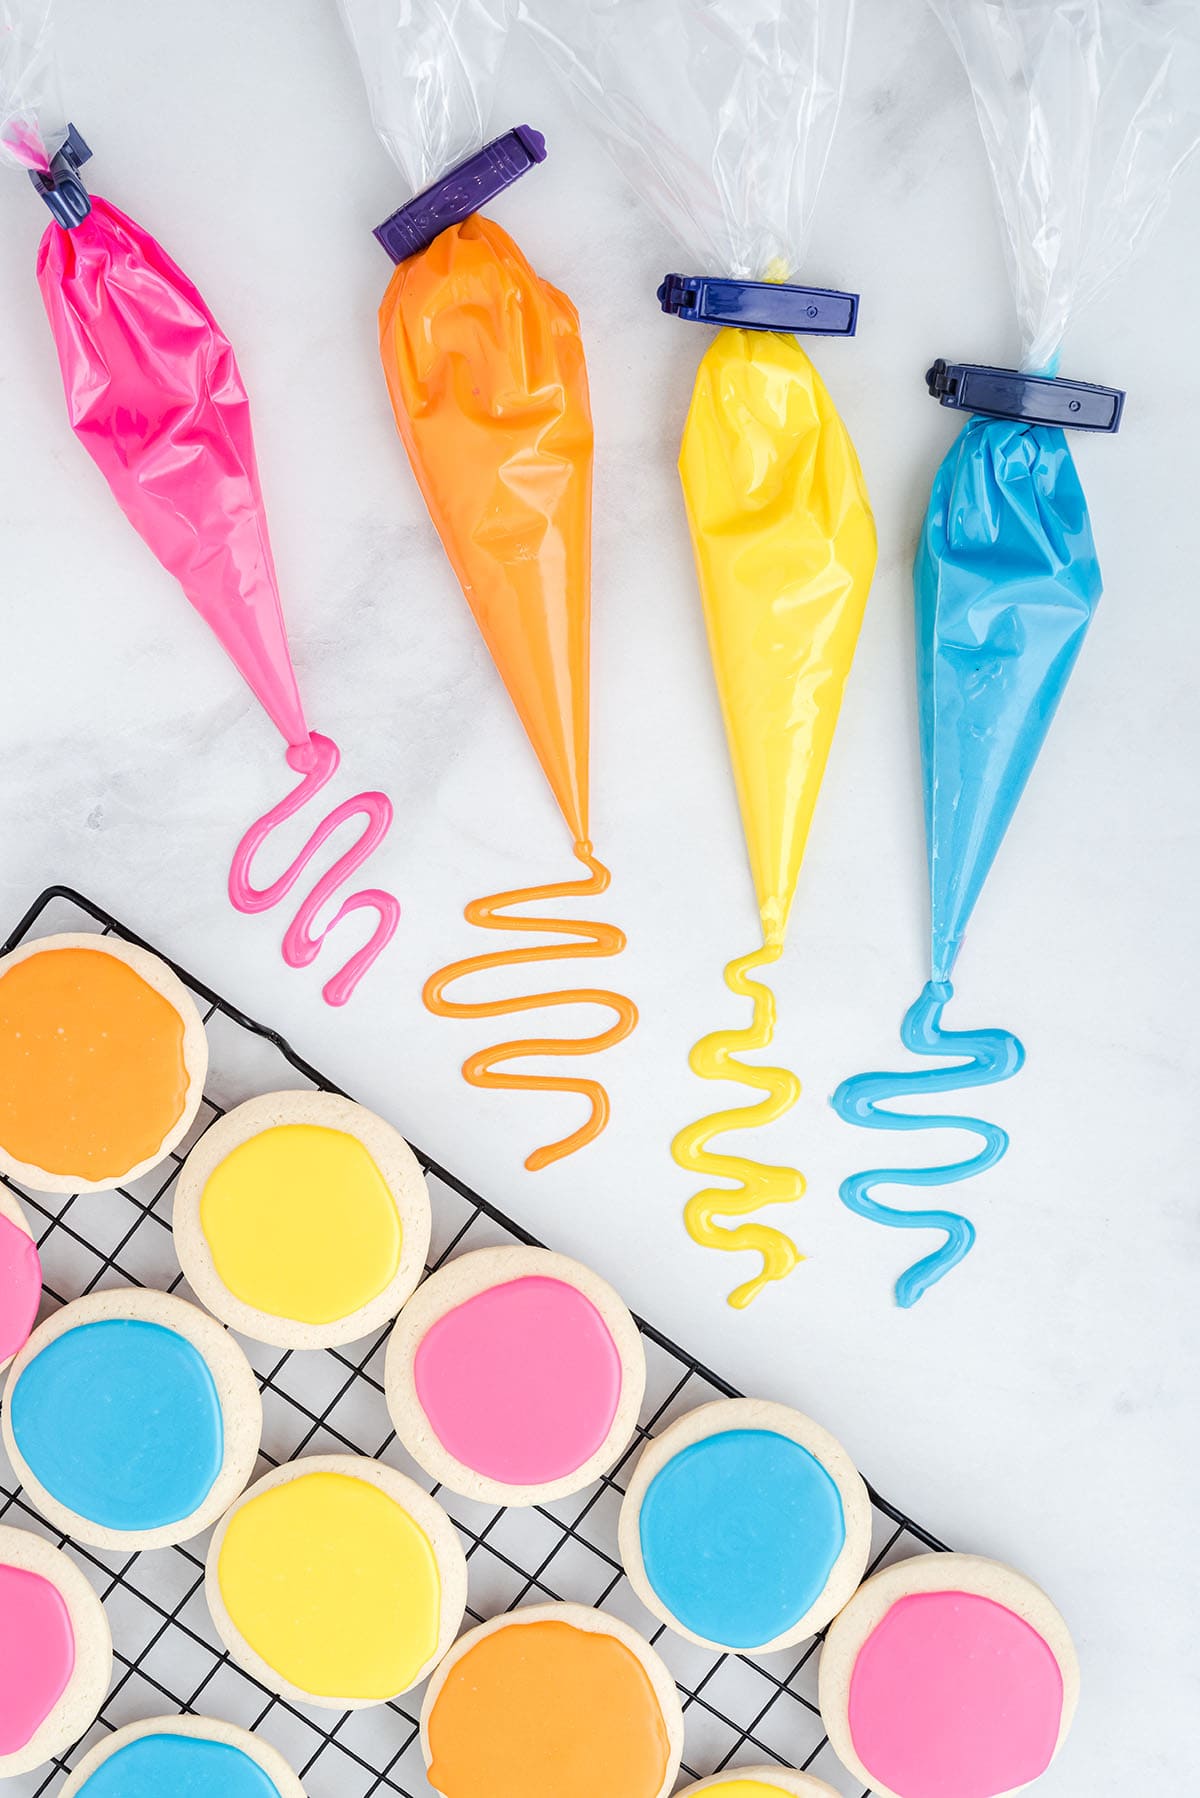
- Add the icing into piping bags, decorate, and allow your cookies set and harden.
How to Fill Piping Bags with Royal Icing for Sugar Cookies
To avoid making a mess and having air bubbles in your piping bag, place the empty piping bag, tip side down, into an empty water glass. Then fold the edges of the bag over the top of the glass. This makes it easy to fill your piping bag because of the wide opening.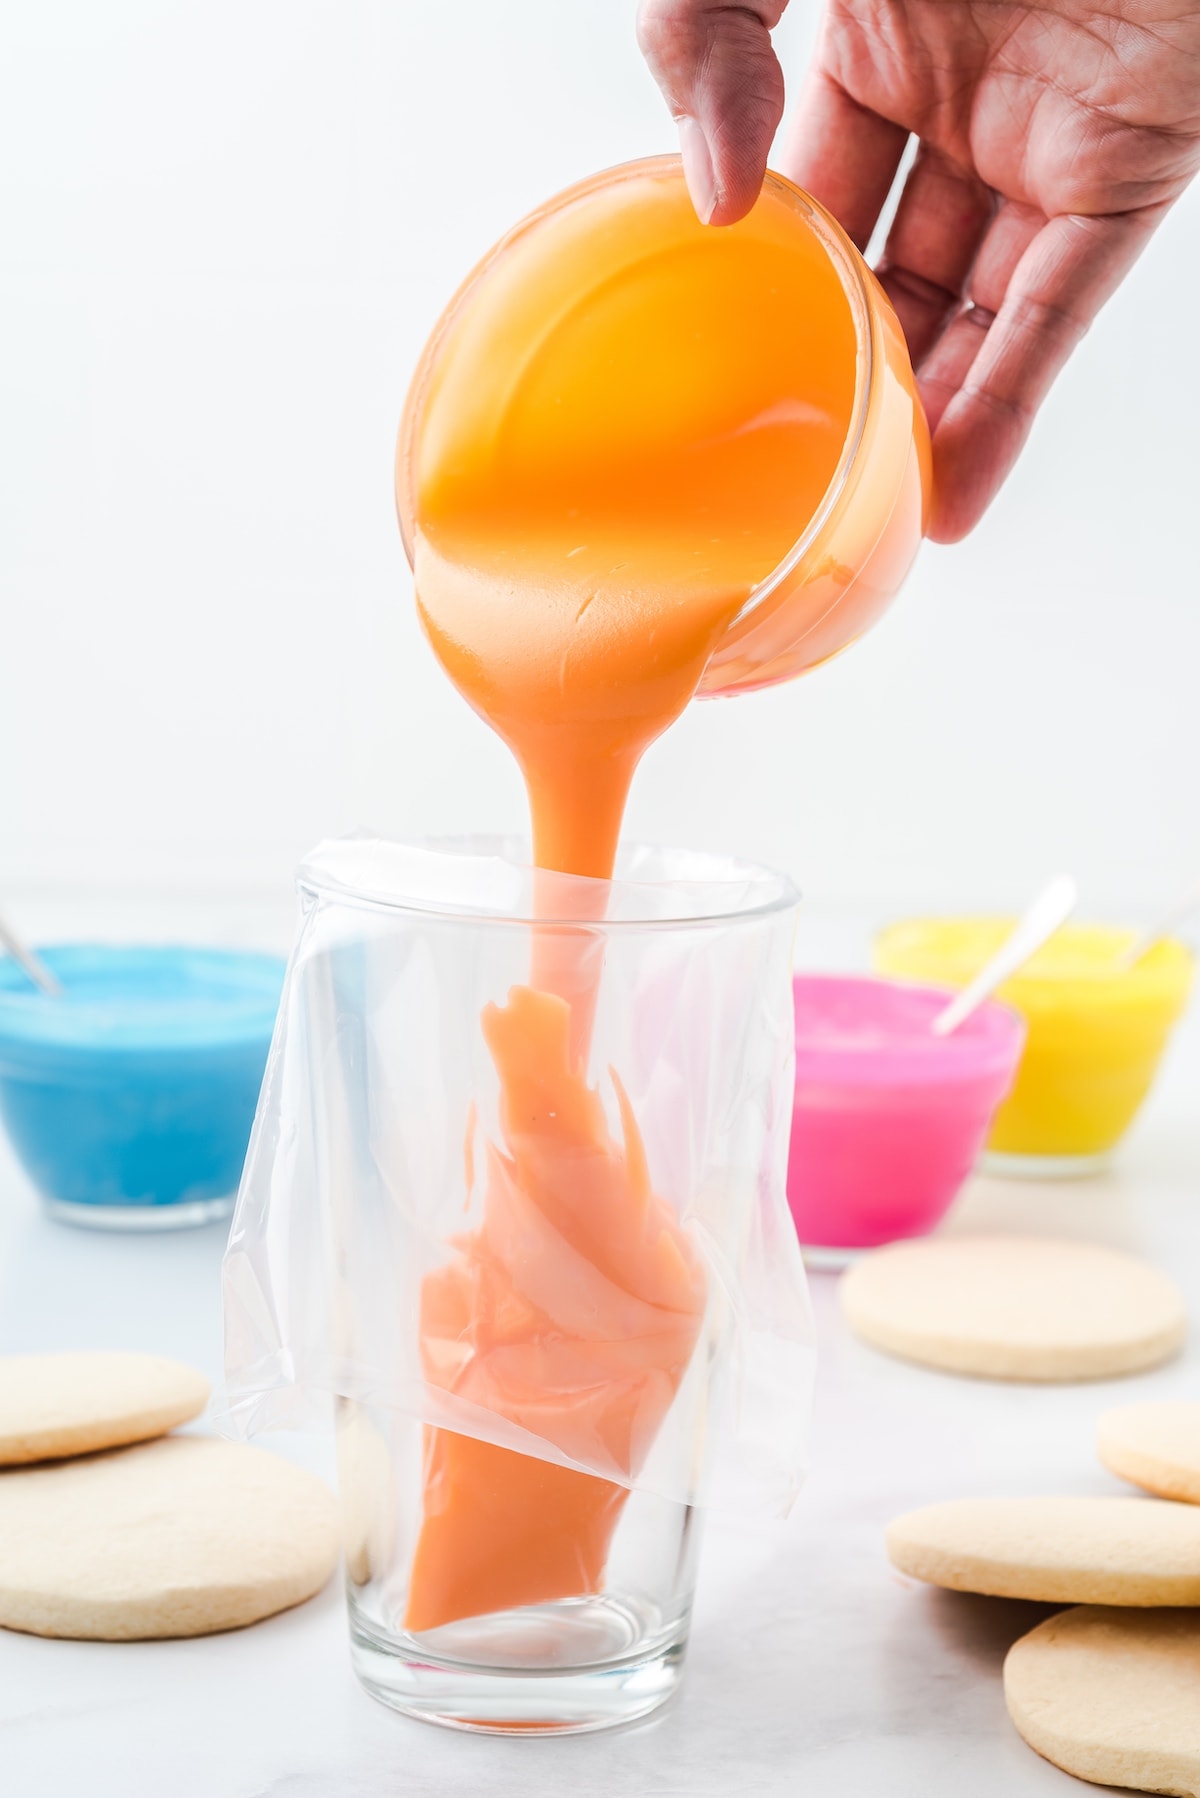
Push the frosting into the bag with a spatula until it is 2/3 of the way full, and twist the top to close up. The pressure should push out any air bubbles in your piping bag and ensure all of your frosting is neat and tidy in the bag.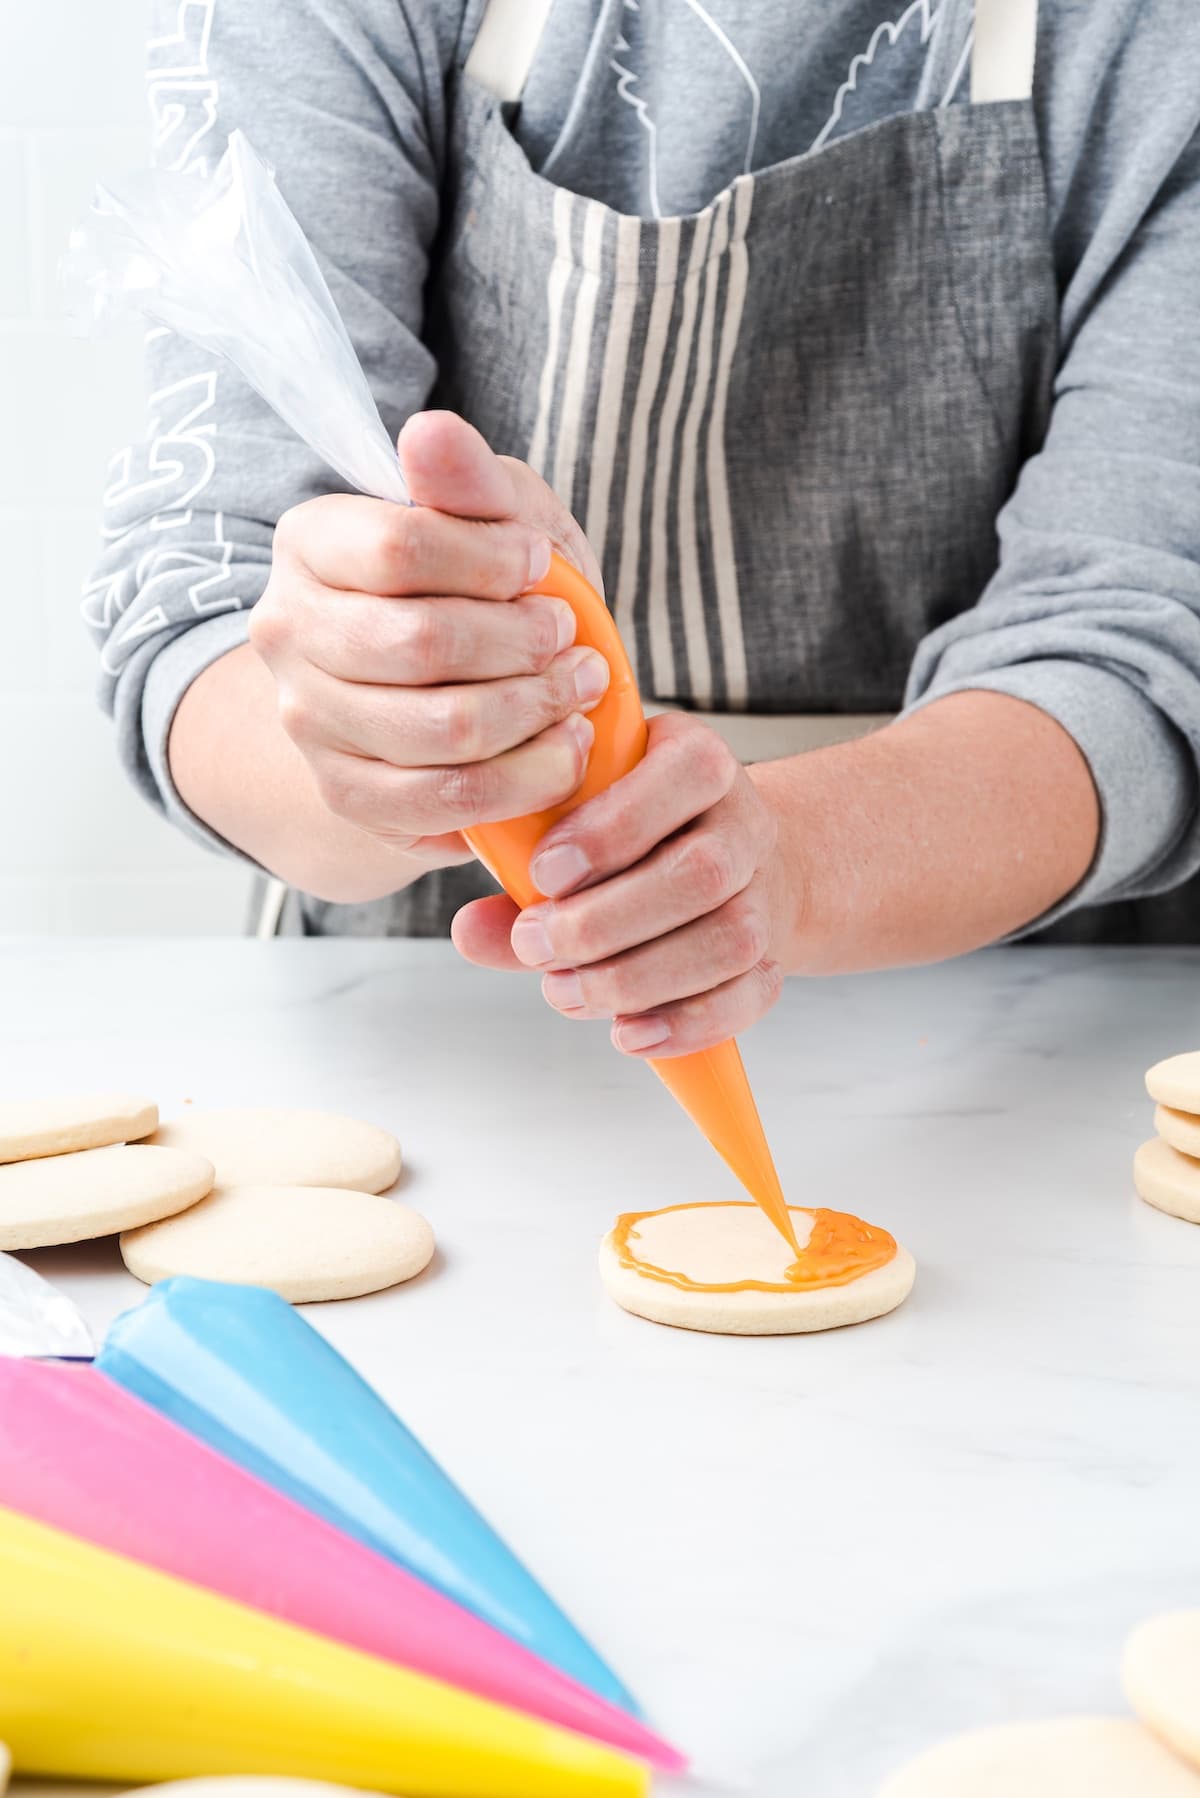
How to Use Royal Icing to Decorate Cookies
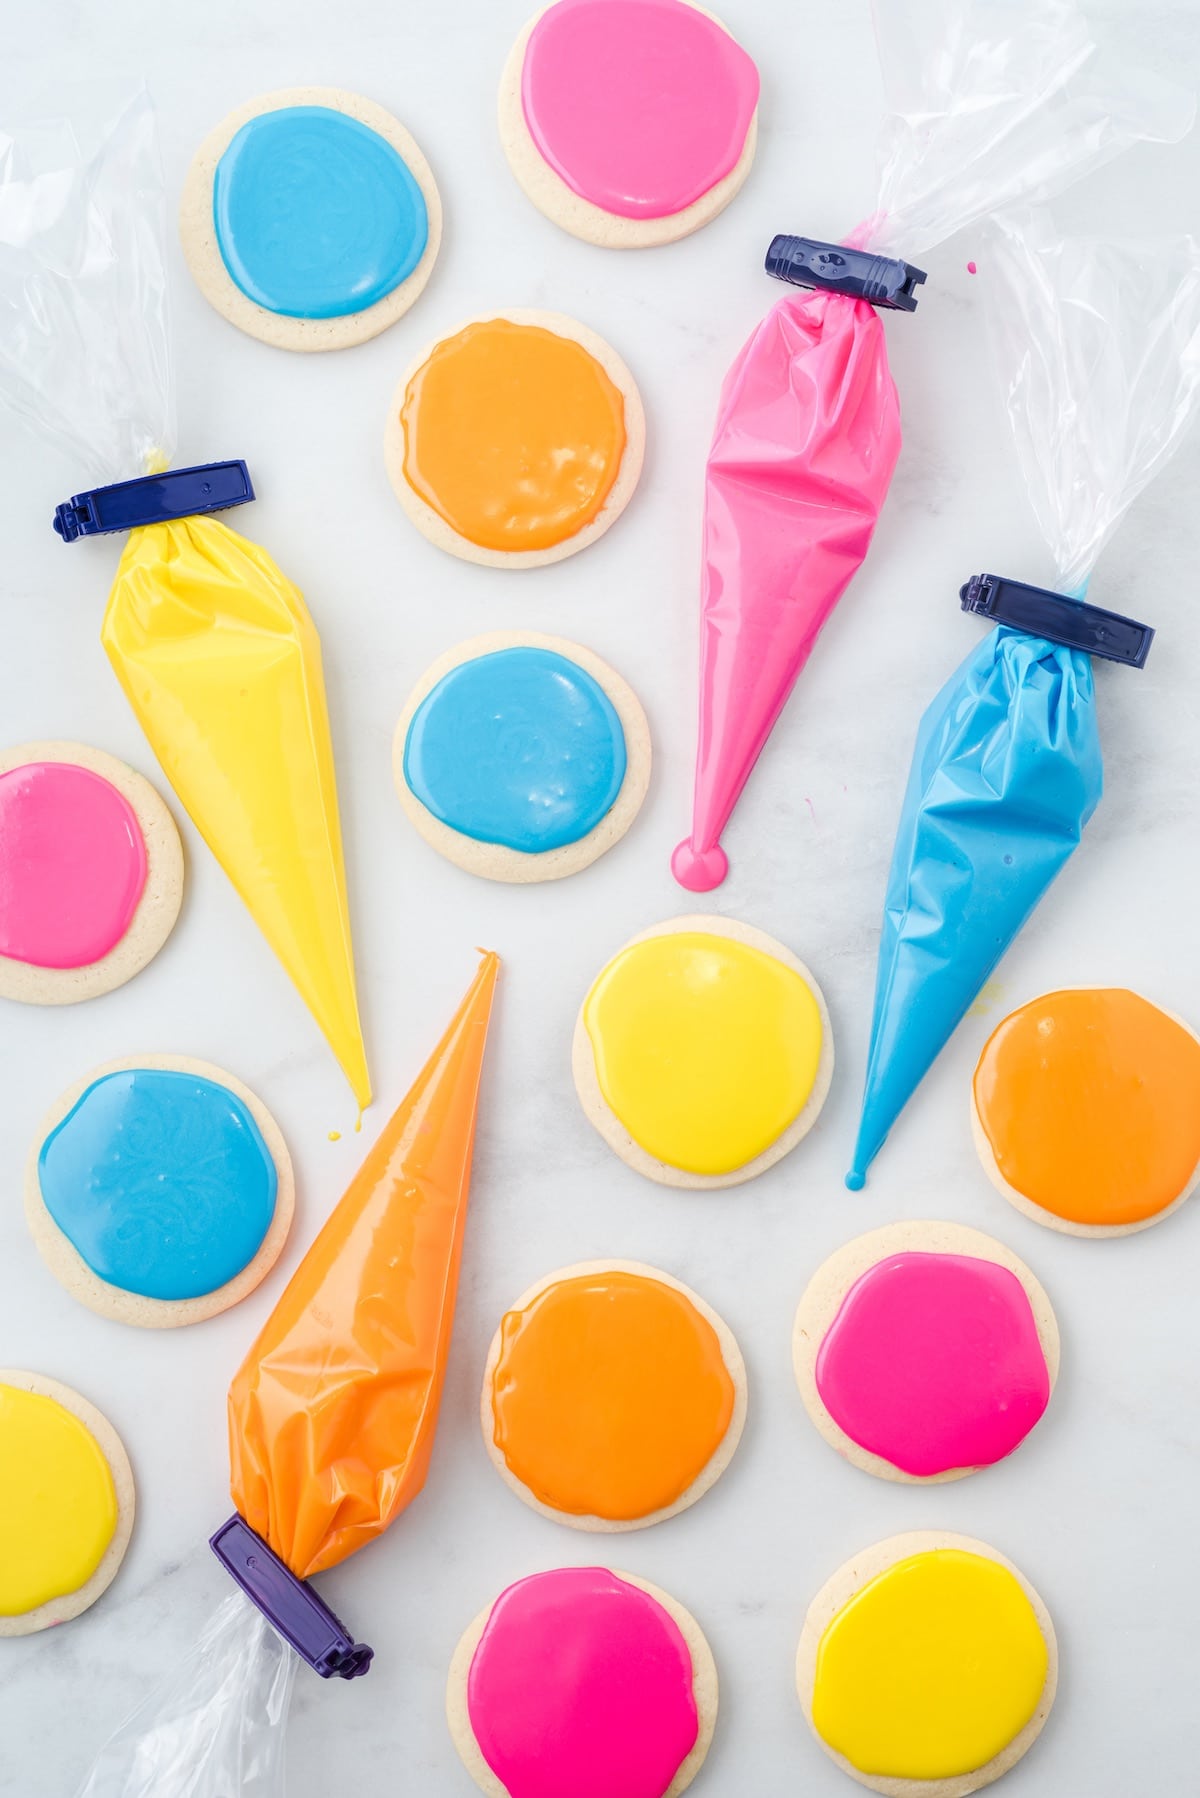
When it’s time to decorate, I find it best to outline the border of each cookie with icing, then “flood” the inside area of the cookie with more icing.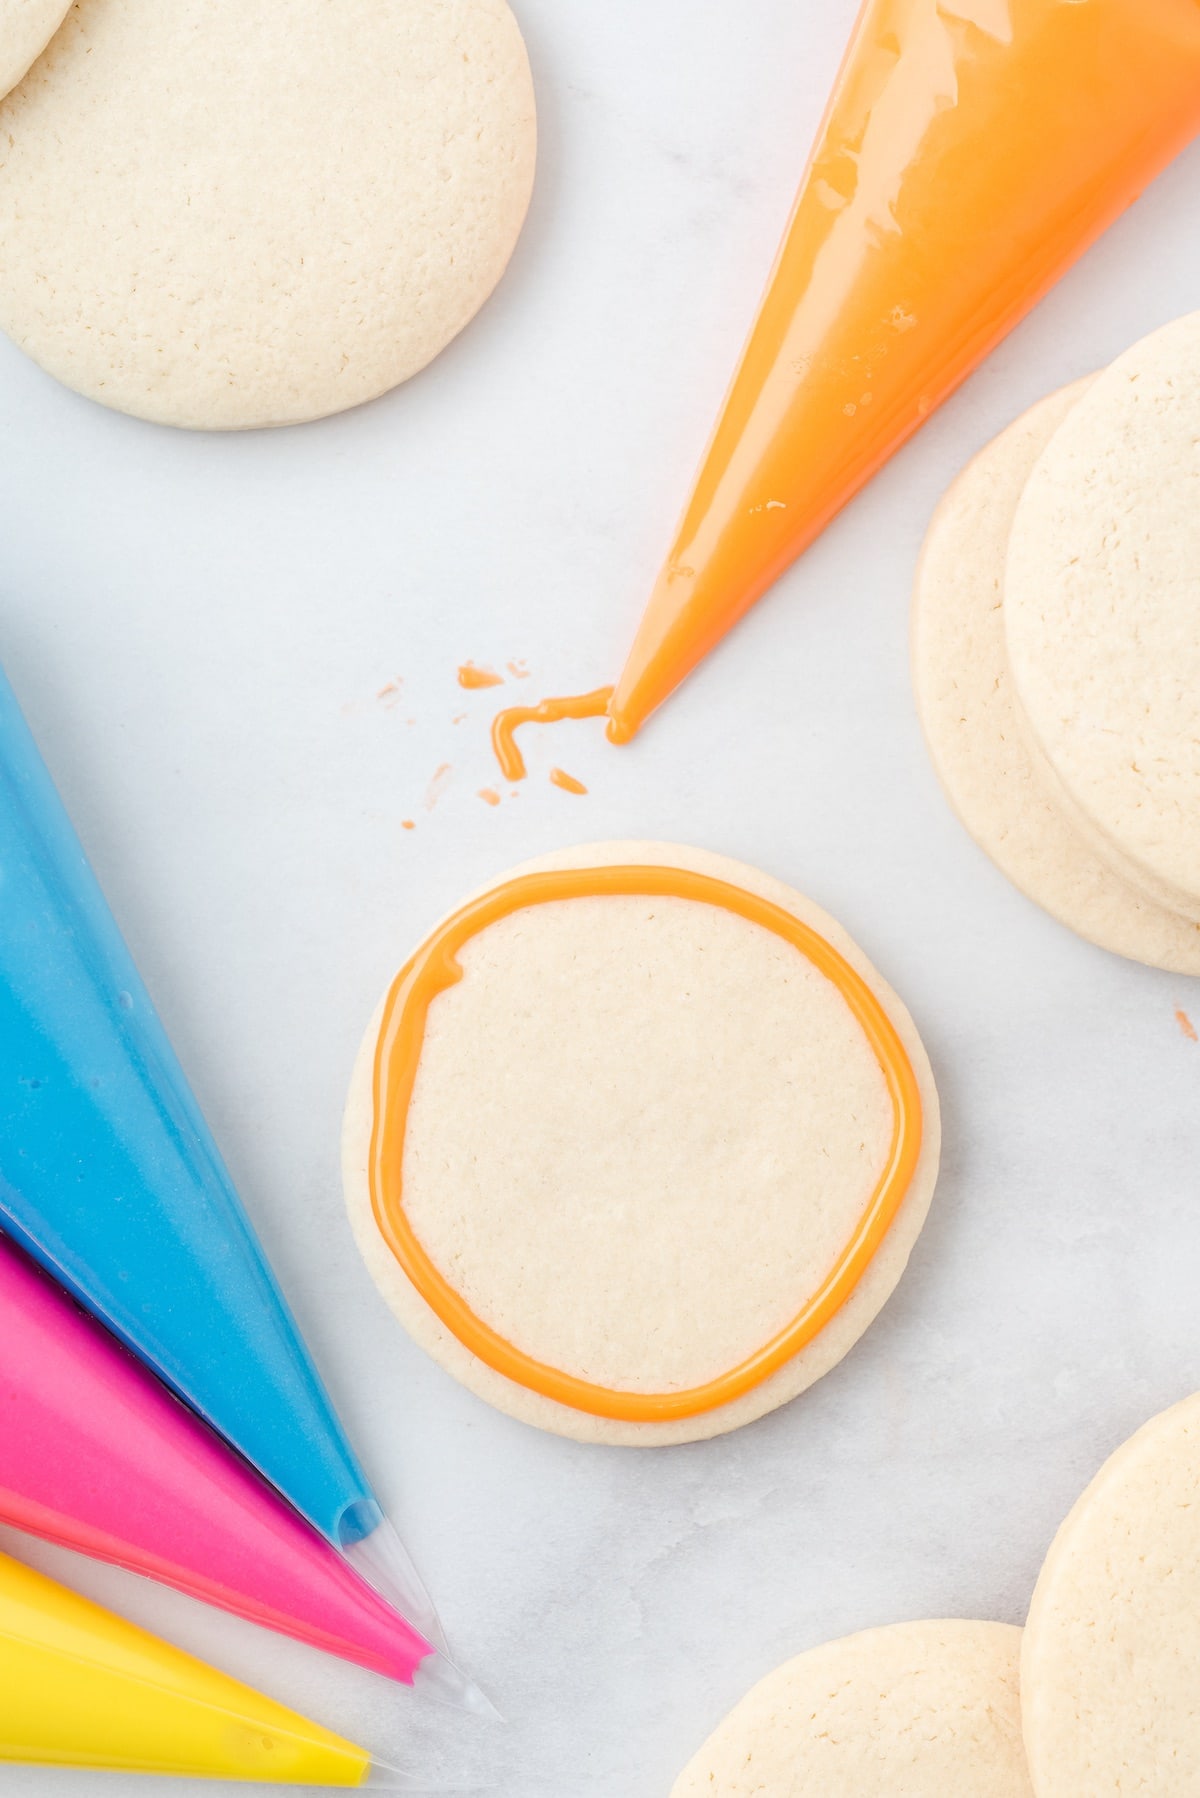
Use a toothpick to push the icing around so that the cookie’s surface is entirely covered. If you spot any small bubbles, just use the toothpick to pop them.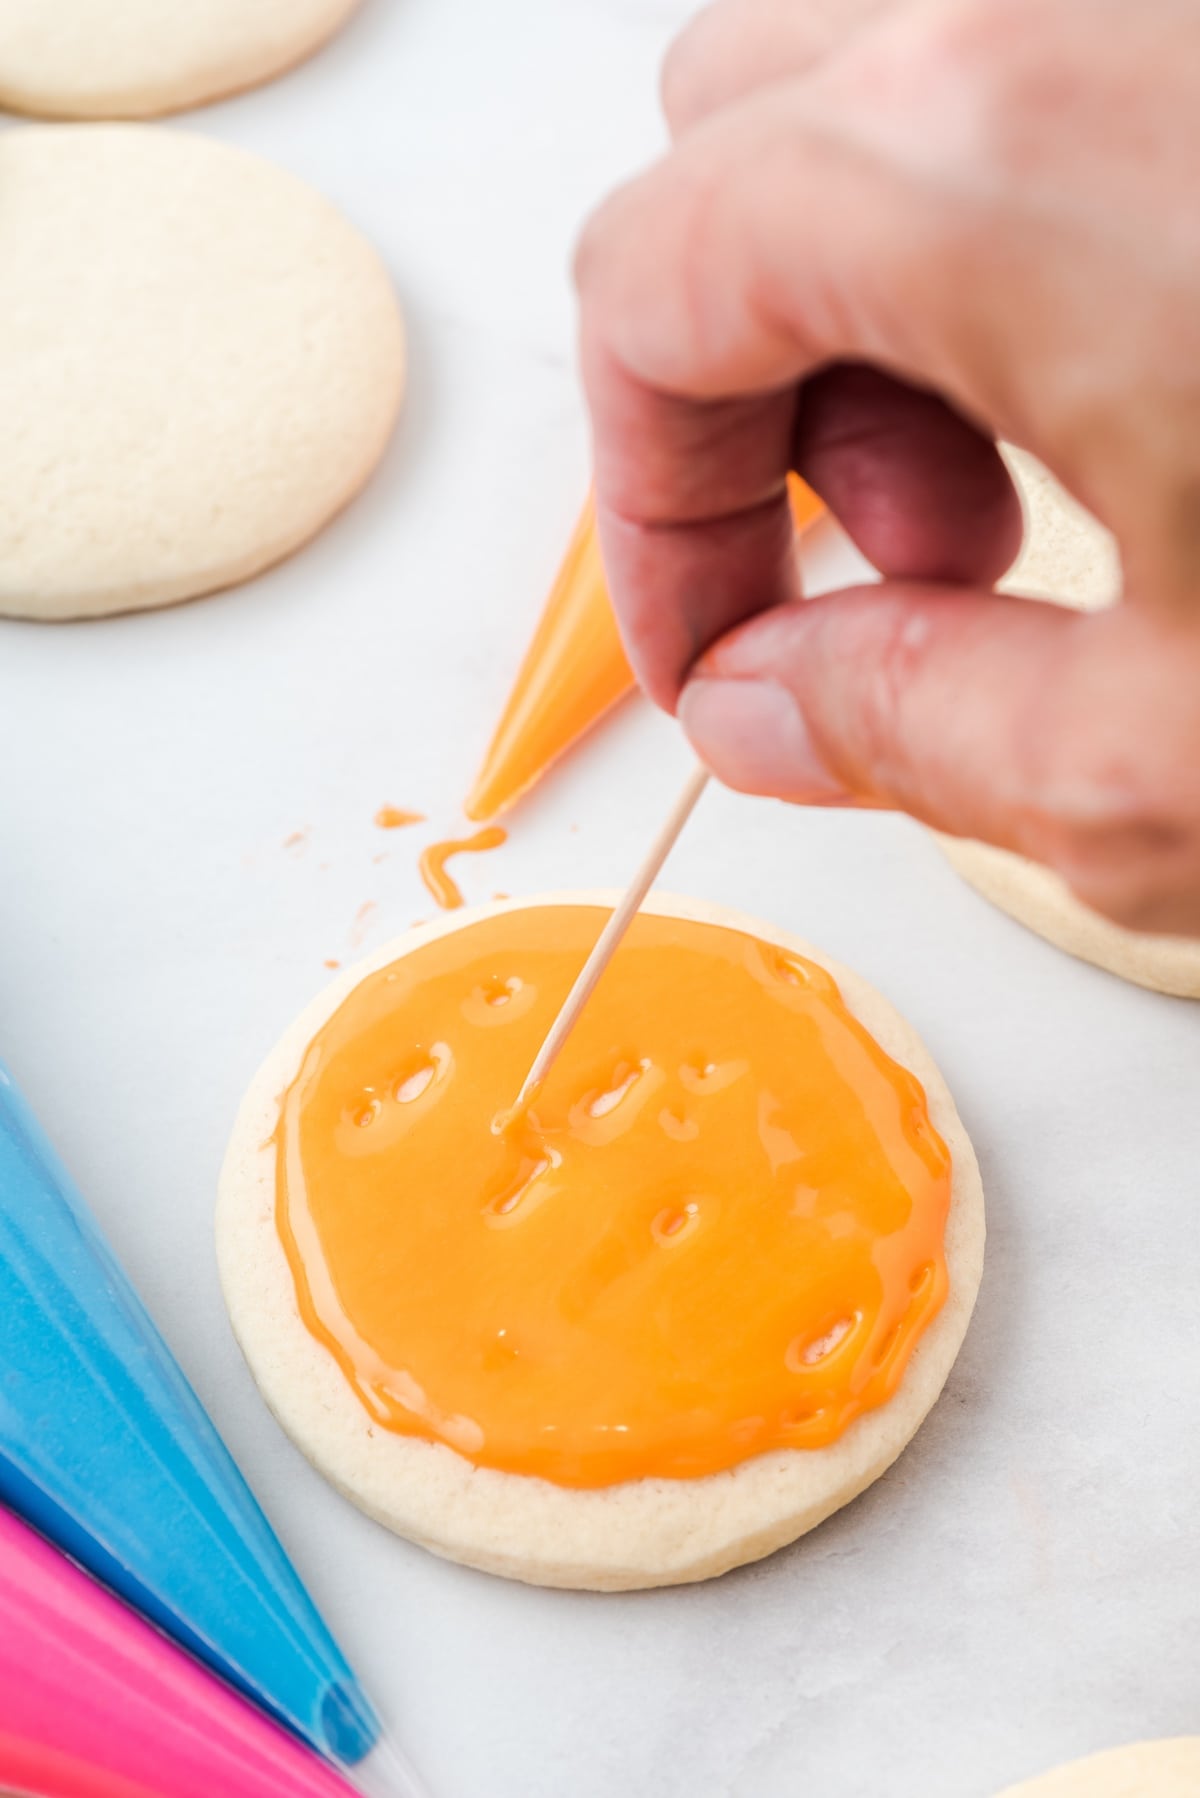
There are so many ways to have fun with your decorations. Use contrasting colors to make stripes, polka dots, or create your own original patterns.
Best Sugar Cookie Icing Tips
- This icing recipe can very easily be doubled.
- It is very important to only use gel food color for the icing because it does not add extra liquid to the icing (even a small amount of extra liquid can change the consistency).
- If adding sprinkles to your cookies, make sure to add them immediately after you frost your cookies. The sugar cookie icing dries quickly!
How to store Cookie Icing that Hardens
To Store: Store any leftover icing in an airtight container, or in the individual bags, in the refrigerator for up to 7 days. Before using, allow the icing to come to room temperature.
How do I store my iced sugar cookies?
Fully dried iced sugar cookies will keep in an airtight container at room temperature for up to 2 weeks. If stacking them, it’s best to put sheets of parchment paper in-between the layers.
Can I freeze my iced cookies?
Yes, you can freeze iced cookies! Make sure the icing has fully dried before placing your finished sugar cookies in an air-tight container or freezer bag. Freeze for up to three months.

Best Sugar Cookie Icing FAQs
You can easily make this icing ahead of time and ice your cookies later. Simply prepare as directed, then store in the fridge in an airtight container. Let it come to room temperature before decorating. You may also need to add a little more milk and corn syrup if it has thickened too much.
This icing sets up pretty quickly, but it can take anywhere from 12-24 hours to fully set and harden. The time it takes will depend on the thickness and consistency of your icing and the layers on the cookie. Once they’re completely dry, you can stack them or package them up for gifting.
Royal icing hardens to a smooth, firm finish, ideal for detailed decorations, while regular icing remains soft and creamy, better for a spreadable frosting.
Royal icing comes in three consistencies: stiff for outlining and detailed work, medium for intricate details and texturing, and flood for smoothly filling in larger areas on cookies. Each type serves a specific purpose in cookie decoration, from creating structures to achieving a smooth base layer.
Royal icing is resistant to melting under normal conditions but can soften in high humidity or if exposed to moisture.
Royal icing may lose its shine if it’s over-mixed, dries too slowly, or if the sugar quality is poor.
Royal icing may not appear puffy if it’s too thin or if it’s piped too thinly on the cookie.
Water is typically preferred for royal icing as it ensures a smooth, consistent texture, but milk can be used for a richer flavor.
Royal icing can be made several days in advance; it stores well in the refrigerator for up to a week when kept in an airtight container.
Easy Cookie Recipes
- Cookies and Cream Cookies
- Funfetti Cookies
- Cookie Dough Bars
- Strawberry Cream Cheese Cookies
- Red, White & Blue Sugar Cookies
- Hot Chocolate Cookies
Best Sugar Cookie Icing (Royal Icing for Sugar Cookies)
Ingredients
- 2¼ cups powdered sugar
- 2 tbsp light corn syrup
- ½ tsp clear vanilla flavoring
- ½ tsp almond extract
- 2-3 tbsp milk
- Gel food color (optional)
Instructions
- Using a medium size mixing bowl, stir together the powdered sugar, corn syrup, clear vanilla, almond extract and milk. Stir until no lumps are visible.
- Evenly divide the icing between 4 small bowls. Add 3 – 5 drops of the desired gel food color to the icing.
- When you are ready to decorate your cookies, pour the icing into individual quart size ziploc bags or piping bags. Allow the iced cookies to sit for 12 – 24 hours to fully set and harden.
Jenn’s Notes
- This icing recipe can very easily be doubled.
- It is very important to only use gel food color for the icing because it does not add extra liquid to the icing (even a small amount of extra liquid can change the consistency).
- If adding sprinkles to your cookies, make sure to add them immediately after you frost your cookies. The sugar cookie icing dries quickly!


could this be made with just vanilla extract? i worry about nut allergies with the almond extract.
I haven’t tried that, but I cannot see why it would make a difference. The almond extract just adds a nice richness.
The recipe does not tell how and when to incorporate raw Jello for the collors
Hi Babs – there actually isn’t any Jello in this recipe. We use gel food coloring.